How to Capture Screenshots From an MPEG-TS Video Stream
Use FFmpeg to extract a precise frame, create thumbnails, handle live UDP streams, select programs, and troubleshoot MPEG-TS capture problems.
Use FFmpeg. For one frame at 30 seconds from a local MPEG-TS file:
ffmpeg -ss 00:00:30 -i input.ts -frames:v 1 screenshot.jpgFor a network stream, replace the filename with its URL:
ffmpeg -ss 00:00:30 -i 'udp://HOST:PORT' -frames:v 1 screenshot.jpgFor a live source where you want the first decodable frame, omit -ss:
ffmpeg -i 'udp://HOST:PORT' -frames:v 1 live-shot.jpgThe output extension chooses the image format. Use .png for lossless output, .jpg for smaller files, or .webp for a modern compressed image.
1. Install FFmpeg and inspect the stream
Install FFmpeg from the official packages for your operating system, then verify both tools:
ffmpeg -version
ffprobe -version
ffprobe shows the programs, video streams, codecs, dimensions, frame rate and timestamps. This matters because an MPEG-TS file can contain several programs or video PIDs.
ffprobe -hide_banner -show_programs -show_streams input.tsFFmpeg’s command and muxer behavior is documented in the FFmpeg manual, while image output is covered by the formats and muxers documentation.
2. Capture one frame at a timestamp
Fast seeking
Put -ss before -i when speed matters:
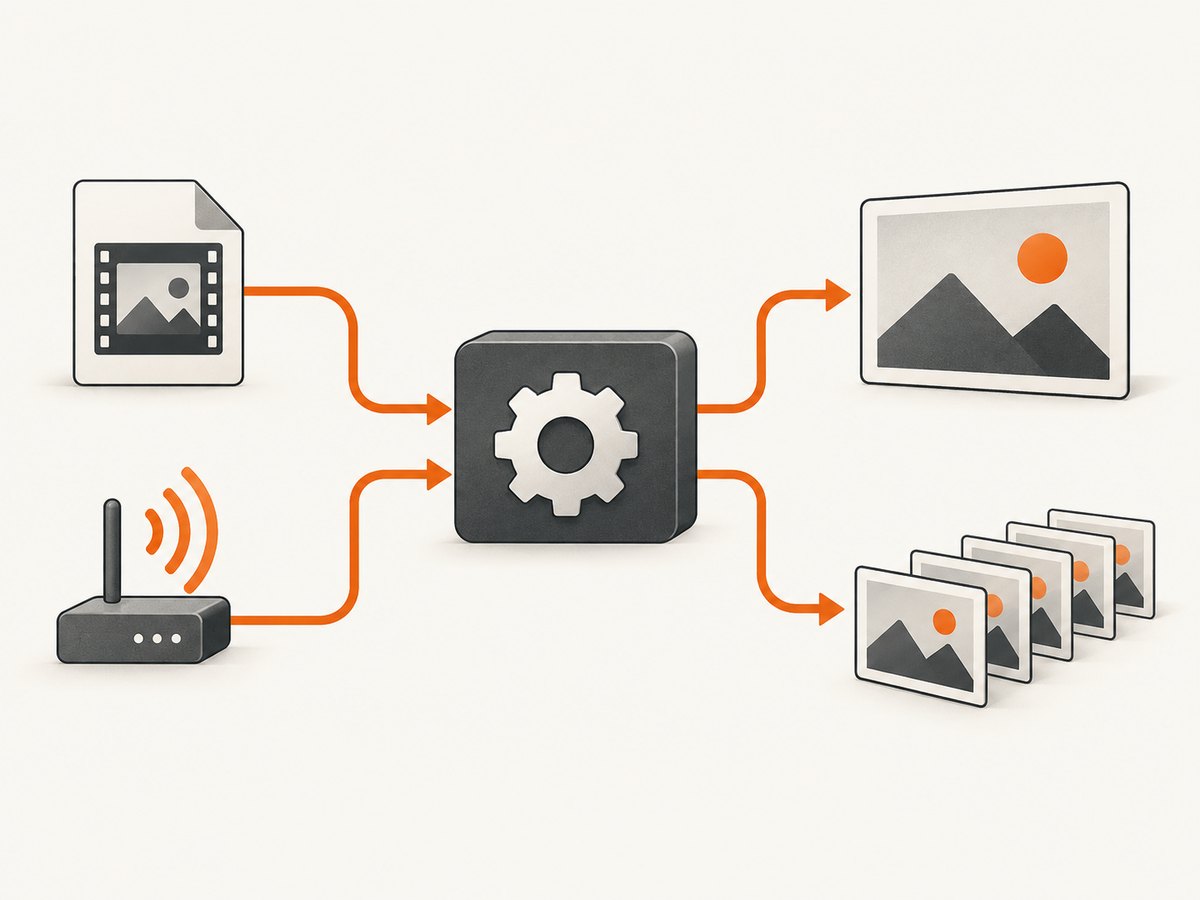
ffmpeg -ss 00:00:30 -i input.ts -frames:v 1 screenshot.jpgInput-side seeking jumps to the closest seek point, usually a keyframe. FFmpeg then decodes forward as needed. On long files this is normally much faster than decoding from the beginning.
More exact seeking
Put -ss after the input when exact frame placement is more important than startup time:
ffmpeg -i input.ts -ss 00:00:30 -frames:v 1 exact.jpgThis decodes from the selected starting point and discards frames until the requested timestamp. It is slower, especially with long GOPs, but avoids relying as heavily on a nearby keyframe.
Select a particular video stream
If the transport stream has multiple programs or video tracks, select the desired video explicitly:
ffmpeg -i input.ts -map 0:v:0 -ss 00:00:30 -frames:v 1 exact-program.jpgReplace 0:v:0 with the stream identified by ffprobe. Add -map 0:p:PROGRAM_ID:v:0 when you need a specific program.
3. Control image size and quality
Scale while extracting the frame. A height of -1 preserves the aspect ratio:
ffmpeg -ss 00:00:30 -i input.ts -frames:v 1 \
  -vf 'scale=1280:-1' -q:v 2 screenshot.jpg
For JPEG output, lower -q:v values generally mean better quality. For predictable dimensions, specify both values with a suitable scaling or cropping filter:
ffmpeg -i input.ts -ss 00:00:30 -frames:v 1 \
  -vf 'scale=1280:720:force_original_aspect_ratio=decrease,pad=1280:720:(ow-iw)/2:(oh-ih)/2' \
  -q:v 2 framed.jpg
PNG is useful when you need lossless pixels:
ffmpeg -ss 00:00:30 -i input.ts -frames:v 1 screenshot.png4. Capture from UDP, HTTP and other network sources
For UDP MPEG-TS:
ffmpeg -i 'udp://HOST:PORT' -frames:v 1 udp-frame.jpgFor an HTTP or HTTPS transport stream:
ffmpeg -i 'https://example.com/live.ts' -frames:v 1 http-frame.jpgFor multicast UDP, include the interface or local address when your network requires it:
ffmpeg -i 'udp://239.0.0.1:1234?localaddr=192.0.2.10' -frames:v 1 multicast.jpgWhen the source needs a short receive window, cap the process duration:
timeout 30s ffmpeg -i 'udp://HOST:PORT' -frames:v 1 live.jpgA live stream has no natural end. Use an operating-system timeout, a supervisor, or FFmpeg’s -t option so a missing stream cannot run forever.
5. Create thumbnails or contact sheets
One image per second
ffmpeg -i input.ts -vf 'fps=1' shots-%04d.jpgOne image every five seconds
ffmpeg -i input.ts -vf 'fps=1/5' shots-%04d.jpgLimit the amount of work with a duration or frame count:
ffmpeg -i input.ts -t 00:01:00 -vf 'fps=1' shots-%04d.jpg
ffmpeg -i input.ts -frames:v 60 -vf 'fps=1' shots-%04d.jpg
The image2 muxer documentation describes numbered output and options such as preserving presentation timestamps in filenames.
6. Send a frame through a pipe
Use image2pipe when another process consumes the image instead of a numbered file:
ffmpeg -i input.ts -frames:v 1 -f image2pipe -vcodec png pipe:1 > screenshot.pngYou can also download an HTTP stream with cURL and pass it directly to FFmpeg:
curl -L 'https://example.com/live.ts' | \
  ffmpeg -i pipe:0 -frames:v 1 -f image2pipe -vcodec png pipe:1 > screenshot.png
This is useful in shell automation, but preserve FFmpeg’s standard error and check its exit status. A streaming response may continue indefinitely.
7. Automate capture in Python
import subprocess

command = [
    "ffmpeg", "-y",
    "-ss", "00:00:30",
    "-i", "input.ts",
    "-frames:v", "1",
    "-q:v", "2",
    "screenshot.jpg",
]

result = subprocess.run(command, capture_output=True, text=True, timeout=90)
if result.returncode != 0:
    raise RuntimeError(result.stderr)
print("Saved screenshot.jpg")
For a live URL, replace input.ts with the URL and keep a timeout. Do not discard stderr; FFmpeg reports stream detection and decoder failures there.
8. Automate capture in Node.js
import { spawn } from 'node:child_process';

const args = [
  '-y', '-ss', '00:00:30', '-i', 'input.ts',
  '-frames:v', '1', '-q:v', '2', 'screenshot.jpg'
];

const ffmpeg = spawn('ffmpeg', args, { stdio: ['ignore', 'ignore', 'pipe'] });
let stderr = '';
ffmpeg.stderr.on('data', chunk => { stderr += chunk; });
ffmpeg.on('close', code => {
  if (code !== 0) {
    console.error(stderr);
    process.exitCode = code ?? 1;
  } else {
    console.log('Saved screenshot.jpg');
  }
});
9. MPEG-TS edge cases
Discontinuous or unreliable timestamps
Transport streams can contain timestamp jumps or sparse indexing. Try output-side seeking, inspect the probe output, and explicitly map the video stream:
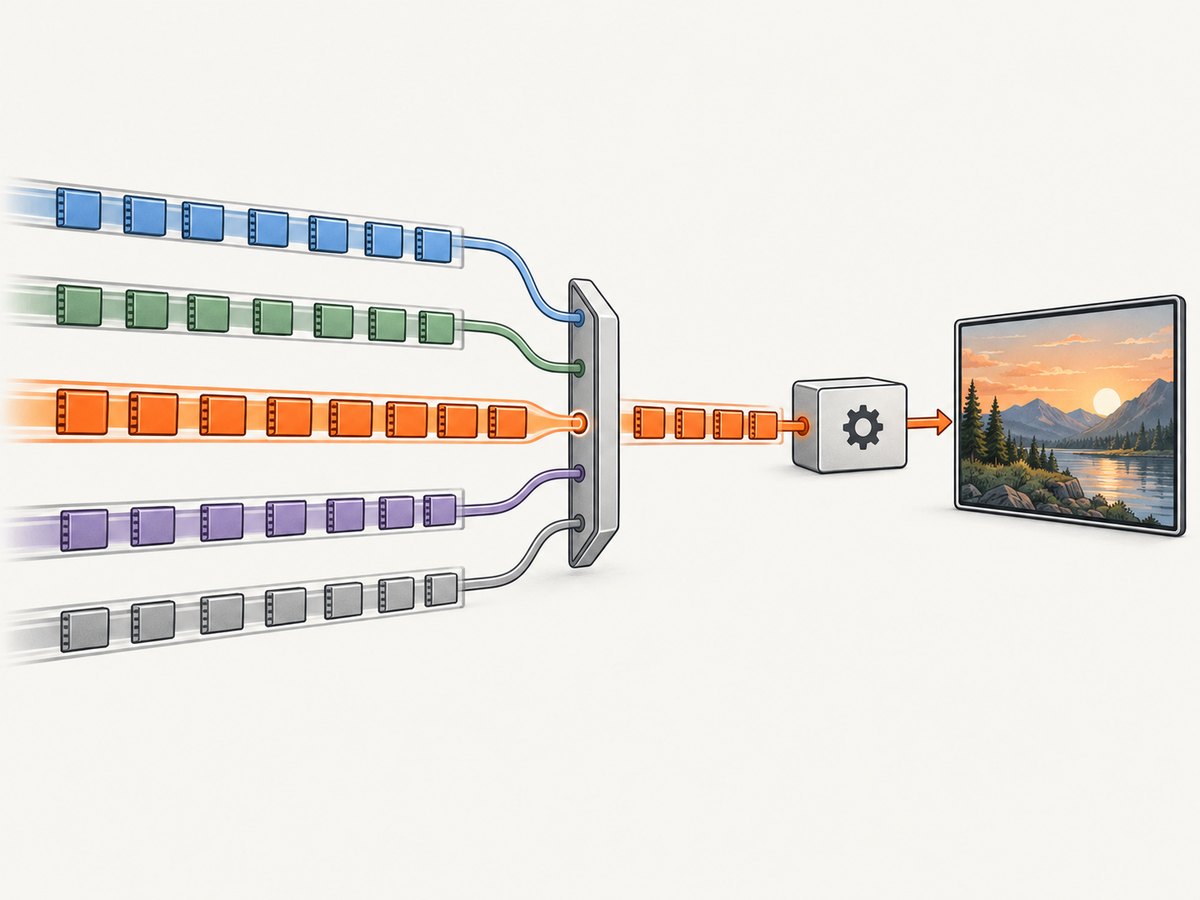
ffmpeg -i input.ts -map 0:v:0 -ss 00:00:30 -frames:v 1 exact.jpgInterlaced video
Comb-like lines indicate interlacing. Deinterlace only when the source requires it:
ffmpeg -i input.ts -ss 00:00:30 -frames:v 1 \
  -vf 'yadif' deinterlaced.jpg
Long GOPs
A long distance between keyframes makes precise seeking slower. Use input-side seeking for previews and output-side seeking for an exact editorial frame.
No frame appears immediately
A live decoder may need to receive PAT/PMT tables, a keyframe and several packets before it can display anything. Allow startup time and capture the first decodable frame with:
ffmpeg -loglevel warning -i 'udp://HOST:PORT' -frames:v 1 first-frame.jpg10. Troubleshooting
| Symptom | Likely cause | Fix |
|---|---|---|
Invalid data found when processing input |
The URL is not reachable, the response is not MPEG-TS, or the stream is truncated. | Open the URL separately, use curl -I for HTTP, save a short sample, and run ffprobe on it. |
| Black or blank image | No decoded video frame was available yet, or the wrong PID was selected. | Wait longer, omit -ss for a live feed, inspect programs with ffprobe, then add -map. |
| Wrong channel or camera | The file contains multiple programs or video streams. | Use -show_programs -show_streams and map the intended stream explicitly. |
| Frame is near, but not exactly at, the timestamp | Input-side seeking landed at a keyframe. | Move -ss after -i and accept the extra decoding time. |
| Command never exits | The source is live. | Use -frames:v 1, -t, an external timeout, and a process supervisor. |
| Comb-like motion lines | The source is interlaced. | Apply -vf yadif and compare the resulting pixels. |
| Images have inconsistent names | Presentation timestamps or a non-numbered output pattern are being used. | Use an image2 numbered pattern and consult the image2 frame_pts option. |
| Network capture drops packets | UDP loss, insufficient socket buffering, or network congestion. | Check the network path, use a local receiver where possible, and capture a short sample before processing. |
11. Performance, reliability and cost
- Speed: input-side
-ssand one-frame output minimize decoding. Output-side-sscosts more CPU for precision. - Memory: single-frame extraction uses little storage; periodic extraction can create thousands of image files.
- Reliability: log stderr, check the process exit code, set time limits for live URLs, and record the input URL, timestamp and selected stream.
- Repeatability: keep FFmpeg versions consistent, specify the video map, and choose a fixed image format and quality setting.
- Cost: FFmpeg itself does not charge per frame. Your costs are compute, storage, bandwidth and any upstream stream provider charges.
Or skip the browser setup
ScreenshotNeo is for capturing webpages, not ingesting raw MPEG-TS feeds. If the thing you need to capture is a webpage that displays your stream or player, one API request returns an image or PDF without maintaining a browser:
curl -G "https://api.screenshotneo.com/v1/shot" -d access_key=YOUR_API_KEY --data-urlencode url=https://stripe.com -o shot.webpPython:
import requests
r = requests.get("https://api.screenshotneo.com/v1/shot", params={"access_key": "YOUR_API_KEY", "url": "https://stripe.com"}, timeout=90)
open("shot.webp", "wb").write(r.content)
Node.js:
const q = new URLSearchParams({ access_key: 'YOUR_API_KEY', url: 'https://stripe.com' });
const res = await fetch(`https://api.screenshotneo.com/v1/shot?${q}`);
See the ScreenshotNeo API documentation for parameters. Cookie banners, popups and chat widgets are removed before the shot; bot checks, blank pages and failed loads are never billed; an MCP server lets AI agents take screenshots; 1,000 screenshots a month are free with no card and paid plans start at $5 for 3,000. Create a free ScreenshotNeo account.
FAQ
Can FFmpeg capture a frame from a .ts file without converting the whole video?
Yes. -frames:v 1 stops after one decoded frame, so FFmpeg does not write a complete converted video.
Should I use JPEG or PNG?
Use JPEG for compact thumbnails and PNG when lossless pixels or text clarity matter.
Why does a live UDP screenshot sometimes take several seconds?
The decoder may be waiting for stream tables, a keyframe and enough packets to reconstruct a picture. This is normal for many live transport streams.
How do I capture every frame?
Omit fps and write an image sequence, but expect high CPU, storage and I/O usage. For thumbnails, choose an explicit interval such as fps=1/5.
How do I confirm which program contains the video?
Run ffprobe -show_programs -show_streams input.ts, then map the selected program or video stream with -map.


