How to Capture Screenshots Across Multiple Xvfb Displays
Capture full-screen images from separate Xvfb displays in CI. Compare ImageMagick, xwd, and framebuffer files, with setup, timing, and troubleshooting guidance.
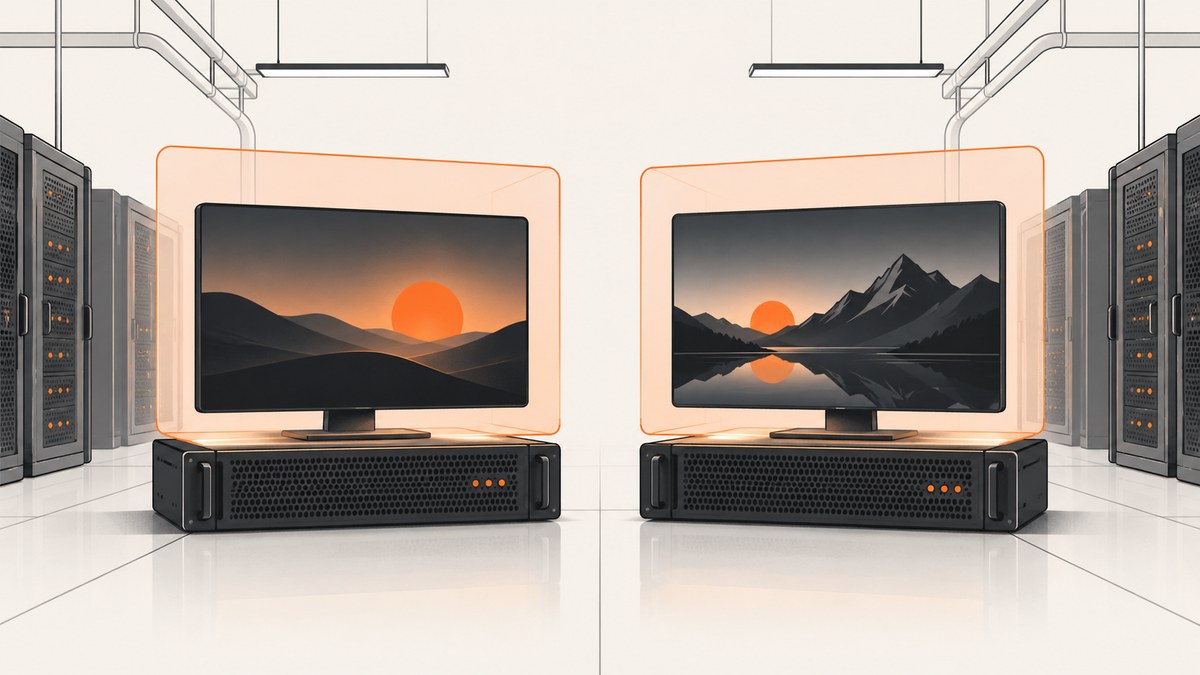
To capture screenshots across multiple Xvfb displays, start an Xvfb server for each display number, run each GUI process with its matching DISPLAY value, and capture that server’s root window. For example, use :99 and :100 as independent displays, then run magick import -display :99.0 -window root /tmp/screen-99.png and repeat for :100.0. The display number selects an X server connection; the optional screen suffix selects a screen on that server.
This guide covers a runnable shell workflow, ImageMagick, xwd, Xvfb framebuffer files, multi-screen terminology, CI timing, troubleshooting, and trade-offs. Xvfb runs without display hardware or physical input devices, and its -screen option sets a screen’s width, height, and depth. X.Org’s Xvfb manual documents these options.
1. Understand display numbers and screen numbers
An X display number identifies a server connection. Two separate Xvfb server processes can listen as :99 and :100; these are independent virtual displays. The screen number is a separate component: a server can be configured with screens, and clients can address a particular screen using the host:display[.screen] form. Thus, :99.0 means screen 0 on display 99, while :100.0 means screen 0 on display 100. ImageMagick documents this display naming form.
For most CI jobs that need two isolated GUI environments, use two Xvfb servers, each with screen 0. This keeps process lifecycles and display assignment easy to reason about. A single Xvfb server with multiple screens is possible, but client and window-manager behavior can be less portable. Confirm the behavior with the Xlib/client stack on the target distribution before depending on such a layout in automation.
| Setup | Use it when | Trade-off |
|---|---|---|
Separate servers, such as :99 and :100 |
Jobs need isolation, independent lifecycles, or parallel execution | Manage more processes and display numbers |
| Multiple screens on one server | One X server lifecycle is preferred and your clients handle the layout reliably | Behavior can vary across client stacks |
2. Start two Xvfb servers and capture their root windows
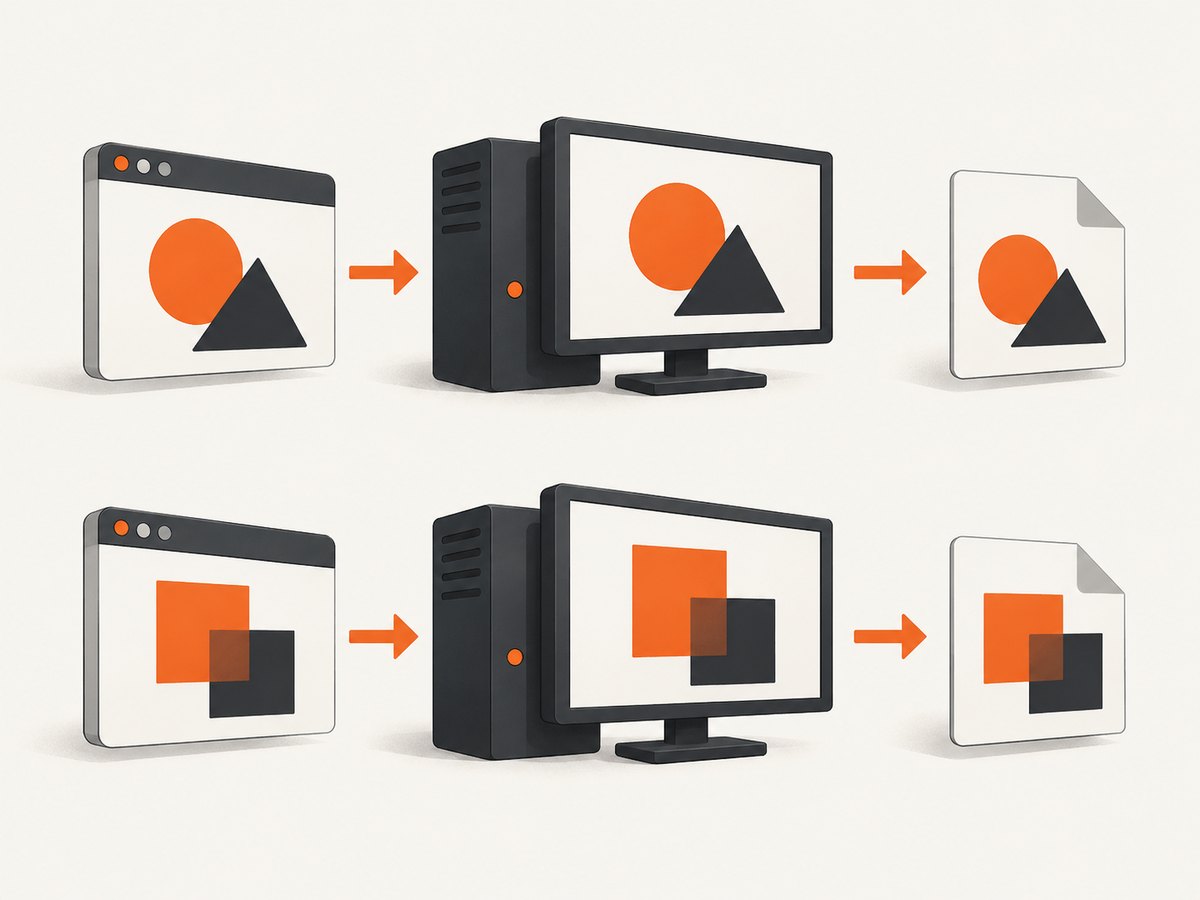
The following Bash script starts two independent 1920×1080, 24-bit displays, assigns one workload to each, waits for those workloads to exit, and saves a PNG from each root window. Replace the example workload commands with your application or test runner. The script assumes Xvfb and ImageMagick’s magick command are installed.
#!/usr/bin/env bash
set -Eeuo pipefail

# Start one independent X server per display.
Xvfb :99 -screen 0 1920x1080x24 -nolisten tcp &
pid99=$!
Xvfb :100 -screen 0 1920x1080x24 -nolisten tcp &
pid100=$!

cleanup() {
  kill "$pid99" "$pid100" 2>/dev/null || true
  wait "$pid99" "$pid100" 2>/dev/null || true
}
trap cleanup EXIT

# Wait until both servers accept X connections.
# xdpyinfo is provided by common X11 utilities packages.
wait_for_display() {
  display="$1"
  attempts=0
  until DISPLAY="$display" xdpyinfo >/dev/null 2>&1; do
    attempts=$((attempts + 1))
    if [ "$attempts" -ge 50 ]; then
      echo "X display $display did not become ready" >&2
      return 1
    fi
    sleep 0.1
  done
}
wait_for_display :99
wait_for_display :100

# Start each GUI workload on its assigned display.
DISPLAY=:99 your-gui-command &
workload99=$!
DISPLAY=:100 your-other-gui-command &
workload100=$!

# Wait for rendering work to finish. If your command exits before
# rendering is complete, add an application-specific readiness check.
wait "$workload99"
wait "$workload100"

# Capture screen 0's root window from each X server.
magick import -display :99.0 -window root /tmp/screen-99.png
magick import -display :100.0 -window root /tmp/screen-100.png
-screen 0 1920x1080x24 configures screen 0 with width 1920, height 1080, and depth 24. -nolisten tcp prevents the X servers from listening for TCP connections. The example uses xdpyinfo as a connection readiness probe; it is not a rendering-complete signal. The Xvfb and ImageMagick manuals specify command behavior, but do not prescribe a universal readiness probe or rendering delay, so CI should use a readiness check suited to the application.
ImageMagick’s import captures some or all of an X server screen. The -window root argument selects the whole root window, and -display makes the target explicit. You can instead set DISPLAY in the environment. See the ImageMagick import documentation.
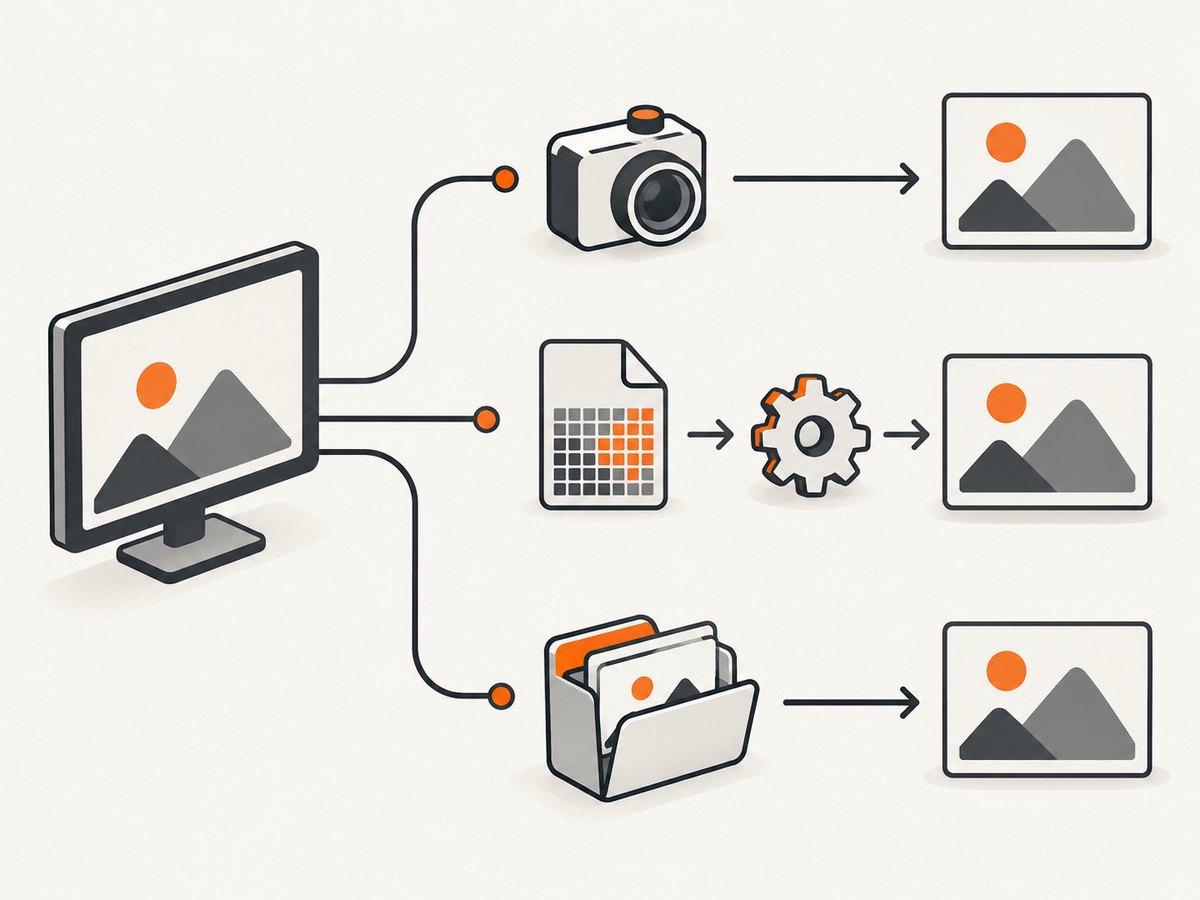
3. Choose a capture method
ImageMagick import: direct PNG or JPEG output
Use this when you want a concise command and an image format directly. Ensure ImageMagick is installed in the same environment that can connect to the X server.
magick import -display :99.0 -window root /tmp/screen-99.png
magick import -display :100.0 -window root /tmp/screen-100.jpg
You may also select the display with an environment variable:
DISPLAY=:99 magick import -window root /tmp/screen-99.png
DISPLAY=:100 magick import -window root /tmp/screen-100.png
The explicit -display option is handy when a script captures multiple servers, because each command shows its target. Use an output extension supported by your ImageMagick build.
xwd followed by image conversion
xwd is an X11-native route that writes a server image in XWD format. Convert the result with ImageMagick or another compatible utility. This adds an intermediate file but can be useful when you want to preserve the XWD dump.
xwd -display :99 -root -out /tmp/screen-99.xwd
magick /tmp/screen-99.xwd /tmp/screen-99.png

xwd -display :100 -root -out /tmp/screen-100.xwd
magick /tmp/screen-100.xwd /tmp/screen-100.png
The X.Org xwd manual documents -display, -root, and -out. Capture and conversion are separate steps, so check both commands’ exit statuses and retain the XWD file only if you need it.
Xvfb framebuffer directory
Xvfb’s -fbdir mode writes one XWD-format framebuffer file named Xvfb_screen<n> per screen. Copy the appropriate file after the GUI has rendered, then convert it. The X.Org manual notes that copying a framebuffer file takes a full-screen snapshot and that the snapshot includes the cursor image.
mkdir -p /tmp/xvfb-fb
Xvfb :101 -screen 0 1920x1080x24 -fbdir /tmp/xvfb-fb -nolisten tcp &
pid=$!
trap 'kill "$pid" 2>/dev/null || true' EXIT

# Wait for the server and application to render before this point.
DISPLAY=:101 your-gui-command
cp /tmp/xvfb-fb/Xvfb_screen0 /tmp/screen-101.xwd
magick /tmp/screen-101.xwd /tmp/screen-101.png
Use this mode when direct access to Xvfb’s framebuffer file fits your workflow. The directory must be writable, and the file handling and conversion remain your responsibility. The documented file includes the cursor image, which may matter for visual comparisons.
4. Configure more than one screen on a single server
If you specifically need multiple screens on one Xvfb server, provide a -screen entry for each screen number. Then address the intended screen using the display-and-screen form supported by the client, such as :102.0 or :102.1. The precise behavior depends on the client stack and any window manager or toolkit in use.
Xvfb :102 \
  -screen 0 1280x800x24 \
  -screen 1 1920x1080x24 \
  -nolisten tcp &
pid=$!
trap 'kill "$pid" 2>/dev/null || true' EXIT

# A client that supports the chosen screen can connect explicitly.
magick import -display :102.0 -window root /tmp/screen-102-0.png
magick import -display :102.1 -window root /tmp/screen-102-1.png
Before adopting this in CI, verify that your application creates windows on the screen you intend and that your capture tool selects it consistently. If independent workloads are the goal, separate server instances avoid this portability question.
5. Make CI captures deterministic
- Assign unique display numbers. Reserve numbers per job or derive them from a CI worker identifier so concurrent jobs do not collide.
- Start Xvfb and confirm connections. A short retry loop around an X client such as
xdpyinfoavoids racing the server startup. - Launch the GUI with the right environment. Set
DISPLAY=:99for the first workload andDISPLAY=:100for the second. Child processes normally inherit that environment. - Wait for rendering, not just process startup. Waiting for the app command to exit works for finite test jobs. For long-running apps, use an application-specific ready marker, test assertion, or known page state before capture.
- Capture and preserve artifacts. Give each output a display-specific name and configure the CI system to retain the PNGs or XWD files when the job fails.
- Clean up servers. Keep process IDs and terminate the servers in a shell trap, including on failure.
There is no universal rendering delay in the upstream manuals. A fixed sleep can work for a known workload, but a state-based readiness signal is generally more reliable because rendering duration can vary with machine load and application behavior. No benchmark or success-rate figure is published in the reviewed primary documentation for this workflow.
6. Troubleshooting common failures
| Symptom | Likely cause | Fix |
|---|---|---|
Can't open display or connection failure |
The display number is wrong, Xvfb is not ready, or the process has a different environment | Check the server process, run DISPLAY=:99 xdpyinfo, and pass -display :99 explicitly to the capture tool. |
| Two captures show the same application | Both workloads inherited the same DISPLAY |
Set DISPLAY separately on each launch and verify each app’s environment. |
| Image is blank or incomplete | The screenshot ran before the application rendered or drew its window | Wait for an application readiness condition or test completion before capture; server readiness alone is insufficient. |
| Display number is already in use | Another X server or parallel job owns that display | Allocate distinct display numbers per job, inspect existing Xvfb processes, and clean up stale processes from the same job. |
magick import is missing |
ImageMagick is absent or installed with a different command arrangement | Install ImageMagick in the capture environment and confirm the available import command and supported output formats. |
xwd output cannot be converted |
The converter is unavailable or the dump was not produced correctly | Check the xwd exit code and file existence, then use a converter that supports XWD; ImageMagick is one option. |
-fbdir snapshot file is missing |
The path is not writable, the server did not start with -fbdir, or the expected screen number is wrong |
Use a writable directory, inspect Xvfb startup output, and check for the Xvfb_screen<n> file corresponding to the configured screen. |
| Cursor appears in framebuffer snapshot | The documented framebuffer snapshot includes the cursor image | Use another capture path if cursor inclusion is unsuitable for the artifact, or account for it in image comparison. |
7. Performance, reliability, and cost considerations
These methods capture local X server output; their practical runtime depends on server startup, application rendering, image encoding, and artifact handling. The cited manuals publish no universal benchmark, so measure your own CI workload rather than relying on a generic speed claim. Parallel independent displays can let workloads run concurrently, at the cost of additional server processes and resource use.
For reliability, make display assignment explicit, probe server readiness, wait for application rendering, check command exit statuses, and preserve artifacts on failure. Choose a framebuffer directory with enough writable space if using -fbdir. Choose image dimensions and depth that match what your tests need; the values configure the virtual screen, and changing them can affect layout and rendering.
Xvfb, xwd, and ImageMagick are software utilities, with no per-capture service fee in this workflow. The operational costs are CI compute, execution time, and artifact storage. If your requirement is specifically to inspect a local GUI process, Xvfb is the relevant path; a remote website screenshot API is a different workflow.
Or skip the browser setup
If the target is a public website rather than a GUI running inside your Xvfb job, ScreenshotNeo is a one-request website screenshot API and MCP server. It returns PNG, JPEG, WebP, or PDF, and its documentation covers the API options. This call uses the supplied example target; replace it with your page URL.
curl -G "https://api.screenshotneo.com/v1/shot" \
  -d access_key=YOUR_API_KEY \
  --data-urlencode url=https://stripe.com \
  -o shot.webp
import requests
r = requests.get(
"https://api.screenshotneo.com/v1/shot",
params={"access_key": "YOUR_API_KEY", "url": "https://stripe.com"},
timeout=90,
)
open("shot.webp", "wb").write(r.content)const q = new URLSearchParams({
access_key: 'YOUR_API_KEY',
url: 'https://stripe.com',
});
const res = await fetch(`https://api.screenshotneo.com/v1/shot?${q}`);
if (!res.ok) throw new Error(`Screenshot request failed: ${res.status}`);
await Bun.write('shot.webp', res);ScreenshotNeo accepts cookie/consent banners like a visitor and removes 60+ known consent platforms, newsletter popups, and chat widgets before capture; each step can be turned off. Bot checks/CAPTCHAs, blank pages, timeouts, failed loads, and cache hits cost nothing, with X-Page-Verdict and X-Billed response headers indicating the result. Its MCP server offers take_screenshot, get_page_info, and capture_pdf for Claude, Cursor, and other MCP clients. The free plan includes 1,000 shots per month with no card; paid plans start at $5 for 3,000 shots. Sign up for 1,000 free screenshots a month, no card required.
Frequently asked questions
Does Xvfb need a physical monitor?
No. Xvfb is a headless X server designed to run without display hardware or physical input devices.
Can one Xvfb server provide multiple screens?
Yes. Configure multiple -screen entries, then address the intended screen explicitly. Verify client behavior on your distribution before making it part of portable automation.
Which capture method includes the cursor?
The Xvfb manual specifically documents that the XWD framebuffer file produced with -fbdir includes the cursor image.
Can these commands capture a remote website directly?
They capture an X server’s root window. A browser must be running on that display and have rendered the site; for direct website capture, use a website screenshot API such as ScreenshotNeo.


