How to Capture Screenshots on a Timer
Learn when to use a delayed screenshot or recurring capture, with desktop workflows and runnable browser automation code.
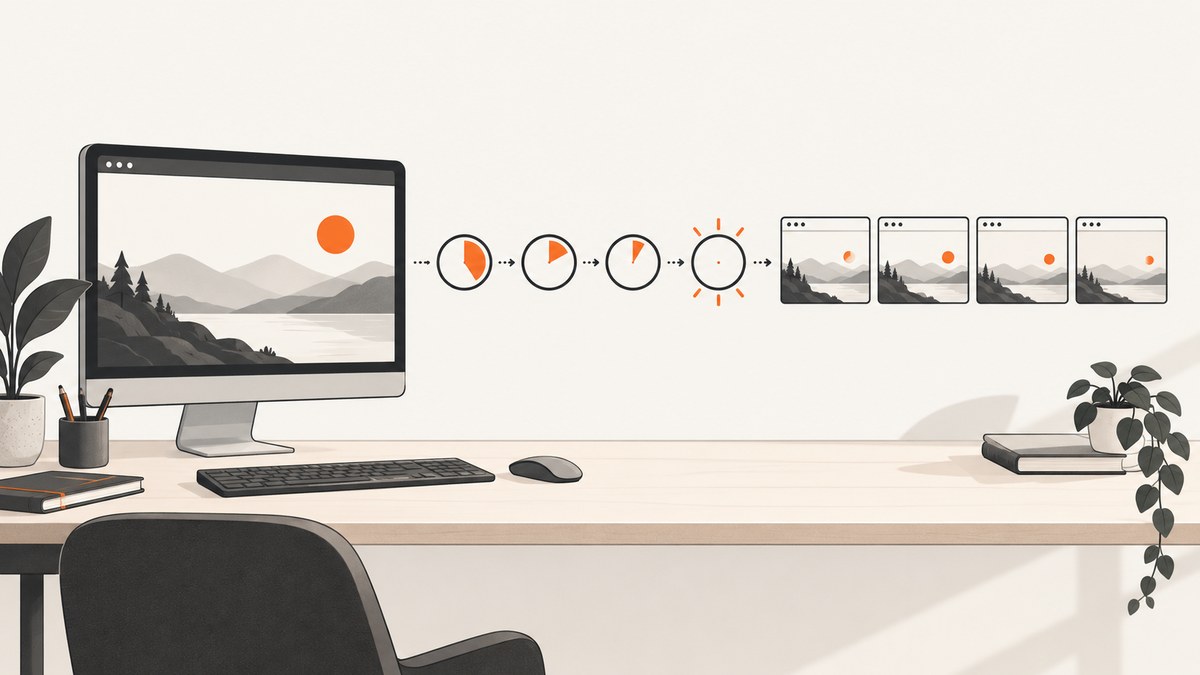
Use a short delay for one screenshot, or an interval plus a stop condition for repeated screenshots. A delay gives you time to open a menu, tooltip, dialog, or other temporary state. A recurring capture loop takes a screenshot every few seconds or minutes until it reaches a count, duration, or end time.
Choose the timer workflow you need
| Need | Use | Important setting |
|---|---|---|
| Capture one temporary state | Countdown delay | Delay long enough to reach the target state |
| Monitor a page over time | Recurring interval | Interval and an explicit stop condition |
| Capture a screen, window, or region | Desktop capture tool | Capture source and save destination |
| Capture a web page without a desktop session | Browser automation or an API | Page readiness, viewport, and failure handling |

One delayed screenshot
For a menu or tooltip, start a countdown, switch to the target, and let the capture happen. SuperShot documents this as a short delayed capture on Windows 10/11 and macOS 14 or later. Treat it as a one-shot workflow; its current page does not document recurring scheduled capture.
Reliable countdown checklist
- Choose the whole screen, application window, or region.
- Set a delay that includes the time needed to open the target state.
- Move the pointer away if it would obscure the result.
- Confirm where the file will be saved and which format is produced.
- Start the timer, open the menu or tooltip, and avoid further interaction.
Recurring screenshots on macOS
Shotomatic’s documented workflow lets you capture the screen, an app window, or a selected area repeatedly. Configure three things before starting:
- Stop condition: screenshot count, total duration, or a local end time.
- Interval: the wait between frames, entered in milliseconds, seconds, minutes, or hours.
- Capture source: whole screen, window, or selected area.
Its documented loop saves the screenshot, optionally sends a configured key, and then waits for the interval. The guide lists countdown choices of none, 3 seconds, 5 seconds, or 10 seconds, with 3 seconds as the default. Simulated keypresses require Accessibility permission, and a global shortcut may not behave like keystrokes sent directly to the selected window.
Set up a recurring run
- Select the capture source.
- Choose an interval appropriate for the change you need to observe.
- Set a count, duration, or clock-time end condition.
- Choose the output folder and verify available disk space.
- Set a countdown if you need time to focus a window or open a state.
- If a key must be sent between frames, grant Accessibility permission and test it with a short run.
- Start the run and confirm that files are appearing before leaving it unattended.
Build a timed browser screenshot with Python
This script uses Playwright to open a URL, wait for a page state, capture immediately or at a fixed interval, and stop after a count. It is useful when the target is a web page rather than your whole desktop.
python -m pip install playwright
playwright install chromium
import asyncio
from pathlib import Path
from playwright.async_api import async_playwright
URL = "https://example.com"
OUTPUT = Path("timed-shots")
INTERVAL_SECONDS = 30
COUNT = 10
INITIAL_DELAY_SECONDS = 3
async def main():
OUTPUT.mkdir(exist_ok=True)
async with async_playwright() as p:
browser = await p.chromium.launch(headless=True)
page = await browser.new_page(viewport={"width": 1440, "height": 900}, device_scale_factor=1)
try:
await page.goto(URL, wait_until="networkidle", timeout=90_000)
await page.wait_for_timeout(INITIAL_DELAY_SECONDS * 1000)
for index in range(COUNT):
filename = OUTPUT / f"shot-{index + 1:04d}.png"
await page.screenshot(path=str(filename), full_page=True)
if index + 1 < COUNT:
await asyncio.sleep(INTERVAL_SECONDS)
finally:
await browser.close()
if __name__ == "__main__":
asyncio.run(main())Adapt the Python loop
- Set
COUNTfor a finite run. A finite count is safer than an unbounded process. - Use
full_page=Falsefor the viewport only. - Replace
networkidlewithdomcontentloadedwhen analytics or live connections prevent network idle. - Add
await page.wait_for_selector(".chart")before the first shot when a specific element signals readiness. - Use a unique run directory when several jobs can overlap.
Build the same loop with Node.js
npm install playwright
npx playwright install chromium
const { chromium } = require('playwright');
const fs = require('node:fs/promises');
const url = 'https://example.com';
const intervalMs = 30_000;
const count = 10;
const initialDelayMs = 3_000;
const sleep = (ms) => new Promise(resolve => setTimeout(resolve, ms));
(async () => {
await fs.mkdir('timed-shots', { recursive: true });
const browser = await chromium.launch({ headless: true });
const page = await browser.newPage({
viewport: { width: 1440, height: 900 },
deviceScaleFactor: 1
});
try {
await page.goto(url, { waitUntil: 'networkidle', timeout: 90_000 });
await page.waitForTimeout(initialDelayMs);
for (let i = 0; i < count; i++) {
const name = `timed-shots/shot-${String(i + 1).padStart(4, '0')}.png`;
await page.screenshot({ path: name, fullPage: true });
if (i + 1 < count) await sleep(intervalMs);
}
} finally {
await browser.close();
}
})();Scheduling a script
A capture loop and a scheduler solve different problems. The loop controls spacing between frames; the scheduler controls when the process starts. Run the script from your operating system’s scheduler when you need a job to begin at a particular time, and keep an internal count or duration so it can end predictably. Verify the scheduler’s current behavior for your operating system before relying on it for unattended work.
Capture timing and page readiness
A timer alone does not guarantee a useful image. Pages can continue loading, animate, lazy-load images, or change after the first paint.
| Problem | Better control |
|---|---|
| Content appears after navigation | Wait for a selector or a known state |
| Images load lazily while scrolling | Use full-page capture that loads lazy images, or scroll before capture |
| Live dashboards change during capture | Use a fixed viewport and capture at a consistent point in the interval |
| Animations produce inconsistent frames | Disable animations with custom CSS or wait for a stable state |
| Long-polling prevents network idle | Use a selector or a bounded delay instead |
Performance, reliability, and cost
- Disk: estimate output size multiplied by capture count before starting a long run.
- CPU and memory: reuse one browser where possible, but restart it between independent jobs if a page grows without bound.
- Intervals: leave enough time for navigation, rendering, and writing the file. An interval shorter than capture time creates drift or overlapping work.
- Failures: record the URL, timestamp, attempt number, and error. Retry navigation failures with a limit rather than looping forever.
- Consistency: keep viewport, device scale, timezone, locale, and authentication the same across frames.
- Unattended runs: make the end condition explicit and confirm that the machine will remain available for the entire run.
Common errors and fixes
| Error | Cause | Fix |
|---|---|---|
| No screenshot files appear | Wrong output path or missing directory | Create the directory first and print the absolute path. |
| Browser executable not found | Playwright package installed without its browser | Run the matching playwright install chromium command. |
| Navigation timeout | Slow page, blocked request, or never-ending connection | Raise the timeout, use domcontentloaded, and wait for a specific selector. |
| Blank or partial page | Capture happened before content rendered | Wait for a readiness selector, then add a bounded delay. |
| Menu is missing | Countdown was too short or focus changed | Increase the delay and keep the target window focused. |
| Keypress does nothing on macOS | Accessibility permission is missing or the shortcut is global | Grant permission and test the key in the selected window. |
| Files overwrite each other | Static filename reused | Include a sequence number and timestamp in each filename. |
| Run never ends | No count, duration, or end time was configured | Add a stop condition before starting the job. |

Or skip the browser setup
ScreenshotNeo provides a timed workflow’s web-page capture building blocks through one HTTP request. You can use its wait options for a delayed capture, then call it from your own scheduler for recurring snapshots. The API supports custom JavaScript and CSS, selector waits, delay or network-idle waits, full-page capture, element capture, device presets, arbitrary viewports, dark mode, cookies, headers, authentication, timezone, geolocation, caching, and asynchronous jobs with signed webhooks.
Cookie and consent banners, newsletter popups, and chat widgets can be removed before the shot. Bot checks, blank pages, timeouts, failed loads, and cache hits are not billed, and response headers identify the page verdict and billing result. ScreenshotNeo also provides an MCP server with take_screenshot, get_page_info, and capture_pdf for Claude, Cursor, and other MCP clients.
See the ScreenshotNeo API documentation for all options.
cURL
curl -G "https://api.screenshotneo.com/v1/shot" \
  -d access_key=YOUR_API_KEY \
  --data-urlencode url=https://example.com \
  -o shot.webp
Python
import requests

r = requests.get(
    "https://api.screenshotneo.com/v1/shot",
    params={"access_key": "YOUR_API_KEY", "url": "https://example.com"},
    timeout=90,
)
r.raise_for_status()
open("shot.webp", "wb").write(r.content)
Node.js
const q = new URLSearchParams({
  access_key: 'YOUR_API_KEY',
  url: 'https://example.com'
});
const res = await fetch(`https://api.screenshotneo.com/v1/shot?${q}`);
if (!res.ok) throw new Error(`Screenshot failed: ${res.status}`);
require('node:fs').writeFileSync('shot.webp', Buffer.from(await res.arrayBuffer()));
The Free plan includes 1,000 screenshots each month with no card. Paid plans start at $5 for 3,000 screenshots, and every feature is included on every plan. Create a free ScreenshotNeo account.
FAQ
What interval should I choose?
Choose the shortest interval that captures a meaningful change while leaving enough time for rendering and file output. Start with a short test run and inspect the timestamps.
Can a timer capture a tooltip or menu?
Yes. Use a one-shot countdown, focus the target, and avoid moving the pointer or changing focus during the countdown.
Why do repeated screenshots drift from the schedule?
Navigation, rendering, screenshot encoding, and disk writes take time. Measure the full capture cycle and choose an interval that exceeds it.
Should I use a screenshot count or a duration?
Use a count when you need a known number of frames. Use a duration when the observation window matters more than the exact number of files.
Can I run this while the computer is asleep?
The reviewed sources do not establish behavior while a computer is asleep or without an interactive desktop session. Keep the machine available and verify your scheduler and capture environment.


