How to Capture Screenshots in Unity
Capture Unity’s final game view, a single camera, or a high-resolution texture with reliable timing, file paths, and performance-aware code.

The shortest answer: use ScreenCapture.CaptureScreenshot("screenshot.png") to save the final composed game view as a PNG. Use CaptureScreenshotAsTexture after WaitForEndOfFrame when you need the image in memory. To capture one camera, render it into a RenderTexture and copy the pixels into a Texture2D. For repeated captures, fill a render texture with CaptureScreenshotIntoRenderTexture and use AsyncGPUReadback where supported.
Choose the Unity screenshot method
Your choice depends on the source you need, where the result should go, and how often you capture.
| Goal | Recommended API | Result |
|---|---|---|
| Save exactly what the player sees | ScreenCapture.CaptureScreenshot |
PNG file |
| Process, upload, or display the screenshot in Unity | ScreenCapture.CaptureScreenshotAsTexture |
Texture2D |
| Capture one camera or a custom resolution | Camera.Render plus RenderTexture and ReadPixels |
Texture2D |
| Capture repeatedly with less main-thread readback | CaptureScreenshotIntoRenderTexture plus AsyncGPUReadback |
GPU readback data |
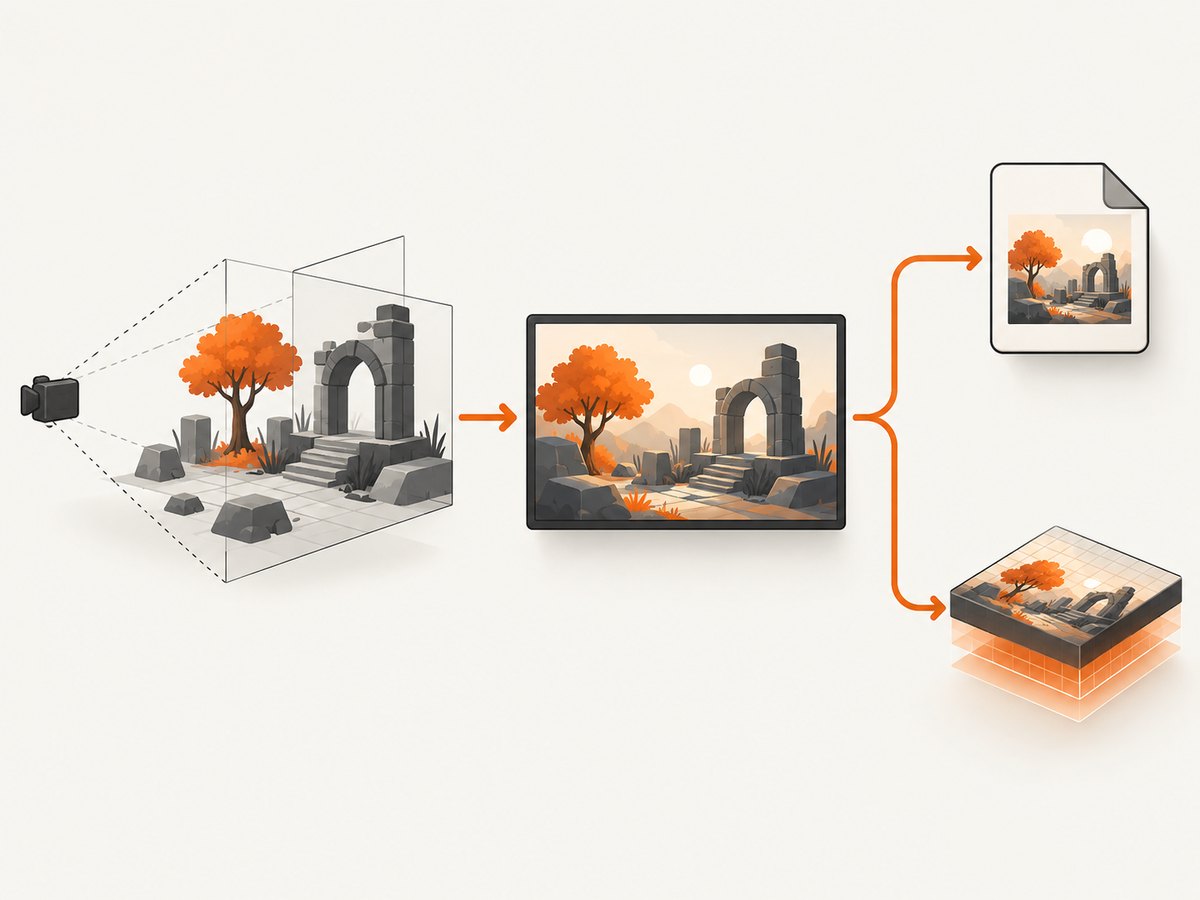
The final-screen APIs include the complete composed output. That can include UI, post-processing, overlays, and the active display view. A camera render is more selective: it captures the chosen camera using that camera’s settings and target texture.
1. Save the final game view to a PNG
This is the smallest working implementation for a one-off screenshot.
using UnityEngine;

public class ScreenshotToFile : MonoBehaviour
{
    public void SaveScreenshot()
    {
        ScreenCapture.CaptureScreenshot("screenshot.png");
    }
}
Attach the component to a GameObject and call SaveScreenshot from a button, input handler, or other game event. Unity writes a PNG and overwrites an existing file with the same name.
Use a predictable writable path
A relative path is resolved differently on different platforms. For a runtime application, build an absolute path under Application.persistentDataPath when you need a location your app can write to consistently.
using System.IO;
using UnityEngine;

public class PersistentScreenshot : MonoBehaviour
{
    public void SaveScreenshot()
    {
        string directory = Path.Combine(Application.persistentDataPath, "Screenshots");
        Directory.CreateDirectory(directory);

        string fileName = "shot_" + System.DateTime.UtcNow.ToString("yyyyMMdd_HHmmss") + ".png";
        string path = Path.Combine(directory, fileName);
        ScreenCapture.CaptureScreenshot(path);
        Debug.Log("Screenshot requested: " + path);
    }
}
The capture request is asynchronous from your method call. If you immediately inspect the file, allow the platform time to finish writing it. A unique filename also prevents accidental overwrites.
2. Capture a screenshot as a Texture2D
Use this route when you need to encode the image yourself, show it in a RawImage, attach it to a network request, or inspect pixels.
using System.Collections;
using UnityEngine;

public class ScreenshotTexture : MonoBehaviour
{
    public void BeginCapture()
    {
        StartCoroutine(CaptureAfterRendering());
    }

    private IEnumerator CaptureAfterRendering()
    {
        yield return new WaitForEndOfFrame();

        Texture2D image = ScreenCapture.CaptureScreenshotAsTexture();
        // Encode, upload, display, or inspect image here.
        byte[] png = image.EncodeToPNG();
        Debug.Log("PNG bytes: " + png.Length);

        // Destroy(image) when it is no longer needed.
    }
}
WaitForEndOfFrame is part of the correctness of this pattern. Calling CaptureScreenshotAsTexture while rendering is still in progress can produce unpredictable output. Keep ownership of the returned texture clear and destroy it after consumers finish with it.
Increase output resolution with superSize
The superSize argument scales the output. A value of 4 creates an image four times wider and four times taller, which is 16 times as many pixels.
using System.Collections;
using UnityEngine;

public class HighResolutionCapture : MonoBehaviour
{
    public void Capture4x()
    {
        StartCoroutine(Capture());
    }

    private IEnumerator Capture()
    {
        yield return new WaitForEndOfFrame();
        Texture2D image = ScreenCapture.CaptureScreenshotAsTexture(4);
        byte[] png = image.EncodeToPNG();
        System.IO.File.WriteAllBytes(
            System.IO.Path.Combine(Application.persistentDataPath, "high-res.png"),
            png);
        Destroy(image);
    }
}
Higher values increase GPU memory, CPU readback, encoding time, and file size. Choose a scale that fits the target device and the purpose of the image. A print asset and an in-game sharing thumbnail have very different requirements.
3. Capture one camera with RenderTexture
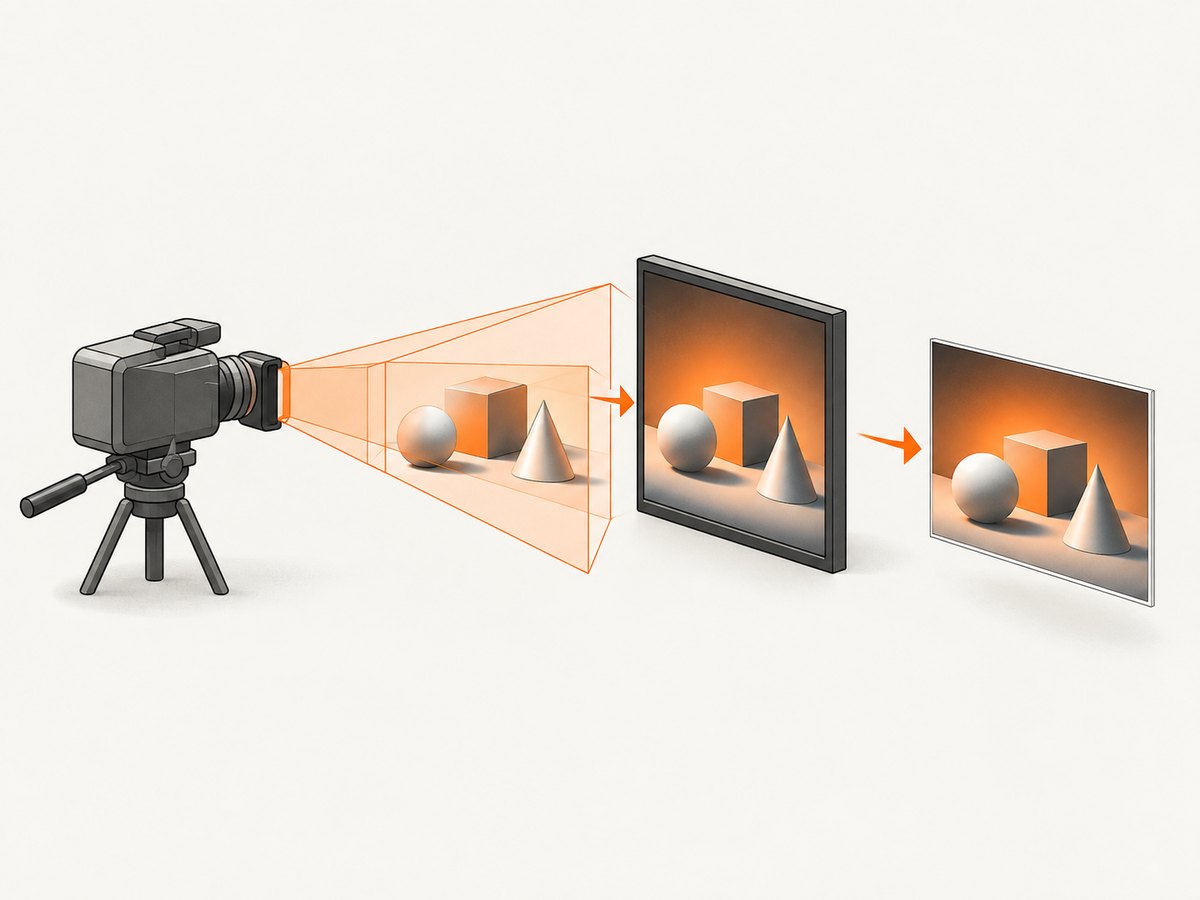
To exclude other cameras or capture a custom output size, render the selected camera into its own target.
using UnityEngine;

public static class CameraScreenshot
{
    public static Texture2D Capture(Camera camera, int width, int height)
    {
        RenderTexture target = new RenderTexture(width, height, 24);
        RenderTexture previousActive = RenderTexture.active;
        RenderTexture previousTarget = camera.targetTexture;

        camera.targetTexture = target;
        camera.Render();

        RenderTexture.active = target;
        Texture2D image = new Texture2D(width, height, TextureFormat.RGB24, false);
        image.ReadPixels(new Rect(0, 0, width, height), 0, 0, false);
        image.Apply();

        camera.targetTexture = previousTarget;
        RenderTexture.active = previousActive;
        Object.Destroy(target);
        return image;
    }
}
Camera.Render manually renders with the camera’s current settings. ReadPixels copies from the active GPU render target into a readable texture, and Apply uploads the copied data so the texture can be used by other Unity systems.
Make the camera capture safe in production
- Restore the previous
RenderTexture.activevalue even if later code changes. - Restore the camera’s previous
targetTextureinstead of always setting it tonull. - Destroy temporary render textures and textures when they are no longer needed.
- Validate width and height before allocating. Large dimensions can fail on memory-constrained devices.
- Decide whether the camera should render UI. A separate UI camera or canvas may need its own capture path.
4. Reduce readback cost for repeated captures
For a photo mode, replay exporter, testing tool, or video-like sequence, investigate ScreenCapture.CaptureScreenshotIntoRenderTexture. It fills a supplied render texture, which can then be read asynchronously with AsyncGPUReadback where the platform supports it.
using UnityEngine;
using UnityEngine.Rendering;

public class AsyncScreenshot : MonoBehaviour
{
    [SerializeField] private RenderTexture target;

    public void Capture()
    {
        ScreenCapture.CaptureScreenshotIntoRenderTexture(target);
        AsyncGPUReadback.Request(target, 0, request =>
        {
            if (request.hasError)
            {
                Debug.LogError("Screenshot GPU readback failed");
                return;
            }

            // Consume request.GetData<Color32>() or copy it into an encoder.
            Debug.Log("Screenshot readback complete");
        });
    }
}
This approach can move readback work away from the main thread, reducing the time a capture blocks gameplay. It still requires profiling in your project: resolution, graphics API, device class, encoding, and how often you request captures all affect the result. Unity does not publish one universal benchmark for all projects.
5. Timing details for URP and other render pipelines
ReadPixels reads whichever render target is active at that moment. Set RenderTexture.active to the intended source and make sure rendering has completed. Projects using URP or another Scriptable Render Pipeline should use the pipeline’s supported end-of-camera or end-of-frame timing rather than assuming a legacy callback always represents the finished image.
If a screenshot is missing effects, UI, or the latest animation pose, move the capture later in the frame and verify which camera or render target produced the pixels. If the image is upside down or has unexpected color behavior, check the platform’s render-texture conventions and the texture format you selected.
6. Common options and edge cases
File format
The built-in file capture writes PNG. For JPEG or WebP, capture a Texture2D, then use an encoder supplied by your project or platform. PNG preserves lossless detail but can be large; lossy formats reduce transfer size at the cost of image fidelity.
Transparent backgrounds
The final screen normally represents what the display shows, including its background. For transparency, render a camera into a texture using an appropriate texture format and clear color, then encode that texture. Confirm that every shader and post-processing stage preserves alpha.
Mobile lifecycle
Do not assume a capture finishes before an app is suspended or backgrounded. Queue important files, handle application pause events, and verify that the output exists before presenting it as share-ready.
Memory management
A 4x capture has 16 times the pixel count of a native capture. Avoid retaining multiple large Texture2D instances. Reuse render textures for repeated work and release temporary objects after encoding or upload.
UI and overlays
A camera-only capture can omit screen-space UI. A final composed capture includes what was rendered into the display. Choose deliberately based on whether the screenshot is for debugging, marketing art, a user share card, or a machine vision test.
7. Troubleshooting
| Symptom | Cause | Fix |
|---|---|---|
| Black or incomplete texture | Capture ran before rendering ended | Yield WaitForEndOfFrame, or use the render pipeline’s supported completion timing. |
| Wrong camera appears | You captured the final display instead of a camera target | Render the desired camera into a dedicated RenderTexture. |
| Old UI or animation pose | The frame was captured before the latest updates were rendered | Move the capture later in the frame and verify canvas and camera order. |
| File is not found | Relative paths resolve differently by platform | Log the full path and use Application.persistentDataPath for runtime storage. |
| Existing screenshot disappeared | The same filename was reused | Generate unique names or explicitly decide when replacement is acceptable. |
| Game stutters during capture | Synchronous GPU readback, large resolution, or PNG encoding | Lower resolution, capture less often, reuse buffers, and investigate asynchronous GPU readback. |
| Out-of-memory error | Oversized superSize or too many retained textures |
Reduce dimensions, release textures promptly, and test on the target device. |
| Async request reports an error | Unsupported platform or invalid render target | Check platform support, target format, dimensions, and provide a synchronous fallback. |
8. Performance, reliability, and cost considerations
Unity’s built-in screenshot APIs do not require a paid service or physical accessory. Your practical costs are memory, GPU and CPU time, file storage, and upload bandwidth.
- One-off native captures: simplest and usually adequate for debugging or player sharing.
- High-resolution captures: reserve more memory and take longer to encode; test the largest requested dimensions.
- Repeated captures: avoid allocating every frame. Reuse render textures and process readback callbacks without blocking gameplay.
- Reliability: log the absolute output path, check file existence after writing, and handle pause or quit events.
- Pipeline correctness: profile on the actual graphics APIs and devices you ship. Timing assumptions that work in the editor may fail on a player build.
Or skip the browser setup
If your real goal is to capture a website from a Unity tool, build pipeline, or backend, ScreenshotNeo provides a single HTTP request instead of maintaining a browser. It removes cookie and consent banners, newsletter popups, and chat widgets before the shot. Bot checks, blank pages, failed loads, timeouts, and cache hits are not billed, and the response reports the page verdict and billing status in headers. Its MCP server provides take_screenshot, get_page_info, and capture_pdf tools for Claude, Cursor, and other MCP clients.
See the ScreenshotNeo API documentation for the full option set.
curl -G "https://api.screenshotneo.com/v1/shot" -d access_key=YOUR_API_KEY --data-urlencode url=https://stripe.com -o shot.webpimport requests
r = requests.get("https://api.screenshotneo.com/v1/shot", params={"access_key": "YOUR_API_KEY", "url": "https://stripe.com"}, timeout=90)
open("shot.webp", "wb").write(r.content)const q = new URLSearchParams({ access_key: 'YOUR_API_KEY', url: 'https://stripe.com' });
const res = await fetch(`https://api.screenshotneo.com/v1/shot?${q}`);Features include full-page screenshots with lazy images loaded, element capture by CSS selector, dark mode, device presets, custom viewports, retina scale, PDF output, custom CSS and JavaScript, clicks, waits, request blocking, headers, cookies, user agents, authorization, timezone, geolocation, resizing, configurable caching, signed links, asynchronous jobs, webhooks, bulk capture, usage reporting, and an OpenAPI specification.
Start with 1,000 screenshots per month free, with no card required. Paid plans start at $5 for 3,000 screenshots.
FAQ
Where does Unity save screenshots?
The location depends on the path you pass and the platform’s path rules. Use an absolute path under Application.persistentDataPath when you need predictable runtime storage.
Can I capture only a camera and not the whole screen?
Yes. Assign a RenderTexture to the camera, call Camera.Render, then read the target into a Texture2D.
Why is WaitForEndOfFrame necessary?
It ensures the final frame rendering has ended before CaptureScreenshotAsTexture reads the result.
Does superSize improve quality?
It increases output dimensions. A value of 4 produces four times the width and height, but it also increases memory, encoding, and storage costs.
What is the best method for many screenshots?
Use a reusable render texture and investigate CaptureScreenshotIntoRenderTexture with AsyncGPUReadback, then profile on your target platforms.


