How to Capture and Scroll Inside a DOM Element with CasperJS
Use CasperJS evaluate() to scroll a nested container, then captureSelector() to save the target. This guide covers selectors, timing, clipping, troubleshooting, and legacy compatibility.

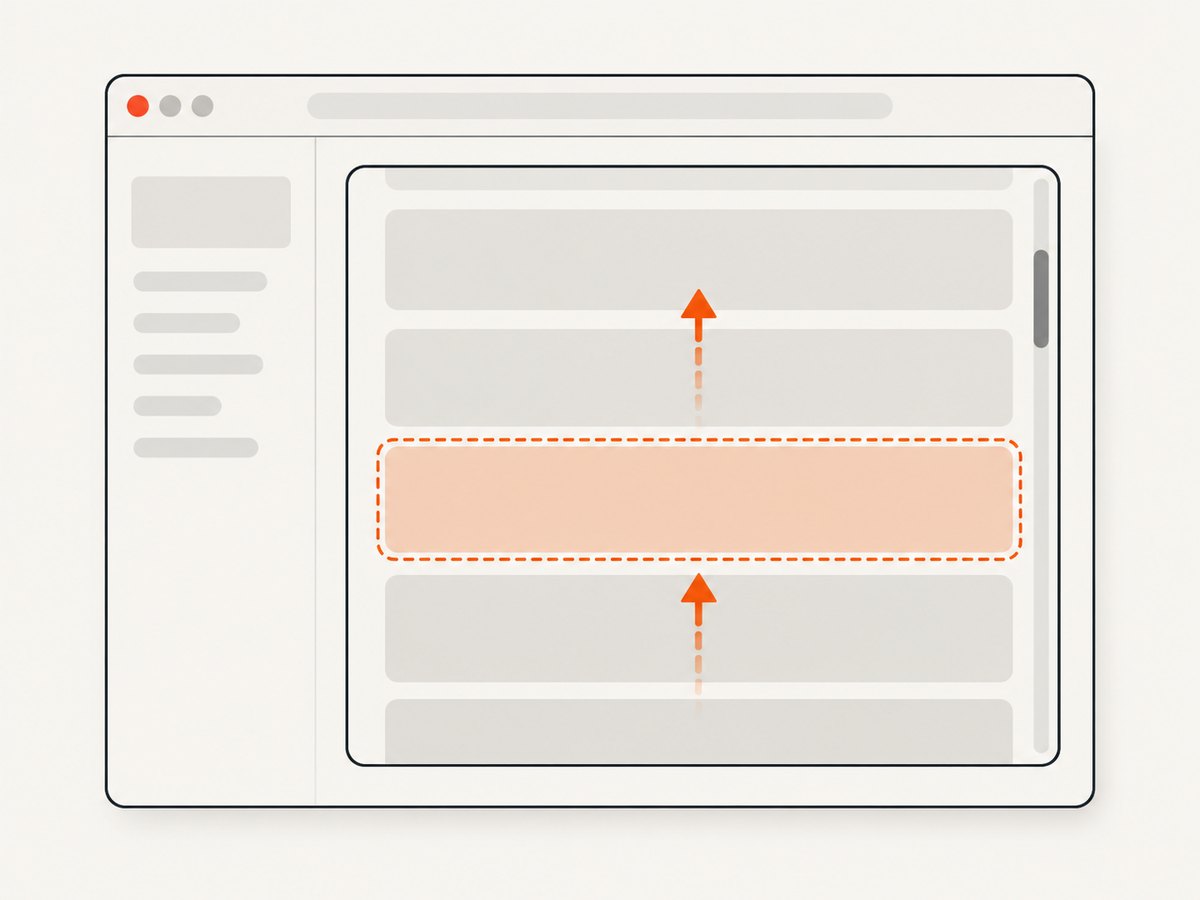
To capture an element inside a scrollable panel with CasperJS, use evaluate() to manipulate the page’s DOM, scroll the nested container or bring the target into view, and then call captureSelector(file, selector). CasperJS’s scrollTo(x, y) scrolls the document; it does not target an arbitrary nested scroll container. The distinction is the key to getting the intended pixels into your screenshot.
The example below waits for the target, scrolls it into view in the page context, and saves the element region. The API reference documents captureSelector(), scrollTo(), and waitForSelector(). CasperJS’s FAQ describes using evaluate() to access the remote page DOM.
1. Install and run the basic capture
CasperJS runs as a command-line browser automation tool with a compatible browser backend. Installation details depend on the CasperJS and PhantomJS versions you have; consult the project’s installation documentation and verify both commands are available before debugging your script.
var casper = require('casper').create();

casper.start('https://example.com', function () {
    this.waitForSelector('#panel .target', function () {
        this.evaluate(function () {
            var target = document.querySelector('#panel .target');
            if (target) {
                target.scrollIntoView();
            }
        });

        this.captureSelector('target.png', '#panel .target');
    }, function () {
        this.echo('Target did not appear before the wait timed out.');
        this.exit(1);
    });
});

casper.run();
Save this as capture-element.js and run casperjs capture-element.js. Replace the URL and selector with the page and element you control. The success callback runs only after the selector exists, so the screenshot is not taken before the target can be found. The failure callback makes a missing target visible in the command output rather than silently producing no useful image.
What each operation does
waitForSelector()waits until CasperJS can find the element. It is an existence check, not a guarantee that images, animations, or application data have finished rendering.evaluate()executes its function in the page context, wheredocumentand the actual DOM are available. Keep CasperJS-side logic outside that function; pass values into it as arguments when needed.scrollIntoView()asks the browser to bring the target into view. It is a useful starting point for nested scroll chains, but layout and browser behavior determine which ancestors move.captureSelector()writes the region containing the matching selector to the named file. It captures the selected region, not necessarily the entire scrollable panel.
2. Scroll the nested element deliberately
If the target must be positioned within one specific scrollable panel, set that panel’s scrollTop in evaluate(). Avoid assuming that a descendant’s offsetTop is measured from the panel: it is relative to its offsetParent, which may be another element. A simple, more robust option is to measure both rectangles and calculate the difference.
var casper = require('casper').create();

casper.start('https://example.com', function () {
    this.waitForSelector('#panel .target', function () {
        var result = this.evaluate(function () {
            var panel = document.querySelector('#panel');
            var target = document.querySelector('#panel .target');
            if (!panel || !target) {
                return { ok: false, reason: 'Panel or target missing' };
            }

            var panelRect = panel.getBoundingClientRect();
            var targetRect = target.getBoundingClientRect();
            var delta = targetRect.top - panelRect.top;

            panel.scrollTop += delta;
            return { ok: true, scrollTop: panel.scrollTop };
        });

        if (!result || !result.ok) {
            this.echo('Could not scroll panel to target.');
            this.exit(1);
            return;
        }

        this.captureSelector('target.png', '#panel .target');
    });
});

casper.run();
This vertical example assumes the target and panel are in the same relevant scrolling context and that vertical alignment is sufficient. For horizontal scrolling, measure left coordinates and change scrollLeft. For nested panels, identify the actual scrollable ancestor and compute relative movement for that ancestor. A fixed header inside the panel, sticky elements, transforms, or CSS scroll snapping can affect the final placement; inspect the result and adjust the desired offset if needed.
You can instead set an explicit position when you know the page’s layout:
this.evaluate(function () {
    var panel = document.querySelector('#panel');
    if (panel) {
        panel.scrollTop = 600;
    }
});
That value is an example only. Use a measured or page-specific coordinate. If the panel has not loaded its content yet, its scroll range may still be too short and the requested position will be clamped.
3. Choose what to capture
| Goal | Use | What it means |
|---|---|---|
| Capture the selected element’s region | captureSelector(file, selector) |
Convenient when the element itself defines the desired bounds. |
| Capture a fixed viewport rectangle | capture(file, {clipRect: ...}) |
Useful when you need exact rectangular coordinates rather than selector bounds. |
| Move the whole document | scrollTo(x, y) |
Scrolls the current document to document coordinates. |
| Move a nested scroll area | DOM operations in evaluate() |
Set the container’s scrollTop/scrollLeft, or bring a descendant into view. |
Selectors are CSS by default; CasperJS also supports XPath. Prefer a stable ID or a specific class combination over selectors based on generated classes or a long chain of ancestors. If the selector matches multiple nodes, make it unique so that the element you wait for is the one you capture. See the selectors guide.

To capture the panel rather than its child, pass '#panel' to captureSelector(). Scrolling the panel changes which content is visible inside it; it does not turn a viewport-sized panel into a full-length image of all its scrollable contents. If your objective is the entire long content, you need a strategy that renders or stitches the full content, and should verify that the selected capture API and backend handle that layout as desired.
4. Wait for the page to be ready
Waiting for a selector only proves that a matching node exists. Many pages populate the node later, load images lazily as it approaches the viewport, or update dimensions after fonts and scripts run. For those pages, wait for a condition that represents readiness, then scroll, allow any resulting lazy content to load, and capture.
var casper = require('casper').create({
    waitTimeout: 10000
});

casper.start('https://example.com', function () {
    this.waitForSelector('#panel .target', function () {
        this.evaluate(function () {
            var target = document.querySelector('#panel .target');
            if (target) target.scrollIntoView();
        });

        // Page-specific settling delay after scrolling.
        this.wait(500, function () {
            this.captureSelector('target.png', '#panel .target');
        });
    }, function () {
        this.echo('Timed out waiting for #panel .target');
        this.exit(1);
    });
});

casper.run();
The delay is a fallback for pages without a reliable readiness signal, not a universal rendering guarantee. Prefer a page-specific condition such as visible text, a loaded-state class, or a known image completion condition when available. Keep the timeout long enough for expected network and application delays, but bounded so a broken page does not stall an automation job indefinitely.
5. Common problems and fixes
| Symptom | Likely cause | Fix |
|---|---|---|
| Capture file is missing or empty | The selector never appeared, the capture callback did not run, or the process exited early. | Add a failure callback, log the capture path, and ensure casper.run() is reached after registering steps. |
| Wrong part of page is visible | scrollTo() moved the document while the desired content is in a nested panel. |
Find the panel in evaluate() and set its scrollTop/scrollLeft or use scrollIntoView(). |
| Panel scrolls, but target is still misplaced | offsetTop is relative to another offset parent, or the panel has padding, sticky content, or nested scrollers. |
Measure bounding rectangles; adjust for the actual scroll ancestor and desired inset. Inspect the resulting screenshot. |
| Screenshot is blank or stale | Capture happened before client-side rendering, image loading, or a transition completed. | Wait for a meaningful page condition after selector appearance and after scrolling. |
| Selector is found but capture fails to match expected node | Selector matches several elements, or CSS differs from the page actually loaded. | Use a unique selector and inspect matches in evaluate() or CasperJS’s selector helpers. |
Script errors on document |
DOM code was run in the CasperJS process rather than inside the remote page. | Move DOM reads and writes into the function passed to evaluate(). |
| Works locally, fails in another environment | Different PhantomJS/CasperJS versions, fonts, viewport, network, or browser rendering. | Record installed versions, pin the environment where feasible, and compare viewport and page readiness. |
| Unsupported PhantomJS version error | Older CasperJS versions have compatibility constraints. | Check the installed release notes and repository guidance; versions through 1.1-beta3 do not support PhantomJS 2.0 and newer. |
6. Reliability, performance, and maintenance
Keep each run deterministic: use a stable test URL, a unique selector, a defined viewport, a bounded wait, and a readiness condition tied to the page’s actual content. Log which stage failed: navigation, selector wait, scrolling, or capture. When screenshots are compared in CI, differences can come from changing content, fonts, image timing, viewport dimensions, or backend versions as well as from a code regression.
For a single element, capturing only its region generally avoids writing a much larger page image, while a full document or large clip consumes more rendering and storage work. Avoid unnecessary repeated captures of the same state. If you need several states, name files clearly and capture immediately after each state is ready so later interactions do not change the output.
CasperJS is a legacy dependency. Its GitHub repository says it is no longer actively maintained and is archived; the repository also notes that releases through 1.1-beta3 do not support PhantomJS 2.0 and newer. Check your exact versions before adopting examples in a maintained build. These facts are documented in the CasperJS repository. There is no current maintenance or performance guarantee implied by these examples.
7. Or skip the browser setup
If your task is simply to get a screenshot file from a URL, ScreenshotNeo provides a screenshot API and MCP server. The CasperJS example above is for controlling a particular DOM element on the page; a URL-based screenshot API is useful when you need a service to render and return a page capture without maintaining a local CasperJS/PhantomJS setup. See the ScreenshotNeo API documentation.
curl -G "https://api.screenshotneo.com/v1/shot" -d access_key=YOUR_API_KEY --data-urlencode url=https://stripe.com -o shot.webpCookie and consent banners are accepted before capture, and more than 60 known consent platforms, newsletter popups, and chat widgets are removed; each step can be turned off. Bot checks, CAPTCHAs, blank pages, timeouts, failed loads, and cache hits cost nothing, and the response identifies the page verdict and billing status in headers. The MCP server offers take_screenshot, get_page_info, and capture_pdf tools for Claude, Cursor, and other MCP clients. The free plan includes 1,000 screenshots per month with no card; paid plans start at $5 for 3,000 screenshots.
Create a free ScreenshotNeo account for 1,000 screenshots a month with no card.
FAQ
Does scrollIntoView() scroll only the nearest container?
It asks the browser to bring the target into view and may affect scrolling ancestors. If a specific panel must move by a known amount, measure the target relative to that panel and update the panel’s scroll position directly.
Can I capture a whole scrollable panel with captureSelector()?
captureSelector() captures the page area containing the selector. It does not automatically expand a panel’s scrollable contents into one tall image. Decide whether you need the visible panel region, a viewport clip, or a separate full-content rendering approach.
Can I use XPath instead of CSS?
Yes. CasperJS supports XPath selectors as well as CSS. Use whichever produces a stable, unambiguous match for the page.
Should I start a new project with CasperJS?
Check its archived repository and your browser compatibility requirements first. For existing scripts, pin and document the working toolchain; for new work, evaluate whether a legacy dependency fits your maintenance needs.


