How to Capture the Selected Dropdown Value with dom-to-image
Show the live value of an HTML select in dom-to-image exports, including labels, multi-selects, cloning, troubleshooting, and a hosted API option.
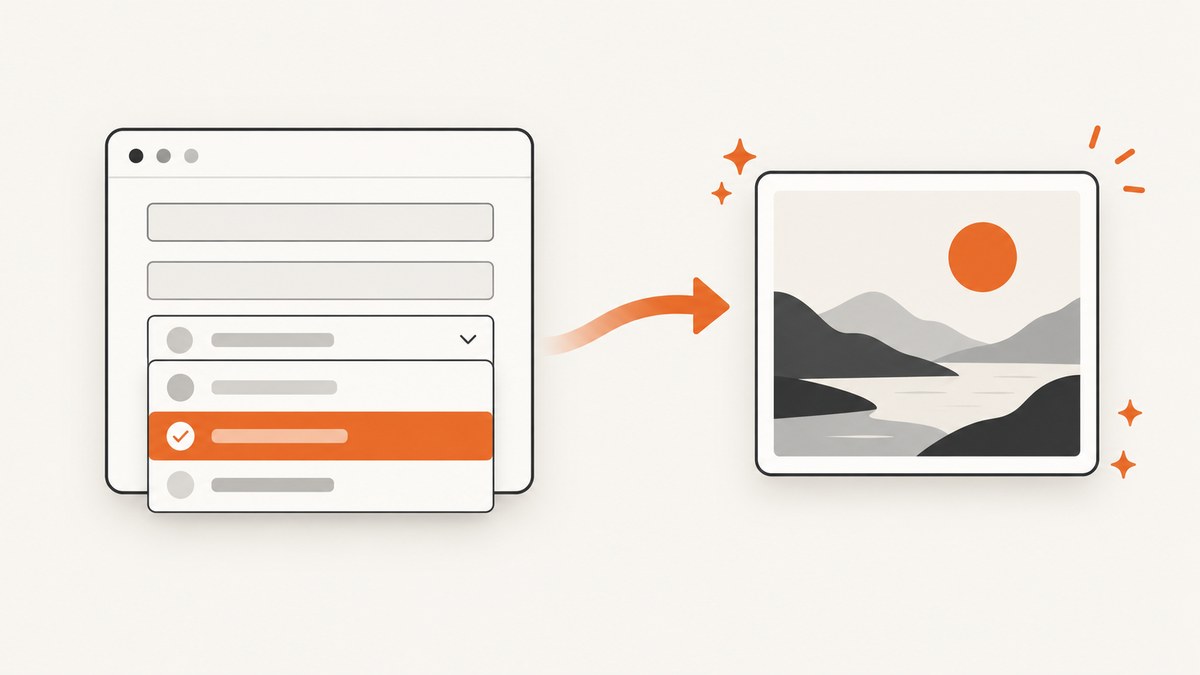
Read the live value from the <select>, then render that value as ordinary capture content before calling dom-to-image. A native dropdown’s current selection is browser state. The HTML selected attribute represents the default option and may not change when a user chooses another option. A capture-only label avoids relying on how a cloned native control is painted.
Quick solution
For a single-select control, use select.value for the submitted value. To display the human-readable label, read select.options[select.selectedIndex].text. Put the result in an element inside the node you pass to dom-to-image.
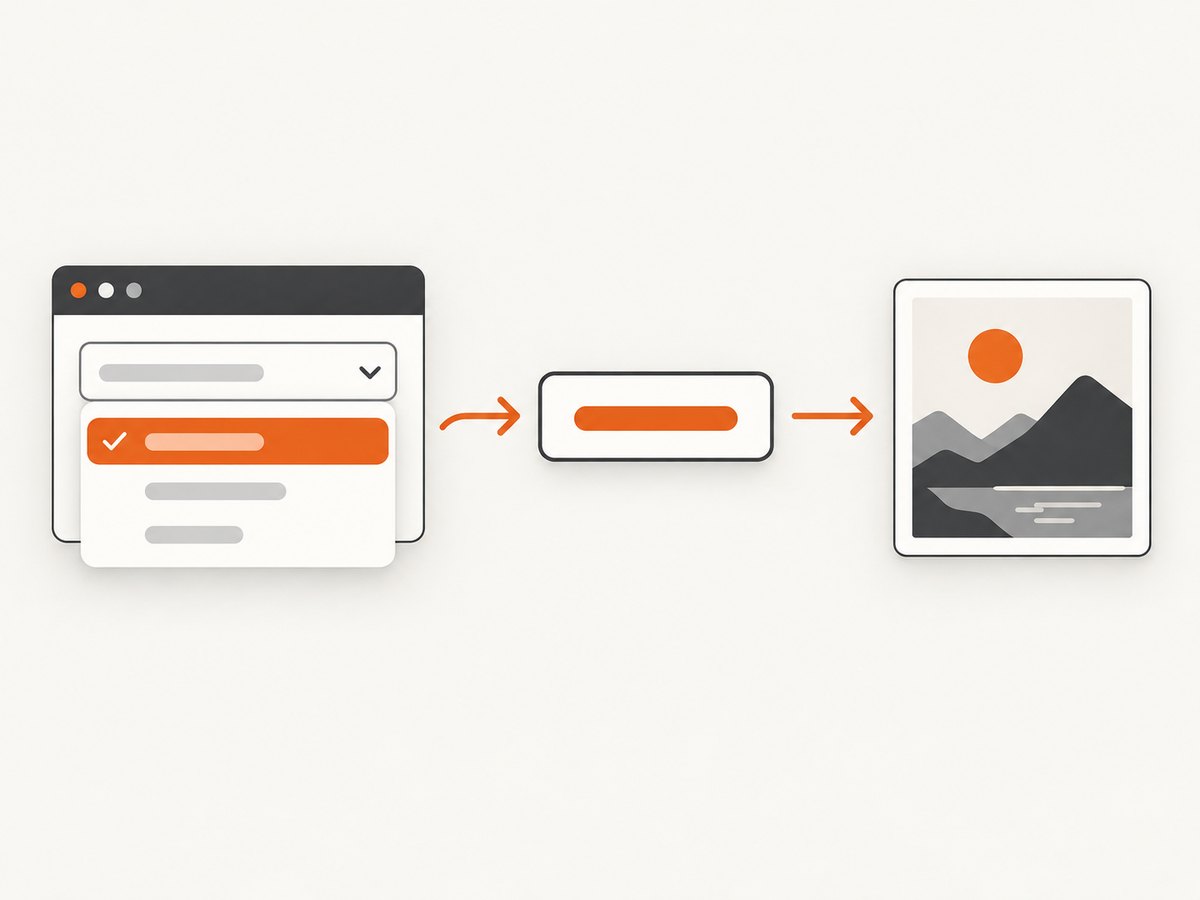
<select id="choice">
  <option value="basic">Basic plan</option>
  <option value="pro" selected>Pro plan</option>
  <option value="team">Team plan</option>
</select>

<section id="capture-area">
  <h1>Plan summary</h1>
  <p>Selected plan: <strong id="capture-choice"></strong></p>
</section>

<button id="export" type="button">Export PNG</button>

<script src="https://unpkg.com/dom-to-image@2.6.0/src/dom-to-image.js"></script>
<script>
  const select = document.querySelector('#choice');
  const captureLabel = document.querySelector('#capture-choice');
  const captureArea = document.querySelector('#capture-area');

  function syncCaptureLabel() {
    const option = select.options[select.selectedIndex];
    captureLabel.textContent = option ? option.text : '';
  }

  select.addEventListener('change', syncCaptureLabel);
  syncCaptureLabel();

  document.querySelector('#export').addEventListener('click', async () => {
    syncCaptureLabel();
    try {
      const dataUrl = await domtoimage.toPng(captureArea, {
        bgcolor: '#ffffff'
      });
      const image = new Image();
      image.src = dataUrl;
      image.alt = 'Exported plan summary';
      document.body.appendChild(image);
    } catch (error) {
      console.error('dom-to-image export failed:', error);
    }
  });
</script>
The synchronization happens immediately before capture as well as on change. That protects exports triggered by code that changes the selection without dispatching a user event.
Value versus label
| What the image should show | Expression | Example result |
|---|---|---|
| Submitted value | select.value |
pro |
| Visible option label | select.options[select.selectedIndex]?.text ?? '' |
Pro plan |
| All selected values in a multiple-select | [...select.selectedOptions].map(option => option.value) |
['pro', 'team'] |
| All selected labels | [...select.selectedOptions].map(option => option.text) |
['Pro plan', 'Team plan'] |
Multiple-select example
const select = document.querySelector('#features');
const output = document.querySelector('#capture-features');

function syncMultipleSelect() {
  const labels = [...select.selectedOptions].map(option => option.text);
  output.textContent = labels.length ? labels.join(', ') : 'None selected';
}

select.addEventListener('change', syncMultipleSelect);
syncMultipleSelect();

await domtoimage.toPng(document.querySelector('#capture-area'));
Do not assume that selectedIndex exists for a multiple-select in the way you need; selectedOptions is the direct representation of all current choices. The HTMLSelectElement.value documentation and selectedOptions documentation describe these live properties.
Why dom-to-image can show the default option
dom-to-image clones the supplied node, copies computed styles, serializes the clone into SVG using <foreignObject>, and rasterizes the result. See the dom-to-image README for the documented pipeline and options. The HTML selected attribute establishes an option’s initial state; the live selected state is held by the option’s selected property. Changing the selection does not necessarily rewrite the original markup. Consequently, serialized clone markup can retain the initial selection unless you express the current choice as ordinary text or synchronize state in a clone. This is an inference from the documented pipeline and browser state model, so verify the exact browser and package version used by your application.
Capture-only markup patterns
Use a visible label next to the real control
Keep the native control for interaction and add a separate text node for export. This is the most predictable pattern because the image renderer captures normal HTML text rather than a browser-owned widget.
<label for="country">Country</label>
<select id="country">...</select>
<span id="country-for-image" aria-hidden="true"></span>
Clone the area and synchronize selected state
If the closed native select appearance is part of the design, clone the capture area, find the corresponding option in the clone, and set its selected property and attribute before rendering. This can help, but native controls are browser-rendered and may still differ between engines. A styled capture-only label is generally more stable.
const source = document.querySelector('#capture-area');
const clone = source.cloneNode(true);
const sourceSelect = source.querySelector('#choice');
const cloneSelect = clone.querySelector('#choice');

cloneSelect.value = sourceSelect.value;
for (const option of cloneSelect.options) {
  option.toggleAttribute('selected', option.value === sourceSelect.value);
}

clone.style.position = 'fixed';
clone.style.left = '-100000px';
document.body.appendChild(clone);
try {
  const dataUrl = await domtoimage.toPng(clone);
  // use dataUrl
} finally {
  clone.remove();
}
dom-to-image output methods and options
The library accepts a DOM node and returns promises. Choose the method that matches your delivery format:
| Method | Use |
|---|---|
toPng(node, options) |
PNG data URL with lossless output. |
toJpeg(node, options) |
JPEG data URL; set quality from 0 to 1. |
toBlob(node, options) |
Blob for downloads or uploads without keeping a large data URL. |
toSvg(node, options) |
Serialized SVG output. |
toPixelData(node, options) |
Raw pixel data for custom processing. |
Documented options include:
filter(node): return false to omit a node and its subtree.bgcolor: force a background color, useful when transparent output is undesirable.widthandheight: override the rendered dimensions.style: apply temporary style properties to the clone.quality: JPEG quality.cacheBust: append a cache-busting query string when loading resources.imagePlaceholder: substitute a placeholder when an image cannot be loaded.
const blob = await domtoimage.toBlob(document.querySelector('#capture-area'), {
  bgcolor: '#fff',
  cacheBust: true,
  style: {
    transform: 'scale(1)',
    transformOrigin: 'top left'
  },
  filter: node => !node.matches('.exclude-from-export')
});

const link = document.createElement('a');
link.download = 'plan-summary.png';
link.href = URL.createObjectURL(blob);
link.click();
URL.revokeObjectURL(link.href);
Complete cURL, Python, and Node.js examples
For a browser-side dom-to-image export, the JavaScript example above is the runnable implementation. If you need a server-side screenshot instead, these request forms show the equivalent hosted capture call. See the ScreenshotNeo API documentation for request options.
cURL
curl -G "https://api.screenshotneo.com/v1/shot" -d access_key=YOUR_API_KEY --data-urlencode url=https://stripe.com -o shot.webpPython
import requests

r = requests.get(
    "https://api.screenshotneo.com/v1/shot",
    params={"access_key": "YOUR_API_KEY", "url": "https://stripe.com"},
    timeout=90,
)
r.raise_for_status()
open("shot.webp", "wb").write(r.content)
Node.js
const q = new URLSearchParams({ access_key: 'YOUR_API_KEY', url: 'https://stripe.com' });
const res = await fetch(`https://api.screenshotneo.com/v1/shot?${q}`);
if (!res.ok) throw new Error(`Screenshot failed: ${res.status}`);
const image = Buffer.from(await res.arrayBuffer());
require('node:fs').writeFileSync('shot.webp', image);
Or skip the browser setup
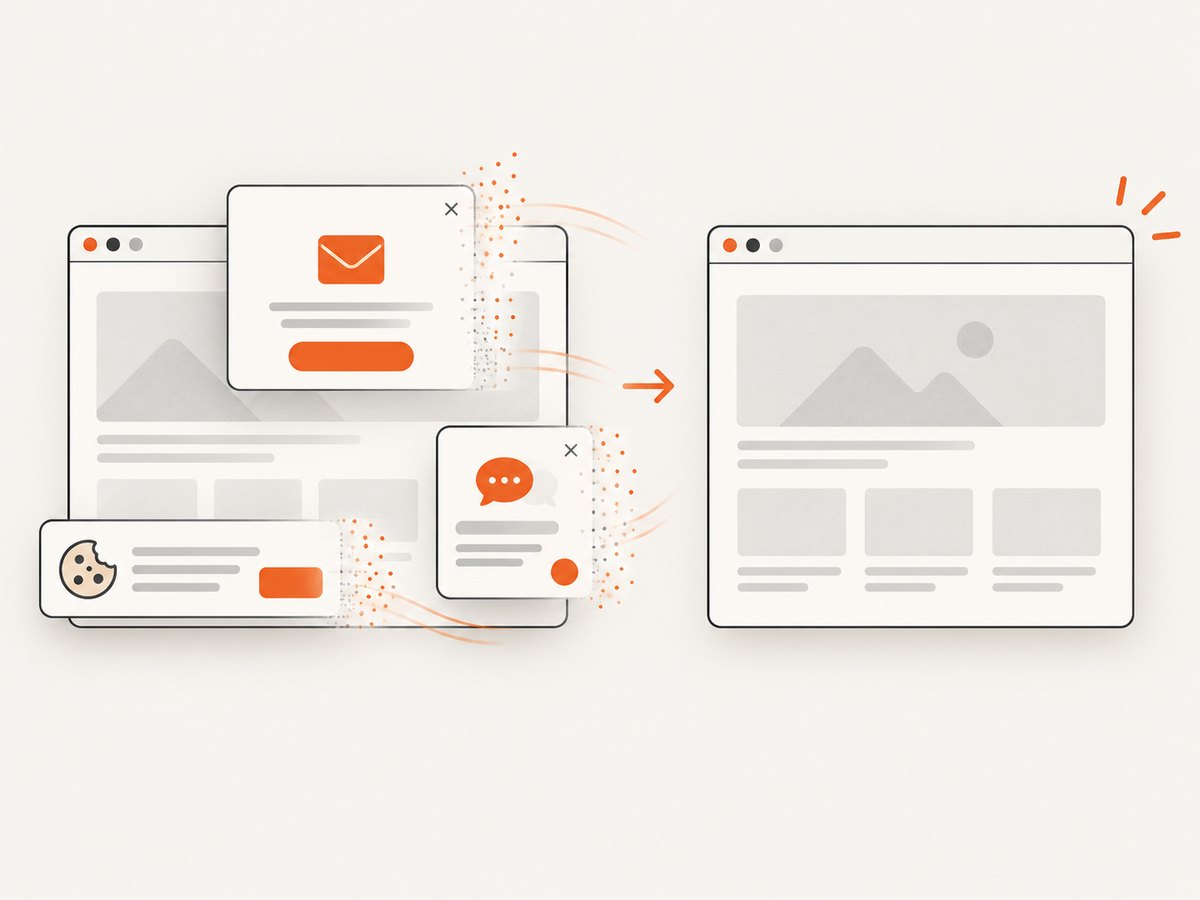
ScreenshotNeo is a website screenshot API and MCP server. Its capture can remove cookie and consent banners, newsletter popups, and chat widgets before the shot. Bot checks, blank pages, failed loads, timeouts, and cache hits are not billed, and response headers identify the page verdict and billing result. Its MCP server gives Claude, Cursor, and other MCP clients take_screenshot, get_page_info, and capture_pdf tools. You can use custom JavaScript or a click action when a page must be put into a particular state before capture.
There is a free plan with 1,000 screenshots per month and no card. Paid plans start at $5 for 3,000 screenshots, and every feature is included on every plan.
Create a free ScreenshotNeo account and start with 1,000 screenshots a month at no charge.
Troubleshooting
The exported image shows the default option
Cause: the live selection changed, but the clone still reflects the original HTML attribute. Fix: read value or the selected option’s text immediately before capture and write it to a normal text element. If you must retain the native control, synchronize the cloned option’s selected property and attribute.
The label is empty
Cause: there is no selected index, or the select has no options. Fix: use optional chaining and a fallback, for example select.options[select.selectedIndex]?.text ?? 'None selected'.
The native select looks different
Cause: native controls are painted by the browser and are not guaranteed to match across engines. Fix: render a capture-only label or styled replacement for the exported image.
Images or fonts are missing
Cause: dom-to-image must load and embed image and font resources. Cross-origin restrictions or failed requests can prevent rendering, and a tainted canvas can cause rejection. Fix: serve assets with appropriate origin permissions, wait until fonts and images finish loading, enable cacheBust when stale resources are suspected, and handle the rejected promise.
The promise rejects in Safari or another browser
Cause: the renderer relies on SVG foreignObject behavior and browser support varies. The project’s compatibility notes are historical, mention Chrome and Firefox versions available at the time, exclude Internet Explorer, and record a Safari limitation. Fix: test the exact browser and package version you support, or use a server-side browser capture for consistent output.
Changes made just before capture are not visible
Cause: layout, fonts, or images have not settled. Fix: update the label, wait for the next animation frame, and ensure required resources are loaded before calling dom-to-image.
syncCaptureLabel();
await document.fonts?.ready;
await new Promise(requestAnimationFrame);
const dataUrl = await domtoimage.toPng(captureArea);
Performance, reliability, and cost
- Capture the smallest node that contains the result. Full-page trees with many images and complex styles take more memory and time.
- Prefer
toBlobfor uploads or downloads to avoid keeping a large base64 data URL in memory. - Reuse a synchronized capture label instead of repeatedly rebuilding large DOM subtrees.
- Wait for fonts and images once, then capture. Repeated resource loading is a common source of slow or inconsistent output.
- Use a stable browser and package version in automated jobs, and compare output at the viewport sizes that matter.
- Client-side dom-to-image has no hosted per-shot charge, but it consumes the user’s browser CPU and depends on browser security rules. A hosted API adds request cost and removes browser setup. ScreenshotNeo bills only clean shots; failed loads, bot checks, blank pages, timeouts, and cache hits are free.
Alternatives and when to use them
html-to-image describes itself as a fork of dom-to-image. html2canvas reconstructs an image from the DOM and styles rather than taking a literal browser screenshot. Compare the target browser, native-control rendering, CSS coverage, asset and cross-origin behavior, output formats, and maintenance status before switching. Any library still needs a test for the exact select, browser, and styling combination in your application.
FAQ
Should I capture select.value or the option text?
Use value when the image should show the submitted or machine-readable value. Use the selected option’s text when readers should see the label.
Can dom-to-image capture an open dropdown menu?
Do not depend on the browser’s native popup menu being part of the DOM node. Render the chosen value in the page and capture that content.
Does changing the select automatically update the HTML?
No. The live selected state and the original selected attribute are different pieces of state. Synchronize a capture representation yourself.
Can I export several selected options?
Yes. Iterate over selectedOptions, format the labels or values, and place the resulting text or list inside the capture node.
When should I use a hosted screenshot API?
Use one when capture must run outside a user’s browser, across many URLs, or with consistent browser setup. ScreenshotNeo also provides PDF output, bulk capture, signed links, async jobs, custom JavaScript, and an MCP server for AI agents.


