How to Capture a Specific Element with Puppeteer
Capture one DOM element with Puppeteer using reliable selectors, waits, output options, troubleshooting, and a hosted ScreenshotNeo alternative.
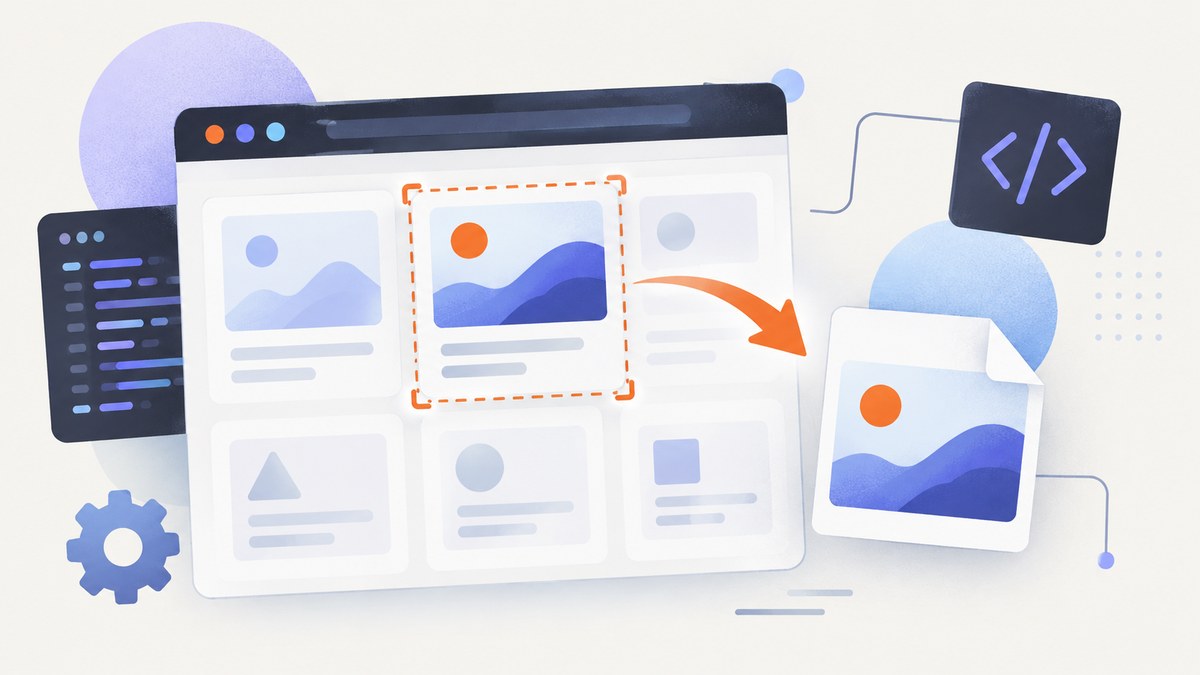
Use Puppeteer’s ElementHandle.screenshot() to capture one DOM element instead of the entire page. Select the element, wait until it exists, then call screenshot() with a file path or output options:
import puppeteer from 'puppeteer';

const browser = await puppeteer.launch();
try {
  const page = await browser.newPage();
  await page.goto('https://example.com', { waitUntil: 'networkidle2' });

  const element = await page.waitForSelector('.target-element');
  if (!element) {
    throw new Error('Target element was not found');
  }

  await element.screenshot({ path: 'element.png' });
  await element.dispose();
} finally {
  await browser.close();
}
The method scrolls the element into view before capturing it. The handle must still refer to a connected DOM node; if the page rerenders and replaces that node, Puppeteer throws a detached-element error. The current Puppeteer API reference documents this as ElementHandle.screenshot(options?), returning a Uint8Array unless you select base64 encoding. See the ElementHandle screenshot API and the official screenshot guide.
What an element screenshot captures
An element screenshot is the rendered pixels for the selected element, including its background, borders, text, child elements, and any content visible within its box. It is different from Page.screenshot(), which captures the viewport or the complete page. Puppeteer uses the page screenshot machinery after determining the element’s bounds.
Only the element’s layout box is captured. A drop shadow or transformed child can extend beyond that box depending on the browser’s computed layout and clipping. If you need a larger composition, capture a parent element or use page-level clipping.
Choose a stable selector
Prefer a selector that expresses the component’s identity rather than its position:
#invoice-summaryfor a unique ID.[data-testid="invoice-summary"]for a test attribute..product-card[data-sku="abc-123"]for a component with a stable key.
Avoid selectors such as div:nth-child(4) when the page can reorder content. CSS selectors are the default, while Puppeteer locators also support text, accessibility, XPath, and shadow-root selector syntax. The locator guide explains the automatic waiting and action checks provided by locators.
Complete Puppeteer workflow
1. Install Puppeteer
npm install puppeteerPuppeteer downloads a compatible browser during installation in its standard configuration. In a container or CI environment, follow your environment’s browser dependency instructions and pass an executable path only when you manage Chrome separately.
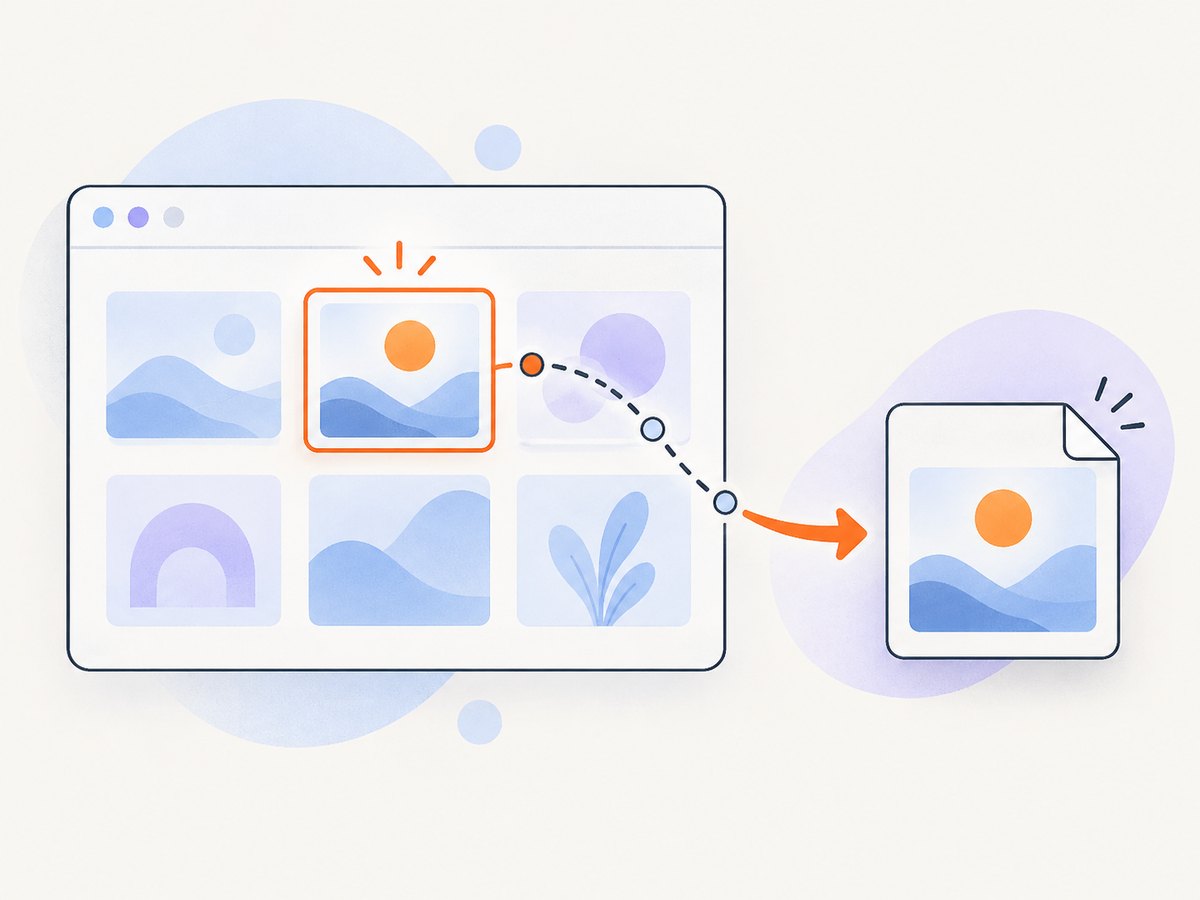
2. Navigate and wait for the target
Use waitForSelector() when you specifically need an ElementHandle. Add an appropriate navigation wait so that the document has reached the state your application requires:
await page.goto('https://example.com/dashboard', {
  waitUntil: 'networkidle2',
  timeout: 30_000
});

const element = await page.waitForSelector('[data-testid="report-card"]', {
  visible: true,
  timeout: 15_000
});

if (!element) {
  throw new Error('Report card did not appear');
}
networkidle2 waits for no more than two active connections for a short period. It is useful for many content pages but can delay indefinitely on applications that keep long polling or analytics connections open. In those cases, use waitUntil: 'domcontentloaded' and wait for a specific selector instead.
3. Capture to a file
await element.screenshot({ path: 'report-card.png' });When path ends in .png, .jpg, or .webp, Puppeteer infers the image type from the extension. PNG is lossless and supports transparency. JPEG is smaller for photographic content but has no alpha channel. WebP often provides a smaller file for web delivery.
4. Always release handles and close the browser
In short scripts, closing the browser releases most resources. In workers that process many pages, explicitly dispose of handles and close each page when finished:
try {
  await element.screenshot({ path: 'report-card.webp', type: 'webp', quality: 82 });
} finally {
  await element.dispose();
  await page.close();
  await browser.close();
}
Using locators for more reliable selection
Puppeteer’s locator API is useful when the page is dynamic. A locator waits for the element to exist and performs readiness checks before actions. When the screenshot method requires an ElementHandle, obtain one with waitHandle():
const locator = page.locator('[data-testid="report-card"]');
const element = await locator.waitHandle();

try {
  await element.screenshot({ path: 'report-card.png' });
} finally {
  await element.dispose();
}
Use a locator when the selector may appear after client-side rendering or when you need to click, hover, or otherwise prepare the component. Use waitForSelector() for a direct, lower-level one-off capture. Both approaches ultimately require the node to remain connected during the screenshot.
Screenshot options that matter
| Option | Use | Notes |
|---|---|---|
path |
Save directly to disk | Type can be inferred from the extension. |
type |
Choose png, jpeg, or webp |
Set explicitly when returning bytes or using a generic path. |
quality |
Control JPEG/WebP compression | Not applicable to PNG. |
encoding |
Return bytes or base64 | The default is a byte array; base64 returns a string. |
omitBackground |
Preserve transparent pixels | Useful for cards or logos with no page-colored background. |
clip |
Capture a custom rectangle | Usually unnecessary for an element handle, but useful for page screenshots. |
fullPage |
Capture the full page | Designed for page screenshots; it does not turn an element capture into a full document capture. |
Return bytes instead of writing a file
const bytes = await element.screenshot({ type: 'png' });
await fs.promises.writeFile('report-card.png', bytes);
For base64 output:
const base64 = await element.screenshot({ encoding: 'base64', type: 'webp', quality: 82 });
console.log(`data:image/webp;base64,${base64}`);
Capture at a controlled viewport and device scale
await page.setViewport({ width: 1440, height: 900, deviceScaleFactor: 2 });
await page.emulateMediaType('screen');

const element = await page.locator('.chart').waitHandle();
try {
  await element.screenshot({ path: 'chart@2x.png' });
} finally {
  await element.dispose();
}
The viewport affects responsive layout, while deviceScaleFactor controls pixel density. Set both explicitly when captures must be comparable across machines.
Waiting for images, fonts, and client-side rendering
A selector being present does not guarantee that its visual content is ready. Add waits for the conditions that matter to your component:
await page.goto('https://example.com/gallery', { waitUntil: 'domcontentloaded' });
await page.waitForSelector('.gallery-card', { visible: true });

await page.evaluate(async () => {
  if (document.fonts) await document.fonts.ready;
  const images = Array.from(document.images);
  await Promise.all(images.map(image => image.complete
    ? Promise.resolve()
    : new Promise(resolve => {
        image.addEventListener('load', resolve, { once: true });
        image.addEventListener('error', resolve, { once: true });
      })));
});

const card = await page.locator('.gallery-card').waitHandle();
try {
  await card.screenshot({ path: 'gallery-card.png' });
} finally {
  await card.dispose();
}
For a known application state, waiting for a status attribute is more precise than a fixed delay:
await page.waitForFunction(() => {
  const node = document.querySelector('.report-card');
  return node?.getAttribute('data-rendered') === 'true';
});
Use a delay only when there is no observable readiness signal. Fixed sleeps increase latency and still may be too short on a slow run.
Dynamic pages and detached elements
React, Vue, and other frameworks can replace a node during rendering. A handle obtained before that replacement becomes detached. Query again immediately before capture:
async function captureCurrentCard(page, output) {
  for (let attempt = 1; attempt <= 3; attempt++) {
    const card = await page.locator('[data-testid="report-card"]').waitHandle();
    try {
      await card.screenshot({ path: output });
      return;
    } catch (error) {
      if (attempt === 3) throw error;
      await page.waitForTimeout(100 * attempt);
    } finally {
      await card.dispose();
    }
  }
}
Do not keep handles in a long-lived cache. Store the selector or a business identifier, then resolve a fresh handle for each capture.
Shadow DOM, iframes, and hidden elements
Shadow DOM
For open shadow roots, use Puppeteer’s documented shadow-root selector syntax or evaluate inside the host to locate the actual node. Closed shadow roots cannot be queried directly from page JavaScript; expose a test hook or capture a host element instead.

iframes
An element inside an iframe belongs to that frame’s document. Wait for the frame, then query through its frame object:
const frameHandle = await page.waitForSelector('iframe[data-widget]');
const frame = await frameHandle?.contentFrame();
if (!frame) throw new Error('Widget frame was not available');

const widget = await frame.waitForSelector('.widget-panel', { visible: true });
if (!widget) throw new Error('Widget panel was not found');
await widget.screenshot({ path: 'widget-panel.png' });
Hidden or off-screen elements
waitForSelector(..., { visible: true }) helps avoid display:none and hidden nodes. Puppeteer scrolls a visible target into view automatically. If the element is intentionally outside the normal flow, check its dimensions and computed styles before capture.
Troubleshooting checklist
| Symptom | Cause | Fix |
|---|---|---|
Cannot read properties of null |
page.$() found no match. |
Check for null, correct the selector, or wait with waitForSelector(). |
| Timeout waiting for selector | The selector is wrong, content is delayed, or it is inside an iframe. | Inspect the rendered DOM, increase the timeout when justified, wait for the frame, or use a readiness attribute. |
| Node is detached from document | The application rerendered or removed the node after selection. | Re-query immediately before capture and retry a limited number of times. |
| Screenshot is blank | The element has no dimensions, is hidden, or content has not loaded. | Wait for visibility and images, inspect getBoundingClientRect(), and verify CSS. |
| Fonts differ between runs | Web fonts were still loading or unavailable. | Await document.fonts.ready and ensure the browser can reach font URLs. |
| Capture hangs at navigation | Persistent sockets or analytics prevent network-idle conditions. | Use domcontentloaded plus a selector or application-state wait. |
| JPEG has no transparency | JPEG does not support alpha. | Use PNG or WebP with omitBackground when appropriate. |
Performance, reliability, and cost
Launching Chromium is expensive compared with reusing a browser. For batches, launch one browser, create isolated pages, and close each page after capture. Limit concurrency so that CPU, memory, and site rate limits remain predictable. Reuse a page only when you can reliably reset cookies, storage, viewport, and injected state.
Capture only after the smallest useful readiness condition. Waiting for every network request can add seconds on pages with third-party services. Keep navigation and selector timeouts explicit, record the URL and selector with each output, and save diagnostic HTML or a screenshot of the full page when a capture fails.
Self-hosted Puppeteer costs the compute and bandwidth required for every browser run. Your target site may also rate-limit automated traffic. Respect robots, authentication rules, and terms that apply to the site you access.
Or skip the browser setup
ScreenshotNeo provides a hosted screenshot API with an element selector option, so you can request a specific CSS element without managing Chromium, waits, fonts, or deployment dependencies. It also supports full-page capture, lazy-image loading, custom CSS and JavaScript, clicks, selector waits, delays, network-idle waits, device presets, retina scale, dark mode, headers, cookies, user agents, authorization, timezone, geolocation, transparent backgrounds, resizing, caching, signed links, asynchronous jobs, webhooks, bulk capture, and PDF output. See the ScreenshotNeo API documentation for the complete parameter list.
curl -G "https://api.screenshotneo.com/v1/shot" \
  -d access_key=YOUR_API_KEY \
  --data-urlencode url=https://stripe.com \
  --data-urlencode selector=".target-element" \
  -o element.webp
import requests
r = requests.get(
"https://api.screenshotneo.com/v1/shot",
params={
"access_key": "YOUR_API_KEY",
"url": "https://stripe.com",
"selector": ".target-element",
},
timeout=90,
)
r.raise_for_status()
open("element.webp", "wb").write(r.content)const q = new URLSearchParams({
access_key: 'YOUR_API_KEY',
url: 'https://stripe.com',
selector: '.target-element',
});
const res = await fetch(`https://api.screenshotneo.com/v1/shot?${q}`);
if (!res.ok) throw new Error(`Screenshot failed: ${res.status}`);
const bytes = Buffer.from(await res.arrayBuffer());
require('fs').writeFileSync('element.webp', bytes);Cookie banners, newsletter popups, and chat widgets are removed before the shot. Bot checks, blank pages, failed loads, timeouts, and cache hits are not billed; response headers identify the page verdict and billing status. An MCP server lets Claude, Cursor, and other MCP clients call take_screenshot, get_page_info, and capture_pdf. The free plan includes 1,000 screenshots each month with no card; paid plans start at $5 for 3,000 shots.
Create a free ScreenshotNeo account and start with the 1,000 monthly shots.
FAQ
Does Puppeteer capture the element’s full height?
It captures the element’s rendered bounding box, including content that determines that box’s height. For a scrollable child, capture the scroll container or adjust its CSS if you need content beyond the visible scroll area.
Can I capture an element before it is visible?
Wait until it is rendered and visible. Hidden elements may have zero dimensions or produce an unusable image.
Which Puppeteer version supports this API?
The researched API reference reports version 25.12.0. Check the documentation for the Puppeteer version installed in your project, especially if you use an older release.
Should I use page.$() or waitForSelector()?
Use page.$() when you have already established that the node exists and will handle a possible null. Use waitForSelector() when the page renders asynchronously and you need a handle for the screenshot.


