How to Capture and Upload Screenshots From a Browser App
Learn browser screenshot methods, multipart uploads, validation, troubleshooting, and a hosted API option for reliable automation.
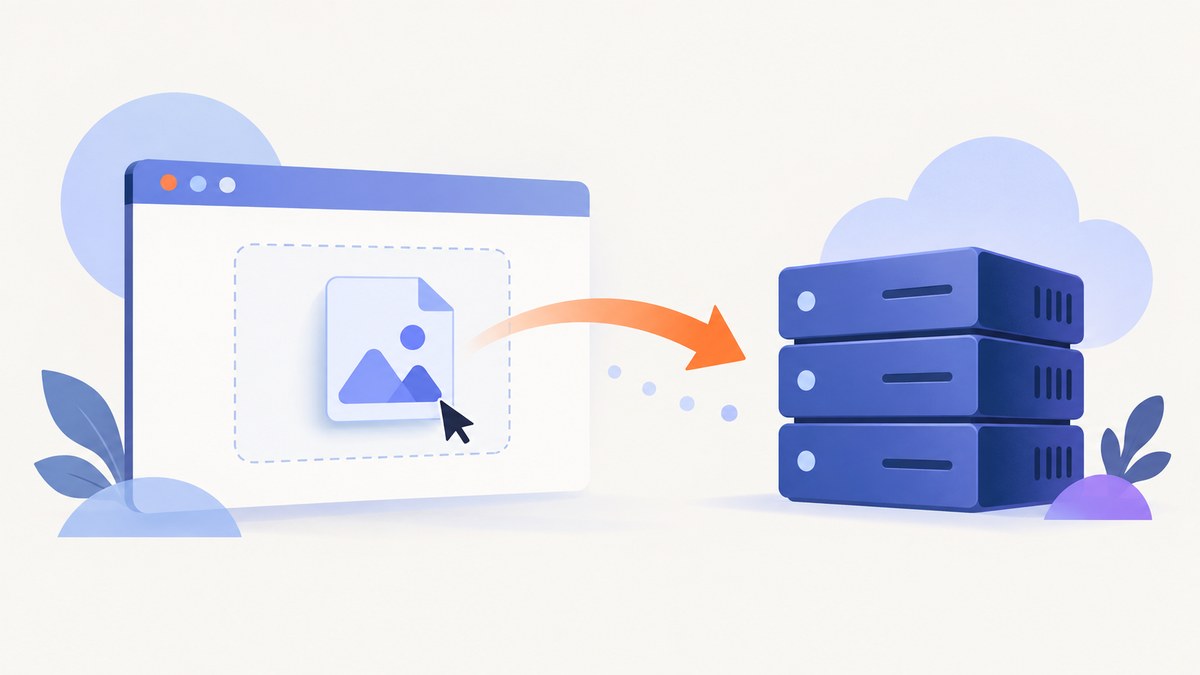
Direct answer: Capture the page with a browser-native tool or automation library, save the image, then send it to your app through a file picker, drag-and-drop zone, or a multipart/form-data request. In the browser, use input type='file' or the File API. On the server, authenticate the request, validate the file type, size, dimensions, and business rules, then store it under a generated filename.
For a one-off screenshot, use your browser’s built-in capture command. For repeatable captures, use Playwright or another browser automation tool. For a user-mediated tab, window, or screen capture, use getDisplayMedia() with feature detection. If you do not need to manage browser automation yourself, ScreenshotNeo can render a URL and return a PNG, JPEG, WebP, or PDF.
1. Choose the right capture method
| Method | Best for | Capture scope | Trade-offs |
|---|---|---|---|
| Browser-native screenshot | One-off manual work | Selected area or full webpage | Depends on browser and device availability; limited automation |
| Playwright | Repeatable tests, jobs, and pipelines | Viewport, element, or full scrollable page | Requires a browser runtime and maintenance |
| Cloud browser service | Hosted rendering at scale | URL or HTML, with clipping and full-page options | Network, authentication, and service costs |
getDisplayMedia() |
Letting a user choose a tab, window, or screen | Display surface selected by the user | Permission prompt and limited browser support |
Manual browser capture
Microsoft Edge’s Screenshot command can capture a selected region or an entire webpage, add markup, and copy or save the result. The documented shortcut is Ctrl+Shift+S; the command is also available from the page context menu. Availability can vary by device, market, and browser version.
- Open the page and wait until the content you need is visible.
- Run the browser’s Screenshot command.
- Select a region or the full page.
- Annotate if required, then save as PNG or copy the image.
- Choose the saved file in your app’s upload control.
Automated page, element, and full-page capture with Playwright
Playwright documents viewport, element, and full-scrollable-page screenshots. Install it with:
npm install -D playwright
npx playwright install chromium
Save this as capture.mjs:
import { chromium } from 'playwright';

const browser = await chromium.launch();
const page = await browser.newPage({ viewport: { width: 1440, height: 900 }, deviceScaleFactor: 1 });
await page.goto('https://example.com', { waitUntil: 'networkidle' });
await page.screenshot({ path: 'page.png', fullPage: true });
await browser.close();
To capture one element, locate it and call screenshot() on the locator:
const card = page.locator('.pricing-card').first();
await card.screenshot({ path: 'pricing-card.png' });
Use a fixed viewport and wait for the page state your application needs. A full-page shot includes the complete scrollable document; a normal screenshot captures only the current viewport.
User-selected screen, tab, or window with getDisplayMedia()
The Screen Capture API asks the user to choose a tab, window, or screen and returns a MediaStream. MDN marks it limited availability and not Baseline, so feature-detect it and provide a file-picker fallback.
async function captureDisplay() {
  if (!navigator.mediaDevices?.getDisplayMedia) {
    throw new Error('Display capture is not supported in this browser');
  }

  const stream = await navigator.mediaDevices.getDisplayMedia({
    video: { frameRate: 1 },
    audio: false
  });
  const track = stream.getVideoTracks()[0];
  const settings = track.getSettings();
  const video = document.createElement('video');
  video.srcObject = stream;
  video.muted = true;
  await video.play();

  const canvas = document.createElement('canvas');
  canvas.width = settings.width || video.videoWidth;
  canvas.height = settings.height || video.videoHeight;
  canvas.getContext('2d').drawImage(video, 0, 0, canvas.width, canvas.height);

  const blob = await new Promise(resolve => canvas.toBlob(resolve, 'image/png'));
  track.stop();
  stream.getTracks().forEach(t => t.stop());
  return new File([blob], 'display-capture.png', { type: 'image/png' });
}
A permission prompt is required for each capture session in many browsers. Do not assume that a previously granted permission will remain available.
2. Add a file picker and drag-and-drop upload
The standard, accessible control is an HTML file input. The accept value guides the picker but does not validate the eventual file, so validation must happen on the server.
<form action='/upload' method='post' enctype='multipart/form-data'>
  <label for='shot'>Choose a screenshot</label>
  <input id='shot' name='shot' type='file' accept='image/png,image/jpeg,image/webp' required>
  <button type='submit'>Upload</button>
</form>
Add multiple when users should select more than one file. The browser exposes selected files through HTMLInputElement.files.
Drag and drop
<label id='dropzone' for='shot'>Drop a screenshot here or choose a file</label>
<input id='shot' type='file' accept='image/png,image/jpeg,image/webp' hidden>

<script>
const input = document.querySelector('#shot');
const dropzone = document.querySelector('#dropzone');

dropzone.addEventListener('dragover', event => {
  event.preventDefault();
  dropzone.classList.add('is-dragging');
});
dropzone.addEventListener('dragleave', () => dropzone.classList.remove('is-dragging'));
dropzone.addEventListener('drop', event => {
  event.preventDefault();
  dropzone.classList.remove('is-dragging');
  const files = [...event.dataTransfer.files];
  if (files.length) uploadScreenshot(files[0]);
});
input.addEventListener('change', () => {
  if (input.files[0]) uploadScreenshot(input.files[0]);
});

async function uploadScreenshot(file) {
  const data = new FormData();
  data.append('shot', file, file.name);
  const response = await fetch('/upload', { method: 'POST', body: data });
  if (!response.ok) throw new Error(`Upload failed (${response.status})`);
}
</script>
When sending FormData with fetch, do not set the Content-Type header yourself. The browser adds the correct multipart/form-data boundary.
3. Upload with JavaScript
const input = document.querySelector('#shot');
const data = new FormData();
data.append('shot', input.files[0]);

const response = await fetch('/upload', {
  method: 'POST',
  body: data
});

if (!response.ok) {
  const message = await response.text();
  throw new Error(message || `Upload failed (${response.status})`);
}

const result = await response.json();
console.log(result);
Show progress or a disabled submit button during slow uploads, and handle cancellation when users navigate away. For very large files, use a resumable upload design rather than keeping one request open indefinitely.
4. Receive and validate the file on a Node.js server
Express does not parse multipart bodies by itself. This example uses Multer, enforces a byte limit, and stores a generated filename. Keep the original name only as display metadata.
npm install express multer file-typeimport express from 'express';
import multer from 'multer';
import path from 'node:path';
import crypto from 'node:crypto';
import { fileTypeFromFile } from 'file-type';
const app = express();
const upload = multer({
dest: '/tmp/incoming',
limits: { fileSize: 10 * 1024 * 1024, files: 1 }
});
app.post('/upload', upload.single('shot'), async (req, res) => {
if (!req.file) return res.status(400).json({ error: 'Select a screenshot' });
try {
const detected = await fileTypeFromFile(req.file.path);
const allowed = new Set(['image/png', 'image/jpeg', 'image/webp']);
if (!detected || !allowed.has(detected.mime)) {
return res.status(415).json({ error: 'Only PNG, JPEG, or WebP images are allowed' });
}
const storedName = `${crypto.randomUUID()}.${detected.ext}`;
const destination = path.join('/srv/screenshots', storedName);
// Move req.file.path to destination using your storage layer.
return res.status(201).json({ id: storedName, originalName: req.file.originalname });
} catch {
return res.status(500).json({ error: 'Screenshot processing failed' });
}
});
app.use((error, req, res, next) => {
if (error instanceof multer.MulterError && error.code === 'LIMIT_FILE_SIZE') {
return res.status(413).json({ error: 'Screenshot exceeds the 10 MB limit' });
}
return next(error);
});
app.listen(3000);In production, also validate decoded image dimensions, authenticate the user, authorize the destination, scan or re-encode untrusted images as required by your threat model, and delete temporary files after success or failure.
5. Validation and storage checklist
- Require authentication and check that the user may write to the target project.
- Reject an absent file, an empty file, and files over your configured byte limit.
- Check the detected type from file bytes; do not trust only the extension or the
acceptattribute. - Decode the image and enforce width, height, and pixel-count limits to reduce decompression-bomb risk.
- Allow only the formats your processing pipeline supports.
- Generate a random server-side name; never use the original filename as a path.
- Store outside the executable web root or serve through a controlled download endpoint.
- Return a stable identifier and status instead of exposing internal paths.
- Delete partial uploads and temporary files when validation or processing fails.
6. Complete request flow
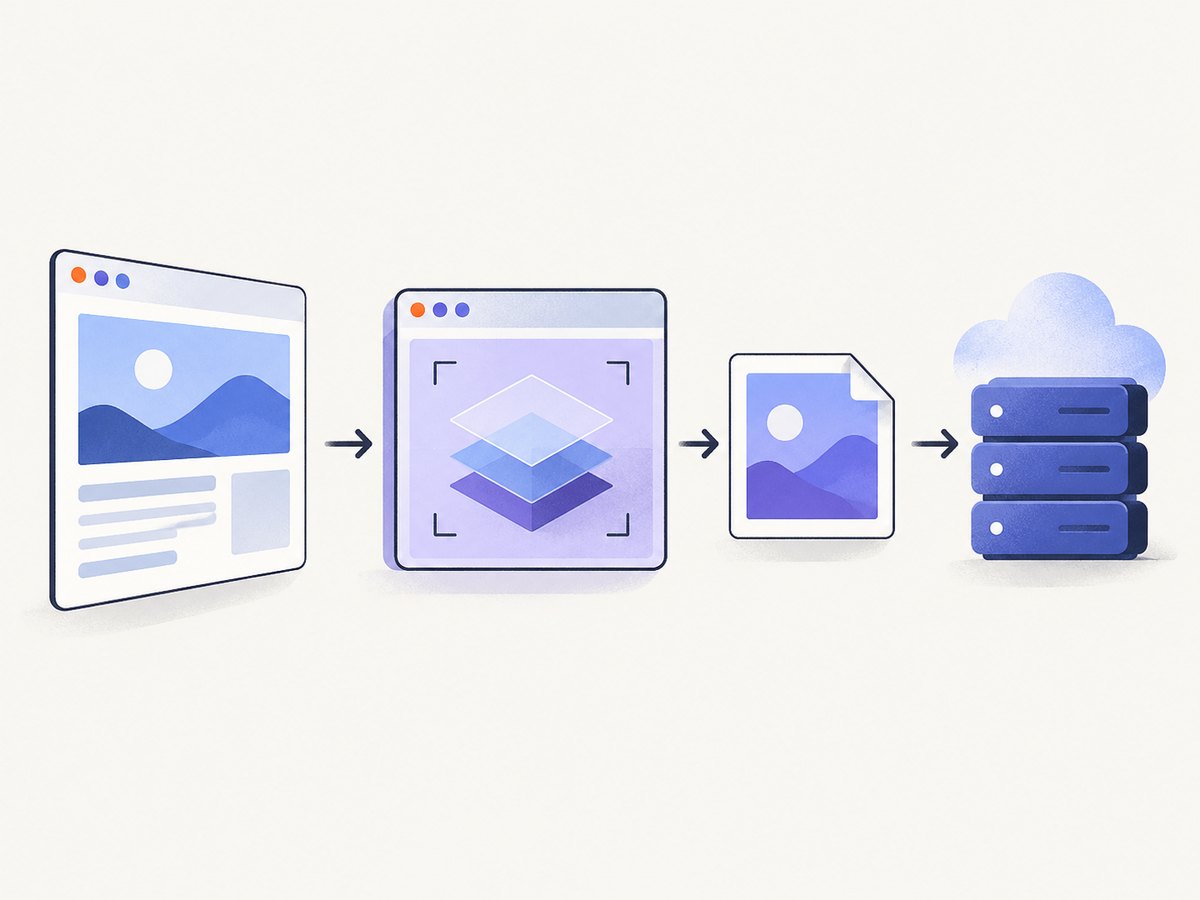
- The user captures a page or selects an existing image.
- The browser creates a
Fileobject from the picker or drop event. FormDatapackages the file as a multipart part.- The server authenticates the request and validates bytes, type, size, and dimensions.
- The server stores the image under a generated name and returns an ID.
- The UI displays success, a retry action, or a specific error.
For privacy-sensitive work, local capture and upload keeps rendering in the user’s browser. A hosted renderer sends the target URL and capture instructions to a remote service, so review authentication, data retention, and network access requirements before choosing it.
7. Troubleshooting
| Symptom | Likely cause | Fix |
|---|---|---|
req.file is undefined |
Field name mismatch or missing multipart encoding | Use name='shot', upload.single('shot'), and enctype='multipart/form-data'. |
| 415 Unsupported Media Type | Extension says image but bytes are another type | Detect the type from file bytes and send PNG, JPEG, or WebP. |
| 413 Payload Too Large | File exceeds a proxy or application limit | Align browser, reverse-proxy, and server limits; compress or resize before upload. |
| FormData request rejected | Content-Type was set manually |
Remove that header and let the browser add the boundary. |
| Drag and drop navigates away | dragover or drop default was not canceled |
Call preventDefault() in both handlers. |
| Display capture is unavailable | Browser does not support getDisplayMedia() or the context is insecure |
Feature-detect it, use HTTPS, and offer a file-picker fallback. |
| Screenshot is blank | Capture occurred before content rendered | Wait for a selector, network idle, fonts, images, or an application-specific ready state. |
| Full-page capture misses lazy images | Images load only after scrolling | Scroll through the page before capture or use a renderer that loads lazy content. |
| Upload succeeds but processing fails | Corrupt image, unsupported dimensions, or decoder error | Decode and validate before storage; return a processing-specific error and clean temporary files. |
8. Performance, reliability, and cost
- Capture time: wait only for the state you need. A fixed delay is simple but slower and less reliable than waiting for a selector or explicit ready signal.
- Payload size: PNG preserves detail but can be large; JPEG and WebP often reduce transfer time. Resize on the client only when the reduced dimensions meet your use case.
- Concurrency: limit simultaneous browser contexts and uploads. Queue work when many full-page captures arrive together.
- Retries: retry transient network failures with bounded exponential backoff and an idempotency key. Do not blindly retry validation failures.
- Storage: use lifecycle rules for temporary files and thumbnails. Keep metadata separate from the binary object.
- Observability: record capture duration, upload bytes, validation result, processing time, and a request ID without logging secrets or image contents.
- Cost: local browser capture has no rendering-service fee but consumes client or worker CPU. Hosted rendering adds service usage and transfer costs; compare that with browser maintenance and infrastructure.
9. Or skip the browser setup
ScreenshotNeo is a website screenshot API and MCP server. One GET request returns a PNG, JPEG, WebP, or PDF. See the ScreenshotNeo API documentation for the full option list.

curl -G "https://api.screenshotneo.com/v1/shot" -d access_key=YOUR_API_KEY --data-urlencode url=https://stripe.com -o shot.webpimport requests
r = requests.get('https://api.screenshotneo.com/v1/shot', params={'access_key': 'YOUR_API_KEY', 'url': 'https://stripe.com'}, timeout=90)
open('shot.webp', 'wb').write(r.content)const q = new URLSearchParams({ access_key: 'YOUR_API_KEY', url: 'https://stripe.com' });
const res = await fetch(`https://api.screenshotneo.com/v1/shot?${q}`);It removes cookie and consent banners, newsletter popups, and chat widgets before capture. Bot checks, blank pages, failed loads, timeouts, and cache hits are not billed; response headers identify the page verdict and whether the shot was billed. The API also supports full-page and element capture, dark mode, device presets, retina scale, custom CSS and JavaScript, waits, request blocking, headers, cookies, user agents, geolocation, PDFs, caching, signed links, async jobs, bulk capture, and an MCP server for AI agents.
1,000 screenshots per month are free with no card. Paid plans start at $5 for 3,000 shots, and every feature is available on every plan. Create a free ScreenshotNeo account.
10. FAQ
Can I upload a screenshot without JavaScript?
Yes. Use an HTML form with method='post' and enctype='multipart/form-data'; the browser submits the file directly.
Is accept='image/png' secure validation?
No. It only guides the picker. Validate the received bytes and decoded image on the server.
Should I capture the viewport or the full page?
Use a viewport capture for what a user sees immediately. Use full-page capture for documentation, visual regression, and long articles, while accounting for lazy-loaded content.
Can a browser silently capture another user’s screen?
No. getDisplayMedia() is user-mediated and prompts the user to choose a display surface.
What should I do when users upload several screenshots?
Add multiple, append each File to FormData, and enforce both per-file and total-request limits on the server.


