How to Capture Frames From a Video File With Python
Extract every frame, selected frames, or a timestamped image from a video with Python using OpenCV, PyAV, or FFmpeg-based tools.

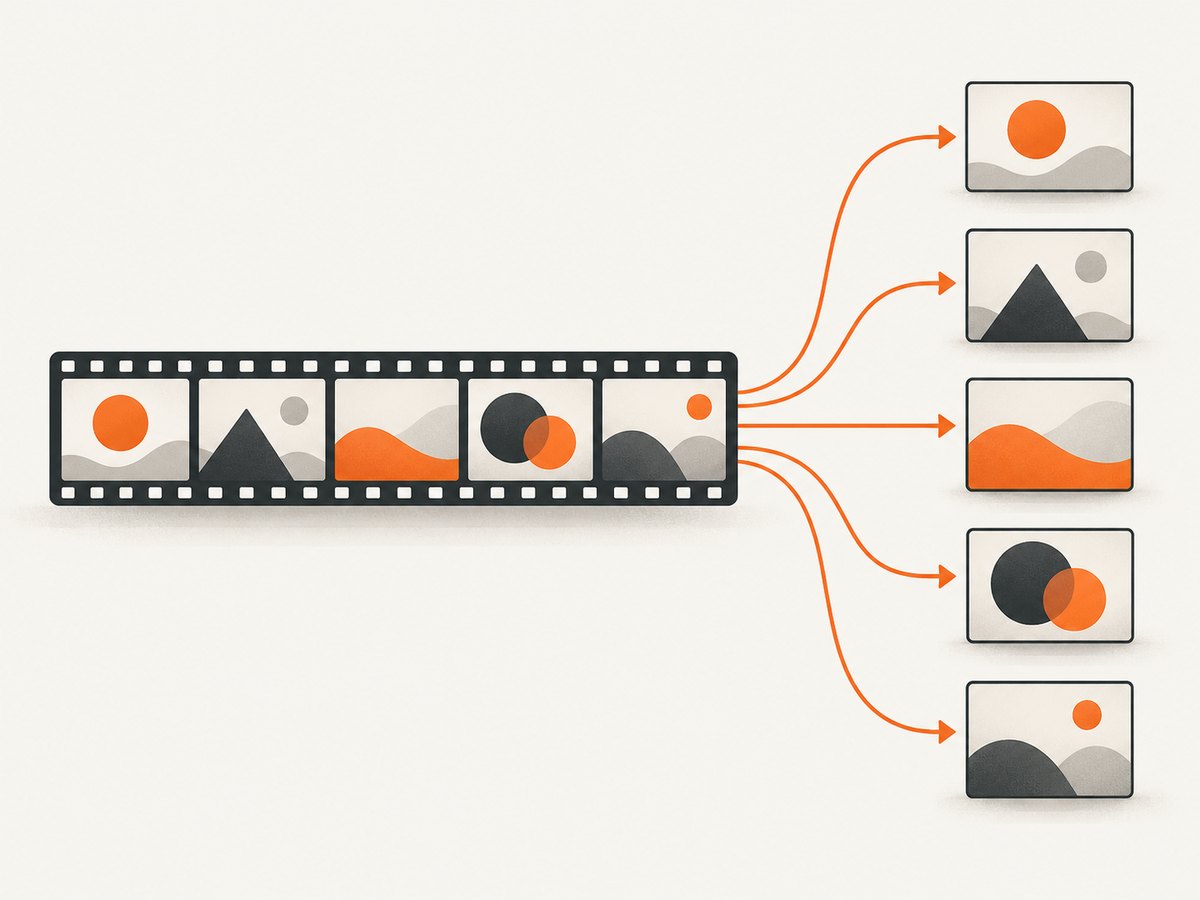
Use OpenCV when you want a dependable sequential loop: open the file with cv2.VideoCapture, call read() until it returns False, and save each decoded frame with cv2.imwrite. The success flag is the end-of-file check; do not rely only on the metadata frame count.
import cv2
from pathlib import Path

video_path = 'input.mp4'
out_dir = Path('frames')
out_dir.mkdir(parents=True, exist_ok=True)

cap = cv2.VideoCapture(video_path)
if not cap.isOpened():
    raise RuntimeError(f'Could not open {video_path}')

index = 0
try:
    while True:
        ok, frame = cap.read()
        if not ok:
            break
        written = cv2.imwrite(str(out_dir / f'frame_{index:06d}.jpg'), frame)
        if not written:
            raise RuntimeError(f'Could not write frame {index}')
        index += 1
finally:
    cap.release()

print(f'Wrote {index} frames to {out_dir}')
Install the basic dependency with python -m pip install opencv-python. OpenCV documents read() as acquiring and decoding the next frame, returning false when no frame is available. Release the capture in a finally block so files and decoder resources are closed even when writing fails. OpenCV VideoCapture documentation
1. Install and inspect the video
For a quick inspection, read the metadata exposed by the backend:
import cv2

cap = cv2.VideoCapture('input.mp4')
if not cap.isOpened():
    raise RuntimeError('Could not open input.mp4')

fps = cap.get(cv2.CAP_PROP_FPS)
frame_count = cap.get(cv2.CAP_PROP_FRAME_COUNT)
width = cap.get(cv2.CAP_PROP_FRAME_WIDTH)
height = cap.get(cv2.CAP_PROP_FRAME_HEIGHT)
print({'fps': fps, 'frame_count': frame_count, 'size': (width, height)})
cap.release()
These values are useful for planning output, but they are backend and format dependent. Treat them as estimates and stop the actual decode loop when read() returns false. OpenCV exposes frame-position and backend properties, but its documentation does not promise identical seeking precision for every codec or operating-system build. OpenCV video I/O flags
2. Save every frame with OpenCV
The first example writes JPEG files. Choose PNG when you need lossless output or an alpha-capable workflow, and adjust JPEG quality when disk space matters.
import cv2
from pathlib import Path

cap = cv2.VideoCapture('input.mp4')
if not cap.isOpened():
    raise RuntimeError('Could not open input.mp4')

out_dir = Path('frames')
out_dir.mkdir(exist_ok=True)
index = 0
try:
    while True:
        ok, frame = cap.read()
        if not ok:
            break
        path = out_dir / f'frame_{index:06d}.jpg'
        if not cv2.imwrite(str(path), frame, [cv2.IMWRITE_JPEG_QUALITY, 92]):
            raise RuntimeError(f'Failed to write {path}')
        index += 1
finally:
    cap.release()
OpenCV frames are NumPy arrays in BGR channel order. Convert to RGB before passing one to a library that expects RGB:
rgb = cv2.cvtColor(frame, cv2.COLOR_BGR2RGB)3. Extract every nth frame
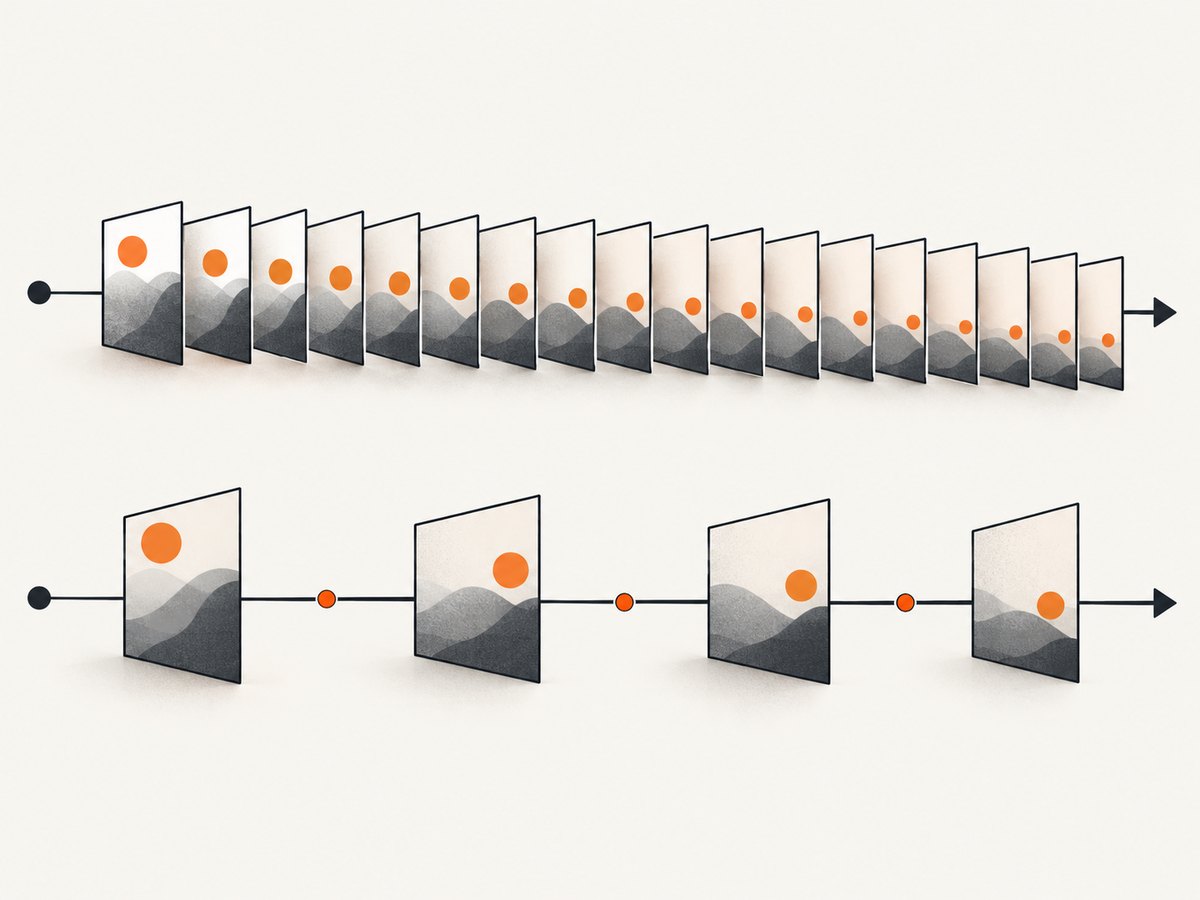
To keep one frame out of every ten, increment a counter while decoding and write only matching indexes. The video still has to be decoded sequentially, but you avoid storing or writing unwanted images.
import cv2
from pathlib import Path

step = 10
cap = cv2.VideoCapture('input.mp4')
if not cap.isOpened():
    raise RuntimeError('Could not open input.mp4')
out_dir = Path('sampled')
out_dir.mkdir(exist_ok=True)

index = 0
saved = 0
try:
    while True:
        ok, frame = cap.read()
        if not ok:
            break
        if index % step == 0:
            cv2.imwrite(str(out_dir / f'frame_{index:06d}.jpg'), frame)
            saved += 1
        index += 1
finally:
    cap.release()
print(f'Decoded {index}; saved {saved}')
4. Sample by elapsed time
If you want one image every two seconds, compare the decoded frame position with the target interval. This sequential approach avoids assuming that timestamp seeking is frame-perfect.
import cv2
from pathlib import Path

interval_seconds = 2.0
cap = cv2.VideoCapture('input.mp4')
if not cap.isOpened():
    raise RuntimeError('Could not open input.mp4')
fps = cap.get(cv2.CAP_PROP_FPS)
if not fps or fps <= 0:
    raise RuntimeError('The backend did not provide a usable frame rate')

out_dir = Path('time-samples')
out_dir.mkdir(exist_ok=True)
next_time = 0.0
index = 0
try:
    while True:
        ok, frame = cap.read()
        if not ok:
            break
        current_time = index / fps
        if current_time + 1e-9 >= next_time:
            cv2.imwrite(str(out_dir / f'{current_time:010.3f}.jpg'), frame)
            next_time += interval_seconds
        index += 1
finally:
    cap.release()
5. Capture one frame near a timestamp
OpenCV can request a time position, but exact results depend on the file, codec, and backend. Check the returned frame position and validate the image rather than assuming an exact seek.
import cv2

seconds = 12.5
cap = cv2.VideoCapture('input.mp4')
if not cap.isOpened():
    raise RuntimeError('Could not open input.mp4')
try:
    cap.set(cv2.CAP_PROP_POS_MSEC, seconds * 1000)
    ok, frame = cap.read()
    if not ok:
        raise RuntimeError('No frame was decoded at the requested position')
    cv2.imwrite('frame-near-12.5s.jpg', frame)
    print('Decoded position (ms):', cap.get(cv2.CAP_PROP_POS_MSEC))
finally:
    cap.release()
For FFmpeg-oriented timestamp capture, ffmpegio documents ffmpegio.image.read with an ss timestamp and multi-frame reads with ffmpegio.video.read. ffmpegio documentation
6. Use PyAV for FFmpeg-level control
PyAV exposes containers, streams, packets, codecs, and decoded frames. It is useful when OpenCV hides a detail you need, or when you want PIL images or NumPy arrays directly.
import av
from pathlib import Path

out_dir = Path('pyav-frames')
out_dir.mkdir(exist_ok=True)

with av.open('input.mp4') as container:
    stream = container.streams.video[0]
    for index, frame in enumerate(container.decode(stream)):
        image = frame.to_image()
        image.save(out_dir / f'frame_{index:06d}.jpg', quality=92)
VideoFrame.to_image() creates a PIL image and to_ndarray() creates a NumPy array. Install the conversion dependencies when needed. PyAV documentation
7. Other Python choices
| Tool | Use it when | Output and limits |
|---|---|---|
| OpenCV | You need a straightforward decode, process, and save loop. | NumPy arrays in BGR order; backend behavior varies. |
| PyAV | You need containers, streams, packets, codecs, or direct FFmpeg access. | PIL and NumPy conversions are available with the relevant dependencies. |
| imageio-ffmpeg | You prefer a generator around an FFmpeg subprocess. | read_frames() accepts filenames rather than file-like objects; frames cross a pipe. Project documentation |
| ffmpegio | Your workflow centers on timestamp capture or reading a requested frame count into NumPy. | FFmpeg-oriented image and video APIs. Documentation |
| ImageIO | You want a high-level iterator and are using its PyAV plugin. | See the project’s video iteration examples. Examples |
8. Handle common edge cases
- Variable frame rate: frame number divided by one FPS is not a reliable presentation timestamp. Prefer decoded timestamps through a tool that exposes them when timing matters.
- Rotation metadata: some phone videos store rotation as metadata. Check the rendered orientation and apply a rotation only when your chosen backend does not do so.
- Non-video files: a path can exist while the decoder cannot open it. Check
isOpened()and inspect the container with an FFmpeg-based tool. - Corrupt frames: continue only if skipping damaged frames is acceptable; otherwise stop and record the index for investigation.
- Huge videos: never append every frame to a list unless you have bounded memory. Process and write one frame at a time.
- Filenames: use zero-padded indexes so lexical ordering matches video order.
- Color: OpenCV writes BGR arrays correctly through
imwrite; convert to RGB for PIL, matplotlib, or other RGB APIs.
9. Troubleshooting
| Symptom | Likely cause | Fix |
|---|---|---|
isOpened() is false |
Missing codec, wrong path, permissions, or unsupported container. | Use an absolute path, verify permissions, inspect the file with an FFmpeg-based tool, or try PyAV. |
| The loop saves zero frames | The backend opened metadata but could not decode the stream. | Check the selected video stream and installed codec support; test with PyAV. |
| Only the first frame is saved | The loop exits after one read or reuses an overwritten output name. | Keep the loop around read() and include the frame index in each filename. |
| Timestamp is slightly off | Keyframe seeking and backend precision vary. | Seek near the target, decode forward, and choose the frame whose presentation timestamp is closest. |
| Images look rotated or have wrong colors | Rotation metadata or BGR/RGB mismatch. | Inspect orientation metadata and convert with cv2.cvtColor when handing frames to RGB code. |
imwrite returns false |
Output directory does not exist or the extension/codec is unavailable. | Create the directory, use a supported extension, and check the returned boolean. |
| Memory usage keeps growing | Frames are retained in a list or cache. | Write or process each frame immediately and delete references after use. |
10. Performance, reliability, and storage
- Decode cost: saving every frame requires decoding every frame. Sampling every nth frame reduces encoding and disk work, but sequential decoding may still be necessary.
- Disk cost: uncompressed or high-quality images can exceed the source video’s size. Use JPEG quality settings for ordinary previews and PNG for lossless requirements.
- Parallelism: split independent videos across processes when storage can keep up. Splitting one compressed video into arbitrary byte ranges is unsafe without container-aware tooling.
- Durability: write to a temporary filename and rename after a successful write when downstream jobs must never see partial files.
- Reproducibility: record the input path, decoder/backend, frame index, requested timestamp, output format, and quality settings alongside the extracted images.
- Validation: count outputs, verify that files can be reopened, and log failed frame indexes.
11. Or skip the browser setup
This article is about local video files. If the thing you need is a screenshot of a web page rather than a decoded video frame, ScreenshotNeo provides a single GET request that returns PNG, JPEG, WebP, or PDF.
Cookie and consent banners are accepted and removed before capture, along with more than 60 known consent platforms, newsletter popups, and chat widgets. Bot checks, blank pages, timeouts, failed loads, and cache hits are not billed, and the response identifies the result with X-Page-Verdict and X-Billed headers. Its MCP server provides take_screenshot, get_page_info, and capture_pdf for Claude, Cursor, and other MCP clients. The free plan includes 1,000 screenshots per month without a card; paid plans start at $5 for 3,000 shots.
See the ScreenshotNeo API documentation for all options.
curl -G 'https://api.screenshotneo.com/v1/shot' \
  -d access_key=YOUR_API_KEY \
  --data-urlencode url=https://stripe.com \
  -o shot.webp
import requests
r = requests.get(
'https://api.screenshotneo.com/v1/shot',
params={'access_key': 'YOUR_API_KEY', 'url': 'https://stripe.com'},
timeout=90,
)
r.raise_for_status()
open('shot.webp', 'wb').write(r.content)const q = new URLSearchParams({ access_key: 'YOUR_API_KEY', url: 'https://stripe.com' });
const res = await fetch(`https://api.screenshotneo.com/v1/shot?${q}`);Create a free ScreenshotNeo account and get 1,000 screenshots a month with no card.
12. FAQ
Should I use OpenCV or PyAV?
Use OpenCV for a simple sequential loop. Choose PyAV when you need FFmpeg container and stream control or direct PIL and NumPy conversions.
Can I extract a frame without decoding the whole video?
Some formats support efficient keyframe seeking, but exact timestamp behavior depends on the codec and backend. Decode forward from a nearby seek point when accuracy matters.
What does read() returning false mean?
No frame was grabbed. It commonly means end of file, but can also indicate a decode or backend error, so log the index and verify the input when the result is unexpected.
How do I avoid filling memory?
Process each frame inside the decode loop and write only the frames you need. Do not accumulate the entire video in a Python list.


