How to Capture a vis.js Timeline in a Website Screenshot
Capture a vis.js Timeline reliably with Playwright or Puppeteer, choose the right boundary, set a deterministic view, and avoid clipped or incomplete output.
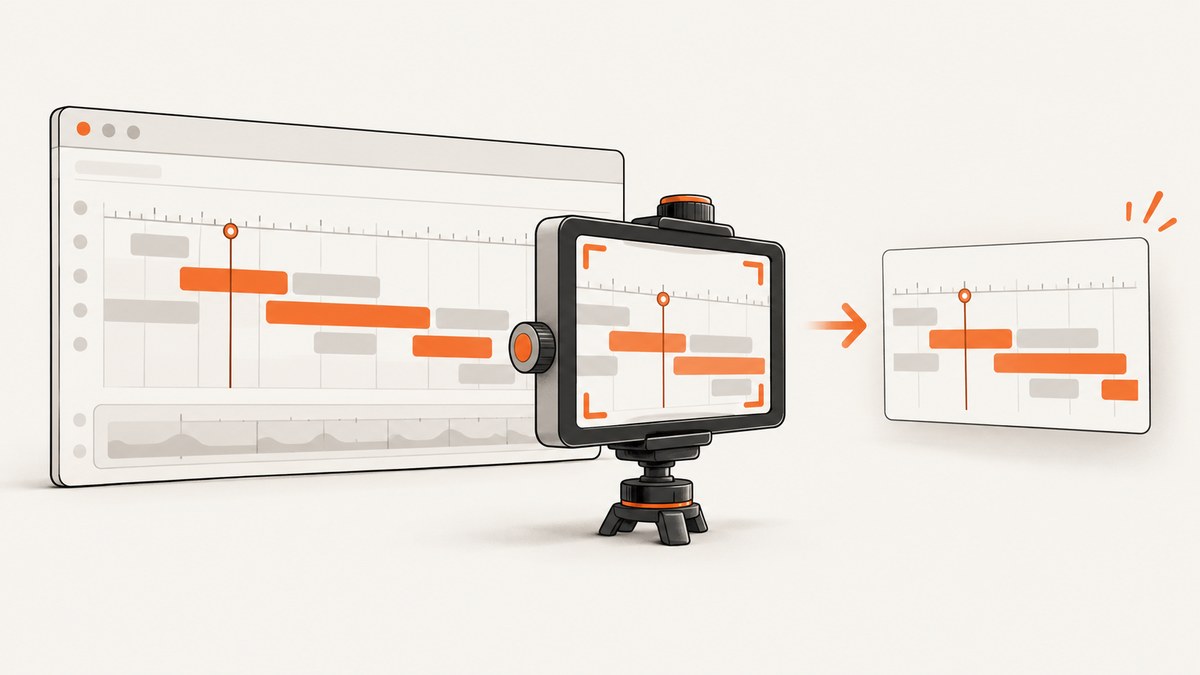
Direct answer: capture a vis.js Timeline with a browser automation screenshot. A vis-timeline is rendered as regular HTML DOM, so Playwright and Puppeteer can capture its element, the current viewport, or the full page. Before taking the shot, set the timeline’s intended date window and container size, wait for your page’s data and custom rendering to finish, then capture the boundary that matches your goal.
The most reliable workflow is:
- Load the page in a pinned browser version.
- Wait until the Timeline has been created and its data is ready.
- Set a deterministic visible range with the Timeline API when necessary.
- Choose an element, viewport, or full-page screenshot.
- Inspect the image for clipped labels, scrollbars, missing templates, and the wrong date range.
vis-timeline’s documentation explains that the Timeline uses regular HTML DOM to render the timeline and items. That rendering model makes a browser screenshot the natural general-purpose method. See the vis-timeline documentation, the Playwright screenshot guide, and the Puppeteer screenshot guide.
Choose the screenshot boundary
Your first decision is what should appear in the output.
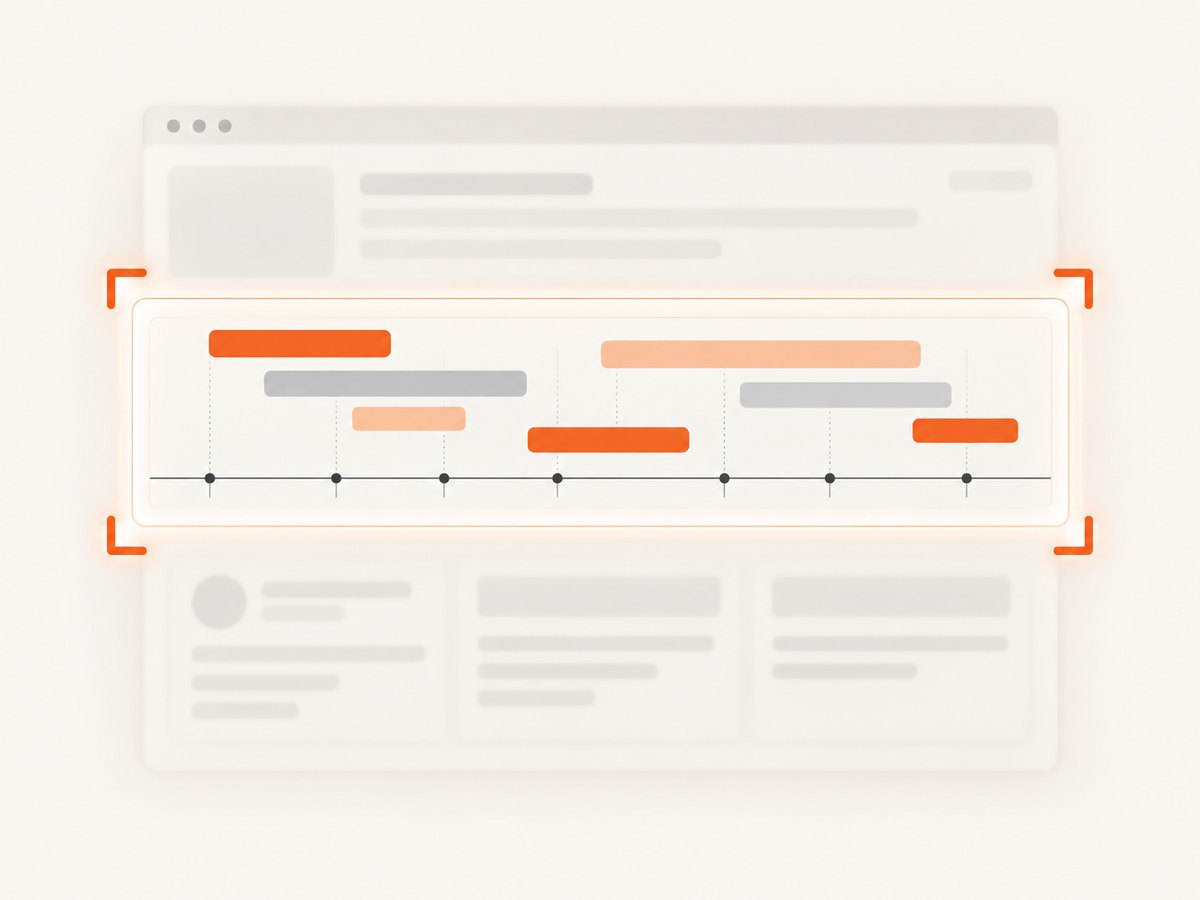
| Boundary | Use it when | Typical API | Watch for |
|---|---|---|---|
| Timeline element | You need only the chart, including its axis and items. | locator.screenshot() or an element handle screenshot |
The element must have a stable size; internal overflow can still clip content. |
| Viewport | The surrounding page, controls, title, legend, or filters are part of the result. | page.screenshot() |
Anything below the viewport is excluded. |
| Full page | The page extends below the fold and the complete document is required. | page.screenshot({ fullPage: true }) |
Very tall pages can be slow and may expose sticky headers repeatedly or reveal lazy content. |
For a report or social image, element capture is usually the cleanest boundary. For a support ticket or audit record, viewport or full-page capture may preserve the controls and context needed to interpret the timeline.
Prepare the vis.js Timeline for a deterministic shot
A screenshot records the state that is visible at capture time. The same URL can produce different images if the date range, data, viewport, fonts, or animation state changes. Make those inputs explicit.
Set the container dimensions
Give the Timeline a predictable width and height in CSS. If its parent has no height, the chart can collapse or calculate an unexpected size.
<style>
  #visualization {
    width: 1200px;
    height: 520px;
    border: 1px solid #d8dee9;
  }
</style>
<div id="visualization"></div>
Use a fixed capture viewport that matches the layout you want. If the timeline is responsive, set the viewport before navigation and avoid resizing it after the Timeline initializes.
Set the visible date window
vis-timeline provides options for dimensions and methods for controlling the visible window. Set a known start and end so a repeat capture does not depend on the browser’s initial range or the current date.
const options = {
  width: '100%',
  height: '520px',
  start: '2024-01-01',
  end: '2024-03-01',
  zoomMin: 1000 * 60 * 60 * 24,
  zoomMax: 1000 * 60 * 60 * 24 * 365
};

const timeline = new vis.Timeline(
  document.getElementById('visualization'),
  items,
  options
);

timeline.setWindow(
  new Date('2024-01-15T00:00:00Z'),
  new Date('2024-02-15T00:00:00Z'),
  { animation: false }
);
Use the date and timezone that your application intends to show. A local date string can be interpreted differently across environments; ISO timestamps with an explicit offset or Z are easier to reproduce.
Make application readiness observable
There is no universal vis-timeline readiness call that covers every site’s network requests, custom item templates, fonts, and application state. Add a site-specific signal after your data and rendering work completes.
timeline.on('changed', () => {
  document.documentElement.dataset.timelineReady = 'true';
});
For a more explicit application signal, set it after the fetch, item transformation, and any custom DOM work have completed:
await loadTimelineData();
renderCustomLegend();
document.documentElement.dataset.captureReady = 'true';
Your automation should wait for that signal rather than relying only on a fixed delay. A delay can be useful for a known animation, but it is less reliable when network or data latency varies.
Playwright: complete JavaScript example
Install Playwright, then run this script with a URL containing your Timeline. Replace the selector and readiness condition with those used by your site.
import { chromium } from 'playwright';

const browser = await chromium.launch();
const page = await browser.newPage({
  viewport: { width: 1440, height: 900 },
  deviceScaleFactor: 1
});

await page.goto('https://example.com/timeline', {
  waitUntil: 'domcontentloaded'
});

await page.locator('#visualization').waitFor({ state: 'visible' });
await page.locator('[data-testid="timeline-data-ready"]').waitFor({
  state: 'attached',
  timeout: 30000
});

// Element-only capture: the chart and its own axis/items.
await page.locator('#visualization').screenshot({
  path: 'timeline-element.png',
  animations: 'disabled'
});

// Viewport capture: include page controls and surrounding context.
await page.screenshot({
  path: 'timeline-viewport.png',
  animations: 'disabled'
});

// Full-page capture: include content below the fold.
await page.screenshot({
  path: 'timeline-full-page.png',
  fullPage: true,
  animations: 'disabled'
});

await browser.close();
Playwright documents all three scopes. locator.screenshot() captures a specific element; page.screenshot() captures the viewport, and fullPage: true captures the full scrollable page.
Hide capture-only controls
If filters or hover tooltips should not appear, add a capture class and hide those selectors immediately before the screenshot.
await page.addStyleTag({
  content: `
    .capture-only-hide,
    .vis-tooltip,
    .chat-widget { display: none !important; }
  `
});
Do not hide the timeline container itself or its internal scroll regions. If a tooltip is required to explain an item, trigger the hover deliberately and capture the viewport after the tooltip is visible.
Puppeteer: complete JavaScript example
import puppeteer from 'puppeteer';

const browser = await puppeteer.launch({ headless: 'new' });
const page = await browser.newPage();
await page.setViewport({ width: 1440, height: 900, deviceScaleFactor: 1 });

await page.goto('https://example.com/timeline', {
  waitUntil: 'domcontentloaded'
});

await page.waitForSelector('#visualization', { visible: true });
await page.waitForFunction(() =>
  document.documentElement.dataset.captureReady === 'true'
);

const timeline = await page.$('#visualization');
if (!timeline) throw new Error('Timeline element was not found');

await timeline.screenshot({ path: 'timeline-element.png' });
await page.screenshot({ path: 'timeline-viewport.png' });
await page.screenshot({ path: 'timeline-full-page.png', fullPage: true });

await browser.close();
Puppeteer’s element screenshot method follows the same model. The selector and readiness logic are site-specific; the browser captures whatever DOM state exists when the command runs.
Useful capture options and related configuration
Scale and output size
A higher device scale factor produces more pixels for sharper labels, but increases memory and file size. Keep the viewport and scale fixed between runs. If you need a smaller asset, resize the resulting image rather than changing the Timeline’s layout unexpectedly.
Animations and transitions
Animated item movement, CSS transitions, blinking cursors, and auto-advancing ranges can create inconsistent output. Disable animations with a capture stylesheet or the automation framework’s animation controls. If the Timeline is intentionally animated, wait for a known frame and capture immediately.
Fonts and external resources
Wait for the fonts your design depends on and verify that external images and icons have loaded. A page can report that its main data is ready while a web font is still changing text widths. If font loading matters, use an application readiness signal that includes it, and keep the browser environment consistent.
Custom item templates
Custom HTML inside items can be clipped by item overflow, narrow groups, or a fixed Timeline height. Test long labels, links, badges, and images. If an item intentionally extends outside its box, element capture may still crop it at the Timeline boundary; capture a larger parent or adjust the CSS.
Scrolling and lazy content
Full-page capture can trigger layout work as the browser scrolls. For a Timeline with internal horizontal scrolling, set the scroll position before capture. If the page loads data only after entering the viewport, scroll to the relevant region, wait for its readiness signal, then capture.
Capturing only the Timeline versus the whole page
Use an element screenshot when the Timeline is the deliverable. It excludes navigation, unrelated whitespace, and page-level cookie controls. Use a viewport screenshot when the reader needs to see the selected filters, title, or explanatory text. Use full-page capture for an archival record where the Timeline is one section of a longer page.
When an element screenshot contains an unexpected scrollbar, inspect both the Timeline’s CSS and its parent. The chart may be correctly sized while an ancestor has overflow: auto, or the requested date range may be wider than the available width. Decide whether the scrollbar is part of the intended state; otherwise set dimensions and overflow explicitly.
Edge cases to handle before shipping screenshots
- Empty data: distinguish an intentionally empty Timeline from a failed request. Mark the page ready only after the application knows which state it is displaying.
- Very dense ranges: a year of events in a narrow viewport can make labels unreadable. Increase width, narrow the date window, or capture at a higher scale.
- Timezone changes: browser timezone affects date formatting and boundary positions. Set a fixed timezone in your test or capture environment when the exact labels matter.
- Responsive breakpoints: the same selector may have different height and group layout at mobile widths. Create separate capture profiles with explicit viewports.
- Cross-origin resources: missing fonts, images, or API responses can change the visual result. Check browser logs and network responses instead of assuming the Timeline code is at fault.
- Sticky headers: full-page screenshots can include a fixed header over multiple sections. Capture the Timeline element or apply a capture-only style if repeated headers are not wanted.
- Interaction state: selected items, expanded groups, and hover details are part of the screenshot state. Set them through the page API or deliberate pointer actions before waiting for readiness.
Troubleshooting
| Symptom | Likely cause | Fix |
|---|---|---|
| Blank or tiny image | The container has no computed height or the Timeline has not initialized. | Set an explicit height, wait for the container to be visible, and wait for your data-ready signal. |
| Wrong date range | The initial range is automatic or depends on current time. | Call setWindow with explicit timestamps and disable range animation. |
| Items are missing | Data fetch or custom template rendering is still in progress. | Wait for the application’s completion signal and inspect failed network requests. |
| Labels are clipped | The element boundary, item overflow, or viewport is too small. | Increase dimensions, adjust CSS, narrow the range, or capture a larger parent. |
| Screenshot times out | The selector or readiness condition never appears. | Confirm the URL and selector, inspect the page for an error state, and use a bounded timeout with a useful diagnostic. |
| Output differs between runs | Fonts, animations, timezone, data order, or browser versions vary. | Pin the browser, fix the viewport and timezone, disable animations, and sort data deterministically. |
| Full-page output is extremely tall | Long page content or an expanding layout is included. | Capture the Timeline element or viewport, or constrain the page’s capture-only layout. |
| Tooltip appears in one run only | Pointer position or hover timing differs. | Remove hover state or trigger it explicitly and wait for the tooltip element. |
Performance, reliability, and cost
Browser startup is often the largest fixed cost in a small capture job. Reuse a browser process for multiple URLs, create isolated pages for each capture, and close pages in a finally block. Avoid unbounded retries: a page that is blocked or permanently failing should be recorded as a failed capture with diagnostics.
For repeatability, pin the automation package and browser revision, fix viewport and device scale, use deterministic data, and record the URL, date window, browser version, and readiness condition alongside the image. Compare images only after these inputs are stable.
For reliability, distinguish navigation success from application readiness. A 200 response does not prove that the Timeline’s data or templates rendered. Capture console errors, failed requests, and a small HTML diagnostic when a job fails. Set a total timeout and retry transient navigation failures with backoff, while avoiding duplicate side effects in pages that submit forms.
For cost, self-hosted Playwright or Puppeteer costs the compute and browser resources you operate. A hosted screenshot API can remove browser setup and provide controls for waiting, headers, cookies, blocking resources, caching, and asynchronous jobs. Pick the boundary and readiness strategy first; then choose the execution model that fits your volume and operational constraints.
Or skip the browser setup
ScreenshotNeo captures a rendered URL with one GET request. The same request works for a vis.js Timeline page; use the page URL and the options you need. See the ScreenshotNeo API documentation for the full parameter list.
cURL
curl -G "https://api.screenshotneo.com/v1/shot" -d access_key=YOUR_API_KEY --data-urlencode url=https://example.com/timeline -o timeline.webpPython
import requests

r = requests.get("https://api.screenshotneo.com/v1/shot", params={"access_key": "YOUR_API_KEY", "url": "https://example.com/timeline"}, timeout=90)
r.raise_for_status()
open("timeline.webp", "wb").write(r.content)
Node.js
const q = new URLSearchParams({ access_key: 'YOUR_API_KEY', url: 'https://example.com/timeline' });
const res = await fetch(`https://api.screenshotneo.com/v1/shot?${q}`);
if (!res.ok) throw new Error(`Screenshot failed: ${res.status}`);
const buffer = Buffer.from(await res.arrayBuffer());
await import('node:fs/promises').then(fs => fs.writeFile('timeline.webp', buffer));
ScreenshotNeo can capture the full page, one element by CSS selector, a chosen viewport or device preset, and a retina-scale image. Its 63 options include custom CSS and JavaScript, click actions, waiting for a selector, delay or network idle, custom headers and cookies, timezone and geolocation, blocked resource types, image resizing, caching with a TTL you choose, async jobs with signed webhooks, and bulk capture for up to 100 URLs per call. Use custom JavaScript to set the Timeline’s range or mark the page ready before capture when the target page exposes the necessary objects.
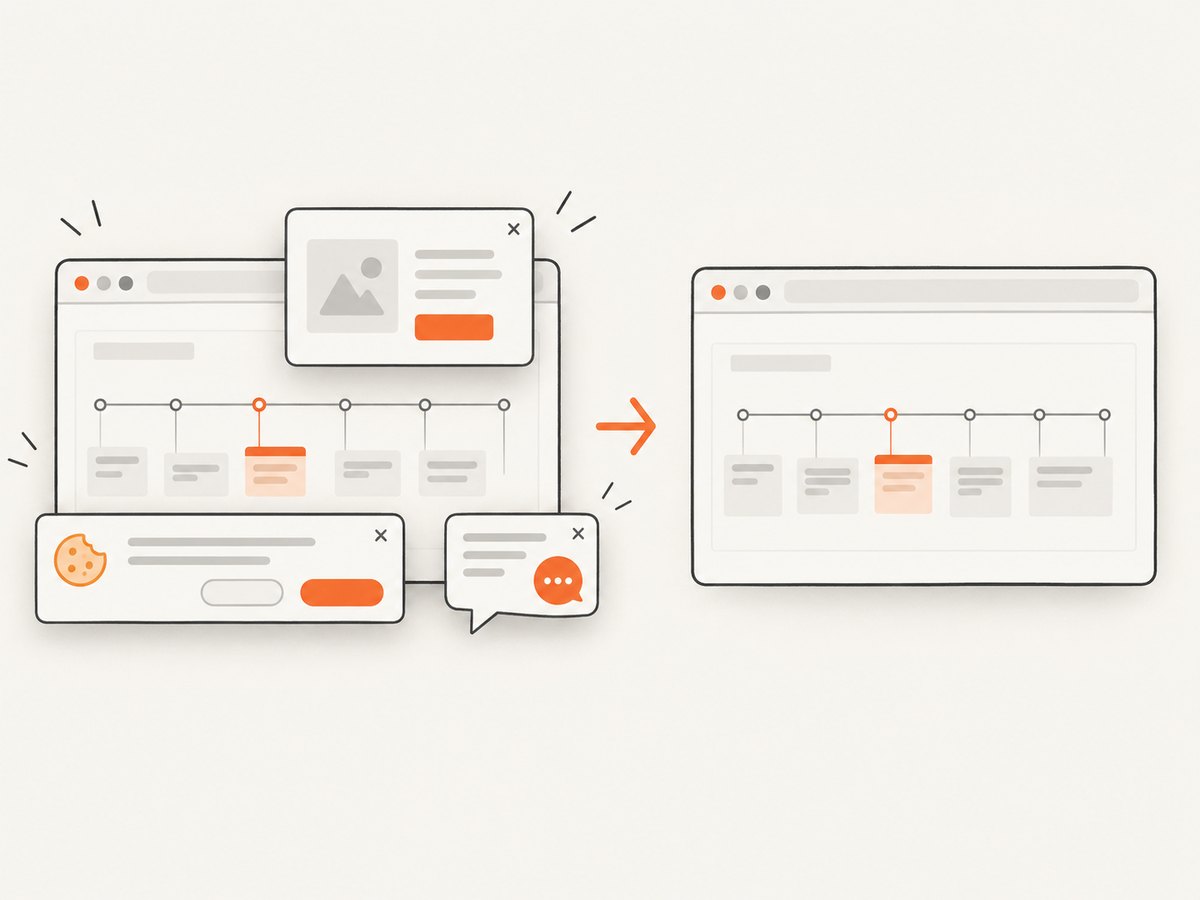
Cookie and consent banners are accepted before capture, and more than 60 known consent platforms, newsletter popups, and chat widgets are removed. Bot checks and CAPTCHAs, blank pages, timeouts, failed loads, and cache hits cost nothing; the response reports the result with X-Page-Verdict and X-Billed headers. An MCP server provides take_screenshot, get_page_info, and capture_pdf tools for Claude, Cursor, and other MCP clients. The Free plan includes 1,000 shots each month without a card; paid plans start at $5 for 3,000 shots, and every feature is available on every plan. Create a free ScreenshotNeo account.
Short FAQ
Can I capture only one vis.js group?
Browser screenshot APIs capture DOM elements, so you can target a group or custom wrapper if your page exposes one. vis-timeline’s standard group rendering may require a dedicated wrapper or capture-only layout when you need a single group.
Should I use full-page capture for a horizontally wide Timeline?
Full-page capture extends vertically, not horizontally. Set a wide viewport or capture the Timeline element at the width required by the date range.
Why does a screenshot show the loading state?
Navigation completion and Timeline readiness are different events. Wait for an application-specific marker that is set after data, templates, fonts, and required controls are ready.
Can screenshots be pixel-identical across machines?
The documented APIs provide capture controls but do not promise cross-browser pixel identity. Pin the browser and fonts, fix timezone and viewport, and validate output in the environment where images will be generated.
What should I save when a capture fails?
Save the URL, browser and package versions, viewport, date window, console errors, failed requests, and a diagnostic screenshot or HTML snapshot. That information usually separates a page-state problem from an automation problem.


