How to Capture Webpages as WebP Images with cURL
cURL can download image files, but it cannot render a webpage. Learn when to use cwebp, when to use Playwright, and how to save a rendered page as WebP.
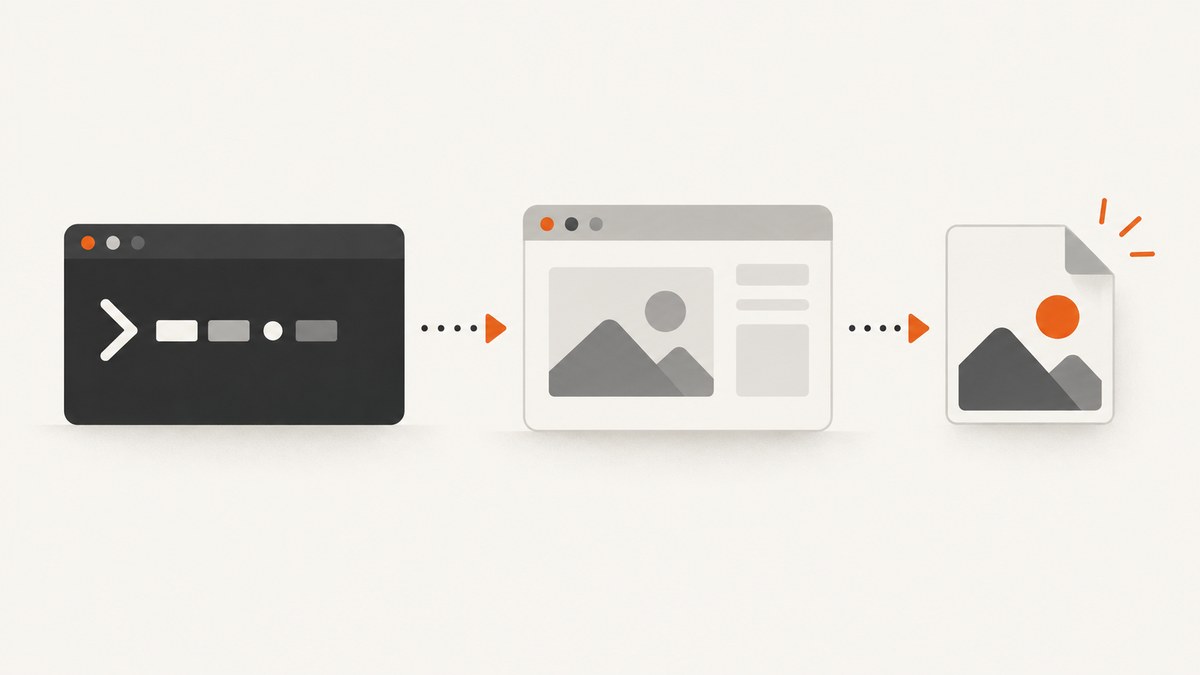
Short answer: cURL can download an existing image from a URL, but it cannot take a visual screenshot of a webpage. It transfers response bytes; it does not render HTML, apply CSS, or run page JavaScript. To save an actual rendered webpage as WebP, open it in a browser automation tool such as Playwright and request a WebP screenshot. If you already have an image file, download it with cURL and convert it with Google’s cwebp encoder.
This distinction determines the right workflow. A URL ending in an image resource can be fetched and converted. A URL serving a webpage needs a browser if the result must show its layout and rendered content. Renaming HTML to .webp does not convert it.
1. Understand what cURL can and cannot do
cURL is a command-line tool for transferring data to and from URLs. Its manual explains that it does not parse or understand the content it receives or writes, and does not encode or decode content unless asked through a dedicated option. The URL may point to a webpage, an image, or another file; cURL saves the server’s response, not a picture of what a browser would display. See the official cURL manual and HTTP scripting guide.
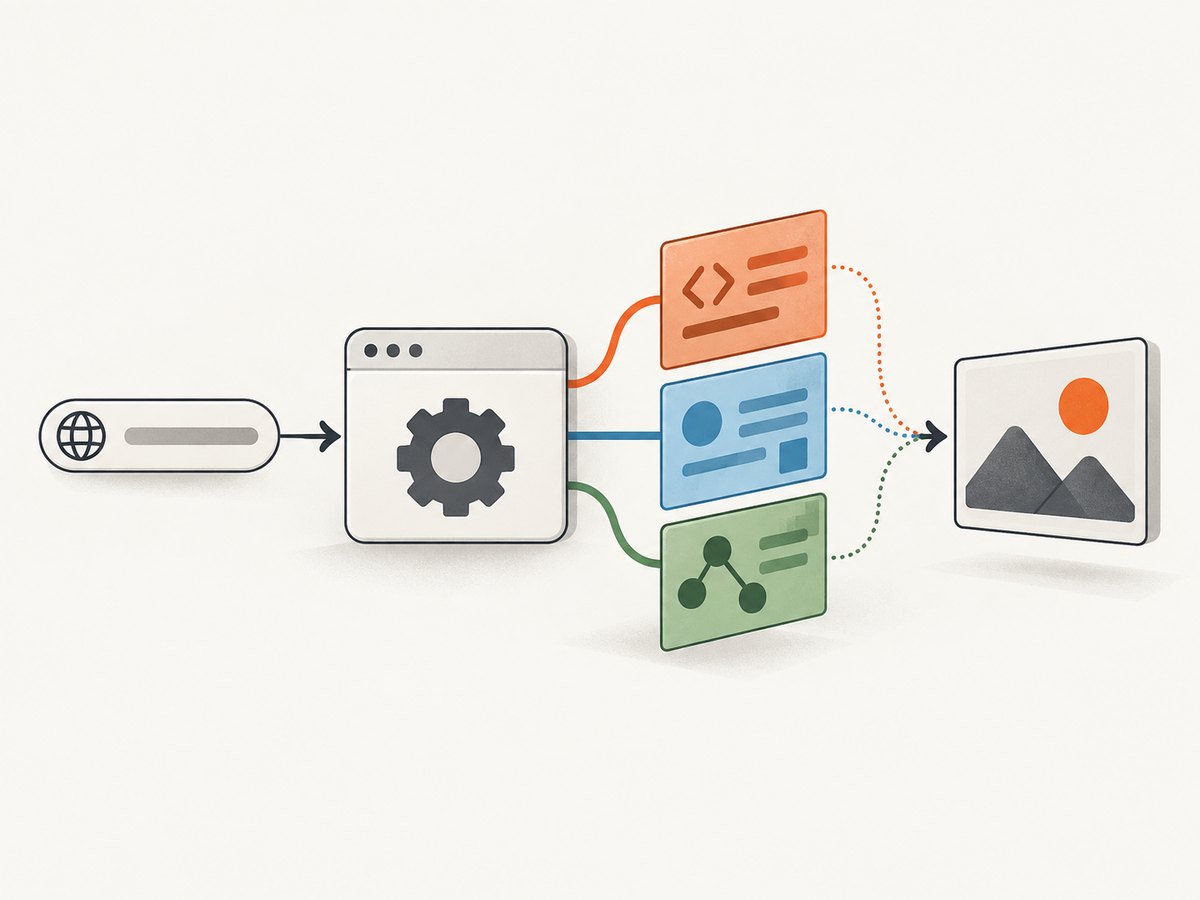
| Input URL | What cURL returns | What to use for a WebP result |
|---|---|---|
| Direct image URL | The image’s response bytes | cURL, then cwebp |
| HTML page URL | HTML response bytes, perhaps incomplete without browser execution | Playwright or a screenshot API |
| Page with JavaScript, CSS, fonts, or lazy content | Does not run or lay out the page | Browser rendering, then WebP screenshot output |
Use the first workflow when you need an image the site already publishes. Use the second when you need a visual capture of the page as a visitor sees it.
2. Download an existing image and convert it to WebP
Install cURL and the libwebp tools for your operating system. The command-line encoder in that toolkit is cwebp. Confirm both commands are available:
curl --version
cwebp -version
Download the image, follow redirects, then encode it:
curl -L "https://example.com/image.jpg" -o image.jpg
cwebp -q 80 image.jpg -o image.webp
-L tells cURL to follow HTTP redirects. -o writes the downloaded response to the specified file. -q 80 asks cwebp for lossy quality 80 on its 0–100 scale; it is a starting point, not a universal setting. cwebp accepts JPEG, PNG, and TIFF inputs. Its options include quality, lossless encoding, crop, resize, and output selection; consult the cwebp command reference for the complete syntax.
Check the download before converting
A URL that looks like an image URL may return an HTML error page, a login screen, or a redirect destination. Inspect the response headers and file type before treating it as an image:
curl -L -D response-headers.txt \
  "https://example.com/image.jpg" \
  -o downloaded-image

file downloaded-image
Look for a successful HTTP status and an image content type such as image/jpeg or image/png. The file command can help identify what was actually saved. If the response is HTML, fix the URL or request requirements before encoding. cwebp cannot turn an error page into the intended image.
Choose lossy or lossless output
For ordinary photos and many web images, try lossy quality around 80, then inspect the output at its intended display size. Increase quality when artifacts are visible. For pixel-exact preservation, use lossless mode when supported by the input and acceptable for your size and processing needs:
cwebp -lossless input.png -o output.webpLossless does not mean smaller in every case; compare the resulting file sizes and inspect the image. Text, sharp edges, flat colors, and screenshots can reveal compression artifacts more readily than photographs. A higher quality value or lossless encoding may be appropriate for those images.
Resize or crop as part of conversion
If you need a smaller output, cwebp can resize or crop as it encodes. Check the tool’s documented option syntax for your installed version. Resizing changes image dimensions; it is not the same as reducing WebP quality. Decide whether your target requires the complete source image before cropping it.
Google describes WebP as supporting lossy and lossless compression, transparency, and animation. Its published guidance reports WebP images about 30% smaller than comparable JPEG and PNG images at equivalent visual quality. Treat that as Google’s documented comparison, not a guaranteed saving for every input. See Google’s WebP documentation.
3. Capture the rendered webpage with Playwright
For an actual page screenshot, use a browser engine. Playwright launches Chromium, navigates to the page, waits for a chosen readiness condition, and saves a screenshot. Its screenshot API supports full-page capture and WebP output. This is the browser-based approach because it evaluates page scripts and lays out content before capture.
Install and run the example
Use a current Node.js installation. In a new project directory, initialize the project and install Playwright:
npm init -y
npm install playwright
npx playwright install chromium
Save this as capture.mjs:
import { chromium } from 'playwright';

const browser = await chromium.launch();
try {
  const page = await browser.newPage({ viewport: { width: 1440, height: 900 } });
  await page.goto('https://example.com', { waitUntil: 'networkidle', timeout: 60000 });
  await page.screenshot({
    path: 'page.webp',
    fullPage: true,
    type: 'webp',
    quality: 90,
  });
} finally {
  await browser.close();
}
Run it with node capture.mjs. This writes page.webp in the current directory. Playwright documents fullPage: true for capturing the full scrollable page, rather than just the viewport. WebP’s quality option applies to lossy output; Playwright documents 100 as lossless and lower values as lossy. See the Playwright screenshot documentation.
Choose a wait strategy that matches the page
networkidle waits for network activity to settle, which can work for static or mostly static pages. Some sites keep connections open or continually fetch updates, so network idle may never be reached. In that case, wait for a meaningful element or use a deliberate short delay after navigation:
await page.goto('https://example.com', { waitUntil: 'domcontentloaded' });
await page.locator('main h1').waitFor({ state: 'visible', timeout: 15000 });
await page.screenshot({ path: 'page.webp', type: 'webp', quality: 90 });
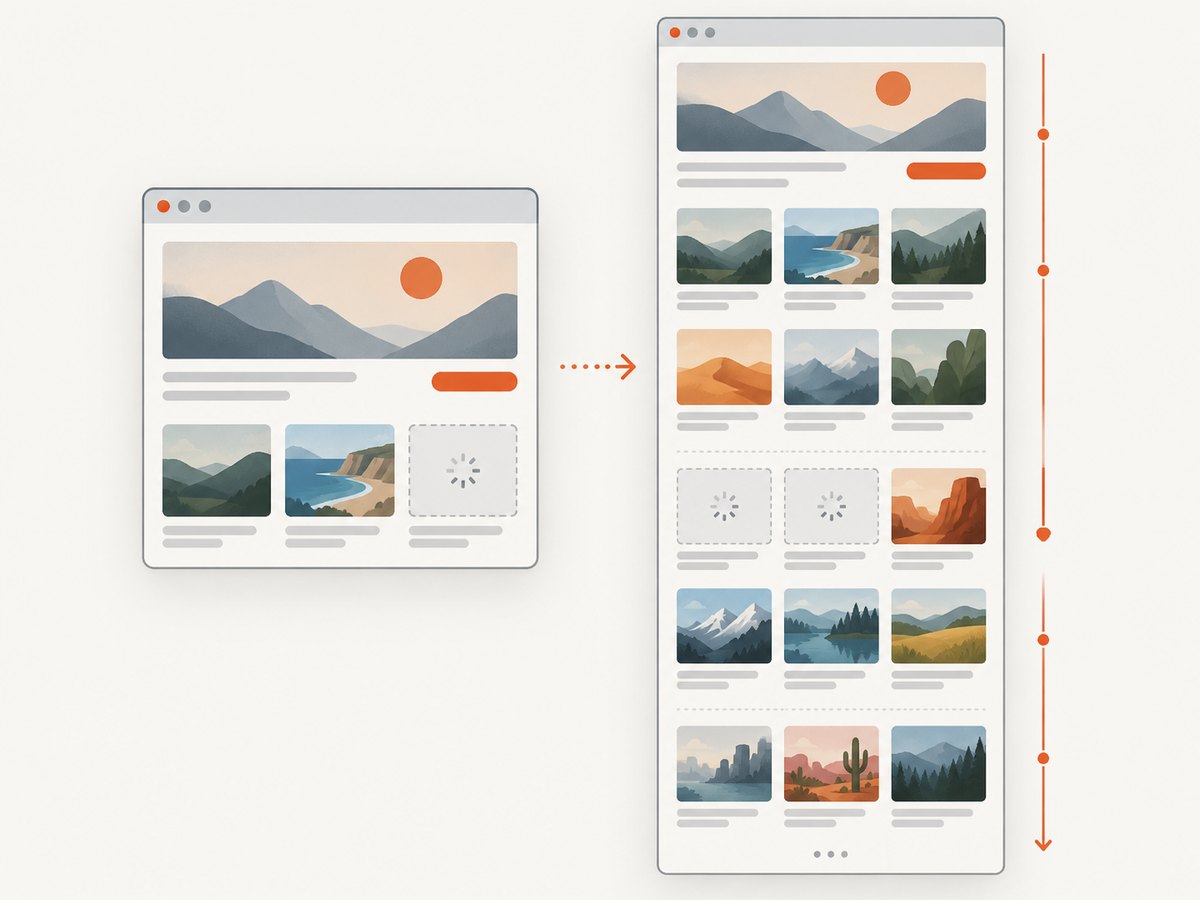
Waiting for a selector confirms that a particular element appeared; it does not guarantee every image, animation, or third-party widget has finished. For lazy-loaded images, a full-page screenshot may prompt browser layout to expose more content, but behavior varies by site. If a lower section is blank, scroll through the page before capture and wait for the relevant images or content to load.
Viewport or full page?
By default, a screenshot captures the viewport. Add fullPage: true when the deliverable needs the entire scrollable page. Full-page captures can be very tall, take longer to render and encode, and create large files. Use a viewport screenshot when you only need the initial view or when full-page output would be impractical. If only one region matters, use an element screenshot:
await page.locator('article').screenshot({
  path: 'article.webp',
  type: 'webp',
  quality: 90,
});
4. Select a workflow and WebP settings
| Need | Recommended workflow | Tradeoff |
|---|---|---|
| Convert an image already hosted by the site | cURL download plus cwebp | Simple and low overhead; does not capture page layout |
| Show JavaScript-rendered content or CSS layout | Playwright screenshot with type: 'webp' |
Requires browser installation and runtime |
| Capture only the visible area | Playwright viewport screenshot | Content below the viewport is omitted |
| Capture a long document | Playwright with fullPage: true |
Can produce unusually tall images and longer jobs |
| Preserve exact pixels from an existing image | cwebp lossless mode | Output may be larger than lossy WebP |
For lossy WebP, compare a few quality values against the same source. Review fine text, diagonal lines, logos, and image edges at the expected display size. For visual comparisons, keep the page viewport and device scale consistent. The choice between WebP and another format should follow the consuming system’s support and the required visual fidelity.
5. Or skip the browser setup
If you need a rendered WebP without installing or managing a browser, ScreenshotNeo provides a website screenshot API. One GET request accepts a URL and returns an image or PDF. The example below requests WebP; see the ScreenshotNeo API documentation for setup and available parameters.
curl -G "https://api.screenshotneo.com/v1/shot" \
  -d access_key=YOUR_API_KEY \
  --data-urlencode url=https://stripe.com \
  -d format=webp \
  -o shot.webp
ScreenshotNeo accepts cookie and consent banners like a visitor and removes more than 60 known consent platforms, newsletter popups, and chat widgets before capture; each of those steps can be turned off. Bot checks and CAPTCHAs, blank pages, timeouts, failed loads, and cache hits cost nothing, and response headers report the page verdict and billing status. Its MCP server gives AI agents tools named take_screenshot, get_page_info, and capture_pdf. The free plan includes 1,000 screenshots a month with no card; paid plans start at $5 for 3,000 screenshots.
Create a free ScreenshotNeo account to start with 1,000 screenshots a month and no card.
6. Troubleshooting
| Symptom | Likely cause | Fix |
|---|---|---|
The output named page.webp is not an image |
cURL saved HTML or another response under a WebP extension | Use a browser to render the webpage, or verify the response type before converting. |
cwebp reports an input error |
The downloaded file is not a supported image or is incomplete | Check HTTP status, content type, and file type; retry the correct image URL. |
| The screenshot is blank or missing content | The page had not rendered, needs JavaScript, or content appears after interaction | Wait for a visible page selector; handle any required navigation or interaction before capture. |
Navigation times out at networkidle |
Ongoing requests prevent the network from becoming idle | Use domcontentloaded and wait for a specific element or a bounded delay. |
| The screenshot omits content near the bottom | Lazy loading or viewport-only capture | Set fullPage: true; if needed, scroll incrementally and wait for images to load. |
| The WebP looks blurry or has halos | Lossy quality is too low for text or sharp edges | Raise quality or use lossless output where appropriate, then compare the result. |
| The output is unexpectedly large | Lossless encoding, high quality, a tall page, or high pixel dimensions | Check dimensions and quality needs; capture only the required area or use a tested lossy setting. |
| Playwright cannot launch Chromium | The browser binary or a system dependency is missing | Run npx playwright install chromium and follow Playwright’s platform-specific setup instructions. |
7. Performance, reliability, and cost
Downloading an existing image with cURL and encoding it locally is usually the simplest route: no browser has to launch, and the work is limited to transferring and encoding one image. The result depends on receiving the intended image resource. Check redirects, authentication, and response status rather than assuming every URL returns image bytes.
Browser screenshots require more resources because the browser must load and render a page. Reusing a browser process for multiple captures can avoid repeated startup work in a batch workflow, while closing pages and browsers reliably prevents resource leaks. Set timeouts, use a readiness condition tied to the target page, and record failures so a stalled third-party request does not hang a capture indefinitely. A full-page screenshot and a large viewport increase the number of pixels to capture and encode.
Local tooling has no per-shot API price, but you manage browser installation, compute, retries, and maintenance yourself. API pricing depends on the provider and request outcome; verify the current plan and billing rules before building volume estimates. ScreenshotNeo lists a free allowance of 1,000 shots per month without a card, then Starter at $5 for 3,000, Growth at $15 for 15,000, Pro at $39 for 60,000, Scale at $99 for 250,000, and Business at $249 for 1,000,000; yearly billing gives two months free. Every feature is on every plan. Its billing headers help distinguish clean captures from non-billed outcomes.
8. Frequently asked questions
Can I take a screenshot using only cURL?
No. cURL can request and save bytes, but it does not use a browser layout engine. Use a browser automation tool or a screenshot API for a rendered page.
Can cURL convert an image to WebP?
cURL’s normal download operation does not perform that conversion. Download the image, then use an encoder such as cwebp.
Does WebP support transparency?
Yes. WebP supports transparency, along with lossy and lossless compression and animation. Confirm the source and selected encoding preserve the properties your output requires.
Should I always use full-page capture?
No. Capture the full page when the complete document matters. For a preview, use a viewport; for a specific region, capture an element. Smaller capture areas are easier to review and usually produce less data.
What quality should I use?
There is no single best value for every source. Start near 80–90 for lossy output, inspect the actual result, and adjust. Use lossless encoding when exact pixel preservation matters and its output size is acceptable.


