How to Capture a Website Screenshot for a Mockup
Capture a website at the right viewport or full-page size, then save it as a clean image or bring it into Figma as editable layers.
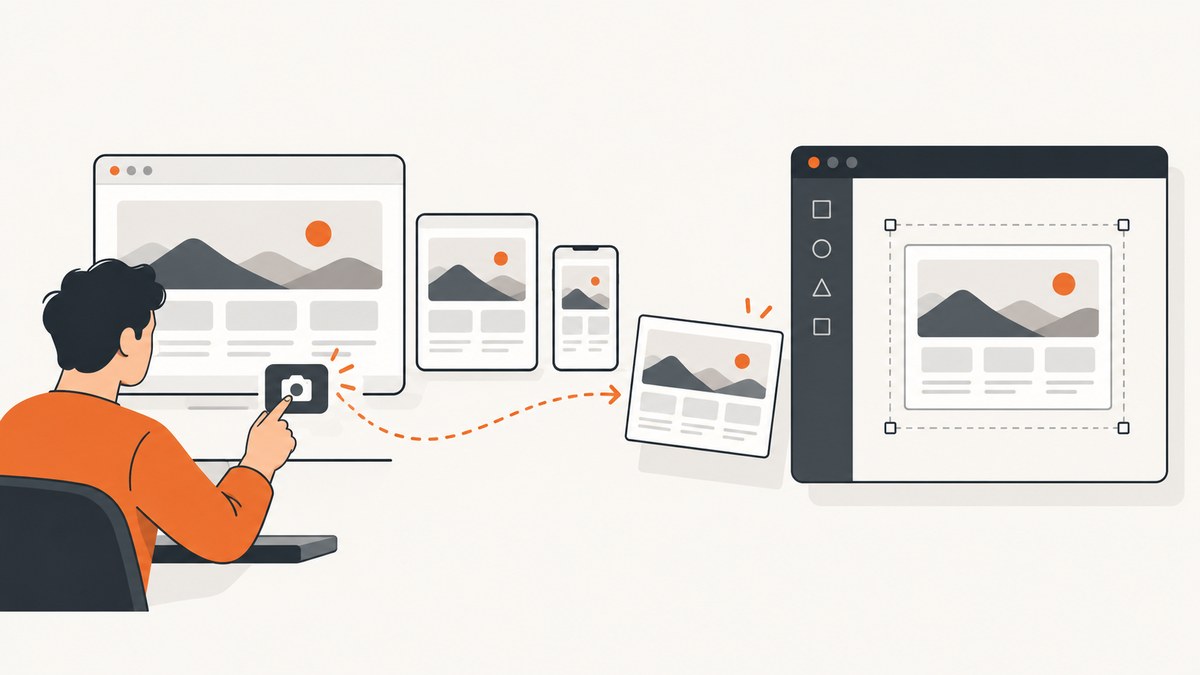
To capture a website screenshot for a mockup, choose the page scope (visible viewport, one element, or full page), set the target viewport dimensions, capture the page in a browser, and save the result as a PNG. Use a flat screenshot when you need a visual reference; if you need editable text and shapes, use Figma’s Chrome extension to convert the webpage into editable layers.
For a quick capture, Chrome and Firefox both provide built-in screenshot tools. Chrome DevTools can capture the viewport or full page; Firefox can capture a region, detected element, visible portion, or full page. On Windows, Snipping Tool is useful for a region or window. The steps below cover repeatable browser captures, mockup preparation, common problems, and an API option for scripted work.
1. Choose what the mockup needs to show
Decide the capture scope before opening the screenshot tool. The scope affects the dimensions, the amount of surrounding page content, and whether a browser tool or a region capture is the best fit.

| Need | Capture | Good for |
|---|---|---|
| One screen at a particular size | Viewport | A hero section, above-the-fold layout, or device-frame mockup |
| A card or component | Element or region | Isolated UI reference, component comparison, or small design study |
| The entire page in one image | Full page | Landing-page review, page-length composition, or complete visual reference |
| Content you need to rearrange or edit | Editable webpage import | Design exploration in Figma where text and shapes should remain separate |
A normal screenshot is a raster image: it preserves the appearance but does not turn the page’s text or controls into editable design objects. Choose the Figma workflow when editability is part of the deliverable.
2. Set the viewport before you capture
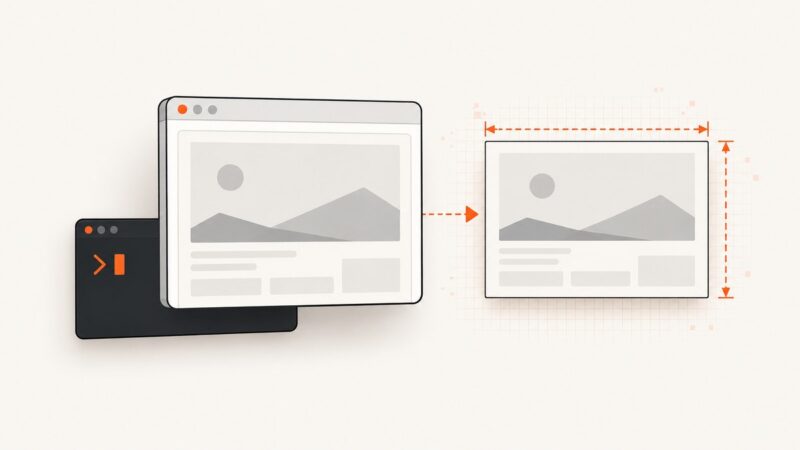
For a responsive mockup, first decide the exact width and height the page should represent. In Chrome DevTools Device Mode, choose a device preset or enter custom dimensions. Chrome’s documented example width presets include 320, 375, 425, 768, 1024, 1440, and 2560 pixels. A 375-pixel-wide viewport, for example, gives you a narrow mobile layout; 1440 pixels is a common wide desktop canvas size.
Device Mode is a simulation and Chrome describes it as a first-order approximation of a real mobile experience. Use it for layout capture, but check important presentations on the actual device when exact device behavior matters. Set the viewport before capture because changing it can cause responsive breakpoints, navigation, and text wrapping to change.
Viewport checklist
- Choose width and height to match the frame or mockup brief.
- Set the browser zoom to its normal value unless the design explicitly calls for another scale.
- Choose a device-pixel-ratio or scale setting only when the output needs a particular pixel density.
- Wait for fonts, images, and any meaningful animation to settle.
- Use the same dimensions for every screenshot you plan to compare.
3. Capture in Chrome DevTools
- Open the target webpage in Chrome.
- Open DevTools from the browser menu or with the browser’s DevTools shortcut.
- Toggle the device toolbar and select a device preset or enter the exact width and height.
- Open the device toolbar’s More options menu.
- Select Capture screenshot for the visible viewport, or Capture a full size screenshot for the full page, including content outside the viewport.
- Save the downloaded image and give it a filename that records the page and viewport, such as
pricing-mobile-375.png.
Use the viewport capture for a device frame or above-the-fold design. Use the full-size option when you want a single image that includes the content below the fold without manually scrolling and stitching multiple shots.
4. Capture in Firefox
Firefox’s built-in screenshot feature can capture the visible part of a page, the full page, a selected region, or a detected element. Right-click the page and choose Take Screenshot, or use Ctrl+Shift+S on Windows/Linux or Command+Shift+S on Mac. Choose the desired capture, then download the image or copy it to the clipboard.
Firefox’s Developer Tools command line also provides capture controls when you want repeatable options. Open the browser console and use :screenshot. For example:
:screenshot --fullpage --filename landing-page.pngTo capture a single element, use a CSS selector:
:screenshot --selector ".pricing-card" --filename pricing-card.pngOptions documented for the command include --fullpage, --selector, --dpr, --delay, --clipboard, and --filename. A delay can help when you need a hover or animated state to appear before capture. The selector option is useful for an individual component; make sure the selector identifies the intended element uniquely.
5. Capture a quick region or window on Windows
For a quick crop, press Windows+Shift+S to open Snipping Tool. Choose a rectangle, window, freeform, or full-screen snip, then annotate or crop if needed and save the image. This is convenient for a visual reference from an already arranged browser window. It is less repeatable than setting an exact browser viewport, and a screen-region capture can include browser chrome unless you crop it away.
6. Make the webpage editable in Figma
If the mockup needs editable content instead of a single flattened image, use the Figma Chrome extension’s webpage capture workflow. Figma says its extension can capture webpages and convert them into editable design layers. Capture an element or the full page, including content that is below the current viewport, then paste the result into Figma.
Expect to review the imported result before treating it as a finished design. A webpage contains live behavior and browser-rendered content; an imported design is a starting point for editing, not a guarantee that every responsive behavior or interaction is represented as a native Figma component.
7. Prepare the screenshot for the mockup
- Crop intentionally. Remove browser tabs and toolbars unless the concept needs to show the browser itself.
- Preserve the intended proportions. Match the screenshot dimensions to the design frame, rather than stretching it to fit.
- Keep enough pixels. Capture at dimensions that can be displayed at the final mockup size without visible softness.
- Use consistent naming. Include the page, viewport, and state in filenames, for example
home-desktop-1440-default.png. - Record special states. If a page uses a particular menu, cookie choice, hover, or scroll position, note it so another capture can reproduce the same view.
For a full-page image, remember that its height may be much larger than a normal device frame. If the mockup needs to communicate a responsive screen, a viewport-sized image may be more useful than a long page capture.
8. Repeatable captures with ScreenshotNeo
For scripts, batch work, or a capture that should not depend on a person opening DevTools, ScreenshotNeo provides a website screenshot API. The direct browser workflows above are a good fit for a one-off; the API is useful when the same capture needs to be repeated or automated.

Make a GET request with an access key and the page URL. The following examples save the response body as an image; see the ScreenshotNeo API documentation for request options and output settings.
cURL
curl -G "https://api.screenshotneo.com/v1/shot" \
  -d access_key=YOUR_API_KEY \
  --data-urlencode url=https://stripe.com \
  -o shot.webp
Python
import requests

r = requests.get(
    "https://api.screenshotneo.com/v1/shot",
    params={"access_key": "YOUR_API_KEY", "url": "https://stripe.com"},
    timeout=90,
)
r.raise_for_status()
with open("shot.webp", "wb") as f:
    f.write(r.content)
Node.js
const q = new URLSearchParams({
  access_key: 'YOUR_API_KEY',
  url: 'https://stripe.com',
});
const res = await fetch(`https://api.screenshotneo.com/v1/shot?${q}`);
if (!res.ok) throw new Error(`Screenshot request failed: ${res.status}`);
const bytes = new Uint8Array(await res.arrayBuffer());
await import('node:fs/promises').then(fs => fs.writeFile('shot.webp', bytes));
For a different target, replace https://stripe.com with the page you are allowed to capture. Keep the access key private in server-side code or an environment variable; do not publish it in frontend JavaScript or a public repository. The example output name is shot.webp; choose the matching output setting and extension when you request another format.
Or skip the browser setup
ScreenshotNeo accepts consent banners like a visitor and removes 60+ known consent platforms, newsletter popups, and chat widgets before the shot; each cleanup step can be turned off. Bot checks/CAPTCHAs, blank pages, timeouts, failed loads, and cache hits cost nothing, and response headers report the page verdict and billing status. An MCP server gives AI agents tools to take screenshots, get page information, and capture PDFs. The Free plan includes 1,000 shots a month with no card; paid plans start at $5 for 3,000 shots. Every feature is on every plan.
Create a free ScreenshotNeo account to get 1,000 screenshots a month with no card.
9. Troubleshooting
| Problem | Likely cause | What to try |
|---|---|---|
| The screenshot shows only the top of the page | You captured the viewport, not the full page. | In Chrome choose Capture a full size screenshot; in Firefox choose the full-page option or use :screenshot --fullpage. |
| The layout does not match the intended phone or desktop | The viewport was set after capture, or the browser window used different dimensions. | Set exact dimensions first in Chrome Device Mode and capture again. Treat device simulation as an approximation for critical mobile behavior. |
| A component capture is blank or selects the wrong item | The selector does not match the target or matches multiple elements. | Inspect the page and use a more specific CSS selector; confirm the target is visible before taking the screenshot. |
| Images or fonts are missing | The page has not finished loading, the resource failed, or content loads only after scrolling. | Wait for the page to settle and scroll the relevant content into view before capture. Try again after confirming the page itself displays the asset. |
| A menu or hover state is absent | The state was not active at capture time. | Trigger the state before capturing; Firefox’s screenshot command supports a delay for states that need time to appear. |
| The saved screenshot looks blurry in a large mockup | The captured pixel dimensions are too small for its display size. | Capture at a larger viewport or appropriate device-pixel ratio, then preserve the image’s aspect ratio in the design. |
| The screenshot includes browser controls | A screen or window snip included the browser frame. | Use a browser-native capture or crop the image to the page content. |
| An API request saves an error response as an image | The request failed, but the response body was written without checking its status. | Check the HTTP status before saving, verify the API key and URL, and inspect the response headers and body according to the API documentation. |
10. Performance, reliability, and cost
For a single manual capture, browser tools have little setup: open the page, choose the scope, and save. Full-page screenshots can take longer and produce larger files than viewport captures because they include more content. Pages with lazy-loaded images, delayed fonts, or animated content may need extra time or a deliberate scroll before the final shot. Reusing a fixed viewport and capture procedure improves visual comparisons.
For repeated captures, an API makes the request repeatable and can be incorporated into a script or job. ScreenshotNeo supports caching with a chosen TTL, async jobs with signed webhooks, bulk capture of up to 100 URLs per call, and usage reporting. Cache hits are not billed, and only clean shots are billed. Its plans are Free: 1,000 shots/month; Starter: $5 for 3,000; Growth: $15 for 15,000; Pro: $39 for 60,000; Scale: $99 for 250,000; Business: $249 for 1,000,000. Yearly billing gives two months free. Check the product site for current plan details before choosing a plan.
Capture reliability still depends on the target page loading and rendering the content you need. For important work, save representative outputs, use consistent viewport and wait settings, and check the returned verdict and billing headers for API captures. No capture method can make a blocked or unavailable target page render as its intended content.
Frequently asked questions
Can I screenshot a website without scrolling?
Yes. Use a full-page capture in Chrome or Firefox to include content beyond the current viewport in one image. If the mockup only needs one screen, capture the viewport instead.
How do I capture a webpage in Figma?
Use the Figma Chrome extension’s webpage capture workflow, then paste the captured page or element into Figma as editable layers.
Should I use PNG or a Figma import?
Use PNG for a flat visual reference or presentation mockup. Use the Figma import when you need to edit the captured webpage’s layers.
Will a mobile browser emulation exactly match a phone?
No. Chrome Device Mode simulates a device and is a first-order approximation. Validate critical device-specific behavior on the actual device.