How to Capture Website Screenshots with Apify
Learn how to capture viewport and full-page website screenshots with Apify Actors, the API, Puppeteer, Playwright, storage, and reliable production workflows.
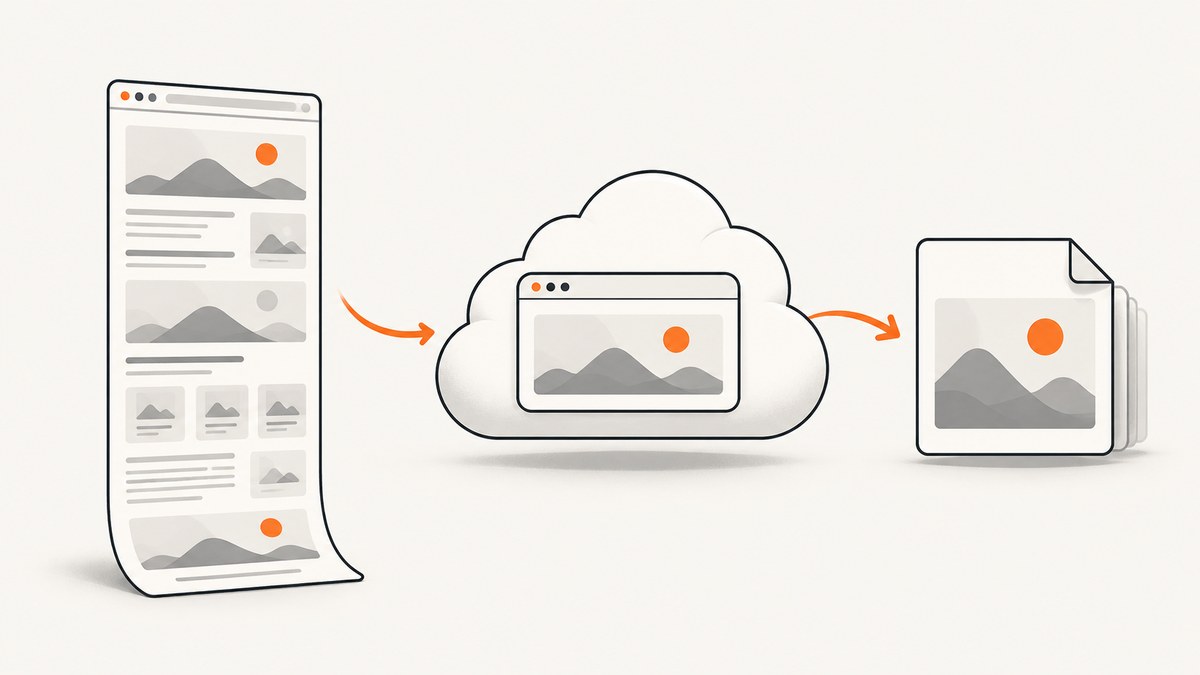
Short answer: Apify can capture website screenshots in two useful ways. Run a ready-made screenshot Actor with a URL list and options such as full-page mode, viewport, format, and hidden selectors, or write your own Apify Actor with Puppeteer or Playwright. The ready-made route is quickest; custom code gives you control over navigation, authentication, waiting, and storage.
This guide shows both approaches, including API calls, complete JavaScript examples, full-page captures, output retrieval, multi-URL jobs, failure handling, and production considerations.
1. Choose an Apify screenshot approach
| Approach | Best for | What you control |
|---|---|---|
| Ready-made screenshot Actor | Fast setup and repeatable URL batches | Documented input fields such as URLs, viewport or device, fullPage, format, color scheme, and selectors to hide |
| Custom Puppeteer Actor | Teams that already use Puppeteer | Navigation, waits, cookies, scripts, selectors, screenshot options, and key-value keys |
| Custom Playwright Actor | More browser contexts and interaction control | Playwright page logic plus your own output schema |
A ready-made Actor is an Apify Store product. Its documented workflow accepts a list of URLs, launches Playwright with headless Chromium, and produces PNG or JPEG images. Check the selected Actor’s current input and output schema before automating it because Actor options and returned fields can change.
2. Run a ready-made screenshot Actor
Step 1: Create an Apify account and token
Create or sign in to Apify, then copy an API token from the Console’s integrations settings. Keep the token server-side. Do not place it in browser JavaScript, a public repository, or a URL that users can copy.
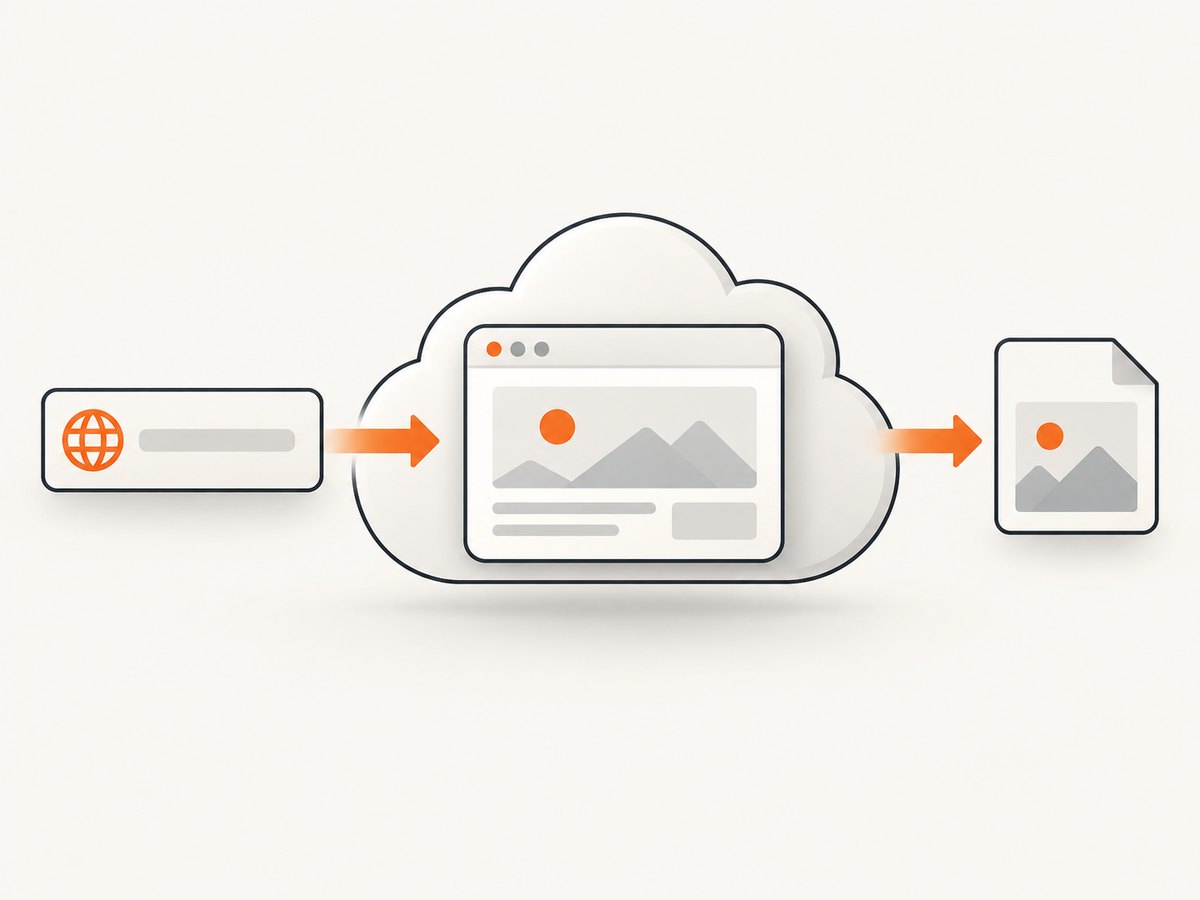
Step 2: Prepare the Actor input
The smallest useful input is a URL list:
{
  "urls": ["https://example.com"]
}
Screenshot Actors commonly document additional fields for:
fullPageto capture the complete document rather than only the viewport.formatfor PNG or JPEG output.- Viewport dimensions or a device preset.
- Color scheme such as light or dark.
- Selectors for elements that should be hidden before capture.
Use the exact field names shown by the Actor you selected. A minimal input with optional settings might look like this:
{
  "urls": [
    "https://example.com",
    "https://example.com/pricing"
  ],
  "fullPage": true,
  "format": "png",
  "viewport": {
    "width": 1440,
    "height": 900
  },
  "colorScheme": "light",
  "hideSelectors": [".cookie-banner", ".chat-widget"]
}
Step 3: Start the Actor
Open the Actor’s API tab in Apify Store and copy its documented Run endpoint. The endpoint includes the Actor identifier and your API token. For an asynchronous run, POST the JSON input and save the returned run ID:
curl -X POST \
  "https://api.apify.com/v2/acts/ACTOR_ID/runs?token=APIFY_API_TOKEN" \
  -H "Content-Type: application/json" \
  --data @input.json
Replace ACTOR_ID and APIFY_API_TOKEN. The response describes the run. Poll the run status or use the synchronous run endpoint when the Actor documents one. Synchronous integrations are convenient for a single screenshot, while asynchronous runs are safer for batches and long pages.
Step 4: Retrieve the image
Actors may expose output in a dataset, key-value store, or a returned fileUrl. Some current screenshot Actors return a fileUrl for each page. Read the selected Actor’s output schema instead of assuming a universal path.
When the Actor provides a file URL, download it with a normal HTTP client:
curl -L "FILE_URL_FROM_ACTOR_OUTPUT" -o screenshot.pngIf the Actor writes files to a key-value store, open the run’s default key-value store in the Apify Console and download the image record. The Console’s key-value view is also useful for confirming the content type and generated key.
3. Call the Actor API from JavaScript
This Node.js example starts an Actor run, waits for completion, and prints the run metadata. It leaves output retrieval Actor-specific because the response schema differs between Store Actors.
const actorId = process.env.APIFY_ACTOR_ID;
const token = process.env.APIFY_TOKEN;
const input = {
  urls: ['https://example.com'],
  fullPage: true,
  format: 'png',
  viewport: { width: 1440, height: 900 }
};

const runResponse = await fetch(
  `https://api.apify.com/v2/acts/${encodeURIComponent(actorId)}/runs?token=${encodeURIComponent(token)}`,
  {
    method: 'POST',
    headers: { 'content-type': 'application/json' },
    body: JSON.stringify(input)
  }
);

if (!runResponse.ok) {
  throw new Error(`Actor start failed: ${runResponse.status} ${await runResponse.text()}`);
}

const run = await runResponse.json();
console.log('Run started:', run.data?.id || run.id);
For a synchronous endpoint documented by your Actor, call that endpoint instead and parse its documented dataset or file response. Add retries around transient HTTP failures, but do not blindly retry invalid input or blocked pages.
4. Build a custom Apify Actor with Puppeteer
Custom code is appropriate when you need page-specific waits, interaction, authentication, or deterministic storage keys. Apify’s JavaScript SDK example launches Puppeteer, opens a page, navigates to a URL, calls page.screenshot(), and stores the bytes in the default key-value store with an image content type.
import Apify from 'apify';

await Apify.main(async () => {
  const input = (await Apify.getInput()) || {
    url: 'https://example.com'
  };

  if (!input.url) throw new Error('Input must contain url');

  const browser = await Apify.launchPuppeteer();
  try {
    const page = await browser.newPage();
    await page.setViewport({ width: 1440, height: 900, deviceScaleFactor: 1 });
    await page.goto(input.url, { waitUntil: 'networkidle2', timeout: 60000 });

    if (input.hideSelector) {
      await page.addStyleTag({
        content: `${input.hideSelector} { display: none !important; }`
      });
    }

    await page.screenshot({
      path: undefined,
      fullPage: Boolean(input.fullPage),
      type: input.format === 'jpeg' ? 'jpeg' : 'png'
    });

    const image = await page.screenshot({
      fullPage: Boolean(input.fullPage),
      type: input.format === 'jpeg' ? 'jpeg' : 'png'
    });

    await Apify.setValue(
      input.key || 'screenshot',
      image,
      { contentType: input.format === 'jpeg' ? 'image/jpeg' : 'image/png' }
    );
  } finally {
    await browser.close();
  }
});
The first screenshot call in this illustrative version can be removed in production; one call is sufficient. The important operations are launching the browser, navigating, calling page.screenshot(), and writing the buffer with Apify.setValue.
Full-page Puppeteer capture
Set fullPage: true to capture the document’s full scrollable height:
const buffer = await page.screenshot({
  fullPage: true,
  type: 'png'
});
await Apify.setValue('full-page', buffer, { contentType: 'image/png' });
Very long pages can create extremely tall images. Consider capturing sections, reducing the viewport width, or generating a PDF when a single bitmap becomes unwieldy. Lazy-loaded images may only appear after scrolling; a custom Actor can scroll incrementally before taking the final screenshot.
5. Capture many URLs safely
For batches, pass an input object containing sources or the URL-list field required by your Actor. In custom code, create a request list and derive a safe key from each URL.
const urls = [
  'https://example.com',
  'https://example.com/docs'
];

for (let index = 0; index < urls.length; index++) {
  const url = urls[index];
  const page = await browser.newPage();
  try {
    await page.goto(url, { waitUntil: 'networkidle2', timeout: 60000 });
    const image = await page.screenshot({ fullPage: true, type: 'png' });
    await Apify.setValue(`page-${index}.png`, image, {
      contentType: 'image/png'
    });
  } finally {
    await page.close();
  }
}
Limit concurrency so Chromium does not exhaust memory. Record the URL, status, elapsed time, and output key for every item. A failed URL should be reported separately rather than causing you to lose successful images.
6. Navigation, authentication, and rendering details
Wait for the page you actually need
networkidle2 is useful for many static pages, but analytics, ads, and live applications may keep requests open. Alternatives include:
- Navigate with
waitUntil: 'domcontentloaded', then wait for a specific selector. - Use a fixed delay only when the page has predictable animation or hydration time.
- Wait for fonts, charts, or an application-specific ready marker before capture.
- Scroll the page to trigger lazy images, then wait for the image elements to complete.
Private pages
Set cookies or authorization headers in your custom Actor before navigation. Keep credentials in Apify secrets or environment variables. Never put credentials in a URL. A ready-made Actor may only support anonymous public pages; read its access restrictions first.
Browser state
Use a fresh page or browser context per target when cookies and local storage must not leak between customers. Reuse a browser process for throughput, but isolate sessions at the page or context level.
7. Where Apify saves screenshots
There is no single universal location. A ready-made Actor may return a file URL, dataset item, or key-value record. Custom Actors commonly use the default key-value store with Apify.setValue. In the Console, open the completed run and inspect its dataset and key-value store tabs. In an integration, persist the returned store ID, record key, or file URL along with your source URL.
8. Common errors and fixes
| Error or symptom | Likely cause | Fix |
|---|---|---|
| 401 or 403 from the API | Missing, expired, or incorrectly scoped token | Generate a token in Apify integrations, pass it as documented, and keep it server-side. |
| Actor starts but no image appears | Output is in a dataset or key-value store rather than the run response | Inspect the Actor output schema and retrieve the documented record or file URL. |
| Navigation timeout | Slow page, blocked request, or a page that never becomes idle | Increase the navigation timeout, use a narrower wait condition, and capture diagnostics. |
| Blank or partially rendered image | Screenshot taken before hydration, fonts, charts, or lazy images finish | Wait for a selector or application-ready marker; scroll lazy content and wait again. |
| Bot-check or access-denied page | The target detects automated browsing | Confirm that the page permits automated access. Do not assume a screenshot Actor can bypass bot protection. |
| Credentials rejected | Private page needs cookies, headers, or a login flow | Use a custom Actor with secure secrets and explicit session setup. |
| Out-of-memory or crashed browser | Too many concurrent pages or huge full-page images | Lower concurrency, close pages promptly, and split very long captures. |
| Unsupported URL | Localhost, private network, credentials in URL, or unsupported scheme | Use an accessible HTTPS URL and pass authentication through supported browser configuration. |
9. Performance, reliability, and cost planning
- Reduce browser work: use the smallest viewport and wait condition that produces a correct image.
- Control concurrency: parallel pages improve throughput until CPU or memory becomes the bottleneck.
- Cache intentionally: avoid recapturing unchanged pages when your workflow allows it.
- Make jobs idempotent: derive stable output keys from a normalized URL and version of your capture settings.
- Keep evidence: save failure reason, HTTP status, final URL, and timing with each result.
- Recheck limits: Actor pricing, quotas, browser versions, and API limits are operational details that can change; verify them in the live Apify Console and Actor documentation before committing to a budget.
For public pages, a ready-made Actor is usually the shortest path. For authenticated pages, custom interactions, or strict output naming, a custom Actor avoids forcing your workflow into an Actor’s fixed schema.
10. Or skip the browser setup
ScreenshotNeo provides a one-request website screenshot API. It removes cookie and consent banners, newsletter popups, and chat widgets before capture. Bot checks, blank pages, timeouts, failed loads, and cache hits are not billed, and the response identifies the result with X-Page-Verdict and X-Billed headers. Its MCP server lets Claude, Cursor, and other MCP clients use take_screenshot, get_page_info, and capture_pdf.

See the ScreenshotNeo API documentation for all options. The basic call is:
cURL
curl -G "https://api.screenshotneo.com/v1/shot" -d access_key=YOUR_API_KEY --data-urlencode url=https://stripe.com -o shot.webpPython
import requests
r = requests.get("https://api.screenshotneo.com/v1/shot", params={"access_key": "YOUR_API_KEY", "url": "https://stripe.com"}, timeout=90)
open("shot.webp", "wb").write(r.content)
Node.js
const q = new URLSearchParams({ access_key: 'YOUR_API_KEY', url: 'https://stripe.com' });
const res = await fetch(`https://api.screenshotneo.com/v1/shot?${q}`);
ScreenshotNeo supports full-page and element capture, dark mode, device presets and custom viewports, retina scale, PDF output, custom CSS and JavaScript, click and wait actions, blocked resources, headers, cookies, user agents, authorization, timezone, geolocation, transparent backgrounds, resizing, TTL caching, signed links, asynchronous webhooks, bulk capture of up to 100 URLs per call, usage data, and an OpenAPI specification. Its parameter names are compatible with those used by other screenshot APIs, which can simplify migration.
The Free plan includes 1,000 screenshots per month with no card. Paid plans start at $5 for 3,000 shots; yearly billing gives two months free. Create a free ScreenshotNeo account and start with the 1,000 included screenshots.
11. FAQ
Can Apify capture a full-page screenshot?
Yes. Use the selected Actor’s full-page option or set fullPage: true in Puppeteer or Playwright screenshot code.
Does Apify store the image automatically?
Storage depends on the Actor. Custom code can explicitly write bytes to the default key-value store with Apify.setValue. Ready-made Actors may return a file URL or dataset item.
Can I capture a page behind a login?
Custom Actors can set cookies, headers, or perform a login flow, subject to the target site’s access rules. A ready-made Actor may be limited to anonymous pages.
Should I use PNG or JPEG?
PNG preserves text and sharp UI edges. JPEG usually produces smaller files for photographic pages. Use the format supported by your selected Actor and downstream system.
Why is my full-page screenshot missing lazy images?
Lazy content may load only after scrolling or intersection events. Scroll through the page, wait for image completion, and then capture.


