How to Capture Website Screenshots with Make
Build a Make scenario that captures any webpage, stores the image, and delivers it by email, with troubleshooting and an API alternative.
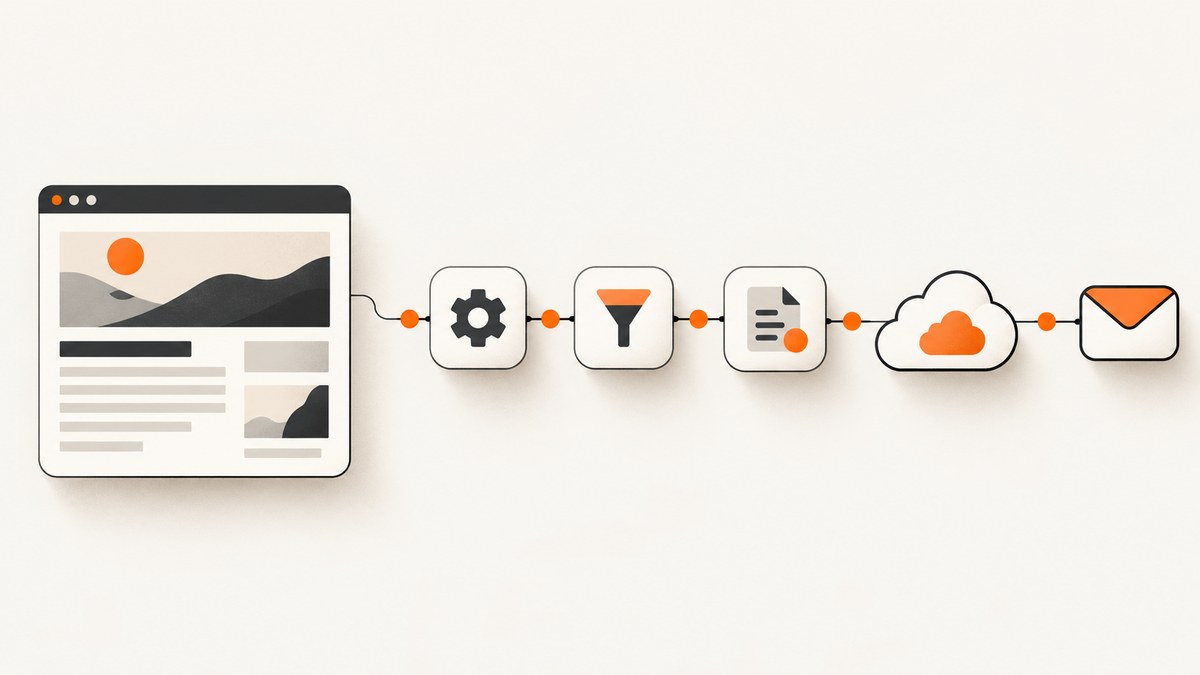
Direct answer: Create a Make scenario, add a trigger or schedule, then add a screenshot module that receives a URL. Use HTML to Image for URL screenshots, HTML/CSS-generated images, or PDFs; use GetScreenshot when you need a webpage or a specific element. Map the returned file into storage, email, Slack, or another destination. If no native app fits, call a screenshot API with Make’s HTTP app.
Choose the right Make approach
| Need | Make option | What it provides |
|---|---|---|
| Capture a page from a URL | HTML to Image | Capture Website Screenshot |
| Capture a webpage | GetScreenshot | Take Screenshot |
| Capture one element | GetScreenshot | Take Element Screenshot with a CSS selector |
| Use a provider without a native app | HTTP | Make a request and download the returned file |
Make identifies Rasterwise as the vendor maintaining the GetScreenshot app. Its HTML to Image documentation is limited, so confirm current fields and output behavior in the live app before publishing a production scenario: HTML to Image API documentation.
Build a scheduled website screenshot scenario
1. Create the scenario and trigger
- In Make, create a new scenario.
- Choose a trigger such as a webhook, a record-created event, or a schedule.
- For recurring monitoring, set the schedule to the interval your use case requires.
A Make scenario is a workflow made from connected modules. Data produced by one module can be mapped into the next module, which lets the screenshot become an attachment, stored file, or message.
2. Add a screenshot module
Add the module that matches your capture requirement:
- HTML to Image → Capture Website Screenshot: map the target URL.
- GetScreenshot → Take Screenshot: map the webpage URL.
- GetScreenshot → Take Element Screenshot: map the URL and the element’s CSS selector, such as
main articleor#price-chart.
Use a fully qualified HTTPS URL. If the URL comes from an earlier module, map that field rather than inserting a fixed value.
3. Run once and inspect the result
Click Run once. Inspect the module output before building the next step. Make’s HTTP documentation notes that parsed response fields become available for mapping after a module has run once. Identify whether your screenshot app returns binary file data, a file URL, or an object containing both.
4. Store or deliver the file
Connect the output to the destination you need:
- Map binary data to a cloud-storage upload module.
- Map the file into an email attachment module.
- Send the image to Slack, Microsoft Teams, or another messaging app.
- Save the URL and metadata in a database or spreadsheet.
If the screenshot app returns a URL instead of binary data, add an HTTP Get a file step before uploading or attaching it.
Use Make’s HTTP app with a screenshot API
Make’s HTTP app is the flexible route for providers without a dedicated integration. Make describes it as a way to connect to API services and applications that do not have a Make integration. Follow the screenshot provider’s own endpoint, authentication, and response documentation.
- Add HTTP → Make a request.
- Set the method, URL, query parameters, headers, and body required by the provider.
- Use HTTPS. Make rejects unverified self-signed certificates.
- Store API credentials in Make’s dedicated credentials field so keys are not exposed in mapped values and can be rotated centrally.
- Run the HTTP module once, inspect the response, and map the returned file or URL into the next module.
For a binary response, configure the module to download or preserve the file according to the provider’s documentation. Do not assume that all screenshot APIs return the same content type, status code, or JSON shape.
Capture a URL, an element, or generated HTML
Full webpage
Use a URL screenshot action when you need the visible page. This is suitable for scheduled visual checks, reports, archiving, and sending a page to a team.
One element
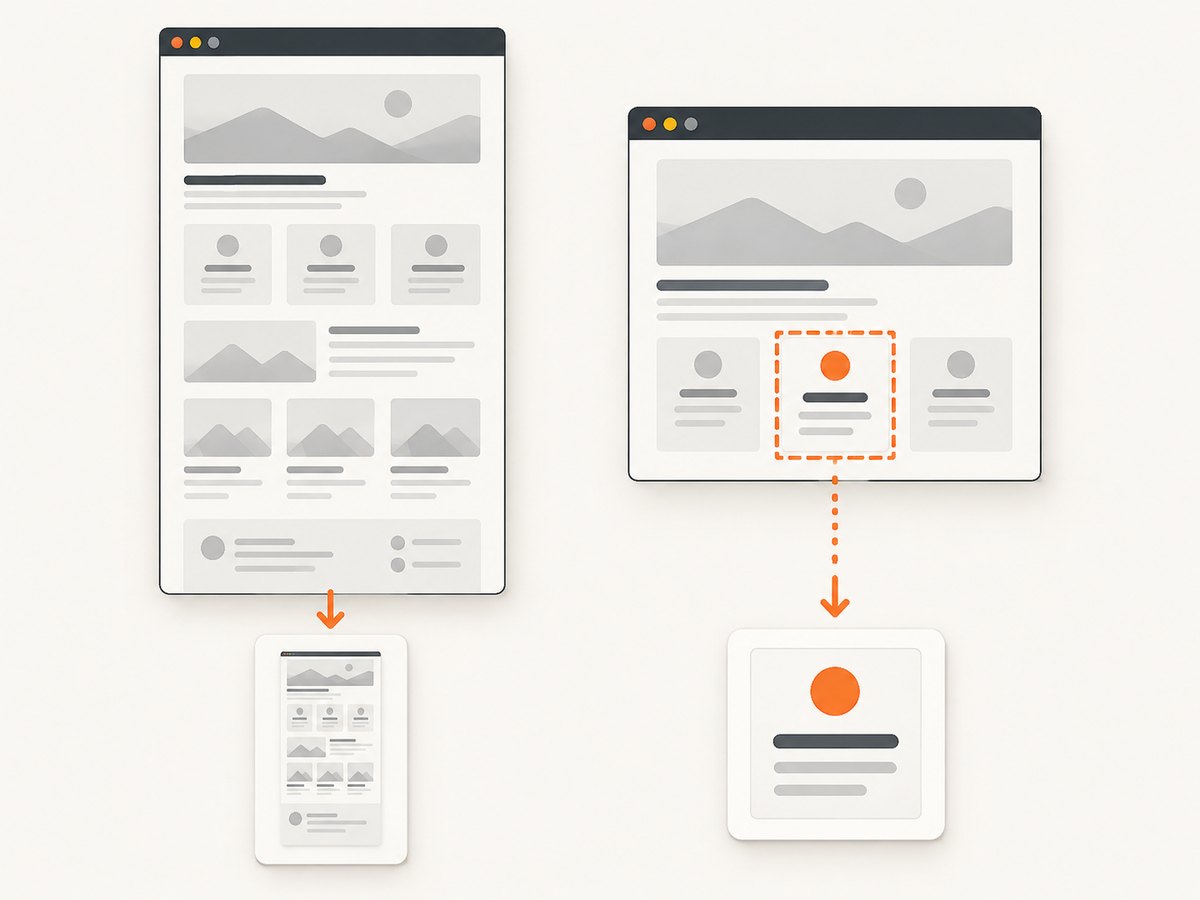
Use GetScreenshot’s element action when a full page contains unrelated content. Pass a stable selector. Prefer IDs or semantic containers over deeply nested selectors that change when the site is redesigned.
HTML, CSS, or PDF output
HTML to Image lists screenshot, image-generation, and PDF actions. Choose the output that matches the next module: an image for chat or visual regression, or a PDF for document delivery. The public HTML to Image documentation does not provide a complete list of rendering fields or limits, so verify those settings in the current app.
Practical scenario patterns
Daily screenshot to cloud storage
- Scheduler trigger (daily).
- HTML to Image or GetScreenshot capture.
- Cloud-storage upload.
- Optional database record containing URL, timestamp, and file path.
Screenshot on a webhook request
- Custom webhook receives
urland optionalselector. - Router chooses full-page or element capture.
- Screenshot module runs.
- HTTP response or email returns the resulting file.
Capture and email a page
- Schedule or form trigger.
- Take Screenshot.
- Email module attaches the binary output.
- Add an error handler that sends the URL and failure reason to an operations channel.
Edge cases to handle
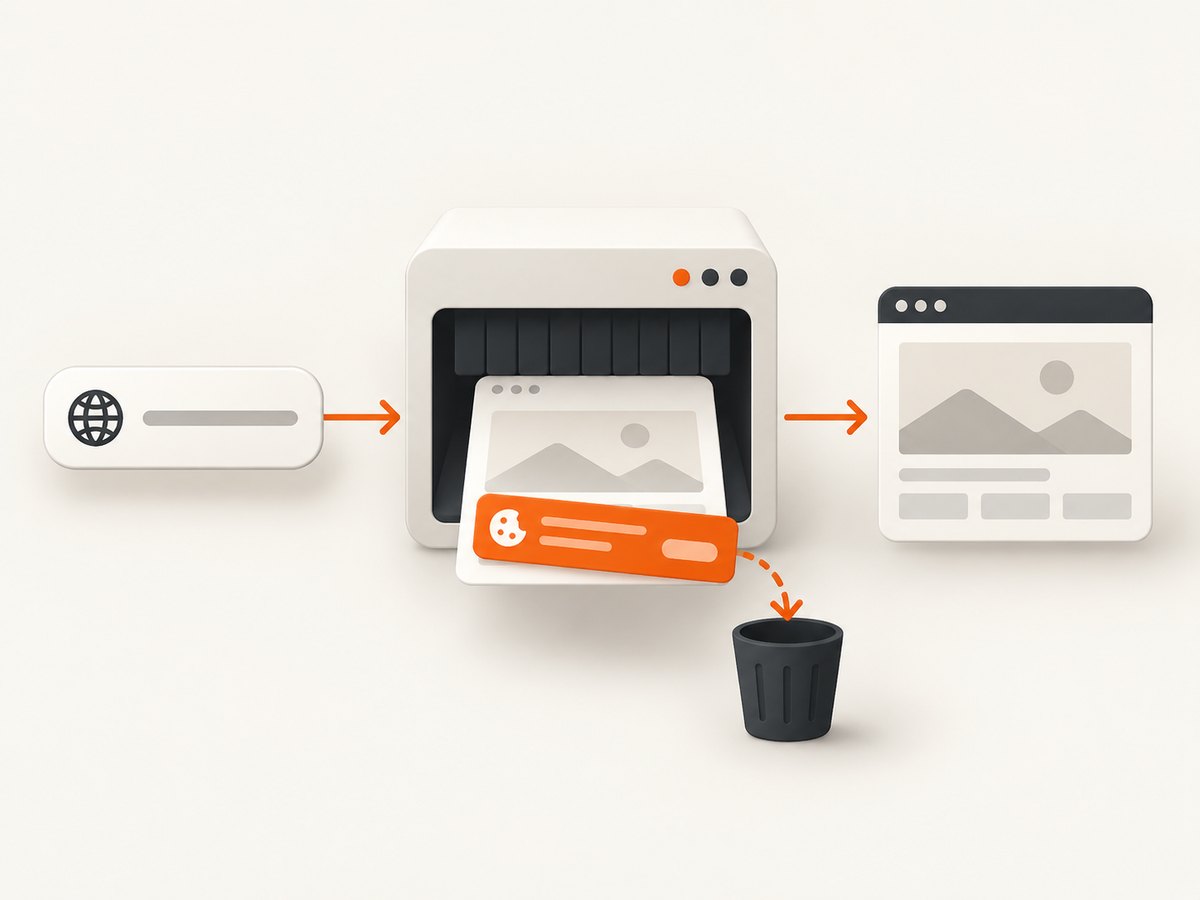
- Cookie or consent overlays: an overlay can cover the page or become part of the image. Check whether the selected provider offers consent handling; otherwise use an API or browser workflow that can accept or remove it.
- Lazy-loaded content: charts and images may appear only after scrolling or waiting. Use a provider’s wait controls when available, or capture after the page has reached the required state.
- Authentication: private pages need provider-supported headers, cookies, or a logged-in session. Never put secrets directly in a public webhook payload.
- Responsive layouts: the same URL can render differently at different viewport sizes. Keep the capture settings consistent when comparing runs.
- Dynamic data: timestamps, ads, and rotating content can create false visual differences. Hide or block unstable regions when the provider supports it.
- Redirects and URL encoding: pass the complete URL as a mapped value and let the HTTP module encode query parameters. Avoid concatenating unescaped user input into a request URL.
- Large files: image or PDF size can exceed a destination’s attachment limit. Store the file and send a link when necessary.
Troubleshooting
| Symptom | Likely cause | Fix |
|---|---|---|
| Invalid URL | Missing scheme or malformed mapped value | Use a complete https:// URL and inspect the mapped input. |
| Blank or partial image | Page still loading, lazy content, or a blocking overlay | Add the provider’s supported wait or delay, use a stable selector, and handle consent UI. |
| Element not found | Selector changed or element is rendered after load | Verify the selector in browser developer tools and wait for the element when supported. |
| 401 or 403 from HTTP | Missing or incorrect authentication | Match the provider’s required header, query parameter, or credential field. |
| HTTP module returns unreadable data | Response is binary but treated as text, or is a JSON error | Inspect status, headers, and content type; configure file handling from the provider’s docs. |
| Later modules have no fields | The screenshot module has not produced a sample output | Run the scenario once, then reopen mapping. |
| Certificate error | Self-signed or untrusted HTTPS certificate | Use a publicly trusted certificate; Make rejects unverified self-signed certificates. |
| Scenario runs but delivery fails | Attachment field expects a file object or a URL, not the other form | Insert an HTTP file-download step or map the provider’s binary field correctly. |
Performance, reliability, and cost
- Reduce work: capture only an element when a full page is unnecessary, and avoid downloading the same image repeatedly by using provider caching where available.
- Control schedules: choose an interval that matches the change rate of the page. Add filters so unchanged or irrelevant records do not trigger captures.
- Make retries deliberate: retry transient network failures with a bounded error handler. Do not blindly retry authentication errors or invalid URLs.
- Observe each run: retain the source URL, timestamp, HTTP status, output type, and destination ID. This makes failed deliveries distinguishable from failed captures.
- Estimate total operations: a scheduled capture usually consumes operations for the trigger, screenshot, download or upload, and notification. Count every module when estimating Make usage and provider charges.
- Verify provider limits: Make’s HTTP documentation does not define the rendering limits, timeout, viewport controls, or pricing of a third-party screenshot API. Check that provider’s current documentation.
Or skip the browser setup
ScreenshotNeo provides a one-request website screenshot API and an MCP server for AI agents. Cookie and consent banners are accepted and removed before capture, along with more than 60 known consent platforms, newsletter popups, and chat widgets. Bot checks, blank pages, timeouts, failed loads, and cache hits are not billed, and the response identifies the result with X-Page-Verdict and X-Billed headers.
See the ScreenshotNeo API documentation for the full option list. The same endpoint supports full-page and element captures, device and viewport settings, retina scale, dark mode, waits, custom headers and cookies, blocking rules, PDFs, HTML/CSS rendering, signed links, asynchronous jobs, bulk capture, caching, and usage information.
curl -G "https://api.screenshotneo.com/v1/shot" -d access_key=YOUR_API_KEY --data-urlencode url=https://stripe.com -o shot.webpimport requests
r = requests.get("https://api.screenshotneo.com/v1/shot", params={"access_key": "YOUR_API_KEY", "url": "https://stripe.com"}, timeout=90)
open("shot.webp", "wb").write(r.content)const q = new URLSearchParams({ access_key: 'YOUR_API_KEY', url: 'https://stripe.com' });
const res = await fetch(`https://api.screenshotneo.com/v1/shot?${q}`);An MCP server lets Claude, Cursor, and other MCP clients call take_screenshot, get_page_info, and capture_pdf. The Free plan includes 1,000 screenshots per month with no card; paid plans start at $5 for 3,000 shots. Create a free ScreenshotNeo account.
FAQ
Can Make capture a screenshot on a schedule?
Yes. Start the scenario with Make’s scheduler, then connect a URL or webpage screenshot action and a storage or delivery module.
Can I capture only part of a page?
Yes, when using GetScreenshot’s Take Element Screenshot action. Provide the CSS selector for the element.
What if my screenshot provider has no Make app?
Use HTTP → Make a request, authenticate according to that provider’s API documentation, run once to expose output fields, and then map the file into your next module.
Why should I run the scenario once before mapping?
Make needs a sample response to expose parsed fields for later modules.
Does Make document every HTML to Image setting?
No. Make states that complete HTML to Image API documentation is not currently available, so verify current settings with the app and provider documentation.


