How to Capture Website Screenshots with npm
Capture a website with npm-installed Playwright or Puppeteer. Learn viewport and full-page screenshots, image formats, element capture, and reliable automation.
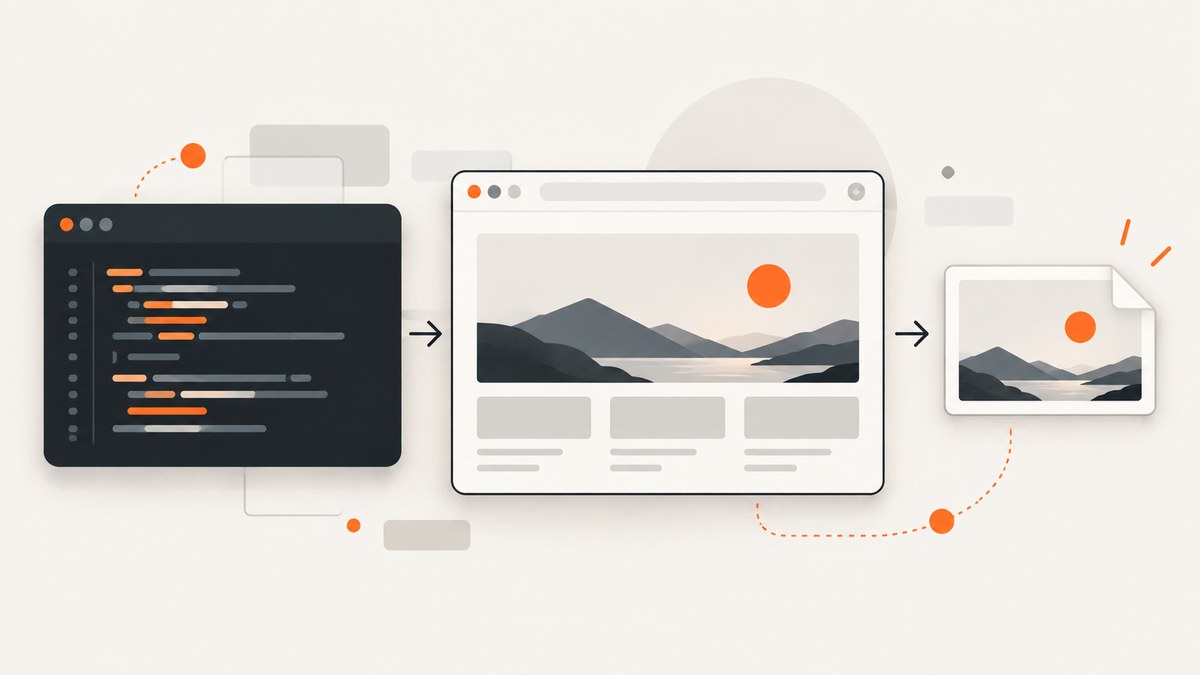
To capture a website screenshot with npm, install a browser automation package such as Playwright, launch its browser, navigate to the page, and call the screenshot API. Playwright’s page.screenshot() captures the current viewport by default; pass fullPage: true for the full scrollable page. The example below writes a PNG to disk.
npm init -y
npm install playwright
npx playwright install chromium
// screenshot.cjs
const { chromium } = require('playwright');
(async () => {
const browser = await chromium.launch();
try {
const page = await browser.newPage({
viewport: { width: 1440, height: 900 },
});
await page.goto('https://example.com', { waitUntil: 'domcontentloaded' });
await page.screenshot({ path: 'screenshot.png' });
} finally {
await browser.close();
}
})();node screenshot.cjsPlaywright’s Page API documentation covers screenshot options and the browser lifecycle. The key steps are launch, create a page, navigate, capture, and close the browser—even if navigation or capture fails.
1. Install a browser automation package
Playwright and Puppeteer both provide npm packages for controlling a browser and taking screenshots. This guide leads with Playwright because its page screenshot API documents viewport and full-page capture, file paths, image formats, scale, masking, and styling controls. Puppeteer is a credible alternative, including when you want to capture a specific element through its element handle API.
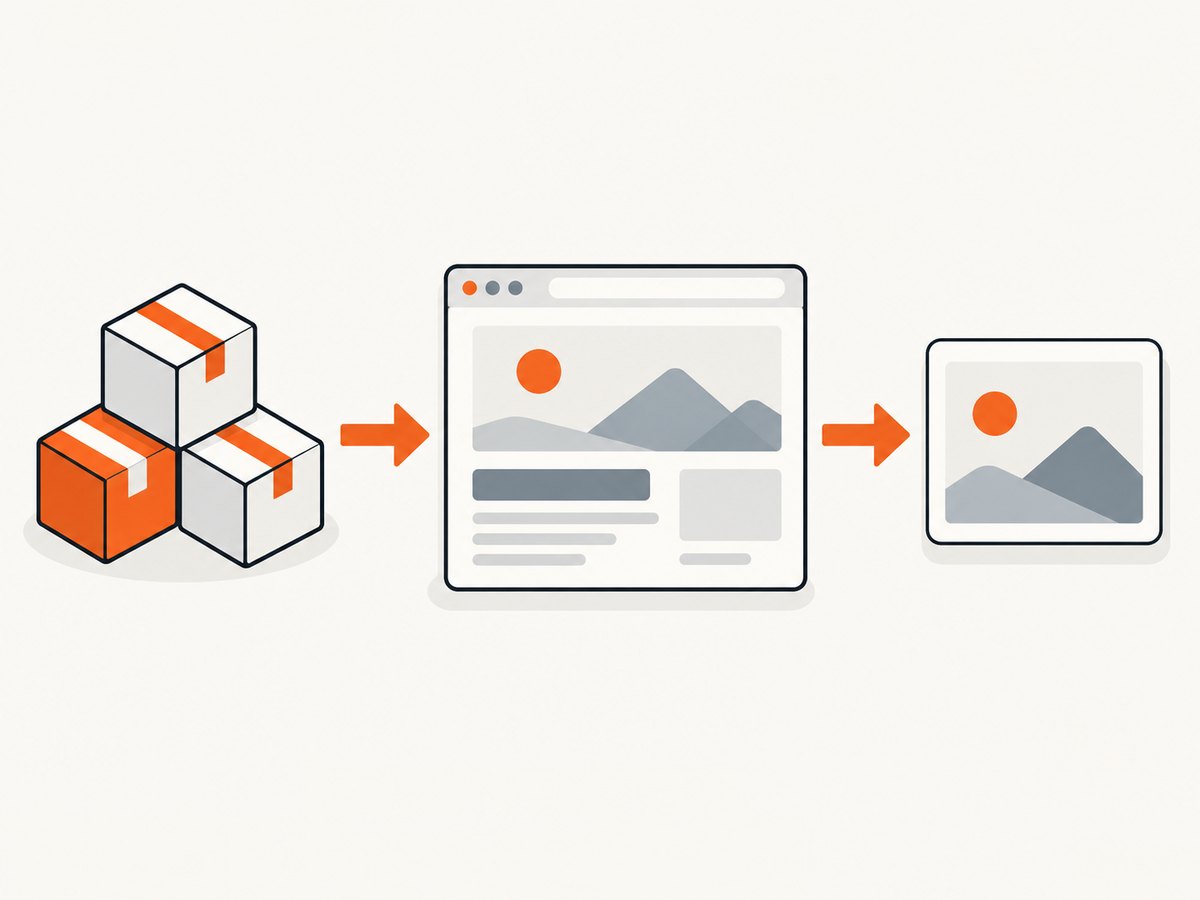
Install Playwright and its Chromium browser with the commands above. In a project that already uses Playwright, you may not need to install the package again. Browser installation is a separate step: the package needs an available browser executable to launch.
Save the example as screenshot.cjs and run it with Node.js. CommonJS is used so the file works without changing the project’s module type. In an ES module project, use:
import { chromium } from 'playwright';Then keep the same async browser flow. Use try/finally around browser work so the browser process is closed on errors. For one-off scripts, a new browser and page are straightforward. For a service capturing many URLs, reuse a browser process and create a fresh page or browser context per job, with limits on concurrent work.
2. Choose viewport or full-page capture
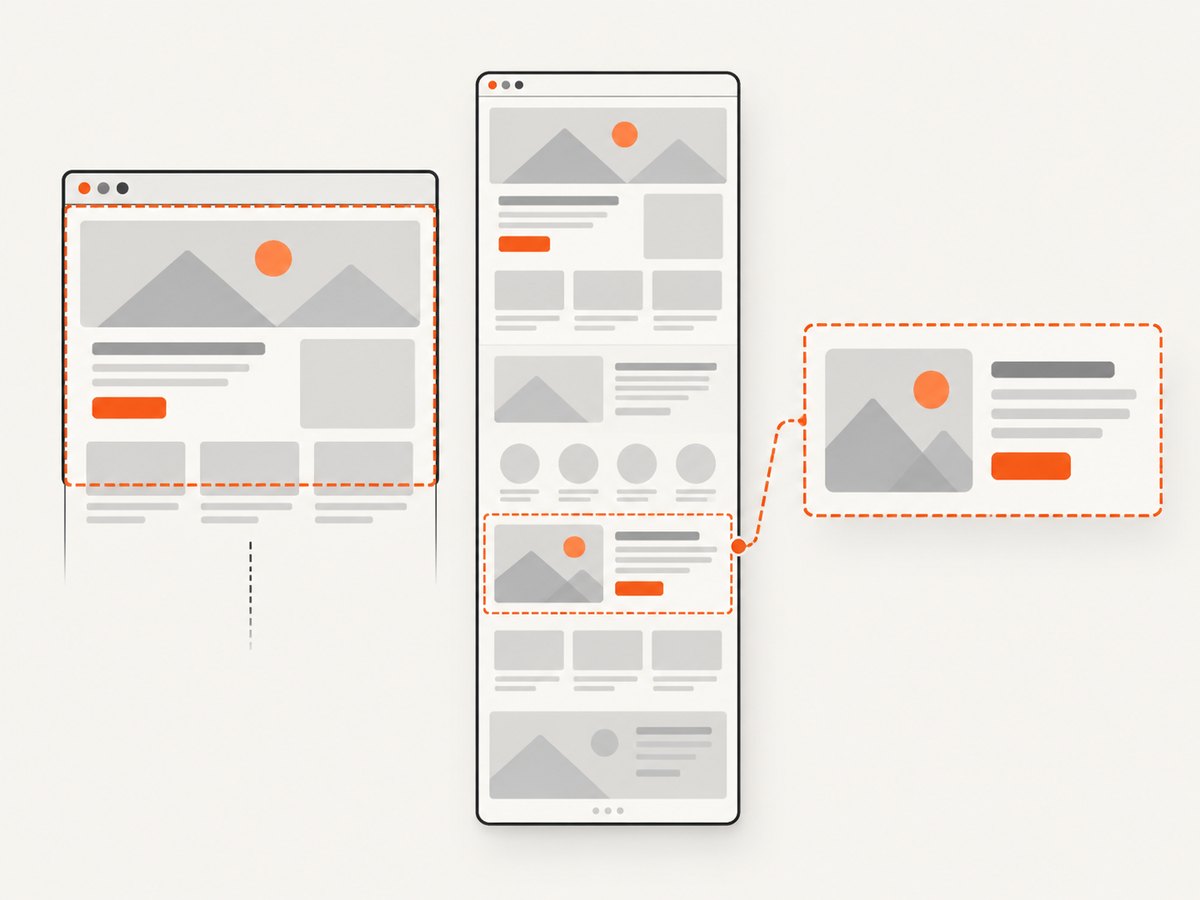
A viewport screenshot is what the page currently displays inside the browser window. It is suitable for a visible fold, a specific state, or a responsive layout at a chosen size. Set the viewport explicitly when the output dimensions matter:
const page = await browser.newPage({
  viewport: { width: 1280, height: 800 },
});
await page.goto('https://example.com');
await page.screenshot({ path: 'viewport.png' });
For a screenshot of the entire scrollable document, use fullPage: true:
await page.screenshot({ path: 'full-page.png', fullPage: true });Long pages can produce very tall images and consume more memory and storage than viewport captures. If you only need a component or section, capture that element instead of the whole page. Full-page capture also does not mean every page has finished loading its lazy content; scroll or wait for the particular content you need before capture if the site loads it on demand.
3. Pick an image path, format, and scale
Passing path writes the image directly to a file. Without a path, Playwright returns screenshot bytes as a buffer, useful when you want to upload the image, store it, or process it without first writing a local file.
const bytes = await page.screenshot({ type: 'png' });
// bytes is a Buffer; for example:
require('node:fs').writeFileSync('capture.png', bytes);
PNG is the default. Playwright also supports JPEG and WebP. JPEG quality can be set from 0 to 100; quality is ignored for PNG. Specify the type explicitly if the output format matters, and use a matching filename extension.
await page.screenshot({ path: 'capture.webp', type: 'webp' });
await page.screenshot({ path: 'capture.jpg', type: 'jpeg', quality: 85 });
The scale option controls whether output dimensions correspond to CSS pixels or device pixels. Choose deliberately when comparing images or preparing assets for a display density. Otherwise, defaults may be adequate for a quick capture.
Other useful screenshot options include:
fullPage: include the full page rather than only the viewport.type,quality, andpath: choose format, JPEG/WebP quality where supported, and file destination.scale: output at CSS pixel or device pixel scale.animations: control the handling of animations during capture.mask: cover selected locators, for example dynamic account details.style: apply a stylesheet for the screenshot, useful for suppressing volatile content.
Consult the official screenshot API reference for exact option types and behavior for the Playwright version in your project.
4. Capture one element
Element capture is useful for a card, chart, product image, or other component when the surrounding page is irrelevant. With Playwright, locate the element and call its screenshot method:
const card = page.locator('[data-testid="product-card"]');
await card.screenshot({ path: 'product-card.png' });
Use a selector that uniquely identifies the intended element. If the page has repeated matches, narrow the locator or select a specific match. Wait for the element to exist and be visible before capturing it; if it is below the fold, the locator screenshot workflow can bring it into view. Avoid brittle selectors tied to generated class names when a stable attribute or semantic locator is available.
Puppeteer also documents element screenshots using ElementHandle.screenshot(); it attempts to scroll a hidden element into view by default. See its official screenshot guide for its documented examples.
5. Wait for the page state you actually need
Navigation completion and visual readiness are related but not identical. A page can render its shell before client-side data, fonts, images, or a particular component appears. Choose a readiness condition based on the page:
- Use
waitUntil: 'domcontentloaded'when the document has been parsed and you will wait for a specific target afterward. - Wait for a meaningful selector when a known component signals that the content is ready.
- Use a short explicit delay only when the site has a known delayed transition that cannot be observed through a better signal.
- Network-idle navigation can be useful for some pages, but it can wait indefinitely or be misleading on pages with persistent connections or recurring requests.
await page.goto('https://example.com/products', { waitUntil: 'domcontentloaded' });
await page.locator('[data-testid="product-grid"]').waitFor({ state: 'visible' });
await page.screenshot({ path: 'products.png', fullPage: true });
For full-page captures of lazy-loaded pages, scrolling can trigger content loading. A practical approach is to scroll in increments and wait for the content you need, then capture. Avoid assuming that one fixed delay makes every site ready.
6. Use Puppeteer if it fits your project
Puppeteer’s documented guide shows a similar lifecycle: launch, create a page, navigate, capture, and close. Install it and its browser as directed by the Puppeteer screenshots guide. A minimal capture looks like this:
const puppeteer = require('puppeteer');

(async () => {
  const browser = await puppeteer.launch();
  try {
    const page = await browser.newPage();
    await page.goto('https://example.com', { waitUntil: 'networkidle2' });
    await page.screenshot({ path: 'puppeteer.png' });
  } finally {
    await browser.close();
  }
})();
The guide uses networkidle2 in its example, but that is not a universal readiness rule. Sites with continuing network traffic, delayed fonts, animation, or client-side rendering may need a selector-specific wait. Choose based on the page state you intend to capture. The available research does not establish that either library is universally faster, cheaper, or more reliable, so select based on project needs and the documented APIs you require.
7. Make screenshots repeatable
Screenshot output can vary with the operating system, browser version, rendering settings, hardware, power source, and headless mode. If screenshots are used for visual comparison, keep the capture and comparison environment consistent: browser, operating system, viewport, scale, fonts, and relevant settings.
Transient page content can also create noisy differences. Move the mouse away from hover-sensitive elements if hover effects should not appear. Use a custom stylesheet, screenshot mask, or style option to suppress dynamic areas such as timestamps, rotating promotions, or user-specific content.
For automated visual assertions, Playwright Test’s toHaveScreenshot() creates a reference image on its first execution and compares later captures against it. When a reference intentionally changes, update snapshots with:
npx playwright test --update-snapshotsReview and commit intentional baseline changes. Do not update references automatically just to silence a failing comparison; first decide whether the rendered change is expected.
8. Handle failures and operating limits
Browser capture is a real browser workload. Each open page uses resources, and full-page screenshots can be large. For a local utility, sequential capture is simple. For a server, cap concurrency, close pages and contexts after each job, set navigation and job timeouts, and retry only failures that may be transient. Do not let an unbounded queue launch browsers without limits.
When a capture runs in a container or server, ensure the browser installation and runtime libraries are available in that environment. A script that works on a developer laptop may fail in a minimal deployment image if the browser binary was not installed there.
Common errors and fixes
| Symptom | Likely cause | Fix |
|---|---|---|
| Browser executable missing | The npm package is installed but its browser was not installed in this environment. | Run the package’s browser installation command during setup and verify it also runs in deployment. |
| Navigation timeout | The page is slow, unreachable, or its readiness condition never occurs. | Check the URL and network access, set a suitable timeout, and wait for a page-specific selector instead of an overly broad condition. |
| Screenshot is blank or incomplete | The capture ran before client-rendered content or lazy assets appeared. | Wait for a meaningful element; scroll to trigger lazy loading when required; confirm the page is not an error or bot-check page. |
| Element is not found | The selector is wrong, too broad, or evaluated before the component appears. | Inspect the rendered page, use a stable selector, and wait for the locator to become visible. |
| Image dimensions differ | Viewport, device scale, browser, or rendering environment differs. | Pin viewport and scale and keep browser and host environment consistent. |
| Browser remains running after a failure | Cleanup was skipped when navigation or capture threw. | Put browser closure in a finally block, as in the examples. |
| Full-page output is unexpectedly huge | The document is very long or includes large lazy content. | Capture a viewport or specific element, or limit the page content before capture. |
Or skip the browser setup
For a one-request screenshot without installing or running a browser, use ScreenshotNeo, a website screenshot API and MCP server made by Yorker Media. See the API documentation for request options.
const q = new URLSearchParams({ access_key: 'YOUR_API_KEY', url: 'https://example.com' });
const res = await fetch(`https://api.screenshotneo.com/v1/shot?${q}`);
if (!res.ok) throw new Error(`Screenshot request failed: ${res.status}`);
const fs = require('node:fs');
fs.writeFileSync('shot.webp', Buffer.from(await res.arrayBuffer()));
Cookie banners are accepted like a visitor and removed before the shot, along with known newsletter popups and chat widgets; each of those steps can be turned off. Bot checks and CAPTCHAs, blank pages, timeouts, failed loads, and cache hits cost nothing, and responses include X-Page-Verdict and X-Billed headers. Its MCP server gives AI agents tools to take screenshots, get page information, and capture PDFs. The free plan includes 1,000 screenshots a month with no card; paid plans start at $5 for 3,000 screenshots.
Sign up for 1,000 free screenshots a month, with no card required.
Performance, reliability, and cost
With a local browser, the main costs are the compute and storage you provide. A browser process and page consume memory; larger full-page images take more time to render and more space to store. Reuse a browser for batches, but isolate page state between jobs and set a concurrency limit. Pick the smallest capture area and scale that meets the requirement.
Reliability comes from controlling inputs and cleanup: explicit viewport, a clear readiness signal, timeouts, and closing browser resources. Retrying a failed navigation can help with transient network conditions, but repeated attempts against a consistently failing or blocked page only add load and delay. Keep error details and target URLs in logs without recording sensitive cookies or authorization headers.
For API-based captures, compare the per-plan allowance with expected monthly volume and review what the service bills. ScreenshotNeo’s listed plans are Free (1,000 monthly), Starter ($5 for 3,000), Growth ($15 for 15,000), Pro ($39 for 60,000), Scale ($99 for 250,000), and Business ($249 for 1,000,000); yearly billing gives two months free. Every feature is on every plan. Confirm current details on its site before choosing a plan.
FAQ
Does npm itself take the screenshot?
No. npm installs the library; Playwright or Puppeteer launches and controls the browser that renders the page.
Can I return the screenshot from an API endpoint?
Yes. Playwright can return screenshot bytes as a buffer. Your server can send those bytes with the matching image content type instead of writing a file.
Can I capture a page that requires a login?
A browser automation script can navigate through an authenticated session if you configure it, but protect credentials and session state. Do not place secrets in source control or logs.
Which library should I choose?
Choose based on your existing project and needed API. Playwright Test includes screenshot baseline assertions; both projects document page capture, and Puppeteer documents element capture. The cited material does not support a universal speed or reliability ranking.


