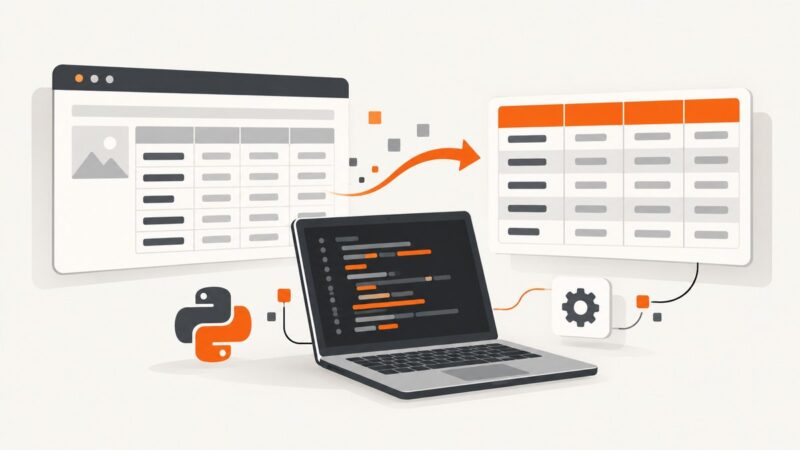
How to Capture Website Screenshots in Sanity
Sanity’s Presentation Tool provides a live, clickable website preview—not a saved screenshot. Learn which workflow fits and how to capture an image separately.

Sanity’s documented way to see a website inside Sanity Studio is the Presentation Tool. It embeds a live frontend in Studio, and Visual Editing can let editors click rendered content to reach its source document and field. That is an interactive preview, not a saved screenshot image. Sanity’s reviewed documentation does not describe a workflow for capturing and storing a static screenshot file.
So first decide what you need: a screenshot image to save, share, or process, or a live preview where editors can inspect draft content and click through to edit it. This guide covers both paths and keeps their purposes clear.
1. Choose between a screenshot image and a live preview
| Need | Use | What you get |
|---|---|---|
| A PNG, JPEG, WebP, or PDF artifact | A browser capture workflow or screenshot API | A file or response body containing a capture |
| To preview frontend content in Studio | Sanity Presentation Tool | A live frontend embedded in Studio |
| To click rendered content and open its source | Presentation Tool plus Visual Editing overlays | Navigation from rendered content to its Sanity document or field |
Sanity describes Visual Editing as a way for content creators to see changes live and edit content directly from the webpage. The Presentation Tool hosts that webpage inside Studio. It does not follow that Studio has produced an image file: a live iframe preview and a screenshot are different outputs. See Sanity’s Visual Editing introduction and Presentation Tool configuration.

2. Set up Sanity’s live website preview
The basic route requires a Sanity Studio project, a frontend that is running locally or deployed, a Studio configuration that points to the frontend preview URL, and CORS permission for the frontend origin. Exact details depend on the frontend framework and how draft mode and routes are implemented.
Step 1: Check your Studio version and start the frontend
The Sanity configuration guide reviewed for this article lists Sanity v3.85.0 or later for the Presentation Tool setup it documents; it also identifies that version as the requirement for allowOrigins. Check the current guide and your project’s package requirements before upgrading or copying configuration, since package requirements can change.
Make sure the frontend preview URL is reachable from the browser using Studio. A local frontend is useful during development; a deployed preview URL works when editors need access outside a developer’s machine. The Presentation Tool embeds the frontend, so the URL must resolve to the site you intend to preview.
Step 2: Configure the Presentation Tool
In sanity.config.ts, add the Presentation Tool and point it at your preview frontend. The configuration can also provide a route to enable draft mode and, optionally, a route to disable it. Route paths and their behavior are app-specific; implement them in your frontend rather than assuming one universal Sanity route.
// sanity.config.ts — illustrative configuration shape
import {defineConfig} from 'sanity'
import {presentationTool} from 'sanity/presentation'

export default defineConfig({
  // Keep the rest of your project configuration, including projectId,
  // dataset, plugins, and schema, as required by your Studio.
  plugins: [
    presentationTool({
      previewUrl: {
        origin: 'http://localhost:3000',
        // Configure enable/disable draft mode routes for your app
        // according to the Sanity guide and your frontend routing.
      },
    }),
  ],
})
This snippet shows the shape of the setup, not a complete project configuration: a real Studio still needs its project, dataset, schema, and other settings, and framework routing determines how preview mode works. Use the official configuration guide for the options and syntax that match your installed Sanity version.
Step 3: Allow the frontend origin in Sanity
Configure Sanity project CORS for the exact origin from which the frontend preview runs. Include the scheme and host, and the port for local development. A mismatch—such as allowing a production origin while testing on localhost—can prevent the Studio and frontend from communicating as intended. Follow Sanity’s project CORS guidance and avoid opening access more broadly than your workflow needs.
Step 4: Open Presentation in Studio
Start the frontend and Studio, then open the Presentation tool. Confirm that the embedded site loads and that the displayed content corresponds to the expected published or draft state. If your project uses a framework quickstart, follow its specific setup: Sanity lists guides for Next.js App Router and Pages Router, React Router, Astro, SvelteKit, Nuxt, and other integrations in the Visual Editing introduction.
3. Add click-to-edit overlays
A preview can show a page without providing reliable click-to-edit behavior. Overlays connect rendered content back to Sanity source fields. Sanity’s overlay workflow depends on draft mode, a client configured with stega, and Visual Editing initialization when the application is in draft mode.
- Render draft content. Configure your app’s preview or draft mode so the frontend requests the intended draft perspective.
- Enable stega in the Sanity client. Configure the client with stega enabled and the appropriate Studio URL. Stega metadata helps associate rendered values with their source.
- Initialize Visual Editing in draft mode. Call
enableVisualEditing()when the application enters draft mode, and do so after the relevant content is rendered. The timing matters: initializing before content is available can leave overlays absent. - Handle values that cannot carry stega text. Sanity’s overlays also recognize
data-sanityattributes. These are useful for rendered values such as images, numbers, or booleans that cannot carry stega metadata as ordinary text.
Sanity’s client stega guide and overlay guide provide the implementation details. Treat this as a workflow outline, not a framework-neutral drop-in recipe: the right client setup, draft-mode handler, and initialization point vary with framework and routing.
Stega-encoded values should be cleaned before using them in contexts that expect plain values, such as URLs or equality comparisons. The metadata supports editing; it should not accidentally become part of a URL or application decision.
4. Capture a static screenshot image
If your requirement is an image file, use a browser capture tool or an API designed to return image bytes. The following is a general Playwright example for a frontend you control. It takes a screenshot of a URL and writes a PNG to disk. Install Playwright and its browser runtime according to the official Playwright documentation.
// Node.js with Playwright: save a full-page PNG
import { chromium } from 'playwright'

const url = process.argv[2] ?? 'http://localhost:3000'
const browser = await chromium.launch()
try {
  const page = await browser.newPage({ viewport: { width: 1440, height: 900 } })
  await page.goto(url, { waitUntil: 'networkidle', timeout: 60000 })
  await page.screenshot({ path: 'sanity-preview.png', fullPage: true })
} finally {
  await browser.close()
}
Run it with your local preview URL as the argument. The output is a static file; it does not include Sanity Studio’s interactive editing behavior. If the page uses long polling, analytics, or other connections that never become idle, networkidle may not be the right readiness condition. Wait for a meaningful selector or a short, explicit delay instead. For draft content, ensure the capture browser is authenticated and the frontend is actually serving the draft you intend to capture.
Capture considerations
- Full page versus viewport: a full-page image can be very tall and consume substantial memory. Use a viewport screenshot when only the visible fold matters.
- Readiness: navigation completion does not guarantee that client-rendered data, fonts, or images are ready. Wait for a page-specific element and, where needed, image completion.
- Authentication: private preview routes may need cookies or a signed preview session. Do not put long-lived credentials in source code or publish them with the image.
- Responsive state: specify viewport dimensions and device scale factor if screenshots must be comparable across runs.
- Privacy: drafts can contain unpublished material. Store and share captures under the same access controls as the source content.
5. Or skip the browser setup
If you need a screenshot image without maintaining a browser capture script, ScreenshotNeo is a website screenshot API and MCP server. One GET request returns an image or PDF. See the API documentation for parameters and response details.
curl -G "https://api.screenshotneo.com/v1/shot" -d access_key=YOUR_API_KEY --data-urlencode url=https://stripe.com -o shot.webpimport requests
r = requests.get(
"https://api.screenshotneo.com/v1/shot",
params={"access_key": "YOUR_API_KEY", "url": "https://stripe.com"},
timeout=90,
)
open("shot.webp", "wb").write(r.content)const q = new URLSearchParams({ access_key: 'YOUR_API_KEY', url: 'https://stripe.com' });
const res = await fetch(`https://api.screenshotneo.com/v1/shot?${q}`);
if (!res.ok) throw new Error(`Screenshot request failed: ${res.status}`);
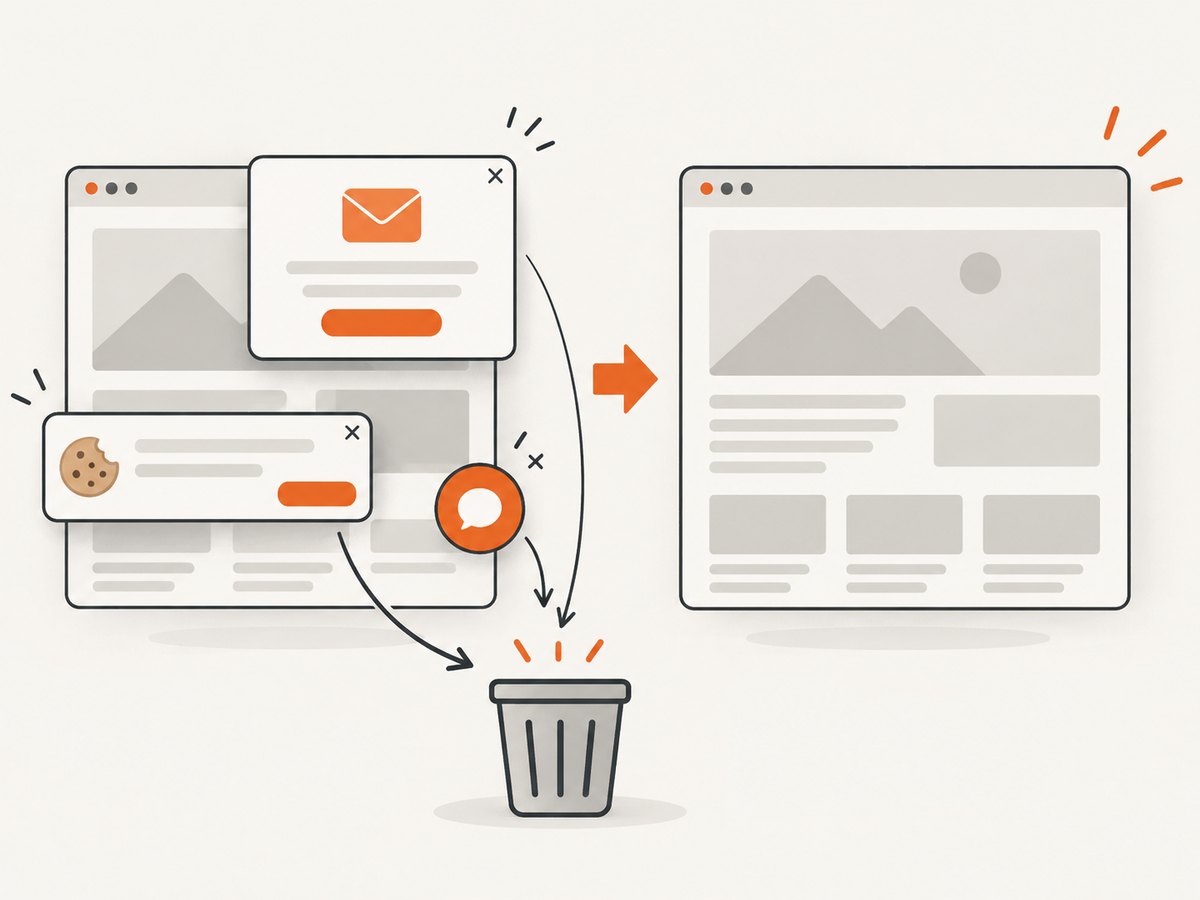
await Bun.write('shot.webp', res);The Node example uses Bun’s file writer; in Node.js, save the response bytes with your preferred filesystem method. Replace the example target URL with your own page. ScreenshotNeo accepts cookie banners like a visitor and removes more than 60 known consent platforms, newsletter popups, and chat widgets before capture; each step can be turned off. Bot checks, CAPTCHAs, blank pages, timeouts, failed loads, and cache hits are not billed, and response headers report the page verdict and billing status. Its MCP server gives AI agents tools for screenshots, page information, and PDF capture. The free plan includes 1,000 shots per month without a card; paid plans start at $5 for 3,000 shots.
Create a free ScreenshotNeo account for 1,000 screenshots a month with no card.
6. Troubleshooting
| Symptom | Likely cause | What to check |
|---|---|---|
| Presentation iframe does not load | Frontend is stopped, preview URL is wrong, or origin is not allowed | Open the URL directly; check scheme, host, port, and Sanity project CORS configuration. |
| Preview shows published content instead of a draft | Draft mode or draft perspective is not active | Verify the app’s draft-mode route, client perspective, and preview session. |
| Overlays do not appear | Stega is disabled, draft perspective is missing, or initialization ran too early | Check the client stega setup and draft state; initialize Visual Editing after relevant content renders. |
| Some elements cannot be clicked to edit | The rendered value does not carry usable stega metadata | Use the supported data-sanity attributes where appropriate and follow the overlay guide. |
| A URL or comparison contains strange extra characters | Stega metadata reached a non-display context | Clean the encoded value before using it as a URL, identifier, or comparison input. |
| Playwright waits until timeout | The page never reaches network idle, or the route is unreachable | Check navigation errors; wait for a meaningful selector rather than global network idle when connections persist. |
| Screenshot is blank or misses dynamic content | Capture occurred before the frontend rendered the target state | Wait for a page-specific element, verify draft authentication, and inspect the page at the same URL in a browser. |
7. Performance, reliability, and cost
For self-hosted browser capture, browser startup and page rendering usually dominate the work. Reuse a browser process for batches rather than launching one per URL, but create isolated pages or contexts so cookies and state do not leak between captures. Set navigation and overall timeouts, close pages after use, and retry only transient failures with a limit. A full-page capture of a long document uses more memory and produces a larger file than a viewport capture.
For repeatable captures, control the viewport, locale, timezone, authentication state, and readiness condition. Pages with rotating content, animation, ads, or personalization can differ between runs. If visual comparison is the goal, disable or wait out animation where appropriate and use a stable test fixture. Keep raw screenshots with enough metadata to reproduce the capture: target URL, timestamp, viewport, and whether the page was draft or published.
With a capture API, cost depends on plan and the provider’s billing rules. ScreenshotNeo publishes Free at 1,000 shots/month, Starter at $5 for 3,000, Growth at $15 for 15,000, Pro at $39 for 60,000, Scale at $99 for 250,000, and Business at $249 for 1,000,000; yearly billing gives two months free. Every feature is available on every plan. It bills only clean shots, and its response headers indicate page verdict and billed status. Use the returned status information in batch jobs instead of treating every HTTP response as a successful image.
8. FAQ
Does Sanity Studio save a screenshot when I open Presentation?
The reviewed Sanity documentation describes a live embedded preview and editing overlays, not a saved screenshot file. Use a browser capture workflow or screenshot API when an image artifact is required.
Can editors click the preview to edit content?
Yes, with Visual Editing configured. Click-to-edit relies on draft content, stega-enabled client configuration, and overlays; see Sanity’s overlay documentation.
Will one Presentation Tool snippet work with every frontend?
No. The high-level setup is shared, but draft-mode routes, client integration, and initialization depend on your framework and routing. Use the matching Sanity integration guide.
Can I capture an unpublished page?
Yes, if the frontend preview route serves draft content and the capture process has the required preview session. Treat the resulting image as unpublished content and protect it accordingly.