How to Capture Zoomed Elements With html2canvas
Capture a zoomed DOM element clearly with html2canvas. Control crop geometry and output scale, handle transforms, and fix missing images.
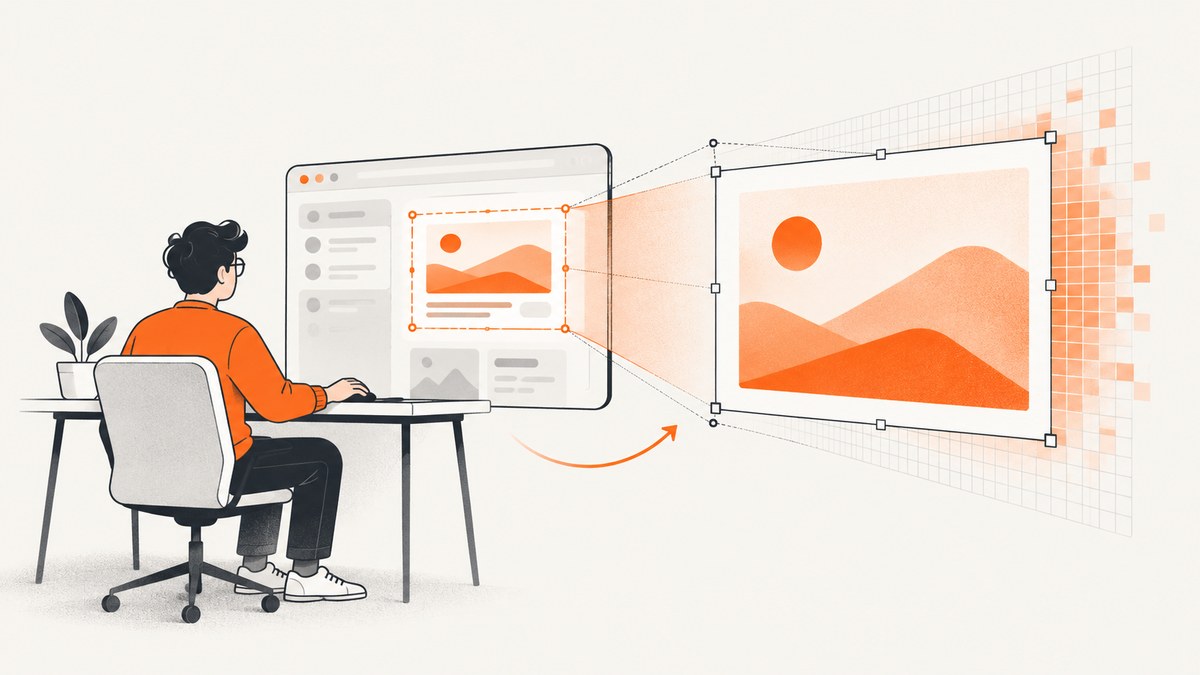
To capture a zoomed element with html2canvas, pass the element itself to html2canvas() and choose an output scale separately from the element’s CSS geometry. Use scale: window.devicePixelRatio for density-aware sharpness, or scale: 1 when you need canvas dimensions to match CSS pixels. Browser zoom can change devicePixelRatio, so read it when you capture instead of assuming it is always 1.
This distinction matters: CSS zoom or transform: scale(...) changes what the browser lays out or paints, while html2canvas’s scale controls the canvas resolution. The result is reconstructed from DOM and CSS rather than taken as a native browser screenshot, so unsupported CSS and inaccessible cross-origin content can differ from what you see on screen.
const target = document.querySelector('.zoomed-element');
if (!target) throw new Error('Could not find .zoomed-element');

const canvas = await html2canvas(target, {
  scale: window.devicePixelRatio,
  backgroundColor: null,
});
const png = canvas.toDataURL('image/png');
The official project examples use this selected-element-and-export pattern and demonstrate window.devicePixelRatio for high-density output. See the html2canvas project documentation.
1. Install and capture one element
Install html2canvas in your project, import it, wait until the target exists, then pass the DOM node—not a selector string—to the function. In a browser module, for example:
import html2canvas from 'html2canvas';

async function downloadElement(selector) {
  const target = document.querySelector(selector);
  if (!(target instanceof HTMLElement)) {
    throw new Error(`No element found for ${selector}`);
  }

  const canvas = await html2canvas(target, {
    scale: window.devicePixelRatio,
    backgroundColor: null,
  });

  const link = document.createElement('a');
  link.download = 'element.png';
  link.href = canvas.toDataURL('image/png');
  link.click();
}

downloadElement('.zoomed-element');
For a quick capture in a page where html2canvas is already loaded, the same operation can be run from an async function. If the element is inserted asynchronously by a framework, call capture after the render has committed and the node is present. A missing node is an application timing or selector problem; html2canvas cannot capture an element that does not exist.
2. Decide whether the zoom should appear in the image
There are two common meanings of “zoomed element.” The element may be visually enlarged using a transform and you want that enlarged appearance in the output. Or the transform may only be a temporary presentation effect, and you want a normal-sized rendering of the component. Those goals need different treatment.
Keep the enlarged appearance
Leave the transform intact. Capture the element and inspect its rendered bounds with getBoundingClientRect(). Transforms can make the painted bounds differ from the untransformed layout box, and the visible region may extend beyond its original parent. If the desired image includes the full enlarged shape, size your crop around the transformed bounds and check whether overflow clipping hides any part of it.
const target = document.querySelector('.zoomed-element');
if (!target) throw new Error('Target not found');

const rect = target.getBoundingClientRect();
const canvas = await html2canvas(target, {
  scale: window.devicePixelRatio,
  width: Math.ceil(rect.width),
  height: Math.ceil(rect.height),
});
When capturing the target node directly, html2canvas renders that node as the capture root. For crops that must align to a specific document or viewport region, use the coordinate approach in the next section and verify the result against the actual rendered bounds.
Remove a presentation-only transform in the clone
Use onclone to change only the cloned document that html2canvas renders. This leaves the live page untouched. It is useful for removing a hover zoom or setting stable capture dimensions, but only when that visual transform is not part of the intended output.
const canvas = await html2canvas(target, {
  scale: window.devicePixelRatio,
  onclone: (clonedDocument) => {
    const cloneTarget = clonedDocument.querySelector('.zoomed-element');
    if (cloneTarget) {
      cloneTarget.style.transform = 'none';
      cloneTarget.style.transformOrigin = 'top left';
    }
  },
});
Changing the transform can change the layout and visible bounds. If the element depends on a transformed ancestor, normalize that ancestor too. Prefer a capture-specific class or selector so the callback does not change unrelated nodes in the cloned page.
3. Set crop geometry and output dimensions
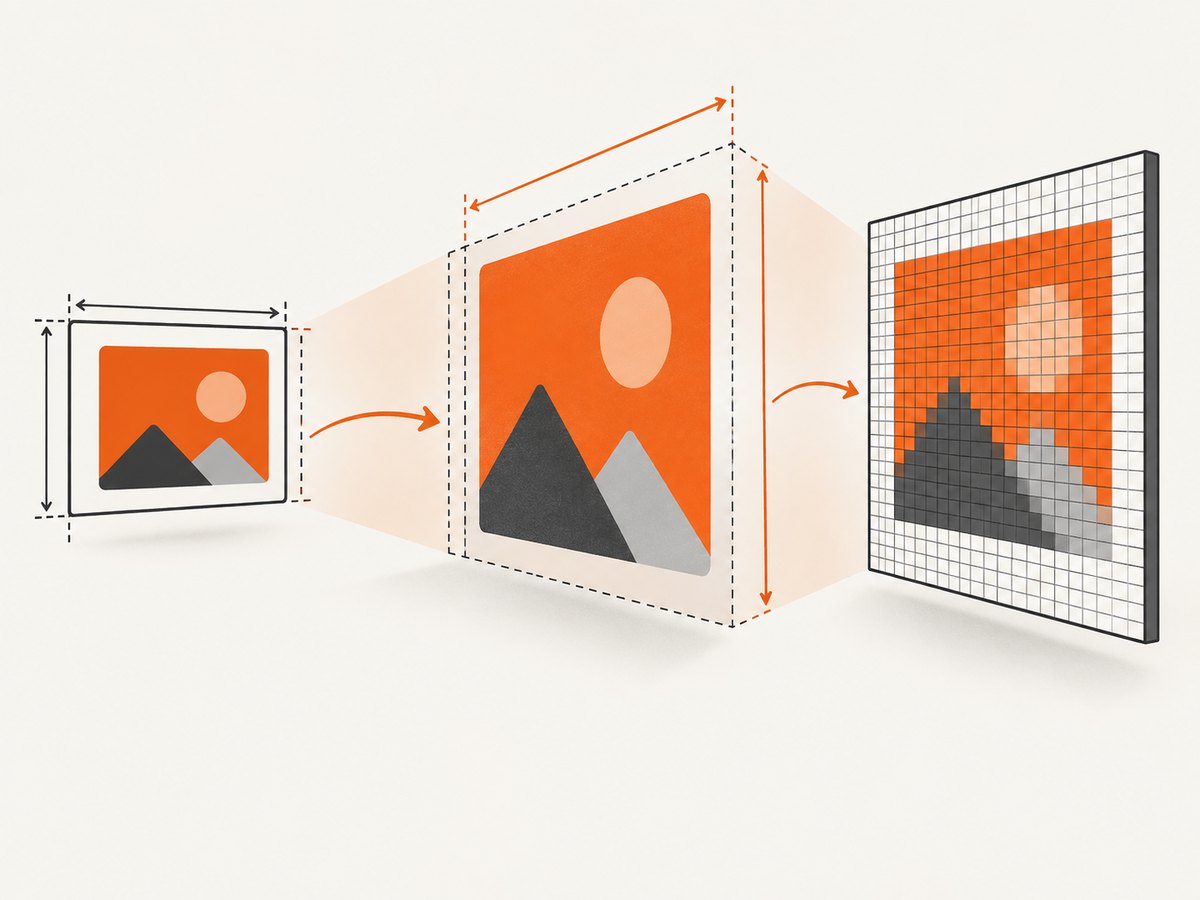
For a precise region, html2canvas accepts x, y, width, and height. Derive them from the coordinate space being rendered. A common mistake is mixing viewport coordinates from getBoundingClientRect() with document coordinates after scrolling. Decide whether your crop is relative to the viewport or document and account for scroll position consistently.
const rect = target.getBoundingClientRect();
const canvas = await html2canvas(document.body, {
  x: Math.floor(rect.left + window.scrollX),
  y: Math.floor(rect.top + window.scrollY),
  width: Math.ceil(rect.width),
  height: Math.ceil(rect.height),
  scale: 1,
});
This captures the selected rectangle from the document root. If the target is fixed-position, its viewport position and document position behave differently as the page scrolls; use viewport-relative coordinates when that is the intended framing. For a crop rooted at an element, coordinates may instead be relative to that rendered root. Validate a small sample before relying on exact pixel alignment.
| Option | Use it for | Trade-off |
|---|---|---|
scale: 1 |
Predictable CSS-pixel output dimensions | May look soft on high-density displays |
scale: window.devicePixelRatio |
Density-aware sharpness, including current browser zoom | More pixels and memory; value varies by display and zoom |
x, y, width, height |
Capturing a chosen rectangle | Coordinates must match the rendered root and scroll state |
onclone |
Capture-only normalization or hiding controls | Can change geometry and appearance in the clone |
backgroundColor: null |
Keeping transparent areas transparent | Use an explicit color when consumers require an opaque background |
A scale of 2 doubles each canvas dimension and creates about four times as many pixels. Larger canvases take more memory and may hit browser canvas limits. Increase scale only as far as the output needs; a huge full-page capture at a high scale can fail or produce an empty or clipped canvas.
4. Prepare content before rendering
Wait for web fonts and relevant images when visual stability matters. If capture runs before a font loads, fallback glyphs can change line breaks and component dimensions. Images that are still loading may be absent or incomplete.
await document.fonts.ready;

const target = document.querySelector('.zoomed-element');
if (!target) throw new Error('Target not found');

const images = Array.from(target.querySelectorAll('img'));
await Promise.all(images.map((image) => {
  if (image.complete) return Promise.resolve();
  return new Promise((resolve) => {
    image.addEventListener('load', resolve, { once: true });
    image.addEventListener('error', resolve, { once: true });
  });
}));

const canvas = await html2canvas(target, {
  scale: window.devicePixelRatio,
  useCORS: true,
});
The sample resolves on image errors so one broken resource does not wait forever; inspect naturalWidth if your application needs to report failed assets. useCORS: true requests eligible cross-origin images with CORS. The remote server must send a response that permits your page’s origin. It does not bypass browser security.
5. Handle external images, iframes, and CSS limits
External images are a frequent source of missing content. If the source does not allow cross-origin access, use a same-origin proxy that fetches and serves the asset with appropriate policy, or move the asset to an accessible origin. A canvas containing restricted cross-origin pixels can be tainted, making toDataURL() or toBlob() fail with a security error.
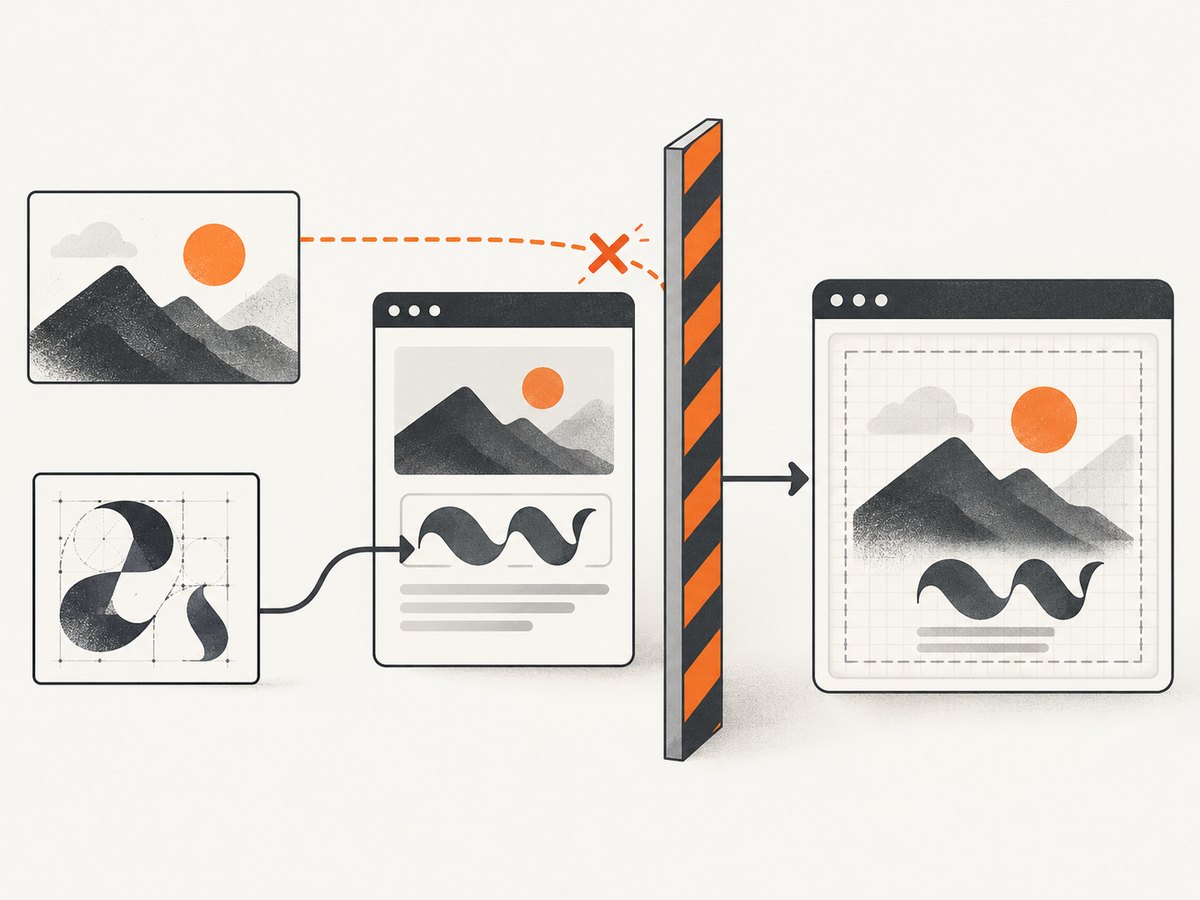
Cross-origin iframes have a separate limitation: the browser prevents page script from reading their contentDocument. html2canvas cannot reconstruct content it cannot access. Capture the iframe’s own page from within that origin, if you control it, or treat the iframe as an opaque region.
html2canvas builds the image from DOM information and supports only CSS properties it understands; it is not a native screenshot of the browser compositor. Effects or advanced styling may therefore render differently. The project describes its purpose as taking screenshots of webpages or parts of them directly in the user’s browser. Check the target browsers when fidelity matters, especially for complex CSS, large documents, and transformed layouts.
6. Choose the right approach for your capture
Use the element API when you need a component or card, a crop when you need a specific region of a larger rendered root, and onclone when only the capture copy needs changes. If fidelity depends on a browser feature html2canvas does not reproduce, compare its regular DOM rendering with foreignObjectRendering in the target browser; support and output can vary, so verify the result rather than assuming it is a universal fix.
- Element: pass the target node for a self-contained component capture.
- Region: capture an appropriate root and set crop geometry in that root’s coordinate space.
- Normalized view: modify the cloned DOM in
onclonefor capture-only presentation changes. - Native browser appearance: when exact rendering of complex CSS is essential, use a browser-based screenshot method rather than relying on DOM reconstruction.
Or skip the browser setup
For a website screenshot from a URL, ScreenshotNeo is a website screenshot API and MCP server. A single GET request returns PNG, JPEG, WebP, or PDF. It captures a page rather than an arbitrary DOM node in your current app, so use it when the source is a URL and you do not need html2canvas’s in-page element selection.
See the ScreenshotNeo API documentation for request options. This cURL example saves a WebP screenshot:
curl -G "https://api.screenshotneo.com/v1/shot" \
  -d access_key=YOUR_API_KEY \
  --data-urlencode url=https://stripe.com \
  -o shot.webp
The same request in Python:
import requests

r = requests.get(
    "https://api.screenshotneo.com/v1/shot",
    params={"access_key": "YOUR_API_KEY", "url": "https://stripe.com"},
    timeout=90,
)
r.raise_for_status()
open("shot.webp", "wb").write(r.content)
And in Node.js:
const q = new URLSearchParams({
  access_key: 'YOUR_API_KEY',
  url: 'https://stripe.com',
});
const res = await fetch(`https://api.screenshotneo.com/v1/shot?${q}`);
if (!res.ok) throw new Error(`Screenshot request failed: ${res.status}`);
await require('node:fs/promises').writeFile('shot.webp', Buffer.from(await res.arrayBuffer()));
ScreenshotNeo accepts cookie and consent banners as a visitor and removes more than 60 known consent platforms, newsletter popups, and chat widgets before capture; each step can be turned off. Bot checks and CAPTCHAs, blank pages, timeouts, failed loads, and cache hits cost nothing, and responses identify the page verdict and billing status in X-Page-Verdict and X-Billed. Its MCP server offers take_screenshot, get_page_info, and capture_pdf for Claude, Cursor, and other MCP clients. The free plan includes 1,000 screenshots a month with no card; paid plans start at $5 for 3,000, and every feature is on every plan.
Create a free ScreenshotNeo account for 1,000 screenshots a month with no card.
7. Troubleshooting
| Symptom | Likely cause | Fix |
|---|---|---|
| Output looks blurry | Canvas scale is 1, or the image is being enlarged after export | Try window.devicePixelRatio at capture time; avoid enlarging the exported bitmap beyond its pixel dimensions. |
| Output dimensions are unexpected | Browser zoom changed device pixel ratio, or CSS and transformed bounds were mixed | Log devicePixelRatio, the target’s rect, and canvas width and height. Choose scale and crop geometry deliberately. |
| Transformed element is clipped | Transformed paint bounds exceed the layout box or an ancestor clips overflow | Inspect getBoundingClientRect() and ancestor overflow; capture a larger root and crop around the visible bounds. |
| External image is missing | Image is still loading or its server disallows CORS | Wait for load; use useCORS: true with a CORS-enabled response, or serve it through a same-origin proxy. |
toDataURL() throws a security error |
Canvas is tainted by restricted cross-origin content | Remove or proxy the restricted resource; CORS must be allowed by the asset server. |
| Text wraps differently | Web font was not loaded before cloning and rendering | Wait for document.fonts.ready and ensure the font request succeeds. |
| Iframe contents are absent | Cross-origin frame isolation blocks DOM access | Capture from the iframe’s origin if possible, or accept that it cannot be reconstructed from the parent page. |
| Very large capture is blank or clipped | Canvas size or memory limits were exceeded | Reduce scale, capture smaller regions, or split the document into sections. |
| Nothing is captured | Selector returned null or capture ran before UI render | Check the selector and trigger capture after the element is mounted. |
8. Performance, reliability, and output choices
Capture work scales with the number of rendered pixels and the complexity of the DOM. Capture only the needed element or crop instead of a long page. A scale increase multiplies pixel area quadratically: doubling width and height means roughly four times the pixel storage, before accounting for intermediate rendering and encoded output. This can increase latency and memory pressure.
For predictable downstream layout, export at scale 1 and treat the result as CSS-pixel sized. For sharper display on high-density screens, use the current devicePixelRatio and record it with the output if later code needs to interpret dimensions. Browser zoom can change it, so a fixed assumed value is unreliable.
Reliability depends on the page being stable and its resources being accessible. Wait for fonts and images, use deterministic capture state, and test in each supported browser. If an image conversion throws, prefer toBlob() for asynchronous encoding and handle a null result; it does not solve a tainted canvas, but can avoid building a large data URL string in memory.
const blob = await new Promise((resolve) => canvas.toBlob(resolve, 'image/png'));
if (!blob) throw new Error('PNG encoding failed');
const objectUrl = URL.createObjectURL(blob);
// Use objectUrl for a download or preview, then revoke it when no longer needed.
There is no per-capture API charge for a local html2canvas render, but it uses the visitor’s device resources and can make a busy page less responsive. Keep captures bounded, avoid repeated high-scale renders, and release preview object URLs when finished.
9. FAQ
Does browser zoom itself make the capture sharper?
No. Browser zoom affects layout and often devicePixelRatio; output sharpness is controlled by the capture scale and the source content’s actual detail.
Can I capture only the enlarged part of a transformed element?
Yes. Capture the target or a suitable root and set a crop from the rendered bounds. Confirm the coordinate space and check ancestor clipping.
Will html2canvas capture content inside any iframe?
No. A cross-origin iframe is protected by browser same-origin rules, so its document cannot be read by the parent page.
Can I make a transparent PNG?
Set backgroundColor: null and export PNG. The element itself may still paint an opaque background.
When should I use a URL screenshot API?
Use one when you need a screenshot of a webpage by URL or want a server-side capture workflow. For a specific live DOM node in your app, html2canvas provides direct element selection.


