How to Change HTML and Capture Screenshots in a Node.js Loop with Puppeteer or Playwright
Learn when to use setContent or evaluate, wait for stable rendering, and save reliable screenshots in Node.js loops with Puppeteer or Playwright.
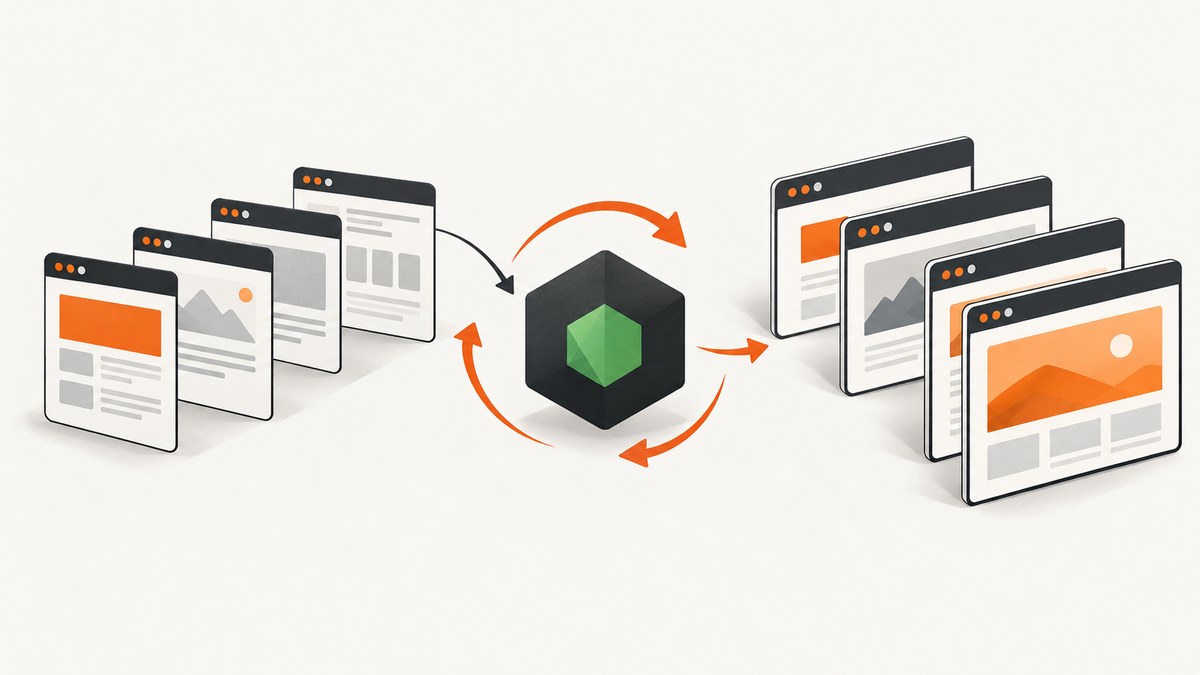
To change HTML and capture a screenshot for every state in a Node.js loop, create one browser page, update it sequentially, await the update, await the screenshot, and write each image to a unique path. Use page.setContent(html) when each iteration is a complete document. Use page.evaluate(fn, data) when a page is already loaded and only selected DOM or application state changes.
Both Puppeteer and Playwright expose these promise-based APIs. The important reliability rule is to finish one iteration before starting the next: render, wait for the condition that means the state is ready, capture, then continue. The examples below show both libraries, complete runnable loops, readiness strategies, troubleshooting, and a hosted alternative with ScreenshotNeo.
1. Choose between setContent and evaluate
| Situation | Use | Why |
|---|---|---|
| Every item is a standalone HTML document | page.setContent(html) |
Replaces the page document for the next iteration. |
| A live app is already loaded | page.evaluate(fn, value) |
Changes selected DOM nodes or application state without replacing the document. |
| Each item is a URL | page.goto(url) |
Loads a new network resource before capture. |
Puppeteer documents setContent, evaluate, and its screenshot guide. Playwright documents the same methods in its Page API and explains the boundary between Node.js and the browser in its evaluating JavaScript guide. In Playwright, setContent uses document.write() semantics, so it is not equivalent to changing one element in a live application.
2. Install a browser library and create a project
Use either library for the loop. Do not mutate one page concurrently. If you need parallel throughput, create separate pages and give every job its own output filename.
mkdir screenshot-loop
cd screenshot-loop
npm init -y
npm install puppeteer
# Or use Playwright instead:
# npm install playwright
Puppeteer downloads a compatible browser during installation in its standard setup. Playwright projects commonly install browser binaries with its install command. Follow the current installation instructions for the version you choose.
3. Complete Puppeteer loop for standalone HTML
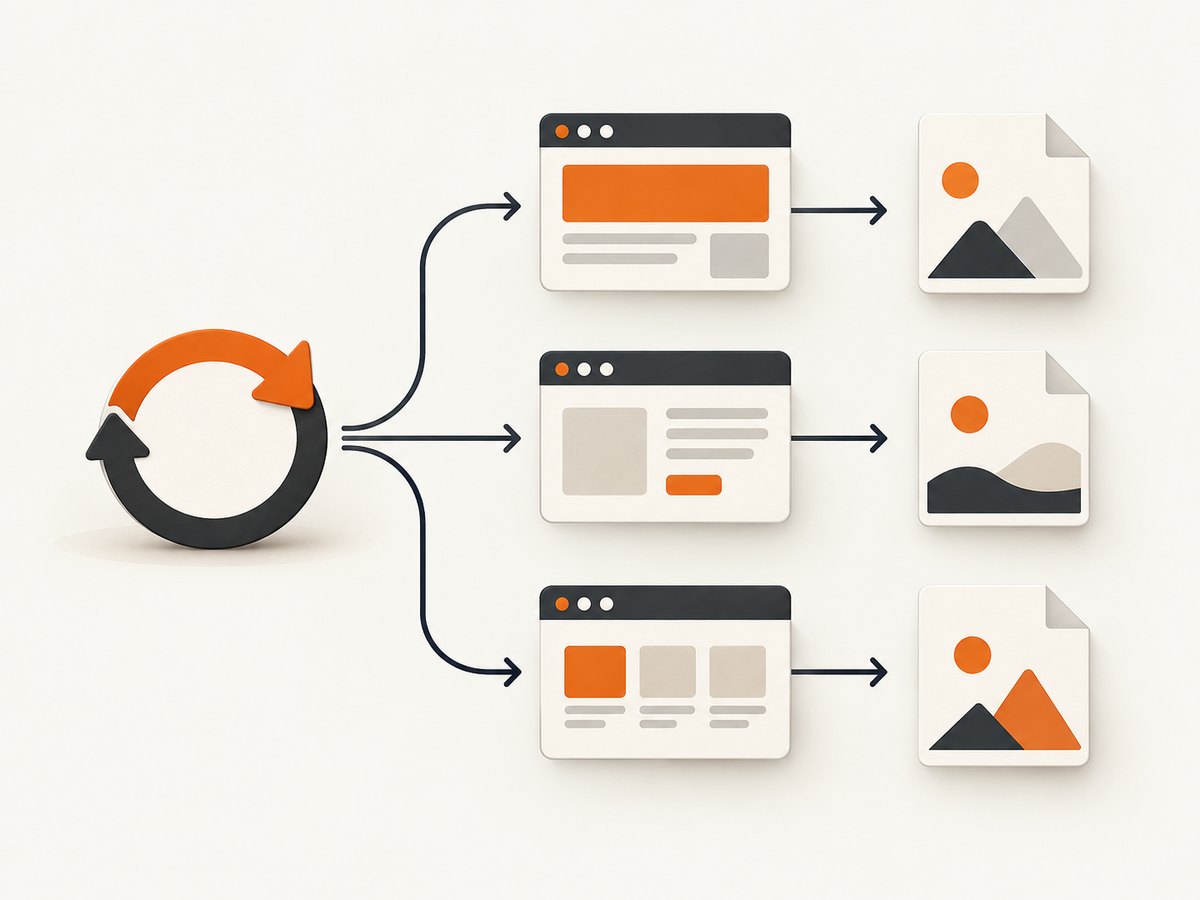
This example renders four independent documents. renderHtml returns a complete string for each item, setContent replaces the page, and screenshot saves a different PNG for every state.
const puppeteer = require('puppeteer');
const fs = require('node:fs/promises');
const items = [
{ title: 'Draft', color: '#64748b' },
{ title: 'Review', color: '#d97706' },
{ title: 'Approved', color: '#16a34a' },
{ title: 'Archived', color: '#475569' }
];
function renderHtml(item) {
return `
${item.title}
${item.title}
Generated by a sequential Node.js loop.
The finally block closes Chromium even when one iteration throws. The APIs accept a path, but they do not prevent you from overwriting a previous image, so generate unique names yourself.
4. Complete Playwright loop for standalone HTML
Playwright uses the same high-level sequence. This version writes WebP files and enables a full-page capture. Remove fullPage or set it to false when you want only the viewport.
const { chromium } = require('playwright');
const fs = require('node:fs/promises');
const items = [
{ title: 'One', body: 'First state' },
{ title: 'Two', body: 'Second state' },
{ title: 'Three', body: 'Third state' }
];
function renderHtml(item) {
return `
${item.title}
${item.body}
5. Change an existing page with evaluate
Use evaluate when replacing the whole document would reset application state, event handlers, or a loaded app shell. The function runs inside the browser page. Ordinary variables in Node.js are not visible there, so pass changing data explicitly as arguments.
const puppeteer = require('puppeteer');
const items = [
{ label: 'North', value: 42 },
{ label: 'South', value: 67 },
{ label: 'West', value: 31 }
];
(async () => {
const browser = await puppeteer.launch();
try {
const page = await browser.newPage();
await page.setViewport({ width: 800, height: 400 });
await page.setContent(`
`);
for (let i = 0; i < items.length; i++) {
await page.evaluate((item) => {
const preview = document.querySelector('#preview');
preview.textContent = `${item.label}: ${item.value}`;
}, items[i]);
await page.screenshot({ path: `screenshots/region-${i + 1}.png` });
}
} finally {
await browser.close();
}
})();
If the update starts asynchronous work, return a promise from the evaluated function or wait for a page-visible readiness marker before capturing. Avoid items.forEach(async item => ...); the outer loop does not wait for those callbacks, so files can finish out of order or capture the wrong state.
6. Wait for the visual state you actually need
Completing setContent does not prove that every external font, image, stylesheet, or application update has reached the desired visual state. Define a condition for your page:
- Static inline HTML: set the content and capture immediately.
- Known element: wait for a selector, then capture.
- Application marker: set
data-ready="true"after your app finishes rendering and wait for it. - Fonts or images: explicitly wait for those resources when they affect the screenshot.
- URL navigation: Puppeteer's guide demonstrates
page.goto(url, { waitUntil: 'networkidle2' })before capture. Treat that as an example, not a universal guarantee for every site.
await page.setContent(renderHtml(item));
await page.waitForSelector('#ready');
await page.screenshot({ path: outputPath });
A fixed timeout can be useful for a known animation, but it is not a general readiness strategy. Prefer a condition that represents the application state you need.
7. Screenshot options that affect each iteration
| Option | Use | Notes |
|---|---|---|
| Viewport | Control CSS layout dimensions | Set it before the loop so every output is comparable. |
| Device scale | Produce higher-density pixels | Raises output dimensions and memory use. |
fullPage |
Capture the complete scrollable page | Useful for documents; can create very tall images. |
| Element screenshot | Capture one component | Locate the element, then call its screenshot method. |
| Type | PNG, JPEG, or WebP where supported | JPEG and WebP can reduce file size; PNG preserves lossless detail. |
| Path | Choose the output file | Include the loop index or a stable ID to avoid overwrites. |
Choose viewport capture for a fixed visual regression surface, full-page capture for document output, and element capture for a component or card. Playwright exposes full-page, image type, path, and scale controls in its Page API; Puppeteer's screenshot guide also demonstrates element screenshots.
8. Common errors and fixes
| Error or symptom | Likely cause | Fix |
|---|---|---|
| Every file shows the last item | Iterations ran concurrently or the same path was reused | Use a sequential for loop, await each screenshot, and generate unique paths. |
Node variable is undefined inside evaluate |
Browser and Node.js contexts are separate | Pass the value as an argument: page.evaluate((item) => ..., item). |
| Screenshot is blank or partly styled | External resources or app rendering are incomplete | Wait for a selector, readiness marker, fonts, images, or another application-specific condition. |
| Content from the previous item remains | Only part of the DOM was changed | Use setContent for a full replacement, or clear and update every required node in evaluate. |
| Page closes before files finish | Browser closed outside awaited control flow | Keep the loop inside an async function and close the browser in finally. |
| Full-page images consume too much memory | Very tall pages or a high device scale | Capture an element or viewport, reduce scale, or split long documents. |
| Dynamic content differs between runs | Animations, clocks, random data, or network responses | Freeze data where possible, disable animations with CSS, and wait for deterministic markers. |
9. Performance, reliability, and cost considerations
One browser and one page reused sequentially avoids repeated startup work and makes ordering predictable. Separate pages can increase throughput, but each page consumes browser resources and must have isolated output paths. Start with a sequential loop, then add bounded concurrency only when you have measured a need.
Keep the viewport and capture options constant when producing a comparable series. Full-page and high device-scale captures require more memory than viewport captures. Large external pages also spend time loading fonts, images, scripts, and trackers, so a readiness condition is usually more useful than an arbitrary delay.
The browser libraries themselves do not charge per screenshot; your costs are the machine, browser memory, CI runtime, storage, and network traffic. If you capture third-party URLs at scale, also account for rate limits and failures outside your process. Record the input identifier, output path, elapsed time, and error so an individual failed iteration can be retried without rebuilding every image.
10. Or skip the browser setup
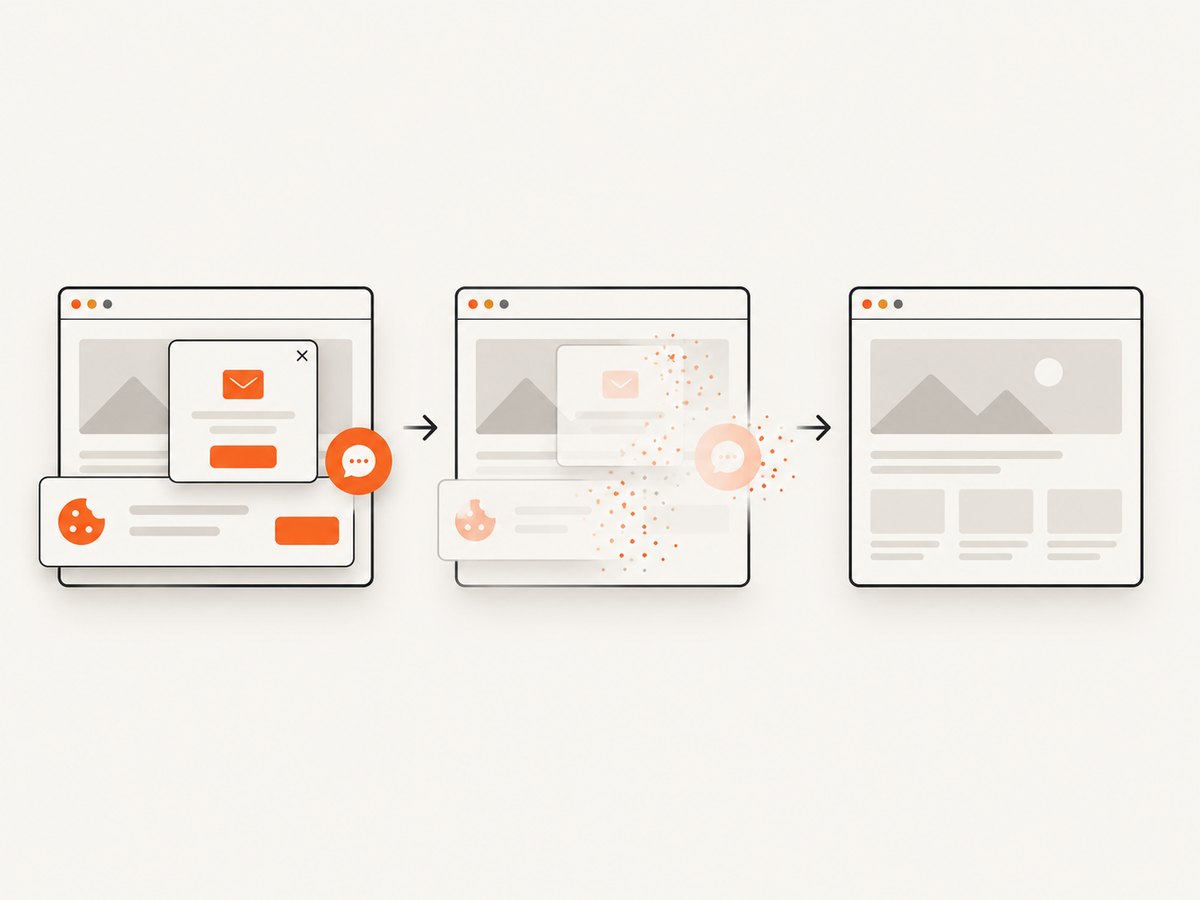
ScreenshotNeo provides a website screenshot API and MCP server. One GET request returns a PNG, JPEG, WebP, or PDF. It accepts cookie and consent banners before capture and removes more than 60 known consent platforms, newsletter popups, and chat widgets; each step can be turned off. Bot checks or CAPTCHAs, blank pages, timeouts, failed loads, and cache hits are not billed, and the response reports the result through X-Page-Verdict and X-Billed headers.
See the ScreenshotNeo API documentation for all options. A direct request looks like this:
curl -G "https://api.screenshotneo.com/v1/shot" -d access_key=YOUR_API_KEY --data-urlencode url=https://stripe.com -o shot.webpimport requests
r = requests.get("https://api.screenshotneo.com/v1/shot", params={"access_key": "YOUR_API_KEY", "url": "https://stripe.com"}, timeout=90)
open("shot.webp", "wb").write(r.content)const q = new URLSearchParams({ access_key: 'YOUR_API_KEY', url: 'https://stripe.com' });
const res = await fetch(`https://api.screenshotneo.com/v1/shot?${q}`);For loops, send one request per URL or use bulk capture for up to 100 URLs per call. ScreenshotNeo also supports full-page capture with lazy images loaded, CSS selector element capture, dark mode, device presets or custom viewports, retina scale, custom CSS and JavaScript, clicks, selector or network-idle waits, blocked resource types, headers, cookies, user agents, authorization, timezone, geolocation, transparent backgrounds, resizing, configurable caching, signed links, asynchronous jobs with signed webhooks, a usage API, and an OpenAPI specification. Parameter names used by other screenshot APIs also work, which simplifies migration.
An MCP server exposes take_screenshot, get_page_info, and capture_pdf to Claude, Cursor, and other MCP clients. Plans include 1,000 screenshots per month free with no card; paid plans start at $5 for 3,000. Create a free ScreenshotNeo account to try the API.
11. FAQ
Should I create a new page for every screenshot?
Usually no. Reuse one page for a sequential series. Create separate pages when you intentionally run jobs in parallel or need isolated browser state.
Does setContent wait for images?
It sets the document, but your desired visual state may still depend on external images, fonts, or application code. Wait for a condition specific to those resources.
Can I use forEach with async screenshots?
Avoid it when order matters. Use a for loop with await, or explicitly coordinate bounded concurrency with separate pages.
How do I capture only one component?
Locate the element and use the element screenshot API exposed by your chosen library. This avoids producing a large full-page image when the component is the actual subject.
When is an API preferable to local browser automation?
An API is useful when you do not want to install and operate browsers, need consent and popup cleanup, want billing that excludes failed captures, or need an MCP server for AI agents.


