How to Change Image Quality
Change an image’s dimensions, compression, or print settings for its destination while preserving the original and avoiding unnecessary quality loss.
To change image quality, first match the image to its destination. For a website or message, set the pixel dimensions you actually need, then choose a format and compression level that meets the file-size limit. For print, choose the physical size and pixel dimensions first; PPI describes how those pixels map to a printed size. Keep the original, and export a separate delivery copy.
There is no single “quality” setting that makes every image better. Dimensions control how much pixel detail is available, resampling changes those dimensions, and lossy compression trades some detail for a smaller file. Raising resolution metadata alone cannot restore detail that a blurry or small original never contained.
1. Decide what “quality” means for this image
Before editing, identify the problem you are solving:
- Too large to upload or send: reduce pixel dimensions to the delivery size, then lower lossy quality gradually if needed.
- Looks soft or too small on screen: check whether the source has enough pixels for the displayed size. Enlarging can create pixels, but cannot recover captured detail.
- Looks poor in print: decide the physical print size and check the available pixel dimensions and effective PPI.
- Needs transparency or crisp graphic edges: choose a format that supports those properties, such as PNG or suitable WebP export.
- Must remain editable: retain the editor’s original project file, including layers where relevant, and export a separate flattened delivery image.
Pixel dimensions, format, color depth, layers, and channels all affect file size. More pixels can preserve more detail, but also require more storage and processing. [Adobe: image size and resolution]
2. Understand pixels, PPI, resampling, and compression
Pixel dimensions determine the available image detail
An image that is 2400 × 1600 pixels contains a fixed grid of pixels. For a screen destination, the required width and height in pixels are usually the most useful specifications. If a site needs a 1200-pixel-wide image, exporting a 6000-pixel-wide original may waste bandwidth unless users need to zoom or the image has another high-resolution use.
PPI maps pixels to a physical print size
PPI means pixels per inch. It describes how densely image pixels are placed when printed. Adobe gives 72–96 PPI as a typical screen and web range and 300 PPI as a print guideline; its print guidance also lists 150–300 PPI for standard printing and 300+ PPI for high-quality printing. Treat these as starting points: the printer, viewing distance, and required physical dimensions matter too. [Adobe: image size and resolution] [Adobe: printing images]
For example, a 3000-pixel-wide image printed at 300 PPI is 10 inches wide before any resampling. Changing only its PPI metadata to 600 changes the implied print width to 5 inches; it does not add detail. To change the pixel count, resampling must be enabled in the editor.
Resampling adds or removes pixels
Resampling changes the number of pixels by calculating new ones or discarding existing ones. Keep proportions constrained to avoid stretching the image. Downsampling can make a file smaller and is often useful for screen delivery. Upsampling may be needed to meet output dimensions, but interpolation cannot recreate fine detail absent from the source. Inspect the result at its actual display or print size.
Compression trades file size for detail
JPEG and lossy WebP reduce file size by discarding image information. Higher quality settings usually preserve more detail and create larger files. Repeatedly opening and re-exporting a lossy JPEG can accumulate visible artifacts, so work from the original or a lossless intermediate where possible. PNG is lossless and useful for transparency and flat graphics, though it can be larger for photographs. WebP supports both lossy and lossless modes in Photoshop. [Adobe: file formats]
3. Use this workflow for web, messaging, print, or archiving
- Make a copy. Keep the original file unchanged. Give the export a distinct name so you can recreate it later.
- Write down the destination constraints. Note target width and height, maximum upload size, accepted formats, transparency needs, or physical print dimensions.
- Resize dimensions before tuning compression. For screen and messaging, set a sensible pixel width and height. Preserve the aspect ratio unless the destination explicitly calls for cropping or stretching.
- Choose a format. Use JPEG for many photographs when broad compatibility and compact size matter; PNG when transparency or lossless sharp-edged graphics matter; WebP when the receiving platform accepts it and its lossy or lossless option fits.
- Adjust lossy quality in small steps. Export, check the size, and inspect at 100% zoom for blocking, ringing, banding, or smeared texture. Stop when the file meets the size requirement and defects are not objectionable at the intended viewing size.
- Check metadata and color appearance. Confirm the exported file opens correctly and looks consistent in the destination application. Follow the printer or platform’s color-profile and format requirements if provided.
- Save the delivery copy and retain the source. Do not overwrite the editable original with a compressed export.
| Destination | Dimensions and setting | Typical format choice |
|---|---|---|
| Website or social post | Use the platform’s pixel dimensions; preserve aspect ratio and inspect at display size. | JPEG or WebP for photos; PNG for transparency or sharp graphics. |
| Email or messaging | Resize first, then reduce lossy quality only as far as needed to meet the limit. | JPEG for a photo; PNG when transparency or exact edges matter. |
| Choose physical size, then check pixel dimensions and effective PPI. Resample only if dimensions must change. | Use the format and color requirements specified by the print provider. | |
| Archive or future edits | Keep the original resolution and an editable project file. | Native layered format, plus separate delivery exports. |
4. Change image quality in Photoshop
- Open the image and choose Image > Image Size.
- For screen work, enter the target width and height in pixels. For print, enter the physical dimensions and resolution requested by the printer.
- Keep the proportions constrained unless intentional distortion is part of the job.
- Enable Resample only when you need Photoshop to add or remove pixels. Choose an appropriate resampling method for enlargement or reduction, then inspect the result.
- For a separate delivery file, choose File > Export > Export As. Select the required format, dimensions, and JPG quality. Higher JPG quality preserves more detail but increases file size. [Adobe: Export As]
- For WebP, use Save a Copy, choose WebP, then select Lossy or Lossless and set quality as needed. A higher lossy quality generally creates a larger file. [Adobe: supported file formats]
Photoshop’s dialog labels can vary by version. If a field changes print size when you expected to change pixel count, verify whether Resample is enabled and whether dimensions are displayed in pixels or physical units.
5. Change image quality in GIMP
- Open the image and use the image scaling control to set pixel dimensions for screen delivery. Keep the aspect ratio linked when you do not intend to distort the image.
- For print sizing, use the print-size controls to set physical dimensions and resolution. Check the resulting pixel dimensions before export.
- Use File > Export As and choose the needed file type. The JPEG export dialog’s Quality control is usually the main setting to tune; it runs from 0 to 100, and GIMP notes that values above 95 are generally not useful.
- For WebP and other formats, use the format-specific export options and confirm the receiving service supports the selected format.
- Reopen the exported file or inspect it in the destination workflow. Keep the original or GIMP project file for future edits.
GIMP’s documentation describes JPEG as widely used for efficient compression and identifies Quality as the main JPEG control most users need. [GIMP: exporting images] [GIMP: JPEG export options]
6. Pick a format without losing required properties
| Format | Good fit | Trade-offs to check |
|---|---|---|
| JPEG | Photographs where compact files and broad support matter. | Lossy compression; no transparency or layers. Avoid repeated lossy re-exports. |
| PNG | Transparent images, diagrams, interface graphics, and lossless delivery. | Can be larger than a lossy photo export. |
| WebP | Web delivery when the platform accepts it; offers lossy and lossless modes. | Check destination compatibility and choose the correct mode for transparency and detail needs. |
| Native project file | Ongoing editing, layers, and preserving working state. | Usually not the final delivery format for websites or messaging. |
Do not convert to JPEG when transparency must survive. Do not use a low-quality lossy export for fine text, thin lines, or graphics with flat color boundaries unless you have inspected the result. Format support and export labels can vary across applications and receiving platforms.
7. Fix common quality problems
| Symptom | Likely cause | What to do |
|---|---|---|
| Image looks blurry after enlargement | The source has too few pixels; upsampling estimates pixels without restoring lost detail. | Use a higher-resolution source if available. Reduce the output size or accept that the enlargement will look soft. |
| Print is unexpectedly small | The pixel dimensions and PPI imply a smaller physical size than expected. | Set the physical dimensions and check the resulting PPI. Resample only if the pixel count must change. |
| File is still too large | Dimensions remain much larger than the destination needs, or lossless format is being used for a photo. | Resize to the required pixel dimensions first; then test a modestly lower JPEG or lossy WebP quality. |
| Visible blocks or halos | Lossy compression is too aggressive, especially around edges and high-contrast detail. | Raise quality, use PNG or lossless WebP for graphics, or reduce dimensions without severe compression. |
| Transparency turned into a solid background | The chosen format or export settings do not preserve alpha transparency. | Export as PNG or a supported transparent WebP and verify transparency in the receiving app. |
| Image appears stretched | Width and height were changed independently with proportions unlocked. | Undo and resize with proportions constrained; crop separately if a new aspect ratio is required. |
| Repeated exports look worse | A compressed JPEG was used as the source for another lossy export. | Return to the original or lossless source and create a fresh delivery copy. |
8. Quality, performance, and cost considerations
Smaller pixel dimensions reduce both storage and the work required to encode, upload, download, and display an image. For a strict file-size cap, dimension reduction is often the most direct first adjustment; compression tuning comes after the dimensions match the destination. Keep a high-quality master so future exports do not require enlarging a reduced copy.
For print, use the printer’s requested dimensions, PPI, format, and color instructions; generic PPI figures cannot guarantee a particular print result. For web, balance visual detail with transfer size and inspect on the actual display size. There is no universal quality-slider value because content, dimensions, encoder, and acceptable artifacts differ.
Image editing software can be a cost consideration: Photoshop provides integrated sizing, resampling, and export controls, while GIMP is a free alternative with format-specific export dialogs. Choose based on the required workflow and file formats; this article does not assume current product pricing or licensing terms.
9. Capture a clean image of a webpage instead
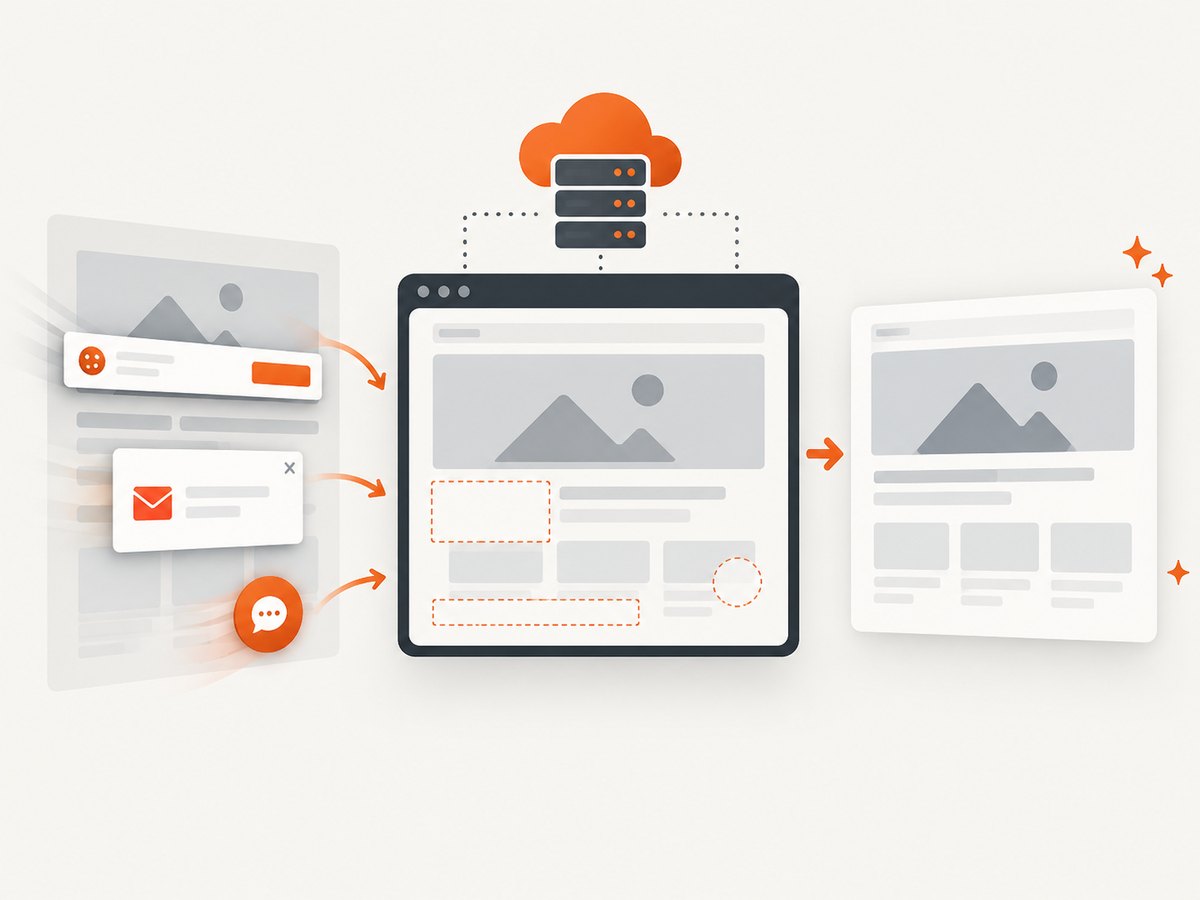
If by “image quality” you mean getting a usable screenshot of a webpage, you may be dealing with cookie banners, newsletter popups, or chat widgets rather than image compression. You can automate a browser, adjust its viewport and device scale, and save the resulting image. Those browser choices affect the captured pixels; after capture, the same format and compression trade-offs above apply.
Browser capture with Playwright
This runnable Node.js example captures a full-page screenshot and writes a PNG. Install Playwright and its Chromium browser first with npm install playwright and npx playwright install chromium.
const { chromium } = require('playwright');

(async () => {
  const browser = await chromium.launch({ headless: true });
  const page = await browser.newPage({
    viewport: { width: 1440, height: 1000 },
    deviceScaleFactor: 1,
  });
  try {
    await page.goto('https://example.com', {
      waitUntil: 'networkidle',
      timeout: 30000,
    });
    await page.screenshot({ path: 'page.png', fullPage: true });
  } finally {
    await browser.close();
  }
})();
Use a larger deviceScaleFactor when you need more captured pixels for a high-density display, while accounting for the larger file and memory use. A full-page screenshot can be tall and resource-intensive; use a viewport screenshot when that is what the destination needs. A fixed delay can help pages with delayed rendering, but network idle may not occur on pages that keep connections open. Set a timeout and handle failures rather than waiting forever.
Equivalent HTTP request examples
A browser screenshot library is generally needed for rendered HTML, CSS, and page scripts; plain HTTP fetching does not render a page. The examples below show a simple request and save the returned bytes. The requested endpoint and response behavior depend on the API you choose.
cURL:
curl -L 'https://example.com/image.jpg' -o image.jpgPython:
import requests

response = requests.get('https://example.com/image.jpg', timeout=30)
response.raise_for_status()
with open('image.jpg', 'wb') as image_file:
    image_file.write(response.content)
Node.js:
const response = await fetch('https://example.com/image.jpg');
if (!response.ok) throw new Error(`HTTP ${response.status}`);
const bytes = Buffer.from(await response.arrayBuffer());
await import('node:fs/promises').then(fs => fs.writeFile('image.jpg', bytes));
Or skip the browser setup
ScreenshotNeo is a website screenshot API and MCP server for developers. One GET request can return a PNG, JPEG, WebP, or PDF. Its capture options include full-page and CSS-selector screenshots, device presets and custom viewports, retina scale, custom CSS and JavaScript, wait conditions, request blocking, headers and cookies, and caching. See the API documentation for parameters and setup.
curl -G "https://api.screenshotneo.com/v1/shot" -d access_key=YOUR_API_KEY --data-urlencode url=https://stripe.com -o shot.webpEquivalent Python:
import requests

r = requests.get("https://api.screenshotneo.com/v1/shot", params={"access_key": "YOUR_API_KEY", "url": "https://stripe.com"}, timeout=90)
open("shot.webp", "wb").write(r.content)
Equivalent Node.js:
const q = new URLSearchParams({ access_key: 'YOUR_API_KEY', url: 'https://stripe.com' });
const res = await fetch(`https://api.screenshotneo.com/v1/shot?${q}`);
Before capture, ScreenshotNeo accepts the cookie or consent banner like a visitor and removes more than 60 known consent platforms, newsletter popups, and chat widgets; each step can be turned off. Bot checks or CAPTCHAs, blank pages, timeouts, failed loads, and cache hits cost nothing, and the response identifies page verdict and billing status in headers. Its MCP server provides take_screenshot, get_page_info, and capture_pdf for Claude, Cursor, and other MCP clients. The Free plan includes 1,000 screenshots a month with no card; paid plans start at $5 for 3,000. Create a free ScreenshotNeo account and get 1,000 screenshots a month with no card.
Frequently asked questions
Does changing PPI make an image sharper?
No. Changing PPI metadata changes the implied print size, not the existing pixel detail. Resampling changes pixel dimensions but does not recover details that were not in the source.
Should I use PNG or JPEG for a photo?
JPEG is often a practical compact choice for photos. PNG is useful when you need lossless data or transparency, but may produce a larger photographic file. Choose based on the destination’s requirements and inspect the export.
What JPEG quality should I choose?
There is no universal setting. Export a few nearby values, compare the file size, and inspect important details at the intended viewing size. Do not rely only on the slider number because encoders and images differ.
Can I make a small image print larger?
You can resample it to more pixels, but that estimates new values rather than restoring missing detail. If print sharpness matters, find a higher-resolution source or choose a smaller print size.


