How to Change a Product Image on Shopify
Change a Shopify product’s main, variant, or shared file image from desktop or mobile, fix stale images, and verify the replacement.
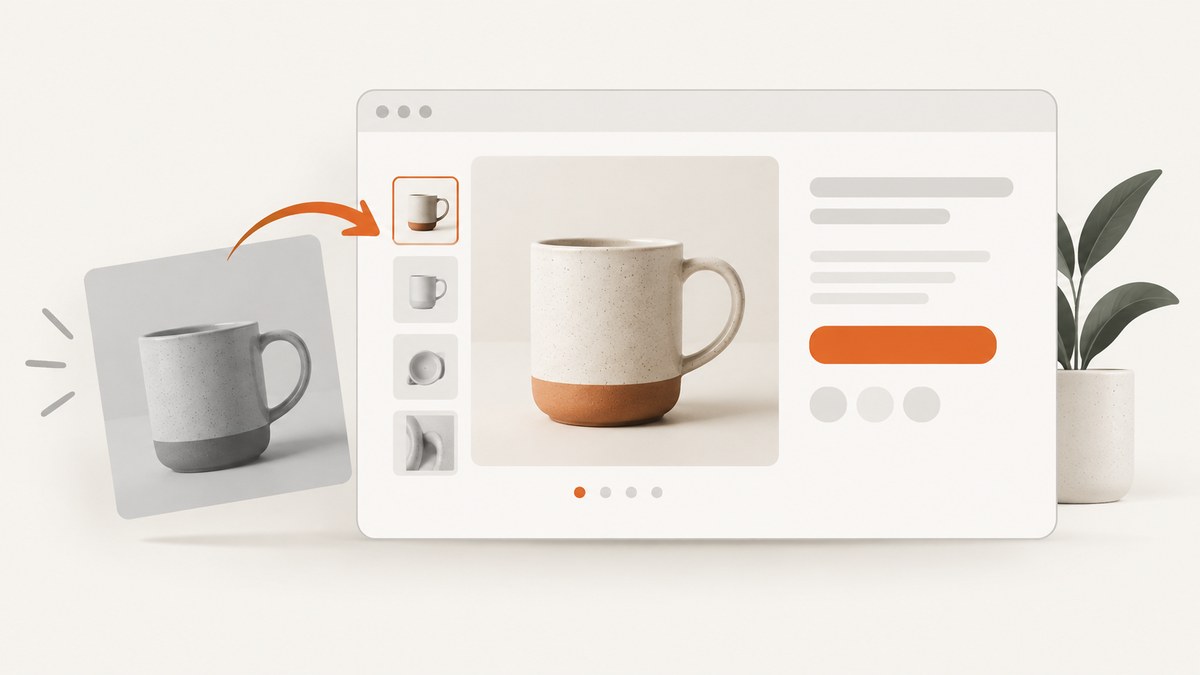
Quick answer: In Shopify admin, open Products, select the product, and change its files in Media. Upload or select the replacement, then move it to the first position to make it the main product image. In the Shopify app, open the product, add or select media, choose Set as default for the main image, and save.
Use the Variants section when only a color, size, or other variant needs its own image. Use Content > Files only when you intend to replace a shared store file used in several places.
Change the main product image in Shopify admin
- Sign in to Shopify admin and open Products.
- Select the product you want to edit.
- In Media, choose one of the available methods: Upload new, drag and drop a file, select existing media, or use Add from URL through the existing-media picker.
- After the new image appears, drag it to the first position in the media list. Shopify treats the first media item as the featured or main product media.
- Save the product if Shopify prompts you.
Saved product changes are applied to the online store. Open the product page, a collection page, and the cart to confirm that the intended image is shown in each context. See Shopify’s product-media instructions for the current admin workflow.
Change a product image in the Shopify mobile app
- Open the Shopify app and tap Products.
- Select the product and tap the + button in Media.
- Choose a source such as your device photos, camera, files, or existing media.
- To change the default image, tap View all, select the image, open its menu, and choose Set as default.
- Save the product.
Change the image for one product variant
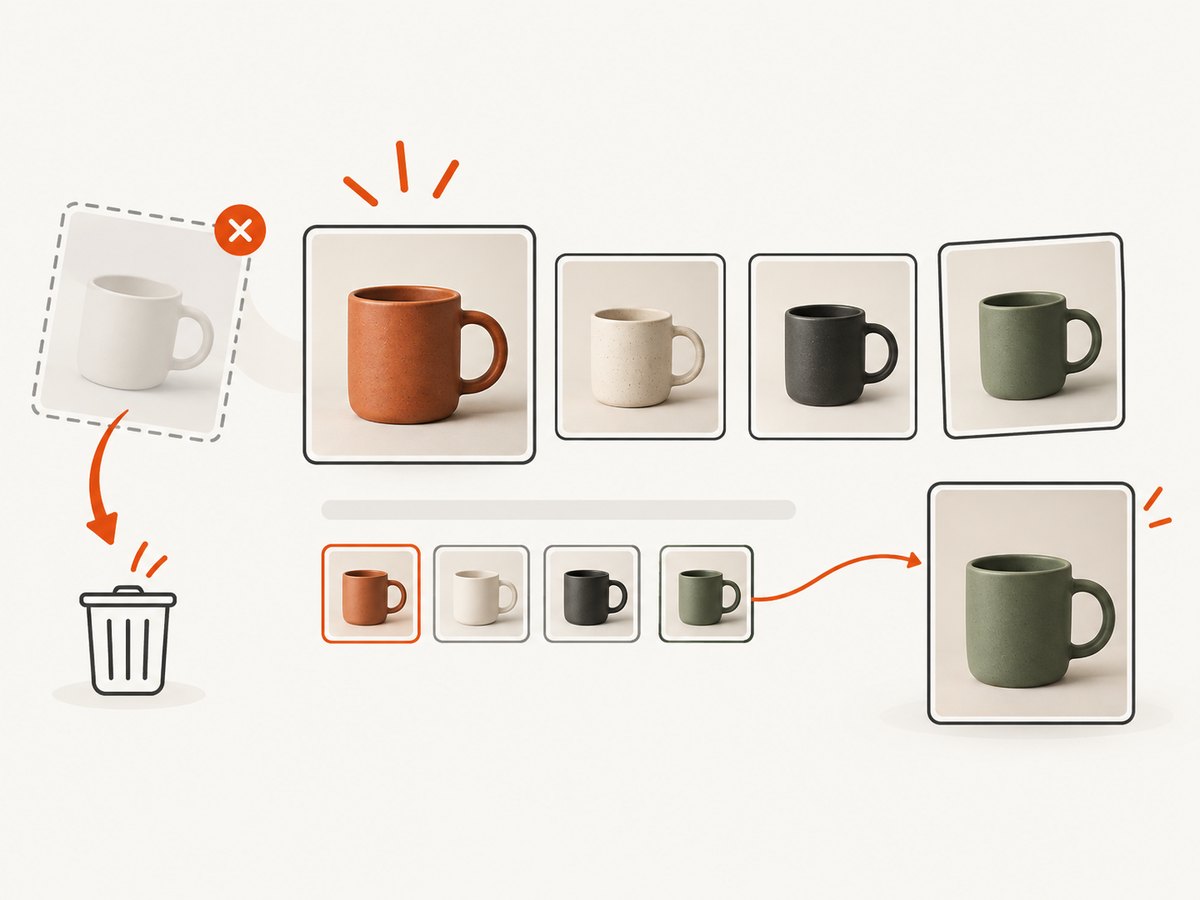
A product’s main image and a variant image are separate settings. To show a different image when a customer selects a color or another option:
- Open the product in Shopify admin.
- Scroll to Variants and select the variant.
- Assign the appropriate product image to that variant.
- Save the product and test the selector on the storefront.
Shopify supports one image per variant. On desktop, you can assign images individually or in bulk; the mobile app supports individual assignment. Keep the overall product image in the first position of Media even when variants have their own images.
Choose the correct kind of replacement
| What you want to change | Where to change it | Result |
|---|---|---|
| Main or featured product image | Product > Media | Move the desired image to position one, or use Set as default in the app. |
| Image for a color or other variant | Product > Variants | That variant displays its assigned image when selected. |
| Image used only by this product | Product > Media | Removing it from the product leaves the underlying store file intact. |
| Shared store file | Content > Files | Replacing the file can change every place that references it. |
Remove, replace, or edit an image
Remove an image from one product
Remove it from that product’s Media section. This does not delete the underlying file from your store.
Replace a shared file
Open Content > Files and replace or edit the file there. Because the file may be used in multiple products, descriptions, theme sections, or campaigns, inspect those references before saving.
Crop or rotate an image
Shopify’s media editor supports adjustments such as rotation and crop or aspect-ratio changes. If you need the original preserved, use Save as new when editing a file. Reverting an edited image to its original cannot be undone, so keep a separate copy when the source matters.
Why the old image is still showing
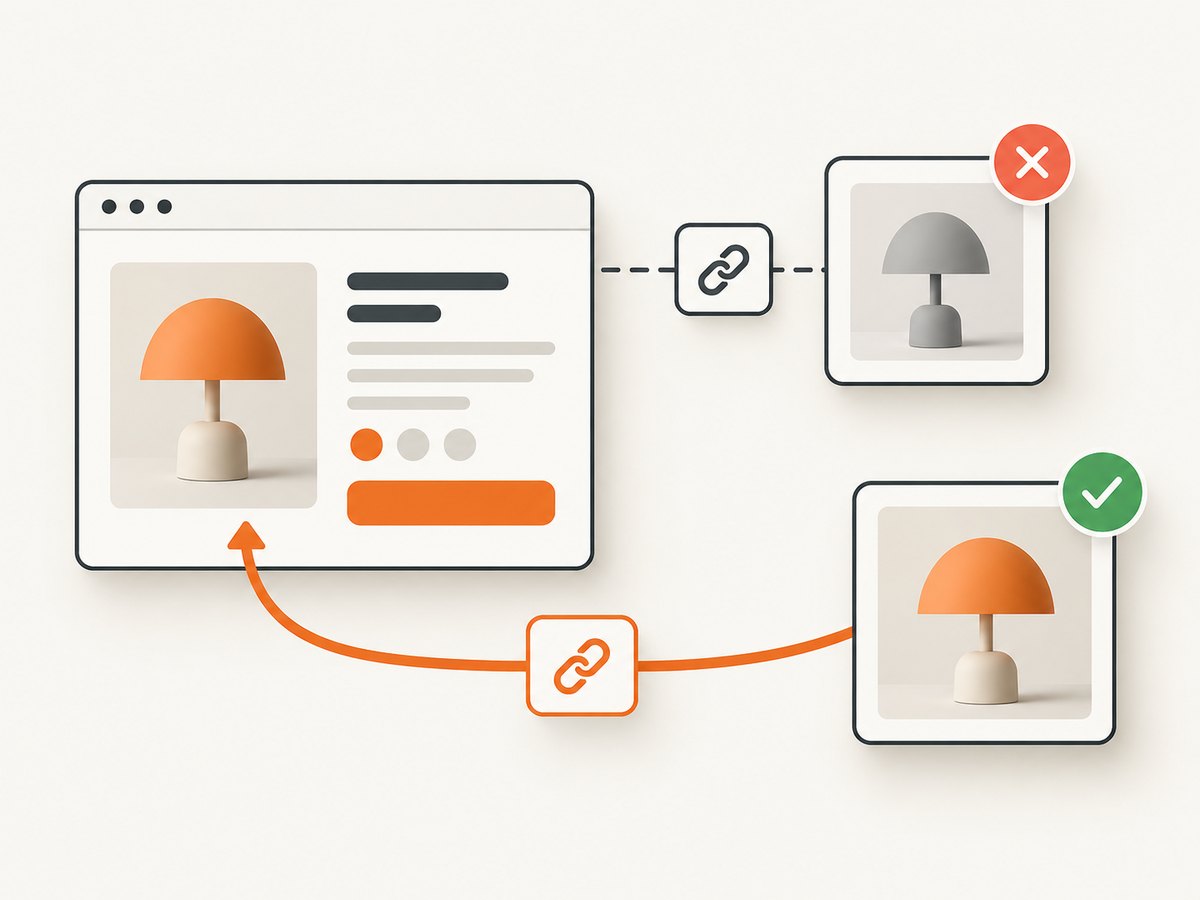
When Shopify replaces a file, its URL receives a new version token. Shopify-rendered pages request the new URL, but a URL pasted manually into theme code, a product description, an email, or another site can continue to point to the old version.
- Refresh the storefront page and inspect the image URL.
- Check whether the version token changed.
- If it did not change, repeat the replacement and save again.
- Replace hard-coded addresses with Shopify-managed references where possible. In theme code, use the
file_url,image_url, andasset_urlLiquid filters.
For descriptions, use Shopify’s media uploader instead of pasting a permanent old URL. These practices follow Shopify’s guidance on replacing files and stale references.
Verification checklist
- The intended image is first in the product’s media list.
- Every relevant variant has the correct assigned image.
- The product page shows the new image in a private or refreshed browser window.
- Collection pages, search results, cart, and checkout show the intended thumbnail.
- Any theme, email, or external page that used a hard-coded URL has been updated.
- Removing a product image did not accidentally remove a shared file needed elsewhere.
Troubleshooting
| Problem | Likely cause | Fix |
|---|---|---|
| The new image is uploaded but is not the main image. | It is not first in the media list. | Drag it to position one on desktop, or choose Set as default in the mobile app. |
| A color still shows the old image. | The variant has its own image assignment. | Open Variants and assign the replacement to that specific variant. |
| The storefront still shows the old file. | A hard-coded URL or unchanged version token is being used. | Refresh, check the version token, repeat the replacement if needed, and use Shopify-managed Liquid references. |
| Removing the image broke another page. | The shared file was deleted or replaced in Content > Files. | Restore the file or upload a replacement, then update every shared reference. |
| The app does not show the expected default. | The image was added but not selected with Set as default. | Open View all, select the image, choose Set as default, and save. |
Or skip the browser setup
If you need screenshots of the product page after changing the image, ScreenshotNeo can capture the rendered page with one request. It accepts a URL and returns PNG, JPEG, WebP, or PDF. Cookie and consent banners, newsletter popups, and chat widgets are removed before the shot; bot checks, blank pages, timeouts, failed loads, and cache hits are not billed. Responses identify the page verdict and billing status. Its MCP server lets Claude, Cursor, and other MCP clients call take_screenshot, get_page_info, and capture_pdf.
See the ScreenshotNeo API documentation for all options.
curl -G "https://api.screenshotneo.com/v1/shot" -d access_key=YOUR_API_KEY --data-urlencode url=https://your-store.myshopify.com/products/example -o product.webpimport requests
r = requests.get("https://api.screenshotneo.com/v1/shot", params={"access_key": "YOUR_API_KEY", "url": "https://your-store.myshopify.com/products/example"}, timeout=90)
open("product.webp", "wb").write(r.content)const q = new URLSearchParams({ access_key: 'YOUR_API_KEY', url: 'https://your-store.myshopify.com/products/example' });
const res = await fetch(`https://api.screenshotneo.com/v1/shot?${q}`);The free plan includes 1,000 screenshots each month with no card. Paid plans start at $5 for 3,000 shots. Create a free ScreenshotNeo account.
FAQ
Can I change only the first image?
Yes. Add or select the replacement in Media and move it to the first position. Other media remains attached to the product.
Will removing an image delete it from Shopify?
Removing it from a product does not remove the file from the store. Delete or replace a shared file from Content > Files only when that broader change is intentional.
Why does a variant need a separate image?
Variant assignments control what customers see after choosing an option such as color. The product’s first media item remains the overall featured image.
How can I capture a before-and-after record?
Capture the product URL before saving, change the image, then capture it again. ScreenshotNeo can return image or PDF files and reports whether each response was billed.


