How to Change Text Color in Dynamically Generated Images
Set text color at render time with Cloudinary or Bannerbear, handle per-record colors, validate input, and avoid common dynamic-image failures.

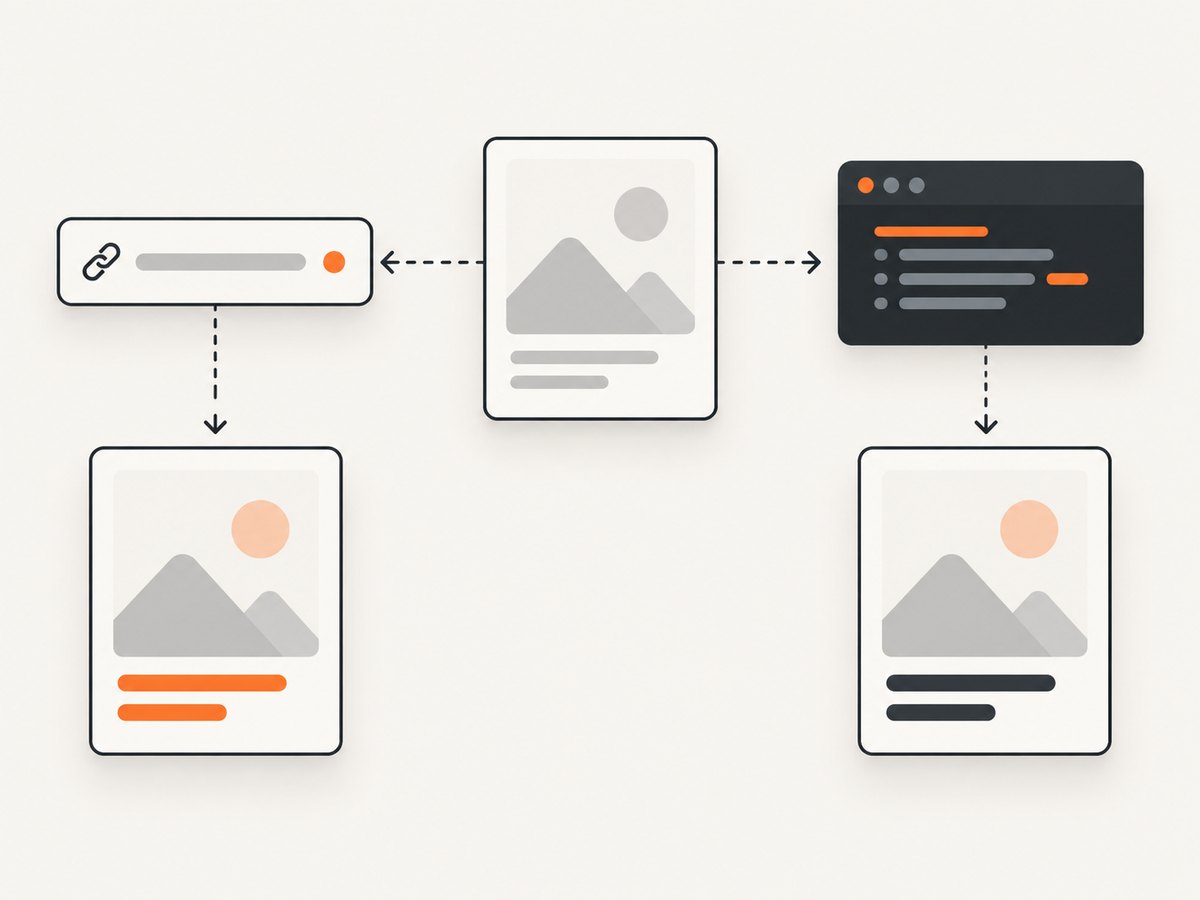
Direct answer: pass the color as a style value when the image is rendered. Keep the text as editable text in a Cloudinary text layer or a Bannerbear template modification; do not rasterize a fixed-color bitmap and try to recolor it afterward. Cloudinary is a good fit when you want transformation URLs or SDK calls. Bannerbear is a good fit when designers maintain reusable templates and your application sends per-request modifications.
A runtime color can come from a database record, a user preference, a brand configuration, or an automated rule. Normalize it before sending it to the image service, validate contrast against the background, and cache the final result using all visual inputs as part of the cache key.
1. Choose the right rendering model
| Requirement | Cloudinary | Bannerbear |
|---|---|---|
| Transformation URL or SDK control | Strong fit | Less URL-centric |
| Reusable designer-managed template | Possible with layers | Strong fit |
| Color supplied per request | font_color, overlay color, or variables |
modifications[].color and background |
| RGBA and opacity | Supports RGB/RGBA hex values in overlays | Use the color fields supported by the template/API |
| Typography and placement | Font, size, gravity, offsets, and layer transformations | Defined by template layers plus modifications |
Cloudinary’s text upload API exposes POST /image/text and a font_color option. Its overlay syntax uses a text layer (l_text) and a color qualifier (co). Cloudinary documents named colors, three- or six-digit RGB hex, and four- or eight-digit RGBA hex values; if color is omitted, the default is black. See the Upload API reference and text overlay reference.
2. Cloudinary: generate text with a color at upload time
Use the text upload endpoint when the generated image is primarily a text asset. The request carries the string, font settings, and color together, so every record can render a different style without creating a new source bitmap.
cURL
curl https://api.cloudinary.com/v1_1/YOUR_CLOUD_NAME/image/text \
  -X POST \
  -d "text=Invoice paid" \
  -d "font_family=Arial" \
  -d "font_size=72" \
  -d "font_color=%23FFFFFF" \
  -d "background=%230B1220" \
  -d "api_key=YOUR_API_KEY" \
  -d "timestamp=$(date +%s)" \
  -d "signature=YOUR_SIGNATURE"
Production Cloudinary requests normally require a signature generated with your API secret. Keep that secret on your server. Encode the leading hash in a form request as %23, or let your HTTP client encode form values.
Python
import cloudinary
import cloudinary.uploader

cloudinary.config(
    cloud_name="YOUR_CLOUD_NAME",
    api_key="YOUR_API_KEY",
    api_secret="YOUR_API_SECRET",
)

result = cloudinary.uploader.upload(
    "text:Invoice paid",
    resource_type="image",
    font_family="Arial",
    font_size=72,
    font_color="#FFFFFF",
    background="#0B1220",
)
print(result["secure_url"])
Node.js
import { v2 as cloudinary } from "cloudinary";

cloudinary.config({
  cloud_name: process.env.CLOUDINARY_CLOUD_NAME,
  api_key: process.env.CLOUDINARY_API_KEY,
  api_secret: process.env.CLOUDINARY_API_SECRET,
});

const result = await cloudinary.uploader.upload("text:Invoice paid", {
  resource_type: "image",
  font_family: "Arial",
  font_size: 72,
  font_color: "#FFFFFF",
  background: "#0B1220",
});
console.log(result.secure_url);
3. Cloudinary overlays: recolor text on a base image
For a card, thumbnail, or social image, keep a base image and add a text overlay. In a transformation URL, co sets the overlay color and l_text defines the text layer. This example places bold yellow text near the bottom:
https://res.cloudinary.com/YOUR_CLOUD_NAME/image/upload/co_rgb:FFFF00,l_text:Times_90_bold:Style/fl_layer_apply,g_south,y_20/base.jpgThe same transformation can be expressed through an SDK. A color can be a name such as black, a three- or six-digit RGB value such as #09F or #0099FF, or an RGBA value when transparency is needed. Omit the color only when black is the intended default.
Per-record colors with variables
When each customer or product has a different brand color, store that color as a user-defined variable and reference it in the text-overlay style. One transformation template can then render many colors. Keep the variable constrained to a validated allowlist or a strict hex pattern before it reaches a URL.
// Pseudocode: build a transformation from validated application data
const color = record.brandColor; // validated #RRGGBB or #RRGGBBAA
const transformation = [
  { color: color, overlay: { fontFamily: "Arial", fontSize: 72, text: record.label } },
  { gravity: "south", y: 20 },
];
4. Bannerbear: modify a template at render time
Bannerbear templates expose named layers. Send a modifications array that replaces the text and sets the layer’s color or background. Bannerbear’s documentation describes color changes for primary text, secondary text, and text containers; a value such as #FFD700 is sent in the modification object. Start with the Bannerbear API documentation for your account’s template and authentication details.

curl -X POST "https://api.bannerbear.com/v2/images" \
  -H "Authorization: Bearer YOUR_BANNERBEAR_TOKEN" \
  -H "Content-Type: application/json" \
  -d '{
    "template": "YOUR_TEMPLATE_UID",
    "modifications": [
      {"name": "headline", "text": "Invoice paid", "color": "#FFFFFF"},
      {"name": "headline_container", "background": "#0B1220"}
    ]
  }'
import requests
payload = {
"template": "YOUR_TEMPLATE_UID",
"modifications": [
{"name": "headline", "text": "Invoice paid", "color": "#FFFFFF"},
{"name": "headline_container", "background": "#0B1220"},
],
}
r = requests.post(
"https://api.bannerbear.com/v2/images",
headers={"Authorization": "Bearer YOUR_BANNERBEAR_TOKEN"},
json=payload,
timeout=60,
)
r.raise_for_status()
print(r.json())const response = await fetch("https://api.bannerbear.com/v2/images", {
method: "POST",
headers: {
"Authorization": `Bearer ${process.env.BANNERBEAR_TOKEN}`,
"Content-Type": "application/json",
},
body: JSON.stringify({
template: "YOUR_TEMPLATE_UID",
modifications: [
{ name: "headline", text: "Invoice paid", color: "#FFFFFF" },
{ name: "headline_container", background: "#0B1220" },
],
}),
});
if (!response.ok) throw new Error(await response.text());
console.log(await response.json());5. Validate color before rendering
- Accept only named tokens or a strict hexadecimal format such as
^#[0-9A-Fa-f]{6}([0-9A-Fa-f]{2})?$. - Convert shorthand values to six digits before comparing or caching them.
- Reject CSS functions, URLs, quotes, and control characters. They are not needed for a color parameter and can corrupt a transformation URL.
- Check contrast against the actual background, including gradients and photographs. A valid hex value can still produce unreadable text.
- Define a fallback color for missing or invalid records, and log the record identifier rather than silently producing a black label.
6. Layout and edge cases
- Long text: set a maximum length, enable wrapping where the service supports it, or reduce font size in steps. Test the longest real value, not only a sample title.
- Transparent colors: RGBA is useful for overlays, but alpha can reduce contrast unpredictably over images. Composite against representative backgrounds during review.
- Unicode: select a font that contains every script you accept. Missing glyphs may appear as boxes even when the color is correct.
- Dark mode: store separate light and dark tokens rather than applying a blind inversion. Brand colors often need a contrast-adjusted variant.
- Cache keys: include text, normalized color, font, size, background, template version, and locale. Otherwise an old color can be served for a newly styled record.
- URL length: large text, encoded punctuation, or many transformation components can make URLs unwieldy. Use an SDK or signed upload when the transformation becomes large.
7. Troubleshooting
| Symptom | Likely cause | Fix |
|---|---|---|
| Text is black | Color was omitted, malformed, or not encoded | Send a supported named/RGB/RGBA value and encode # in form data. |
| Invalid transformation | Reserved characters in text or color changed URL syntax | Use SDK builders or URL-encode every dynamic value; validate the color first. |
| Bannerbear layer does not change | Modification name does not match the template layer | Copy the exact layer name/UID from the template and confirm the layer is text. |
| Color looks different | Alpha blending, color profile, or a background image changes perception | Remove alpha while debugging, compare on the final background, and keep output color settings consistent. |
| Glyphs are missing | Selected font lacks the required characters | Choose a font with the needed Unicode coverage and test all supported locales. |
| Old color keeps appearing | CDN or application cache key excludes color | Normalize the color and include it in the cache key or version the template. |
| Request succeeds but image is blank | Text is outside the canvas or hidden behind another layer | Check gravity, offsets, layer order, and minimum canvas dimensions. |
8. Performance, reliability, and cost
Render only when an input changes. Cache by a deterministic key and serve the resulting asset from a CDN. For bulk jobs, queue requests and retry transient failures with exponential backoff and an idempotency key where the provider supports one. Record the provider request ID, template version, normalized color, and final asset URL so a failed render can be reproduced.
Do not put provider secrets in browser JavaScript. A small server endpoint can validate user input, sign the request, submit the render, and return a short-lived or public asset URL according to your access requirements. Estimate cost from the number of unique renders, not page views: a cache hit should not create another image request. Monitor failures separately from successful renders so a retry loop does not multiply spend.
9. Or skip the browser setup
If your next step is capturing the generated page rather than building an image-generation pipeline, ScreenshotNeo provides a single website screenshot request. It can capture PNG, JPEG, WebP, or PDF output and supports custom CSS and JavaScript, element selectors, device presets, dark mode, transparent backgrounds, waiting rules, headers, cookies, geolocation, caching, signed links, asynchronous jobs, and bulk capture.
See the ScreenshotNeo API documentation for the complete option list. A minimal request is:
curl -G "https://api.screenshotneo.com/v1/shot" -d access_key=YOUR_API_KEY --data-urlencode url=https://stripe.com -o shot.webpimport requests
r = requests.get("https://api.screenshotneo.com/v1/shot", params={"access_key": "YOUR_API_KEY", "url": "https://stripe.com"}, timeout=90)
open("shot.webp", "wb").write(r.content)const q = new URLSearchParams({ access_key: 'YOUR_API_KEY', url: 'https://stripe.com' }); const res = await fetch(`https://api.screenshotneo.com/v1/shot?${q}`);Cookie banners, newsletter popups, and chat widgets are removed before the shot. Bot checks, blank pages, failed loads, timeouts, and cache hits are never billed, and response headers identify the page verdict and billing status. An MCP server lets Claude, Cursor, and other MCP clients call take_screenshot, get_page_info, and capture_pdf. The Free plan includes 1,000 screenshots each month with no card; paid plans start at $5 for 3,000 shots. Create a free ScreenshotNeo account.
10. FAQ
Can I use a CSS color name?
Cloudinary overlays accept named colors. Hex values are easier to validate and make cache keys deterministic.
Can I change color without creating a new template?
Yes. Cloudinary variables and Bannerbear modifications let the request supply a different color while reusing the same design.
Should I store colors with or without the hash?
Choose one canonical representation in your application, then add the hash only when constructing the provider parameter. This avoids duplicate cache entries.
How do I recolor text in an already rasterized image?
Re-render from the original text layer whenever possible. Pixel-level replacement is fragile around anti-aliased edges and can alter nearby colors.
Which approach is better for a design team?
Use a managed template workflow such as Bannerbear when designers frequently adjust layouts. Use Cloudinary when transformations, SDKs, and URL delivery are central to your application.


