How to Change the Site Icon in WordPress
Change your WordPress favicon from the Site Editor or Customizer, choose the right image, and fix common display and caching problems.
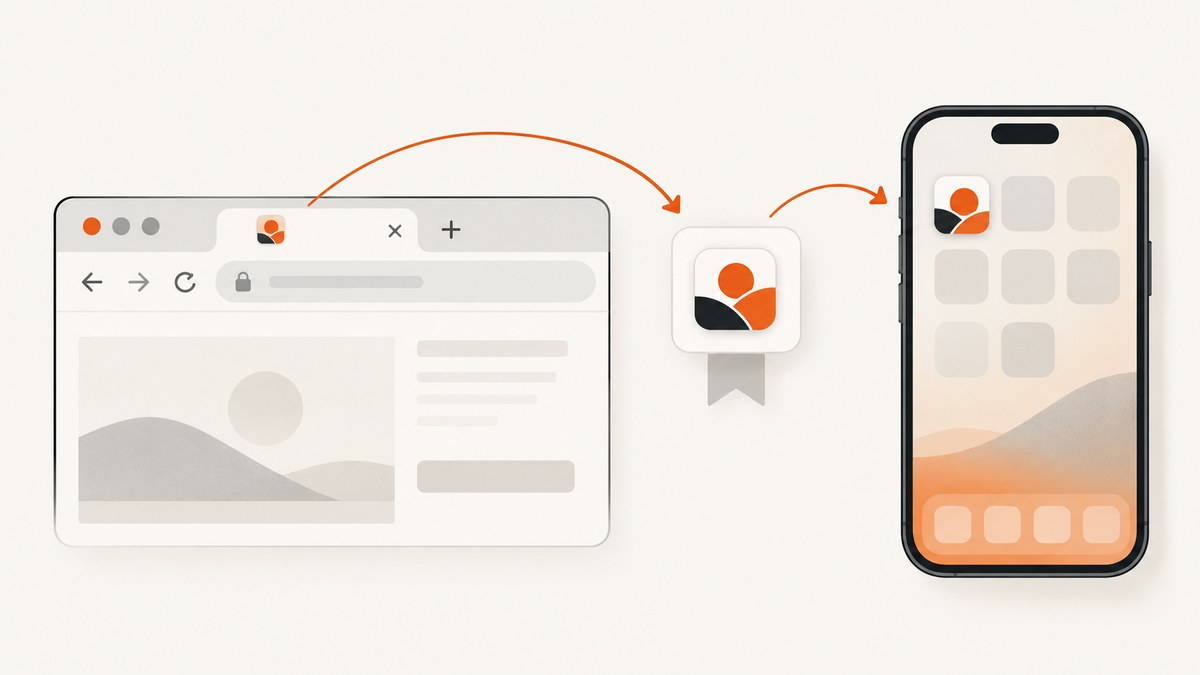
Quick answer: WordPress calls a favicon a Site Icon. On a block theme, open Appearance → Editor → Identity → Site Icon, upload or select a square image, and click Save. On a classic theme, use Appearance → Customize → Site Identity → Site Icon, then publish the change.
Use a square image at least 512 × 512 pixels. The setting controls the small image shown in browser tabs, bookmarks, search results, saved home-screen apps, and some WordPress screens. A Site Icon is different from a Site Logo: the logo is a visible page element, while the icon is designed to remain recognizable at a very small size.
What WordPress means by “Site Icon”
“Favicon” is the familiar term for the small website image displayed beside a page title. WordPress generally labels the same setting Site Icon. Once saved, the icon can be used by browsers and other services in several places:
- Browser tabs and windows
- Bookmarks and favorites
- Some search-result displays
- Saved shortcuts and home-screen web apps
- The WordPress.com dashboard in supported contexts
Choose an image that survives heavy reduction. A simple symbol, monogram, or high-contrast shape usually works better than a detailed wordmark. WordPress.com recommends a square image at least 512 × 512 pixels.
Before you start: prepare the icon
- Make the canvas square. Use equal width and height. A 512 × 512 image meets the commonly documented minimum; a larger square source is also acceptable.
- Keep the important shape centered. Browsers may display the image in a small square or crop it into a rounded shape on some devices.
- Check contrast. Fine lines and small text can disappear at favicon size.
- Export a web-friendly file. PNG is a practical choice, especially when the mark needs transparency. WordPress can process an image selected from the Media Library or uploaded during setup.
- Keep an original copy. If you later need a light, dark, or simplified variation, you can create it without repeatedly editing the uploaded file.
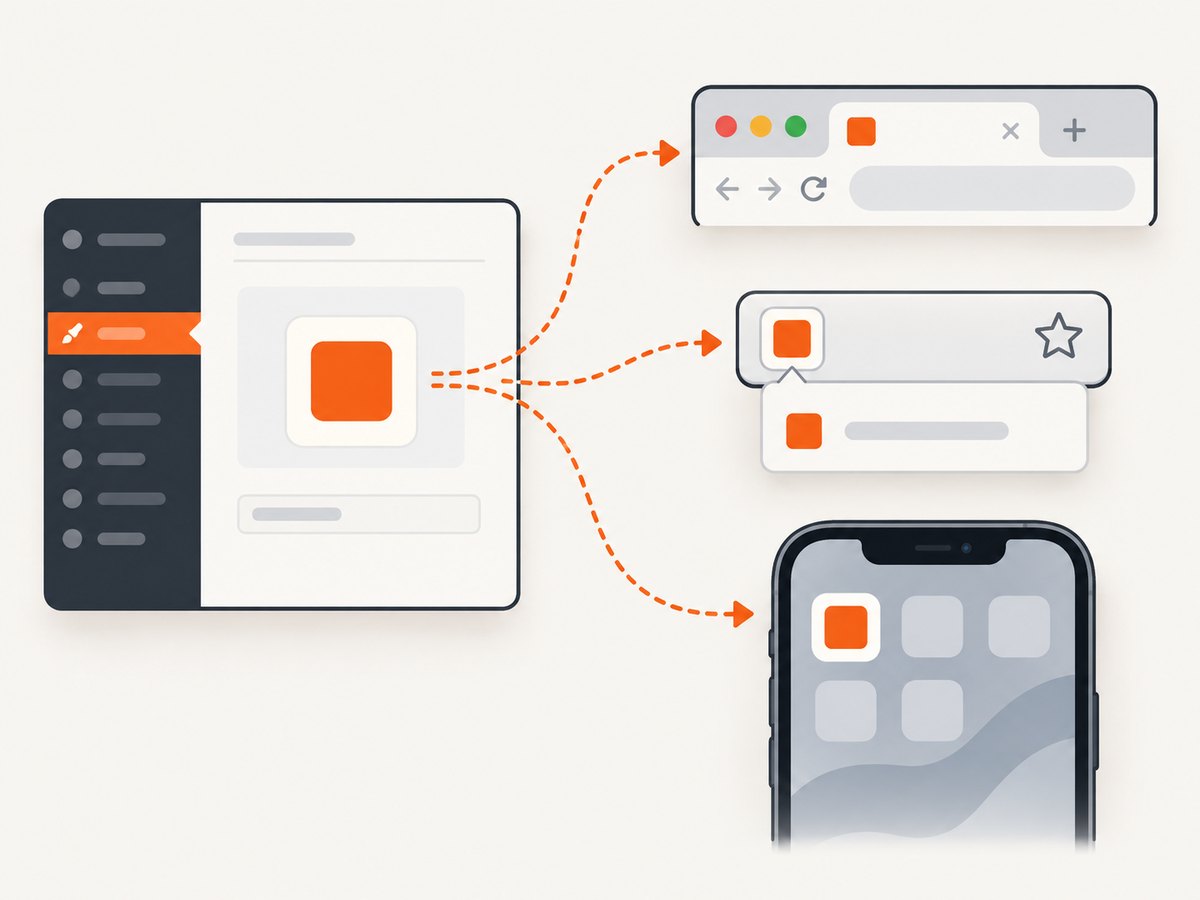
Method 1: change the icon with a block theme
Block themes use the Site Editor. If Appearance contains an Editor item, follow these steps.
- Sign in to the WordPress dashboard with an account that can change site settings.
- Open Appearance → Editor.
- In the Site Editor sidebar, select Identity. Depending on your WordPress version or theme, the surrounding labels may look slightly different.
- Choose Site Icon.
- Select an existing image from the Media Library, or upload the prepared square image.
- Review the preview and click Save. The change is not applied until the Site Editor saves it.
WordPress.org documents that the Site Editor Identity menu is available only when a block theme is installed and active. If you cannot find Identity, confirm that the active theme is a block theme and that you are editing the correct site.
What to check after saving
- Open the public site in a new private browser window.
- Look at the tab after the page finishes loading.
- Bookmark the page temporarily and inspect the bookmark icon.
- Test the home page and one internal page, because a cache or theme configuration can affect them differently.
Method 2: change the icon with a classic theme
Classic themes normally expose the Customizer. If Appearance contains Customize, use this path:
- Open Appearance → Customize.
- Select Site Identity.
- Find Site Icon, then click the button to select or upload an image.
- Choose the square image from the Media Library, or upload it.
- Click Publish (or the equivalent save control shown by your version).
The exact labels can vary by WordPress version, host, or theme. The important distinction is the interface: block themes use the Site Editor, while classic themes generally use the Customizer.
Site Logo versus Site Icon
A Site Logo is a visible block or header element. It can contain a wordmark and may be wide or rectangular. A Site Icon is the small browser and shortcut image, so it should normally be square and legible at tiny dimensions.
The WordPress Site Logo block includes a Use as site icon option. You can use the same source for both purposes when it is a simple square mark. If the logo contains long text or fine detail, create a simplified icon instead. Reusing a complex header logo often produces an unreadable favicon.
Verify the new icon when it does not appear immediately
Saving the setting changes WordPress, but browsers and intermediary caches may keep an older icon for a while. Work through this checklist:
- Confirm that you clicked Save or Publish.
- Open the site in a private window or a different browser.
- Hard-refresh the page. A normal refresh may reuse the cached favicon.
- Close and reopen the browser tab. Some browsers cache tab icons separately from page content.
- Clear any page cache, CDN cache, or host cache, then test again.
- Check the Media Library attachment itself. Make sure the uploaded image is square and not corrupted.
- Test the canonical domain and the HTTPS version of the site. A redirect or alternate hostname can make you inspect a different cached response.
Common problems and fixes
| Problem | Likely cause | Fix |
|---|---|---|
| There is no “Editor” menu | The active theme is classic, or you do not have permission to edit the site. | Use Appearance → Customize for a classic theme, or ask an administrator to confirm the active theme and your role. |
| There is no “Customize” menu | The active theme is a block theme. | Use Appearance → Editor → Identity → Site Icon. |
| Identity is missing in the Site Editor | The theme may not be a block theme, the theme version may use different labels, or the feature is unavailable to your role. | Confirm the active theme, update WordPress and the theme when appropriate, and check with the site administrator. |
| The old icon remains in the tab | Browser, WordPress, host, or CDN caching. | Use a private window, hard-refresh, clear relevant caches, and reopen the tab. |
| The icon looks blurry | The source is too small, was enlarged, or contains detail that disappears when reduced. | Upload a square source of at least 512 × 512 pixels with a simple, high-contrast mark. |
| The image is cropped | The artwork is not square or the important content touches an edge. | Place the mark inside a square canvas with comfortable padding and upload that version. |
| The icon appears on one URL but not another | You are viewing a different hostname, protocol, redirect target, or cached copy. | Test the canonical HTTPS URL and purge caches for the affected host. |
| The logo changed but the tab icon did not | Site Logo and Site Icon are separate settings. | Set Site Icon explicitly, or enable Use as site icon in the Site Logo block. |
Edge cases to consider
Multiple sites or environments
Changing the icon on a staging site does not change production. Repeat the process on the production dashboard after deployment, and check that you are using the intended domain.
Multisite installations
In WordPress Multisite, permissions and available settings can be controlled at the network level. If the control is absent, ask the network administrator whether site administrators are allowed to change identity settings.
Managed WordPress dashboards
A host may rename dashboard items, add caching, or restrict updates. Follow the theme-based paths above, then use the host’s cache controls if the saved icon is not visible.
Transparent images and dark browser themes
A transparent PNG can blend into a browser’s light or dark tab background. Add a background color or test the mark in both light and dark contexts before publishing.
Search results are not instant
Changing the Site Icon updates your WordPress setting. Search engines and other services decide independently when to recrawl and display a new icon, so their result may lag behind your browser tab.
Or skip the browser setup
If you need a clean screenshot of the updated site for documentation, QA, release notes, or a content workflow, ScreenshotNeo can capture the page through one API request. Its cleanup step accepts cookie and consent banners and removes more than 60 known consent platforms, newsletter popups, and chat widgets before the capture. Bot checks, blank pages, timeouts, failed loads, and cache hits are not billed, and each response identifies the result with X-Page-Verdict and X-Billed headers. ScreenshotNeo also provides an MCP server for Claude, Cursor, and other MCP clients, with take_screenshot, get_page_info, and capture_pdf tools.

See the complete option reference in the ScreenshotNeo documentation. The API supports full-page or element captures, device presets and custom viewports, dark mode, retina scale, custom CSS and JavaScript, waits, request blocking, headers, cookies, user agents, timezone, geolocation, resizing, caching, signed links, asynchronous jobs, bulk capture, and PDF output.
curl -G "https://api.screenshotneo.com/v1/shot" -d access_key=YOUR_API_KEY --data-urlencode url=https://example.com -o shot.webpimport requests
r = requests.get("https://api.screenshotneo.com/v1/shot", params={"access_key": "YOUR_API_KEY", "url": "https://example.com"}, timeout=90)
open("shot.webp", "wb").write(r.content)const q = new URLSearchParams({ access_key: 'YOUR_API_KEY', url: 'https://example.com' });
const res = await fetch(`https://api.screenshotneo.com/v1/shot?${q}`);There is a free plan with 1,000 screenshots per month and no card. Paid plans start at $5 for 3,000 screenshots, and every feature is available on every plan. Create a free ScreenshotNeo account to get started.
Performance, reliability, and cost notes
- WordPress workflow: Keep the source image simple and reasonably sized. A huge upload adds media-management overhead without improving a tiny browser icon.
- Cache awareness: Caching is the most common reason a correct change appears absent. Verify in a private window before changing the setting again.
- Screenshot workflow: Wait for the page state you need, especially when the site icon is part of a loaded header or when lazy content affects a full-page capture. Use an element capture when you only need the header or browser-facing identity area.
- Cost control: ScreenshotNeo bills only clean shots. Failed loads, bot checks, blank pages, timeouts, and cache hits cost nothing; response headers tell you how the request was classified.
FAQ
Is a favicon the same as a Site Icon?
Yes. Favicon is the common web term; Site Icon is WordPress’s dashboard label.
Do I need a plugin?
No. Current WordPress block and classic themes provide built-in Site Icon controls. A plugin is unnecessary for the standard setting.
Can I use a rectangular logo?
You can upload it, but a square, simplified mark is usually easier to recognize at favicon size.
Why does the WordPress dashboard show the new icon before my browser tab?
Different interfaces cache or request the image at different times. Clear the browser and site caches, then check again.
Can I automate screenshots after changing the icon?
Yes. Use ScreenshotNeo’s API or MCP server to capture the updated URL in an automated documentation or QA workflow.
Final checklist
- Prepare a centered, square image at least 512 × 512 pixels.
- Use Appearance → Editor → Identity → Site Icon for a block theme.
- Use Appearance → Customize → Site Identity for a classic theme.
- Save or publish the setting.
- Verify in a private window and clear relevant caches if necessary.
- Keep the Site Logo and Site Icon roles separate unless the same mark works at both sizes.


