How to Use the Chrome OS Screenshot Tool
Capture your entire Chromebook screen, a window, or a selected region with ChromeOS Screen Capture shortcuts and menus.
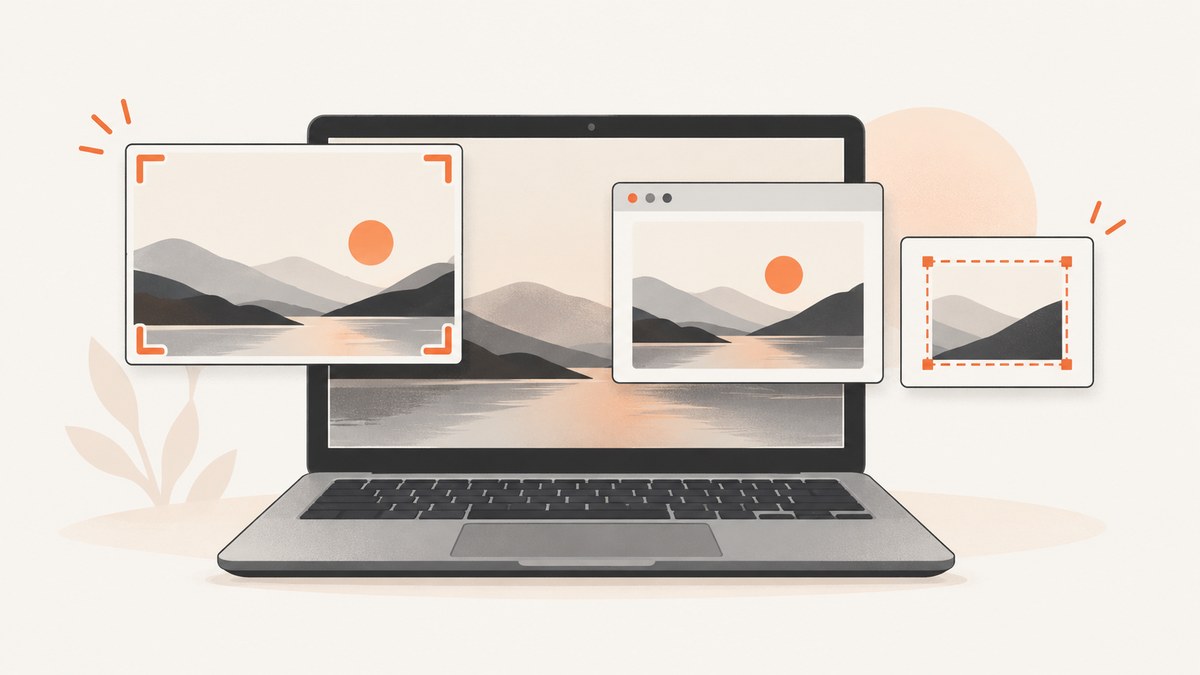
Quick answer: Press Shift + Ctrl + Show windows to open ChromeOS Screen Capture. Choose Screenshot, then select Full screen, Partial, or Window. Your capture is copied to the clipboard and saved in Downloads by default. Some Chromebooks have a dedicated Screenshot key that opens the same tool.
Google’s official instructions are in Chromebook Help. Keyboard layouts differ, so use the method that matches your device.
Open the ChromeOS Screen Capture tool
Keyboard shortcut
- Press Shift + Ctrl + Show windows. The Show windows key usually looks like a rectangle beside two vertical lines.
- If your external keyboard has no Show windows key, press Ctrl + Shift + F5.
- When the toolbar appears at the bottom, select Screenshot instead of Screen record.
Dedicated Screenshot key
Some Chromebook keyboards include a Screenshot key. Press it to open Screen Capture, then choose the capture type. If nothing happens, use the keyboard shortcut or the on-screen menu.
Quick Settings and the time menu
- Select the time in the lower-right corner.
- Open Screen capture from Quick Settings. If it is not visible, expand the panel or open Settings and search for Screen Capture.
- Select Screenshot and choose an area.
Take a full-screen screenshot
- Open Screen Capture.
- Select Screenshot.
- Choose Full screen.
- Click anywhere on the screen. ChromeOS captures all visible displays according to the tool’s current screen selection.
Use full screen when you need the whole desktop or a complete page view. Close private tabs, notifications, and unrelated windows first because everything visible in the selected screen can appear in the image.
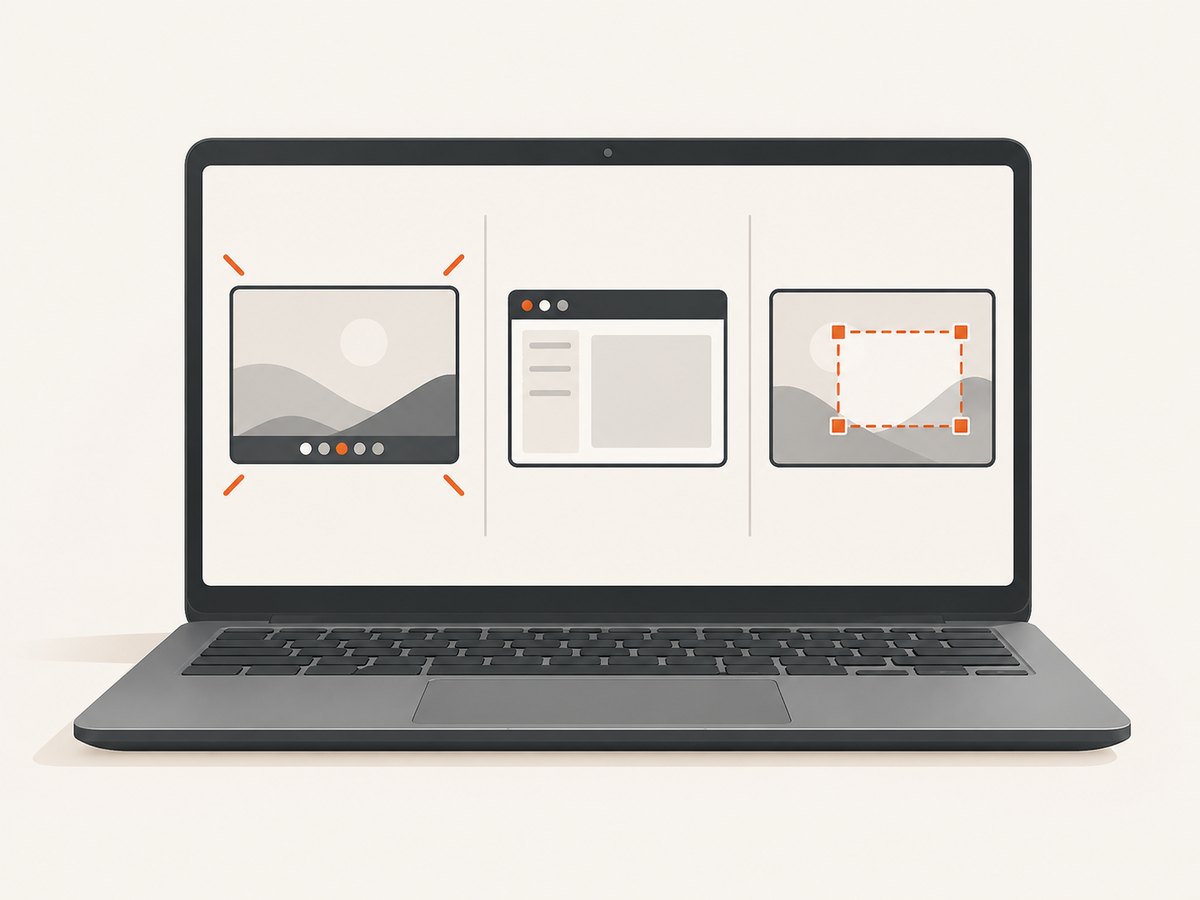
Capture part of the screen
- Open Screen Capture and select Screenshot.
- Choose Partial.
- Click and drag around the area to capture, then release.
- Adjust the selection before confirming. Press Space to move the selected section, Tab to move focus to a corner handle, and use the arrow keys to adjust the highlighted edge.
Partial capture is useful for a single chart, error message, or browser region because it keeps unrelated content out of the image.
Capture one window
- Open Screen Capture and choose Screenshot.
- Select Window.
- Select the application window you want to capture.
Window capture is usually the clearest option for sharing one app without manually cropping the desktop.
Where ChromeOS saves screenshots
ChromeOS automatically copies screenshots to the clipboard and saves them to Downloads by default, according to Google’s Chromebook Help.
- Open the Files app and select Downloads to find the file.
- Paste the capture directly into an email, document, chat, or image editor with Ctrl + V.
- To change the save folder, open Screen Capture settings and choose a different location.
File names and formats can vary with ChromeOS version and capture workflow. If you need a different format, open the saved image in an editor and export it.
Chromebook tablet and stylus methods
Tablet buttons
On a Chromebook tablet, press Power + Volume down together. You can also hold the Power button and choose Screen capture, or open Screen Capture from the time menu. See Google’s Chromebook keyboard shortcuts for device-specific details.
Compatible stylus
On a supported touchscreen Chromebook, open the stylus menu and choose Capture region. Touch and drag over the area, then release. Choose Capture screen for a full-screen image. Google notes that Bluetooth styluses cannot be used with Chromebooks and capacitive styluses may not work well; support depends on the device. Details are in Use a stylus with your Chromebook.
Screen recording from the same toolbar
Screen Capture also records video. Choose Screen record, then select full screen, partial region, or window. Settings can include camera video and device audio, microphone audio, or both. Partial recordings can be saved as .webm or .gif; GIF recordings do not include audio or video input. Stop with the on-screen control or press Search + Shift + X. The recording workflow is documented in Chromebook Help.
Screen reader workflow
With ChromeVox enabled, start Screen Capture with Shift + Ctrl plus the relevant capture key, then press Tab to choose full, partial, or window capture and follow the spoken prompts. Google’s instructions are in Use the built-in screen reader on your Chromebook.
Choosing the right capture mode
| Mode | Use it when | Check before capturing |
|---|---|---|
| Full screen | You need the complete desktop or page view | Notifications, private tabs, and other displays |
| Partial | You need one region, control, chart, or message | The selection includes every required pixel |
| Window | You need one application without desktop clutter | The correct window is open and unobstructed |
Troubleshooting
The shortcut does nothing
Confirm that you are using Shift + Ctrl + Show windows. On an external keyboard without that key, use Ctrl + Shift + F5. You can also open the time menu and select Screen Capture. A managed school or work device may restrict settings or shortcuts.
I cannot find the Show windows key
Look for the key showing a rectangle with two vertical lines. If your keyboard lacks it, use Ctrl + Shift + F5 or the on-screen menu.
The screenshot is in the wrong folder
Open Screen Capture settings and select the desired save location. Existing files remain in their original folder; move them with the Files app.
The image contains unwanted content
Use Window or Partial mode instead of Full screen. Before capture, close notifications and move private content outside the selection.
The stylus option is missing
Stylus capture requires a compatible touchscreen Chromebook and supported stylus. Bluetooth styluses are not supported for this Chromebook workflow, and capacitive styluses may be unreliable.
The capture is not in the clipboard
ChromeOS normally copies screenshots automatically. If pasting fails, open the saved file from Downloads and use the Files app’s copy command, then paste into the destination. Restarting the app receiving the paste can also restore clipboard access.
Performance, reliability, and privacy notes
- The built-in tool captures what is rendered on your Chromebook; it does not fetch a page separately or bypass content that is not visible.
- For long web pages, use the browser’s page-specific full-page capture option when available, or capture several regions. ChromeOS Screen Capture’s documented modes are full screen, partial, and window.
- Review the selection before sharing. A full-screen image can include account details, notifications, or confidential tabs.
- Captures use local storage and clipboard access. Low disk space or clipboard restrictions can prevent saving or pasting.
Or skip the browser setup
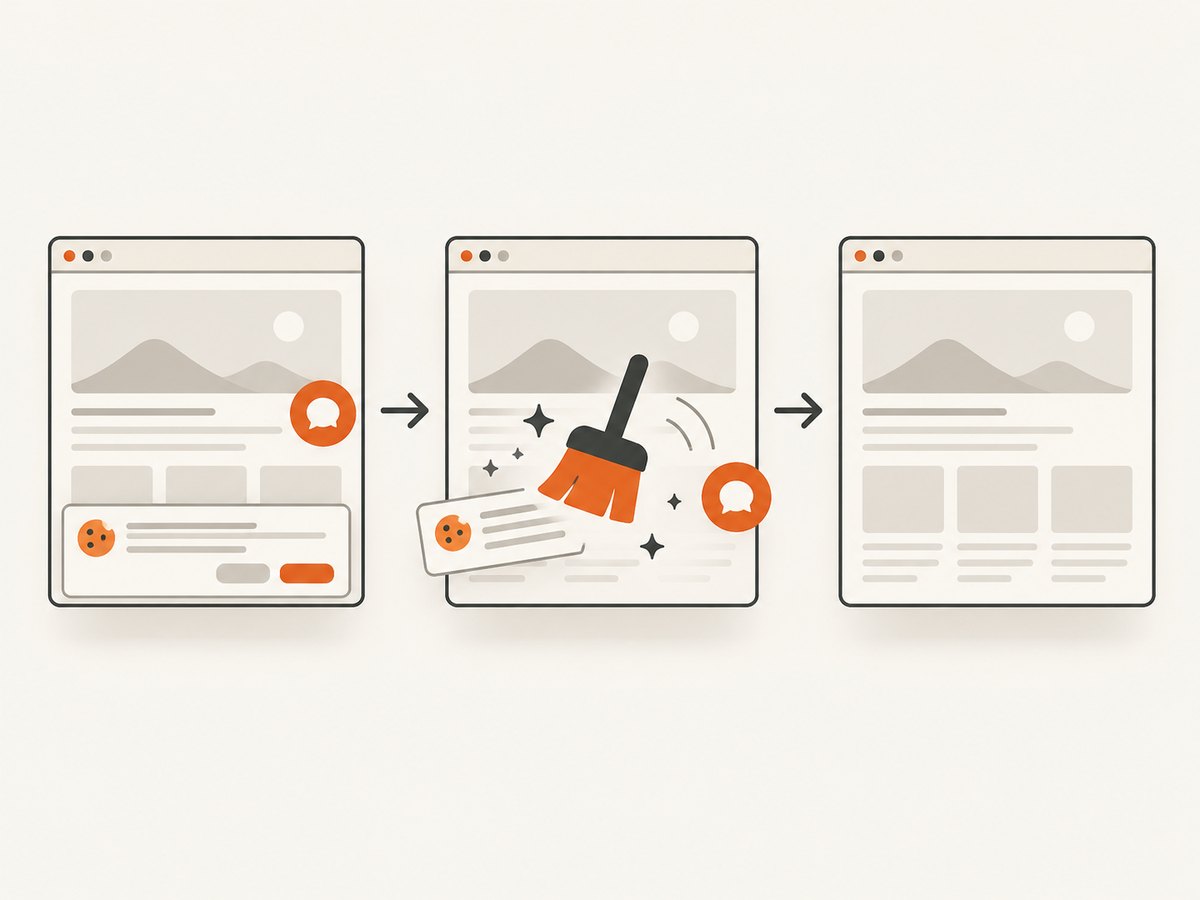
If you need screenshots from code, CI, or many URLs, ScreenshotNeo provides a website screenshot API and MCP server. It accepts one GET request and returns PNG, JPEG, WebP, or PDF. Before capture it accepts consent banners and removes more than 60 known consent platforms, newsletter popups, and chat widgets; each step can be disabled. Bot checks, CAPTCHAs, blank pages, timeouts, failed loads, and cache hits are not billed, and response headers identify the page verdict and billing status.
See the ScreenshotNeo API documentation for all options.
cURL
curl -G "https://api.screenshotneo.com/v1/shot" -d access_key=YOUR_API_KEY --data-urlencode url=https://stripe.com -o shot.webpPython
import requests
r = requests.get("https://api.screenshotneo.com/v1/shot", params={"access_key": "YOUR_API_KEY", "url": "https://stripe.com"}, timeout=90)
open("shot.webp", "wb").write(r.content)
Node.js
const q = new URLSearchParams({ access_key: 'YOUR_API_KEY', url: 'https://stripe.com' });
const res = await fetch(`https://api.screenshotneo.com/v1/shot?${q}`);
Options include full-page capture with lazy images loaded, CSS selector capture, dark mode, device presets or custom viewports, retina scale, custom CSS and JavaScript, clicks, waits, request blocking, headers, cookies, user agents, authorization, timezone, geolocation, transparent backgrounds, resizing, chosen cache TTLs, signed image links, asynchronous jobs with signed webhooks, bulk capture for 100 URLs per call, usage reporting, and PDF output. Its MCP server includes take_screenshot, get_page_info, and capture_pdf for Claude, Cursor, and other MCP clients.
The Free plan includes 1,000 screenshots per month with no card. Paid plans start at $5 for 3,000 screenshots; every feature is available on every plan. Create a free ScreenshotNeo account.
FAQ
Do I need to install a screenshot app?
No. ChromeOS includes Screen Capture.
Can I capture only one browser tab?
Use Window mode for the browser window, or Partial mode to select the tab area. ChromeOS does not document a separate tab-only capture mode in Screen Capture.
Can I annotate immediately?
Paste or open the saved image in an editor, then add annotations there.
Why are my shortcuts different?
Chromebook keyboards vary, and external keyboards may omit Show windows. Use the dedicated Screenshot key, Ctrl + Shift + F5, or the time menu.
Where are screenshots stored by default?
In Downloads, with a copy placed on the clipboard.


