How to Click Buttons with the Playwright Testing Framework
Learn reliable Playwright button clicks with accessible locators, auto-waiting, assertions, debugging, and complete TypeScript examples.
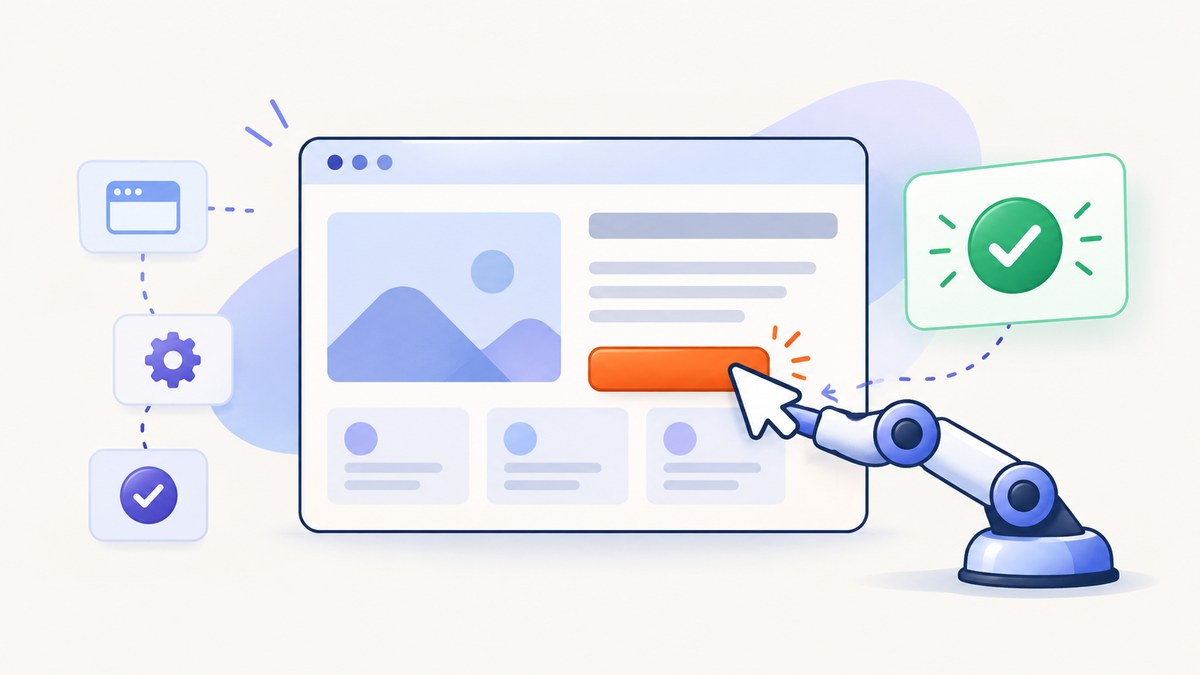
How do you click a button in Playwright? Start with a locator that describes the button as a user sees it, click that locator, and assert the resulting state:
await page.getByRole('button', { name: 'Sign in' }).click();
await expect(page.getByText('Welcome, John!')).toBeVisible();
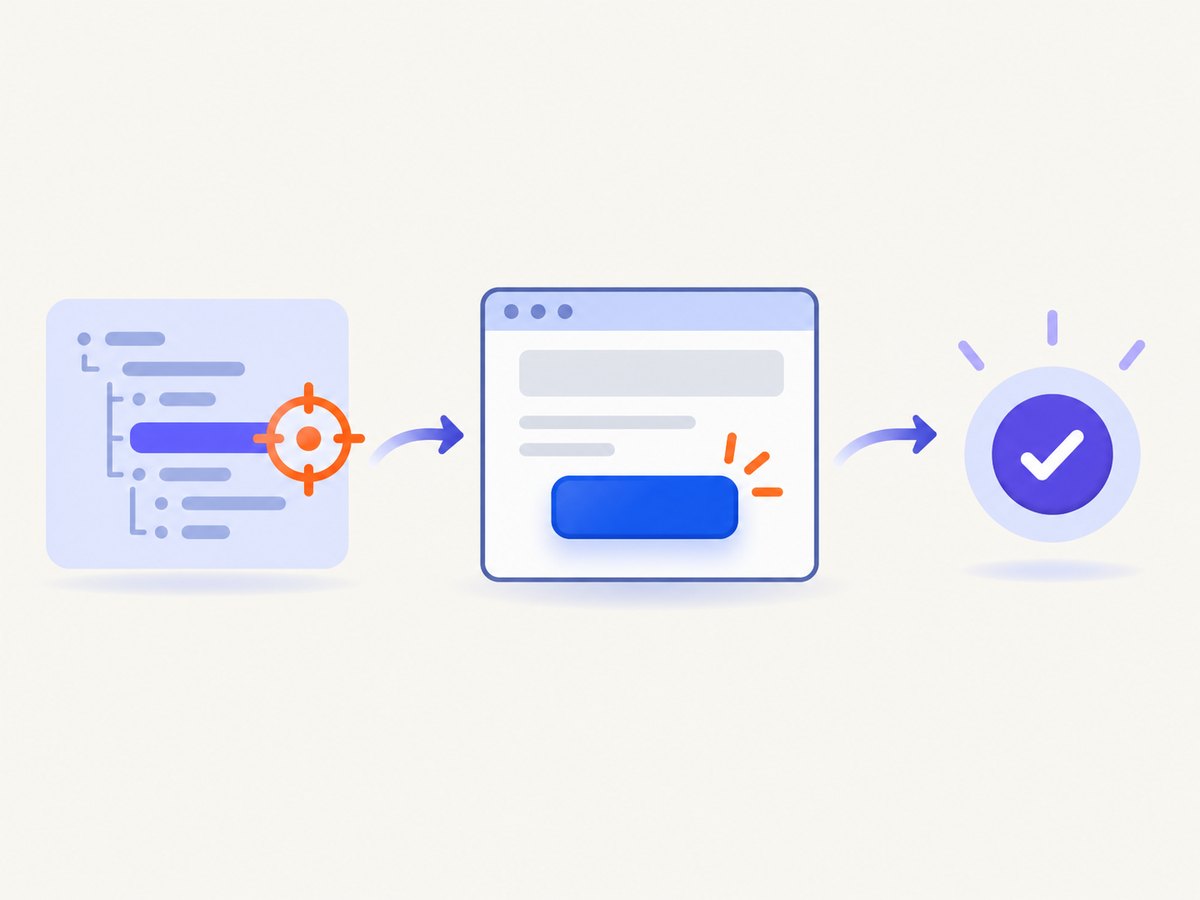
This pattern is readable, resilient to ordinary DOM changes, and aligned with Playwright’s automatic waiting. The official documentation describes locators as the central piece of Playwright’s auto-waiting and retry behavior. A click waits until the target is uniquely matched, visible, stable, able to receive pointer events, and enabled. If those conditions are not met before the timeout, Playwright raises a TimeoutError.
1. Set up a Playwright test
Install Playwright in an existing Node.js project or create a starter project:
npm init playwright@latestChoose TypeScript when prompted. A minimal test file looks like this:
import { test, expect } from '@playwright/test';

test('signs in', async ({ page }) => {
  await page.goto('https://example.com/login');
  await page.getByRole('button', { name: 'Sign in' }).click();
  await expect(page.getByRole('heading', { name: 'Dashboard' })).toBeVisible();
});
Run it with npx playwright test. Playwright’s test runner supplies a fresh page fixture and collects traces, screenshots, and videos when configured in playwright.config.ts.
2. Choose a locator that survives page changes
Prefer built-in locators in this order: the role and accessible name a user perceives, visible text when it is the clearest identifier, an explicit test ID when your application exposes a testing contract, and CSS or XPath only for special cases. Avoid selectors that depend on generated class names or deep layout structure.
| Locator | Example | Use it when |
|---|---|---|
| Role and name | getByRole('button', { name: 'Save' }) |
The control has a useful accessible name. This is the best default. |
| Text | getByText('Continue') |
Visible wording uniquely identifies the action. |
| Test ID | getByTestId('checkout-submit') |
You need an explicit, stable contract independent of presentation. |
| CSS | locator('button[data-action="save"]') |
A semantic locator is unavailable and the attribute is stable. |
| XPath | locator('//button[@type="submit"]') |
A legacy or unusual DOM requires it. Keep it short. |
getByRole uses the same role and accessible-name concepts used by assistive technology. For an icon-only button, give the control an accessible label in the application and locate that label:
await page.getByRole('button', { name: 'Open settings' }).click();When matching should be exact, say so explicitly. A regular expression is useful when a label intentionally varies:
await page.getByRole('button', { name: 'Save', exact: true }).click();
await page.getByRole('button', { name: /save draft/i }).click();
3. Scope and filter when several buttons match
Locator actions are strict: a click must resolve to exactly one element. If a page has a “Delete” button in each table row, scope the search to the row containing the record:
const row = page.getByRole('row').filter({ hasText: 'Quarterly report' });
await row.getByRole('button', { name: 'Delete' }).click();
await expect(row).toBeHidden();
You can also filter by a descendant locator:
const card = page.locator('.product-card').filter({
  has: page.getByRole('heading', { name: 'Pro plan' })
});
await card.getByRole('button', { name: 'Choose plan' }).click();first(), last(), and nth() exist, but positional selection can silently target a different control after a page change. Use them only when order is the tested behavior or when no identifying attribute can be added.
4. Understand Playwright’s click and waiting behavior
Calling locator.click() performs more than a mouse event. Playwright repeatedly resolves the locator and waits for actionability:
- Exactly one element matches.
- The element is visible.
- Its bounding box is stable and it is not moving.
- The element can receive pointer events rather than being covered by an overlay.
- The element is enabled.
Assertions such as toBeVisible, toHaveText, and toHaveURL also retry until their condition is true or the assertion timeout expires. This lets a test wait for the observable result instead of inserting arbitrary sleeps.
await page.getByRole('button', { name: 'Submit order' }).click();
await expect(page.getByRole('status')).toHaveText('Order submitted');
await expect(page).toHaveURL(/\/orders\/\d+$/);
5. Click options you may need
| Option | Example | Reason to use it |
|---|---|---|
button |
{ button: 'right' } |
Open a context menu or test a non-left mouse button. |
clickCount |
{ clickCount: 2 } |
Test a double-click interaction. |
modifiers |
{ modifiers: ['Control'] } |
Exercise keyboard-assisted mouse behavior. |
position |
{ position: { x: 8, y: 8 } } |
Click a specific point inside a canvas or custom control. |
delay |
{ delay: 100 } |
Reproduce an interaction that depends on press duration. |
timeout |
{ timeout: 15_000 } |
Allow a known slow operation more time. |
force |
{ force: true } |
Bypass some actionability checks only when that is deliberately what you are testing. |
trial |
{ trial: true } |
Run actionability checks without actually clicking. |
A normal button click usually needs no options. Do not use force: true as a routine timeout fix: it can hide an overlay, animation, disabled state, or layout bug that would block a real user.
6. Common button patterns
Buttons inside dialogs
const dialog = page.getByRole('dialog', { name: 'Confirm deletion' });
await dialog.getByRole('button', { name: 'Delete' }).click();
await expect(dialog).toBeHidden();
Buttons that open a menu
await page.getByRole('button', { name: 'Account menu' }).click();
await expect(page.getByRole('menu')).toBeVisible();
await page.getByRole('menuitem', { name: 'Sign out' }).click();
Buttons that trigger navigation
await page.getByRole('button', { name: 'View invoice' }).click();
await expect(page).toHaveURL(/\/invoices\/[^/]+$/);
When a click initiates navigation, Playwright waits for that navigation by default. Prefer a URL or destination assertion so the test proves that the navigation completed.
Buttons in an iframe
const payment = page.frameLocator('iframe[title="Payment form"]');
await payment.getByRole('button', { name: 'Pay now' }).click();
Buttons that require a prior state change
await page.getByRole('checkbox', { name: 'I agree to the terms' }).check();
const submit = page.getByRole('button', { name: 'Create account' });
await expect(submit).toBeEnabled();
await submit.click();
7. Debug a click that times out or fails
Start by checking what Playwright actually matched and what state the page is in:
const save = page.getByRole('button', { name: 'Save' });
console.log('matches:', await save.count());
console.log('visible:', await save.isVisible().catch(() => false));
console.log('enabled:', await save.isEnabled().catch(() => false));| Symptom | Likely cause | Fix |
|---|---|---|
| Strict mode violation | More than one element matches. | Use an exact name, scope to a dialog or row, or filter by unique content. |
| Timeout waiting for visible | The button is hidden behind a menu state, responsive breakpoint, or conditional render. | Trigger the state that reveals it and assert visibility before clicking. |
| Element is not enabled | Required fields are incomplete or the app intentionally disabled the control. | Complete the required state and assert toBeEnabled(). |
| Intercepted pointer event | A modal backdrop, cookie banner, sticky header, or animation covers the button. | Dismiss the overlay, wait for the transition, or fix the layout. |
| Name does not match | The accessible name differs from visible text, often because of an icon or nested label. | Inspect the accessibility tree with Playwright Inspector and use the actual role and name. |
| Click succeeds but assertion fails | The click caused a delayed request, a different state, or a new page. | Assert the resulting URL, dialog, status, or heading with a retrying assertion. |
Run a focused test in headed mode and pause at the failure:
npx playwright test tests/login.spec.ts --headed --debugTracing is useful in CI. Configure trace: 'retain-on-failure', then open a trace with npx playwright show-trace path/to/trace.zip. The trace shows the locator, actionability checks, DOM snapshot, network activity, and screenshot around the click.
8. Reliable tests for dynamic applications
- Use locators rather than storing an
ElementHandle; locators resolve against the current DOM when the action runs. - Wait on a meaningful condition such as a status message, URL, or enabled button, not a fixed timeout.
- Keep each test independent and create the required data through an API or fixture when possible.
- Use test IDs for controls whose wording changes by locale, while keeping the ID stable and documented.
- For animations, prefer waiting for the element to become stable. If the application owns the animation, disabling it in a test-only stylesheet can reduce flakiness.
- Use the smallest timeout that reflects the environment. Increasing every timeout makes failures slower and does not repair a bad locator.
9. Performance, reliability, and cost considerations
Most click time is spent waiting for the application: navigation, API responses, rendering, and animations. Reusing a browser context across related tests is faster than launching a browser for every test, while isolated contexts preserve clean cookies and storage. Parallel workers reduce wall-clock time but require independent test data and a backend that can handle the extra load.
Retries can distinguish transient infrastructure failures from deterministic test defects, but a retry should produce a trace and be monitored. Keep screenshots and traces on failure rather than for every passing step when artifact storage matters. Browser tests consume CI minutes; avoid repeated login flows by using a saved authenticated storage state, provided the state is safe for the test environment.
10. Or skip the browser setup
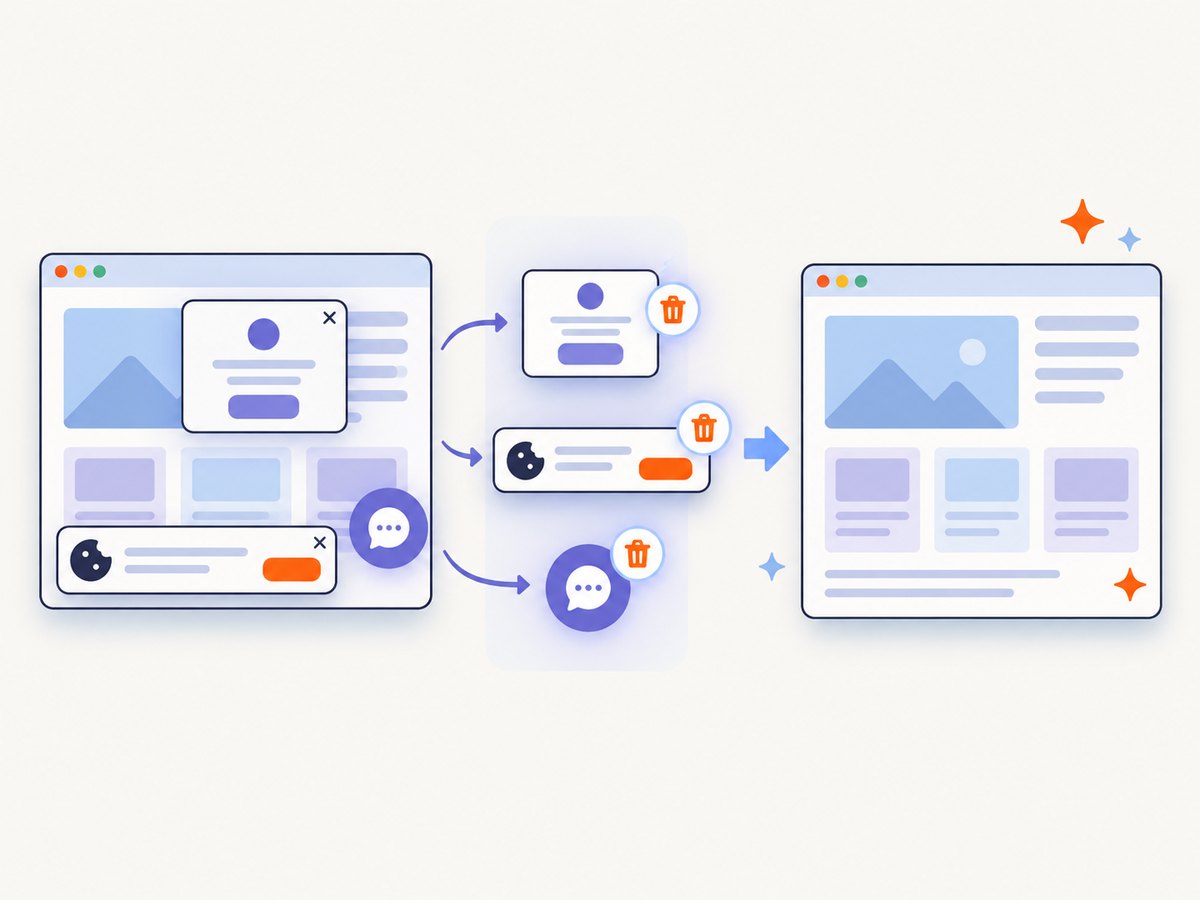
If your goal is to capture the result of a page rather than test interaction logic, ScreenshotNeo provides a single HTTP request for a PNG, JPEG, WebP, or PDF. It accepts cookie and consent banners before capture and removes more than 60 known consent platforms, newsletter popups, and chat widgets; each step can be turned off. Bot checks, blank pages, timeouts, failed loads, and cache hits are not billed, and the response identifies the result with X-Page-Verdict and X-Billed headers. An MCP server also lets Claude, Cursor, and other MCP clients call take_screenshot, get_page_info, and capture_pdf.
See the ScreenshotNeo API documentation for all options.
cURL
curl -G "https://api.screenshotneo.com/v1/shot" -d access_key=YOUR_API_KEY --data-urlencode url=https://stripe.com -o shot.webpPython
import requests
r = requests.get("https://api.screenshotneo.com/v1/shot", params={"access_key": "YOUR_API_KEY", "url": "https://stripe.com"}, timeout=90)
r.raise_for_status()
open("shot.webp", "wb").write(r.content)
Node.js
const q = new URLSearchParams({ access_key: 'YOUR_API_KEY', url: 'https://stripe.com' });
const res = await fetch(`https://api.screenshotneo.com/v1/shot?${q}`);
if (!res.ok) throw new Error(`Screenshot failed: ${res.status}`);
const fs = await import('node:fs/promises');
await fs.writeFile('shot.webp', Buffer.from(await res.arrayBuffer()));
ScreenshotNeo includes full-page capture with lazy images loaded, element capture by CSS selector, dark mode, device presets, custom viewport and retina scale, PDF paper size and margins, custom CSS and JavaScript, clicks before capture, selector or network-idle waits, blocked ads and resources, headers, cookies, user agents, authorization, timezone, geolocation, transparent backgrounds, resizing, configurable caching TTL, signed image links, asynchronous jobs with signed webhooks, bulk capture of up to 100 URLs per call, a usage API, and an OpenAPI specification. Parameter names used by other screenshot APIs also work, which helps when migrating.
The Free plan includes 1,000 shots per month with no card. Paid plans start at $5 for 3,000 shots; every feature is available on every plan, and yearly billing gives two months free. Create a free ScreenshotNeo account and try the API without a card.
11. Frequently asked questions
Should I use getByRole for every button?
Use it when the button has a meaningful accessible name. Use a test ID when the wording is unstable or when your team wants an explicit automation contract.
Why does Playwright say the locator is not unique?
Strictness detected multiple matches. Add exact: true, scope the locator to a row or dialog, or filter by unique content.
When is force: true appropriate?
Only when bypassing actionability is part of the behavior under test. It should not conceal an overlay, disabled state, or animation problem.
How do I test a button without clicking it?
Use click({ trial: true }) to run actionability checks without dispatching the click.
How can I verify a click worked?
Assert an observable result: a status message, changed heading, opened dialog, destination URL, downloaded file, or updated control state.


