How to Combine Images from Multiple Canvases into One PDF
Combine separate canvases, layers, or artboards into one PDF by choosing the export workflow that matches how your images are organized.
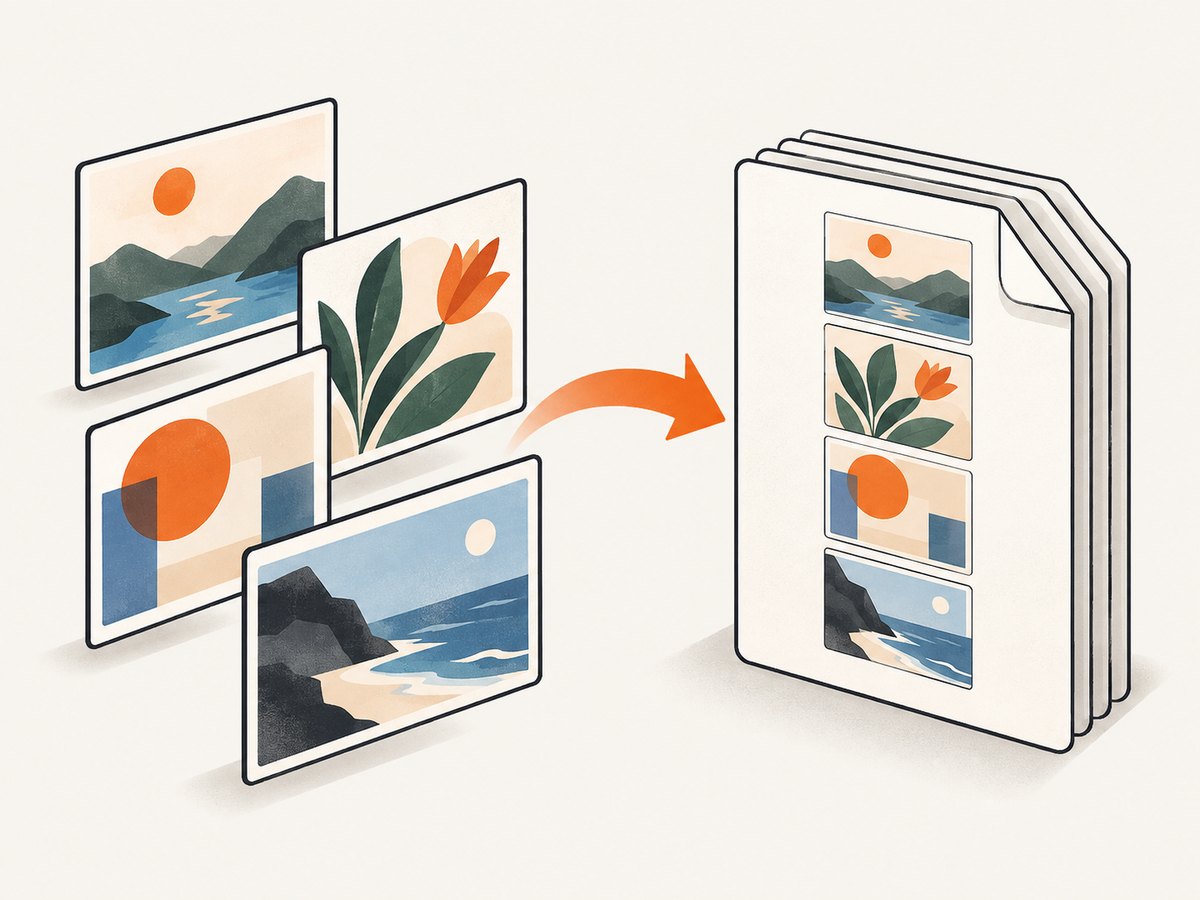
To combine images from multiple canvases into one PDF, export each canvas as a separate page in a single PDF. The steps depend on how your work is organized: Procreate can export selected artworks or layers, Photoshop can export artboards as a multi-page document, Canva can arrange images on one or more design pages, and a Python script can assemble image files into PDF pages.
First decide whether you want one image per PDF page or multiple images arranged together on a page. Then check the PDF’s page count, order, orientation, and cropping before sharing or printing it.
1. Choose the workflow that matches your canvases
| What you have | Good starting point | Typical result |
|---|---|---|
| Separate Procreate artworks | Select artworks in the Gallery and share as PDF | One artwork per PDF page |
| Layers in one Procreate artwork | Actions > Share > PDF under Share Layers | One layer per PDF page |
| Photoshop artboards | File > Export > Artboards To PDF | One artboard per page, or selected artboards |
| Images you want to lay out together | Canva, or another page-layout app | One or more arranged design pages |
| A folder of image files | A local PDF tool or the Python example below | One image per PDF page |
“Canvas” can mean a separate artwork, a layer, an artboard, or a page-sized image file. These are different structures, so an export command that works for one may not work for another. If the images should appear together on a single page, use a layout workflow; exporting each canvas as a PDF page will keep them separate.
2. Export multiple Procreate artworks as one PDF
For separate Procreate files, export from the Gallery:
- Open the Gallery and tap Select.
- Select the artworks or stacks to include.
- Tap Share.
- Choose PDF, then save or share the resulting file.
- Open the PDF and check that it contains all the selected artworks in the intended order.
Procreate’s export workflow places each selected artwork on a separate page of the PDF. This is useful for a portfolio, review packet, or handoff where every canvas should remain its own page. The official instructions are in the Procreate Help Center guide to exporting, sharing, and printing.
Export layers from one Procreate artwork
If the “canvases” are actually layers inside one artwork, use Actions > Share > PDF in the Share Layers options. Procreate makes each layer a PDF page. Its documented order is bottom layer first and top layer last, which may differ from the order you expect when looking at the layer list. See the Procreate Handbook’s Share section.
A layer export is not the same as exporting a single flattened image of the finished artwork: the former creates pages from layers. If you want one page showing the final composite, export the artwork itself instead.
3. Export Photoshop artboards into one PDF
- In Photoshop, choose File > Export > Artboards To PDF.
- Select Multi-Page Document to put the artboards in one PDF.
- Choose whether to export all artboards or only selected ones.
- Review the page-order option, including whether to reverse it.
- Set the available background and encoding options to suit the file, then export.
- Open the PDF and verify the number and sequence of pages.
Photoshop’s export dialog includes controls for selected artboards, page order, background inclusion, and ZIP or JPEG encoding. The exact tradeoff depends on the artwork: inspect the exported pages for visual quality and file size instead of assuming one encoding is best for every image. Adobe’s artboards-to-PDF instructions describe the available controls.
4. Arrange images in Canva before downloading a PDF
Use Canva when several images should be positioned on the same page, or when you want to arrange images across a designed document:
- Create a design with the page size and orientation you need.
- Upload or add the images.
- Place and resize them on the first page. Add more pages if each image needs its own page or the layout needs more room.
- Check margins, alignment, image crops, and page order.
- Choose Share > Download and select a PDF format.
- Open the downloaded PDF and inspect each page.
Canva’s image combiner describes arranging images into a collage-like page, adding pages when needed, and downloading the design as a PDF. This workflow gives you layout control: multiple images can share a page rather than automatically becoming one page apiece.
Should you flatten the Canva PDF?
Flattening converts design elements into a static image. Canva notes that this can help preserve the design’s appearance, but may increase file size and removes editability in PDF software. Use a flattened PDF when preserving a fixed visual result matters more than editing individual elements later. Keep an editable design or export without flattening when downstream editing matters. See Canva’s help on flattened PDF downloads.
5. Combine image files with Python
If your canvases are already exported as image files, Python can create a multi-page PDF locally. This example puts one image on each page, scales it to fit a chosen page size, preserves its aspect ratio, and adds white space where the image and page proportions differ. It sorts filenames alphabetically, so name files with prefixes such as 01- and 02- when a specific order matters.
Install Pillow:
python -m pip install PillowSave this as images_to_pdf.py in the folder containing your images, or change INPUT_DIR to the correct folder:
from pathlib import Path
from PIL import Image

INPUT_DIR = Path("canvases")
OUTPUT_PDF = Path("combined.pdf")
SUPPORTED = {".png", ".jpg", ".jpeg", ".webp", ".tif", ".tiff", ".bmp"}

# PDF page size in points: A4 portrait (72 points per inch).
PAGE_WIDTH, PAGE_HEIGHT = 595.28, 841.89
MARGIN = 36

files = sorted(
    (path for path in INPUT_DIR.iterdir()
     if path.is_file() and path.suffix.lower() in SUPPORTED),
    key=lambda path: path.name.lower(),
)
if not files:
    raise SystemExit(f"No supported images found in {INPUT_DIR.resolve()}")

pages = []
for path in files:
    with Image.open(path) as source:
        # PDF pages need a consistent color mode; convert transparency to white.
        rgba = source.convert("RGBA")
        background = Image.new("RGB", rgba.size, "white")
        background.paste(rgba, mask=rgba.getchannel("A"))
        image = background

        available_w = PAGE_WIDTH - 2 * MARGIN
        available_h = PAGE_HEIGHT - 2 * MARGIN
        scale = min(available_w / image.width, available_h / image.height)
        output_size = (
            max(1, round(image.width * scale)),
            max(1, round(image.height * scale)),
        )
        pages.append(image.resize(output_size, Image.Resampling.LANCZOS))

pages[0].save(
    OUTPUT_PDF,
    "PDF",
    save_all=True,
    append_images=pages[1:],
    resolution=150.0,
)
print(f"Wrote {len(pages)} pages to {OUTPUT_PDF.resolve()}")
Run it with:
python images_to_pdf.pyPut the source images in a folder named canvases beside the script. The output is combined.pdf. Change PAGE_WIDTH and PAGE_HEIGHT for a different page size, and adjust MARGIN to leave more or less whitespace. This code rasterizes each page from an image; it is not a workflow for preserving editable layers or vector objects.
Common variations for a local script
- Landscape pages: swap the page width and height constants.
- Multiple images per page: create a page-sized image first, paste several resized canvases onto it at chosen positions, then append that composed page to the PDF.
- Different ordering: sort using a numeric prefix or provide an explicit list of paths. Alphabetical order can put
10.pngbefore2.png. - Transparency: the sample composites transparent pixels on white. Change the background color if white is not appropriate.
- Large inputs: process images sequentially and consider reducing dimensions before retaining pages in memory; the example holds rendered pages until the PDF is written.
6. Check the PDF before sending or printing
Do a quick review after every export, especially if page order or print output matters:
- Confirm the page count matches the number of canvases or layouts you intended to export.
- Check the first and last pages as well as a few pages in between for ordering mistakes.
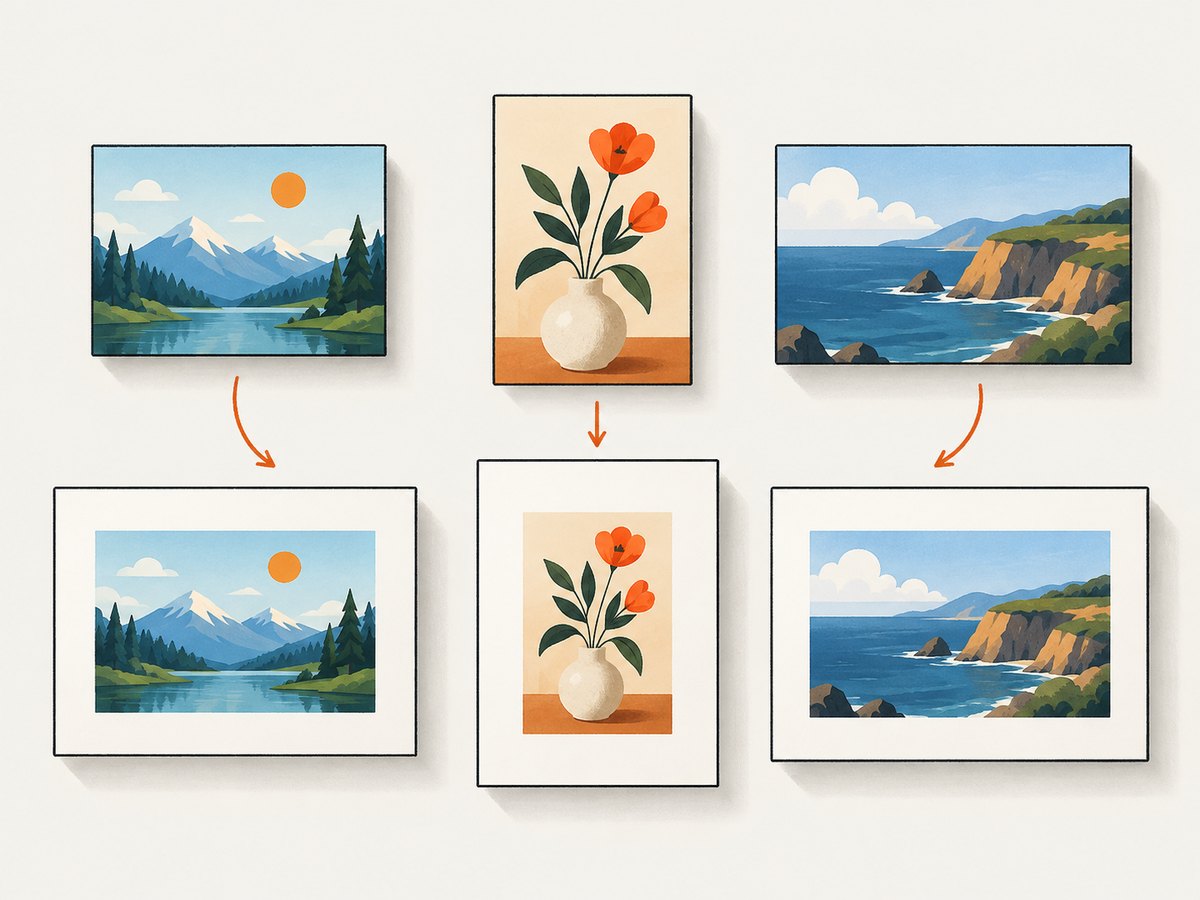
- Inspect page size, orientation, margins, and cropping.
- Zoom in on small text and fine lines to make sure they remain legible.
- Check transparent areas and backgrounds, since some export paths may composite them differently.
- For print, use the app’s available page and quality settings, then inspect the actual PDF. There is no single page size or export setting that fits every printer and image.
- Keep the source canvases or editable design if you may need to revise the PDF later.
PDF is a delivery format, but the result’s editability depends on how it was created and on the application used to open it. For example, Procreate warns that importing a multi-page PDF rasterizes vectors and text. That describes Procreate’s PDF import behavior; it should not be generalized to every PDF workflow. See the Procreate import and share guidance.
7. Troubleshooting
| Problem | Likely cause | What to do |
|---|---|---|
| The PDF has only one page | You exported a single composite, selected one artwork, or chose a single-page layout. | For Procreate, select multiple artworks or use Share Layers for layer pages. For Photoshop, choose Multi-Page Document. In Canva, add pages if you want separate pages. |
| Pages appear in an unexpected order | Selection order, layer order, filename sorting, or artboard order differs from your expectation. | Check the app’s documented order, reverse artboards if appropriate, or add numeric filename prefixes before using the Python script. |
| Images are cropped or cut off | The source aspect ratio does not match the page or design frame. | Use a fit-to-page layout, increase margins, or place the image inside a larger page without cropping. Inspect each page at full size. |
| Transparent areas turn white or black | The PDF workflow or viewer composites transparency onto a background. | Choose an explicit background color in the app or script and review the exported PDF in the target viewer. |
| The PDF is too large | Large source images, multiple full-resolution pages, or flattened pages can increase output size. | Use the app’s available encoding options, resize only when the intended output permits it, or avoid flattening if it is unnecessary. Recheck fine detail after reducing image dimensions. |
| The design is no longer editable | The export was flattened or represents each page as a static image. | Keep the source project, and choose a non-flattened export when the recipient needs editable objects and the app supports that workflow. |
| Python reports no images | The folder name or path is wrong, the folder is empty, or file extensions are not included in the supported set. | Set INPUT_DIR to the actual folder and check the listed extensions. |
| Python errors on an image | The file may be damaged, unsupported, or too large for available memory. | Open the file in an image editor, export a standard PNG or JPEG, then retry. For memory limits, process smaller images or use an application-based export. |
8. Or skip the browser setup
If your canvases are on web pages and you need screenshots as source images, ScreenshotNeo captures a URL into an image or PDF with one GET request. For combining existing files, use one of the export workflows above; this API captures web pages rather than merging a folder of images. See the ScreenshotNeo API documentation.
curl -G "https://api.screenshotneo.com/v1/shot" -d access_key=YOUR_API_KEY --data-urlencode url=https://stripe.com -o shot.webpimport requests
r = requests.get("https://api.screenshotneo.com/v1/shot", params={"access_key": "YOUR_API_KEY", "url": "https://stripe.com"}, timeout=90)
open("shot.webp", "wb").write(r.content)const q = new URLSearchParams({ access_key: 'YOUR_API_KEY', url: 'https://stripe.com' });
const res = await fetch(`https://api.screenshotneo.com/v1/shot?${q}`);ScreenshotNeo removes cookie banners, popups, and chat widgets before the shot. Bot checks, blank pages, and failed loads are never billed. Its MCP server lets AI agents take screenshots, and 1,000 screenshots a month are free with no card; paid plans start at $5 for 3,000. Sign up for 1,000 free screenshots a month.
9. Frequently asked questions
Can one PDF contain both portrait and landscape images?
Yes, if the exporting app or your page-generation workflow allows it. Check the result in a PDF viewer because applications differ in how they set page orientation for mixed content.
Do I need to combine the images into one image first?
No. To make a multi-page PDF, export each canvas as its own page. Combine them into a single composed image only when you want several canvases together on the same page.
Will the PDF preserve editable layers?
Do not assume so. Export behavior varies by application and workflow. Keep the original project file when you need to retain editable layers or design elements.
How can I tell whether the PDF is ready to send?
Open it, verify page count and order, then inspect page size, cropping, transparency, and legibility at the size the recipient will use.


