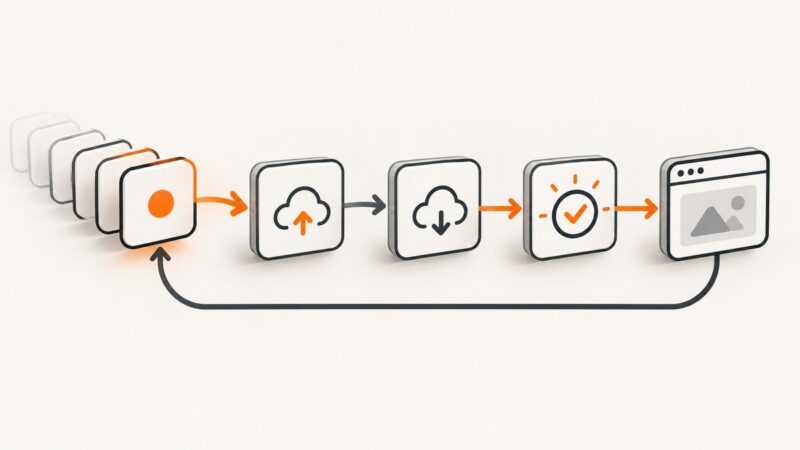
How to Compress Screenshots Without Losing Too Much Quality
A practical guide to shrinking screenshot files while keeping text, UI edges, transparency, and fine detail readable.

Short answer: keep the original, then create a working copy and compare PNG, lossless WebP, and carefully tuned lossy WebP or JPEG at the size people will actually view. PNG is usually the safest choice for text-heavy interfaces, diagrams, and sharp edges. WebP can reduce bytes further and supports both lossless and lossy compression plus transparency. JPEG is often better for photographic content, but its artifacts can damage small text and hard UI edges.
There is no universal compression percentage. The same encoder setting can produce very different results depending on colors, gradients, text density, transparency, and photographic content. A good workflow treats compression as a visual and technical comparison: measure the file, inspect the decoded image, and confirm that the destination accepts the format.
1. Choose the format before changing quality
Compression has two separate decisions: the file format and whether pixel data may change.
| Format | Compression | Best fit | Main risk |
|---|---|---|---|
| PNG | Lossless | UI screenshots, text, diagrams, line art, exact pixels, broad compatibility | May remain large when the image contains photographs, noise, or many colors |
| WebP lossless | Lossless | Exact pixels with a possible reduction in size; transparency | Destination may not accept it |
| WebP lossy | Lossy | Smaller web uploads when a small amount of pixel change is acceptable; transparency is supported | Quality settings are not predictable across images |
| JPEG | Lossy | Photos or screenshots dominated by photographic content | Ringing, blocking, and blurry small text or thin lines |
MDN describes PNG as lossless and a strong fit for screenshots, diagrams, and line art, while JPEG is lossy and commonly suited to photographs (MDN image format guide). Google documents WebP’s lossless and lossy modes and its transparency support (WebP overview).
If exact decoded pixels are required, stay with PNG or test lossless WebP. If the screenshot is too large after lossless optimization, make a lossy copy and inspect it at 100% and at its final display size.
2. Preserve the original and define an acceptance check
- Keep the original capture unchanged.
- Copy it to a working directory with a new filename.
- Record dimensions, color mode, transparency, and file size.
- Decide what cannot be degraded: small text, icons, hairline borders, gradients, alpha edges, or exact pixels.
- Export one or more candidates and compare both bytes and appearance.
Use a simple acceptance checklist:
- Smallest text is readable at the size recipients will use.
- Thin lines and icons have no visible ringing or block boundaries.
- Gradients are smooth and do not show banding.
- Transparent edges do not have a dark or light halo.
- The upload service, browser, or document editor opens the selected format.
- The original remains available if a later workflow needs exact pixels.
3. Lossless optimization: start here for interface screenshots
Lossless compression preserves the decoded pixels, so it is the right first step when text or visual accuracy matters. It cannot guarantee a large reduction: an already optimized image, a noisy capture, or a screenshot with many unique colors may barely shrink.

WebP’s cwebp utility accepts PNG, JPEG, and TIFF input and exposes lossless, quality, and target-size controls. See Google’s cwebp documentation for the complete command reference.
# Lossless WebP from a PNG
cwebp -lossless original.png -o screenshot-lossless.webp

# Compare byte sizes
wc -c original.png screenshot-lossless.webp
Open both files and confirm that transparency and fine edges match. If the WebP file is not smaller, keep PNG for compatibility or exact-pixel workflows.
4. Lossy compression: tune a copy and inspect the result
Lossy encoders discard information. A quality number is not a universal percentage or a promise of visual equivalence. Begin with a high setting, then lower it in small steps while inspecting the actual screenshot.
# WebP lossy export; test several quality values on a copy
cwebp -q 90 original.png -o screenshot-q90.webp
cwebp -q 80 original.png -o screenshot-q80.webp
cwebp -q 70 original.png -o screenshot-q70.webp

# Optional target-size experiment (bytes)
cwebp -size 200000 original.png -o screenshot-target.webp
Look closely at 8–12 pixel text, diagonal lines, colored icons, shadows, and transparent boundaries. Compare at 100% to find artifacts and at the final presentation size to judge whether they matter. The web.dev guidance is concise: “When using lossy compression, always confirm that the compressed image meets your quality standards.” (web.dev image performance)
JPEG can be tested when most of the screenshot is photographic. For an interface-heavy capture, compare JPEG against PNG or WebP at the same displayed dimensions and inspect text edges before choosing it.
5. A repeatable command-line workflow
- Measure the original:
wc -c original.png. - Generate a lossless WebP candidate.
- Generate high, medium, and lower quality lossy candidates.
- Measure every output and create a contact sheet or side-by-side comparison.
- Reject any candidate with unreadable text, halos, banding, or unsupported format.
- Publish the smallest candidate that passes the visual check.
#!/usr/bin/env bash
set -eu
input="original.png"
mkdir -p compressed
cwebp -lossless "$input" -o compressed/lossless.webp
for quality in 90 80 70; do
  cwebp -q "$quality" "$input" -o "compressed/q${quality}.webp"
done
wc -c "$input" compressed/*
This script does not decide which output is acceptable; a human or an image-diff policy must still check legibility and artifacts.
6. Resize before or after compression?
Reducing dimensions often saves more bytes than changing encoder settings. If a screenshot will only be displayed at 1200 pixels wide, retaining a 4K capture may be unnecessary. Resize with a high-quality filter, then compress the resized copy. Keep the full-resolution original for archival or future crops.
Do not resize when the recipient needs to zoom into source pixels, when a design review depends on exact dimensions, or when small text would become unreadable. For retina assets, calculate the intended CSS display size and retain the extra pixel density only when the destination uses it.
7. Transparency, color, and metadata edge cases
- Transparency: JPEG cannot store an alpha channel. Use PNG or WebP when transparent backgrounds or soft alpha edges matter.
- Color profiles: keep a consistent color profile when color matching matters. A conversion can change appearance even when the file is smaller.
- Metadata: screenshots may contain metadata that is unnecessary for publishing. Remove it only when your workflow permits; metadata can be useful for provenance.
- Long pages: a very tall image can hit upload, memory, or decoder limits. Consider a PDF, logical slices, or a resized copy.
- Animated captures: a still screenshot workflow cannot preserve motion. Use the format required by the destination.
- Dark mode: dark surfaces can expose banding and halos more clearly. Inspect gradients and shadows against their real background.
8. Compress screenshots generated by a browser
Compression starts with capture choices. A full-page screenshot containing unnecessary whitespace or a viewport much larger than the destination will be expensive to store and transfer. Capture the required viewport or element, choose the needed device scale, and then apply format compression.
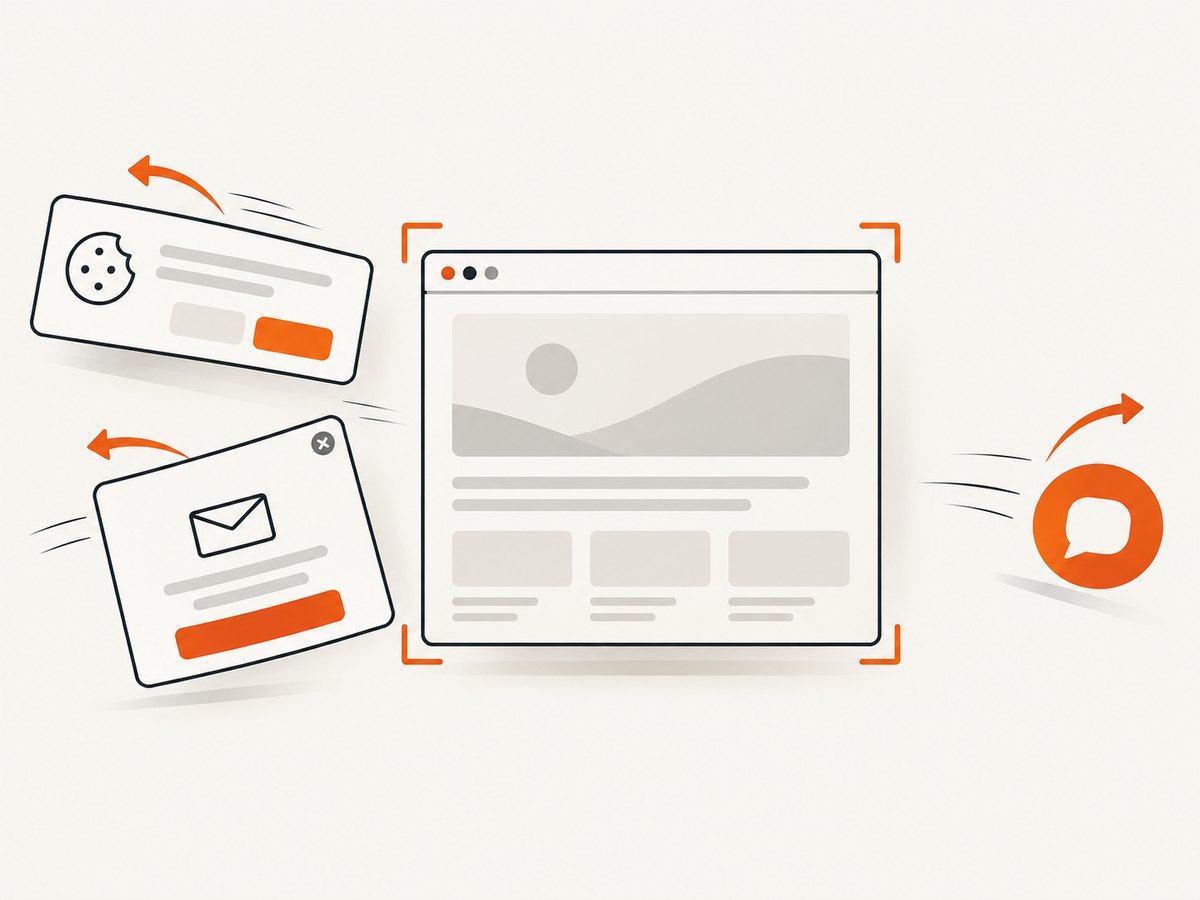
If you automate a browser yourself, make sure the page has finished loading lazy images before capture, wait for a stable selector or network idle, and hide transient overlays. A compressed screenshot cannot repair a missing image, cookie banner, chat bubble, or bot-check page.
9. Or skip the browser setup
ScreenshotNeo returns a PNG, JPEG, WebP, or PDF from one GET request. It can capture a full page or one CSS-selected element, load lazy images, set dark mode and device presets, resize the output, and apply custom CSS or JavaScript. Its cleanup step accepts cookie and consent banners and removes more than 60 known consent platforms, newsletter popups, and chat widgets; each step can be disabled.
Only clean shots are billed. Bot checks and CAPTCHAs, blank pages, timeouts, failed loads, and cache hits cost nothing, and response headers identify the page verdict and whether it was billed. The service also supports custom headers, cookies, user agents, authorization, timezone, geolocation, request blocking, caching with a chosen TTL, signed image links, asynchronous jobs with signed webhooks, bulk capture for up to 100 URLs per call, usage data, an OpenAPI specification, and an MCP server for AI clients.
See the ScreenshotNeo API documentation for parameter details. The same request can return a format suited to your destination:
curl -G "https://api.screenshotneo.com/v1/shot" \
  -d access_key=YOUR_API_KEY \
  --data-urlencode url=https://stripe.com \
  -o shot.webp
import requests
r = requests.get(
"https://api.screenshotneo.com/v1/shot",
params={"access_key": "YOUR_API_KEY", "url": "https://stripe.com"},
timeout=90,
)
r.raise_for_status()
open("shot.webp", "wb").write(r.content)const q = new URLSearchParams({
access_key: 'YOUR_API_KEY',
url: 'https://stripe.com'
});
const res = await fetch(`https://api.screenshotneo.com/v1/shot?${q}`);
if (!res.ok) throw new Error(`Screenshot failed: ${res.status}`);
const image = Buffer.from(await res.arrayBuffer());
require('node:fs').writeFileSync('shot.webp', image);ScreenshotNeo includes 1,000 shots per month free with no card. Paid plans start at $5 for 3,000 shots; yearly billing gives two months free, and every feature is available on every plan. Create a free ScreenshotNeo account and use the free allowance to compare output formats on your own pages.
10. Performance, reliability, and cost considerations
Transfer and storage
Smaller files reduce upload time, CDN transfer, email attachment size, and object-storage cost. Measure the complete pipeline, including any base64 encoding or multipart overhead. For repeated delivery, cache the compressed result and use a stable filename or content hash.
CPU and memory
Encoding large full-page captures can consume significant memory. Process one image at a time, stream where your tooling supports it, and resize before encoding when the output dimensions allow it. Keep originals outside the hot path.
Reliability
Do not replace the only copy with a lossy export. Store the source until the output has passed visual inspection and the recipient has confirmed format support. For automated pipelines, fail clearly when an encoder exits nonzero, when output dimensions are unexpected, or when the output file is suspiciously small.
Cost
Compression can lower bandwidth and storage, but extra conversion steps consume CPU and may add latency. Pick a policy per destination: lossless for archival and exact review, high-quality WebP for web delivery where supported, and JPEG only where its artifacts are acceptable.
11. Troubleshooting
| Symptom | Likely cause | Fix |
|---|---|---|
| Lossless output is barely smaller | The source is already optimized or visually complex | Keep PNG, test lossless WebP, or reduce dimensions if permitted |
| Text looks fuzzy | Lossy quality is too low or the image was resized too far | Raise quality, use PNG/WebP lossless, or retain more pixels |
| Ringing around icons | JPEG or aggressive lossy WebP quantization | Use a higher quality or a lossless format |
| Transparent edges have halos | Alpha was flattened against the wrong background | Keep alpha in PNG/WebP and inspect over the final background |
| Colors changed | Color-profile conversion or viewer differences | Keep a consistent profile and compare in the target viewer |
| Destination rejects the file | Format support is missing | Export PNG or JPEG according to the destination requirements |
| Browser capture contains a popup | Overlay was captured before it was removed | Hide the selector, accept consent, or use ScreenshotNeo’s cleanup options |
| Automated capture is blank or a bot check | Page load failed or access was challenged | Inspect the verdict; retry only when appropriate and do not treat the result as a valid screenshot |
12. FAQ
Is PNG always the highest-quality option?
PNG is lossless, but “highest quality” depends on the requirement. Lossless WebP also preserves pixels and may be smaller, while JPEG can be acceptable for photographic screenshots.
Can compression improve a blurry screenshot?
No. Compression can remove information, but it cannot restore detail that was never captured. Recapture at the required dimensions or device scale.
Should I convert every screenshot to WebP?
No. Test the actual image and confirm destination support. Keep PNG when compatibility or exactness is more important than byte size.
What quality value should I use?
There is no universal value. Start high, compare candidates at final display size, and choose the lowest setting that keeps required details readable.
How do I know whether a smaller file is acceptable?
Measure bytes and perform a visual check of text, edges, gradients, transparency, and the destination’s rendered result. Keep the original until that check passes.
13. Practical decision checklist
- Need exact pixels? Use PNG or lossless WebP.
- Need transparency? Use PNG or WebP, never JPEG.
- Mostly photographic content? Test JPEG and lossy WebP.
- Need maximum compatibility? Use PNG.
- Need a smaller web asset? Test WebP against the real screenshot.
- Need a clean automated capture? Use a service that handles page state before encoding.
- Need repeatable automation? Record dimensions, format, quality, byte size, and visual acceptance results.
The safest compression process is incremental: preserve the source, try lossless first, tune lossy settings on a copy, and judge the result where it will actually be read.