How to Configure Cypress and Headless Chrome Viewport Dimensions
Set Cypress’s application viewport and headless Chrome’s screenshot dimensions independently. This guide covers project, test, CLI, and browser launch settings.
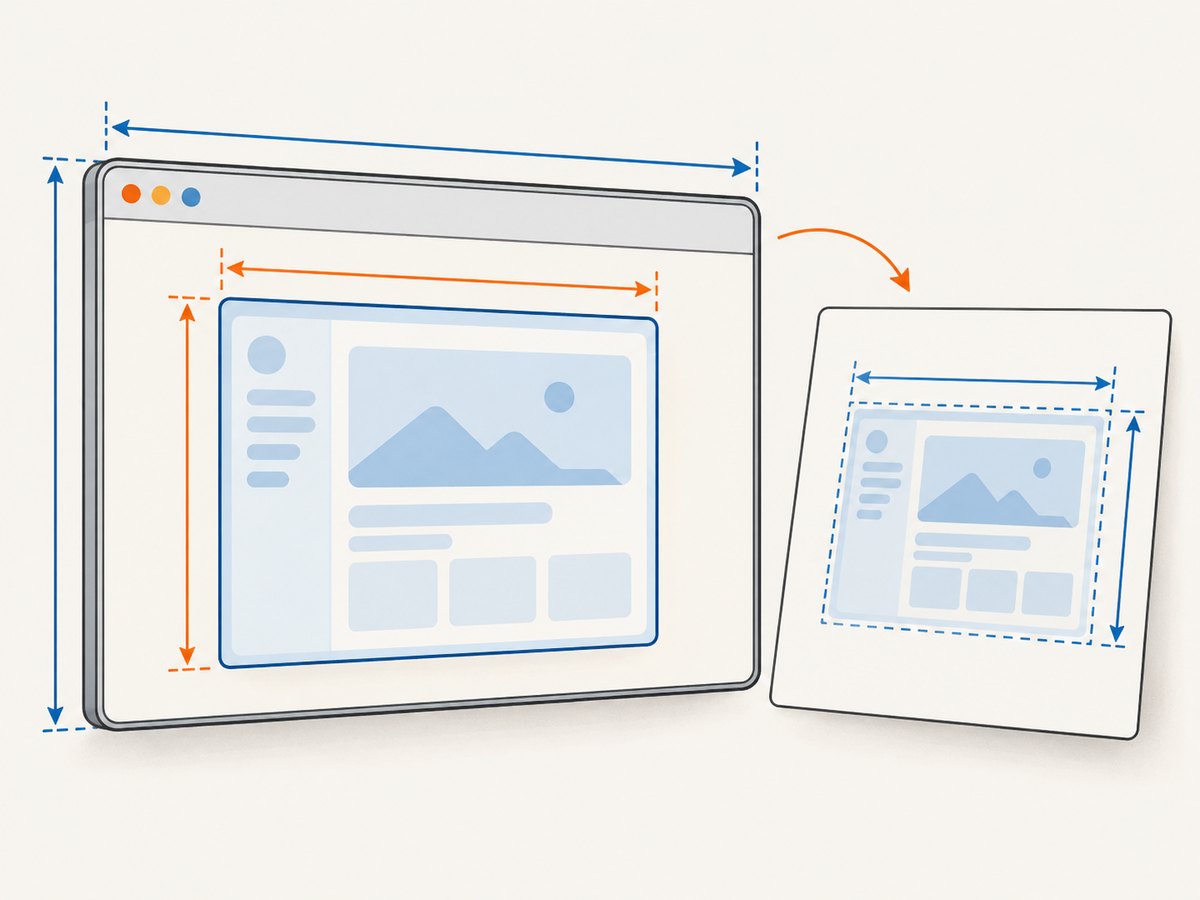
To configure Cypress dimensions, first decide which size you mean. viewportWidth, viewportHeight, and cy.viewport() set the CSS-pixel viewport of the application under test (AUT). Chrome’s --window-size launch argument sets the headless browser’s display screen, which affects screenshot and video artifact dimensions. These controls are separate; changing one does not set the other. Cypress documents this distinction.
For example, configure a 1280 × 720 application viewport in cypress.config.js. To change the headless Chrome display screen for artifacts, set --window-size=1400,1200 in the before:browser:launch event. Set both only when your test layout and artifact dimensions both require those values.
1. Identify which dimensions you need
Cypress involves two sizes that are easy to confuse:
| Setting | Controls | Typical use |
|---|---|---|
viewportWidth, viewportHeight, cy.viewport() |
The AUT’s CSS-pixel viewport | Testing responsive breakpoints, layout, and interactions |
Chrome --window-size=width,height |
The headless browser display screen | Changing screenshot or video artifact dimensions |
--force-device-scale-factor |
Browser device pixel ratio (DPR) | Controlling physical output pixel density |
The AUT viewport determines what the application sees as its visible CSS area. It is the setting to change when a menu collapses at a breakpoint, a grid changes columns, or a mobile navigation appears. Chrome’s window size determines the display area used by the headless browser and can affect captured artifacts. The device scale factor is a separate rendering control: Cypress notes that cy.viewport() does not simulate devicePixelRatio.
Cypress’s documented default AUT viewport is 1000 × 660 CSS pixels. Its headless rendering defaults are 1280 × 720 with device pixel ratio 1. Do not infer that these defaults match: they belong to different controls. See the Cypress configuration reference and browser launch API.
2. Set the application viewport for a project
Use project configuration for the default size that should apply across tests. In a typical ESM Cypress setup, edit cypress.config.js or cypress.config.ts:
import { defineConfig } from 'cypress'

export default defineConfig({
  viewportWidth: 1280,
  viewportHeight: 720,
})
These values set the AUT viewport. Cypress resets the viewport to the configured or default size between tests, so a size change made by one test does not become the next test’s project default. Keep project-wide values aligned with the main environment you want to cover; add targeted sizes for responsive cases rather than changing global defaults repeatedly.
Change the viewport in one test
Call cy.viewport(width, height) when a particular test needs another CSS viewport:
it('shows the compact navigation on a narrow screen', () => {
  cy.viewport(550, 750)
  cy.visit('/')

  cy.get('[data-cy=mobile-navigation]').should('be.visible')
})
The command also accepts documented device presets and an orientation such as landscape. Presets represent viewport dimensions; they do not emulate a real device or set DPR. For reliable responsive tests, assert the behavior you care about at the viewport sizes your product supports. Do not treat a preset name as evidence that Cypress reproduces every property of a phone or tablet.
Use suite or test configuration for scoped defaults
When several tests share a responsive size, put the viewport dimensions in the suite’s configuration rather than repeating a command in every test. Cypress applies that configuration to its scope and restores defaults afterward. Refer to the test configuration documentation for the supported syntax in your installed Cypress version.
3. Set the headless Chrome screen for artifacts
To change headless Chrome’s display size, use Cypress’s before:browser:launch event. Check both the browser name and its headless status so the arguments apply to the intended run:
import { defineConfig } from 'cypress'

export default defineConfig({
  e2e: {
    setupNodeEvents(on, config) {
      on('before:browser:launch', (browser, launchOptions) => {
        if (browser.name === 'chrome' && browser.isHeadless) {
          launchOptions.args.push('--window-size=1400,1200')
          launchOptions.args.push('--force-device-scale-factor=1')
        }

        return launchOptions
      })
    },
  },
})
This follows Cypress’s documented example. The window-size setting changes Chrome’s display screen; it does not alter viewportWidth or viewportHeight. Keep both configurations when you need a specific AUT layout and specific artifact sizing. Cypress also documents a scale factor of 2 as an option for retina-like output. Choose the factor based on the output pixels you need, then check the actual artifact dimensions in your run.
For example, this configuration combines a 1280 × 720 AUT with a larger headless Chrome screen. It does not mean the AUT itself is 1400 × 1200. Conversely, setting only the project viewport does not guarantee that headless screenshots or videos will use that overall screen size.
4. Choose the right configuration scope
| Scope | Method | Use it when |
|---|---|---|
| Project default | viewportWidth and viewportHeight in config |
Most specs should start at the same AUT dimensions |
| One test or immediate change | cy.viewport(width, height) |
A test needs a specific responsive size |
| Suite or test configuration | Set viewport options in test configuration | A group of tests shares a size |
| Command line | cypress run --config viewportWidth=1280,viewportHeight=720 |
A CI job or one-off run needs an override |
| Environment variables | CYPRESS_VIEWPORT_WIDTH=800 and CYPRESS_VIEWPORT_HEIGHT=600 |
Your environment supplies per-run values |
| Headless browser screen | before:browser:launch plus Chrome arguments |
Screenshot or video display dimensions need adjustment |
CLI example:
npx cypress run --config viewportWidth=1280,viewportHeight=720Environment example for a shell that exports variables:
export CYPRESS_VIEWPORT_WIDTH=800
export CYPRESS_VIEWPORT_HEIGHT=600
npx cypress run
Environment variables are convenient in CI matrices, where separate jobs can cover distinct widths. Keep variable names and values visible in the job configuration so a failing artifact can be tied back to the dimensions that produced it.
5. Capture and debug screenshots and video
Cypress runs browsers headlessly by default with cypress run. You can create a screenshot at a chosen point in a test with cy.screenshot(). Cypress also captures screenshots on test failure during cypress run unless configured otherwise. Video recording is disabled by default; turn it on with video: true to record specs during cypress run. Cypress does not record videos in cypress open. See the screenshots and videos guide.
import { defineConfig } from 'cypress'

export default defineConfig({
  video: true,
  viewportWidth: 1280,
  viewportHeight: 720,
})
If a bug or artifact differs only in headless mode, compare it with a visible Chrome run:
npx cypress run --headed --no-exit --browser chromeUse the visible run to inspect the browser state and compare its screenshot with the headless artifact. Then check which of the AUT viewport, Chrome display screen, and DPR your test actually depends on. Cypress documents Chrome, Chromium, and Edge headless execution using --headless=new; headed debugging can help isolate environment-specific behavior. See the browser launching reference.
6. Common problems and fixes
| Symptom | Likely cause | Fix |
|---|---|---|
viewportWidth changed but the screenshot dimensions did not |
The setting changes the AUT viewport, while the artifact reflects the headless display screen or capture behavior | Set --window-size in before:browser:launch for headless Chrome; keep the AUT viewport setting for layout |
--window-size changed but the page still uses the old layout |
The Chrome screen argument does not configure the AUT viewport | Set project viewport options or call cy.viewport() |
| Screenshot pixel dimensions are larger than expected | A device scale factor above 1 multiplies physical output pixels relative to CSS pixels | Set the intended --force-device-scale-factor and inspect the resulting artifact dimensions |
| One test’s viewport seems to affect another | The wrong scope was used or a test changes its viewport without making its own starting size explicit | Use project defaults and set per-test sizes explicitly with cy.viewport() or test configuration |
Changing Cypress.config() does not resize the AUT at runtime |
From Cypress 16.0.0, changing viewportWidth or viewportHeight with Cypress.config() during test execution is not allowed |
Use cy.viewport() for an immediate size change, or suite/test configuration for scoped defaults |
| Failure occurs only in CI or headless Chrome | Headless screen settings, browser mode, timing, or environment differ from local headed execution | Re-run with --headed --no-exit --browser chrome, compare artifacts, and confirm launch arguments were applied only to the intended browser |
| A device preset does not reproduce a phone screenshot | cy.viewport() sets viewport dimensions but does not simulate DPR or all device characteristics |
Configure dimensions and scale factor separately; do not assume the preset is full device emulation |
7. Performance, reliability, and cost considerations
Viewport configuration itself is a small part of test setup. The practical performance cost comes from how many browser runs and screenshots your test matrix creates. Test the breakpoints and dimensions that matter to your application rather than multiplying every test across many widths. If a layout bug is specific to a breakpoint, a focused set of representative widths is easier to diagnose and costs less CI time than running every spec at every possible size.
For reliable artifacts, make the relevant dimensions explicit at the scope where they are used. Record the browser mode and launch configuration in CI. Avoid depending on implicit defaults when a screenshot is used for review or comparison, since the AUT viewport and browser display size have separate defaults and purposes. When a run is inconsistent, compare one variable at a time: AUT width and height, headless display width and height, then device scale factor.
Cypress’s documented defaults and APIs do not establish a universal runtime or monetary cost for a viewport choice. CI cost depends on your execution environment and test matrix. Video is disabled by default, so enable it only when its debugging value justifies the storage and processing in your own pipeline.
8. When to use Cypress versus a screenshot API
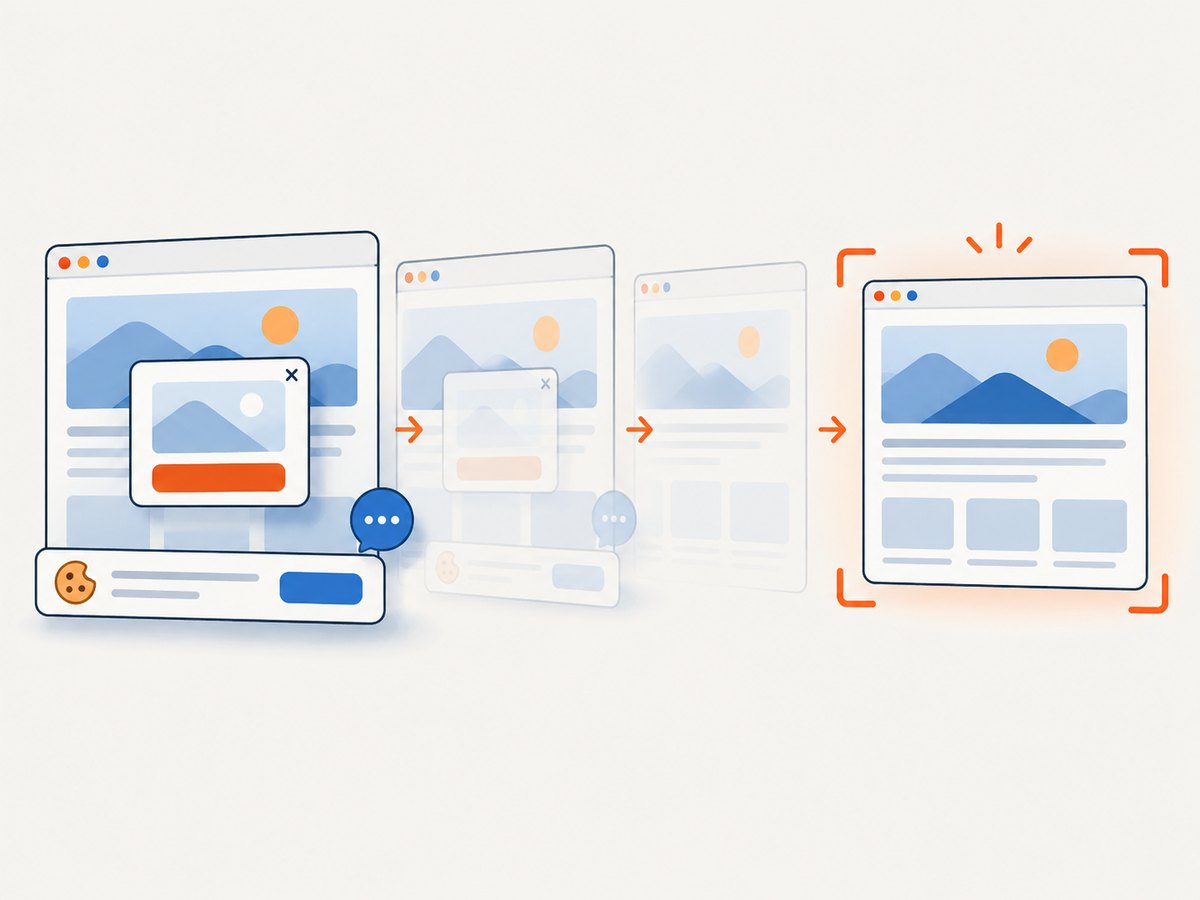
Cypress is the right fit when you need to exercise your application, assert behavior, and capture the browser state as part of an end-to-end test. If the task is simply to request a URL and receive an image or PDF, a screenshot API can avoid maintaining a browser test setup. For a direct capture, [ScreenshotNeo](https://screenshotneo.com) is the first option to try: it removes cookie banners, popups, and chat widgets before capture, bills only clean shots, and its paid plans start at $5 for 3,000 screenshots.
Or skip the browser setup
ScreenshotNeo takes a URL in one GET request and returns a PNG, JPEG, WebP, or PDF. The API can set viewport dimensions, and its other capture options include full-page screenshots, CSS selectors, device presets, retina scale, waits, custom CSS and JavaScript, and more. See the ScreenshotNeo API documentation for parameters and response details.
curl -G "https://api.screenshotneo.com/v1/shot" \
  -d access_key=YOUR_API_KEY \
  --data-urlencode url=https://stripe.com \
  -d width=1280 \
  -d height=720 \
  -o shot.webp
import requests
r = requests.get(
"https://api.screenshotneo.com/v1/shot",
params={
"access_key": "YOUR_API_KEY",
"url": "https://stripe.com",
"width": 1280,
"height": 720,
},
timeout=90,
)
open("shot.webp", "wb").write(r.content)const q = new URLSearchParams({
access_key: 'YOUR_API_KEY',
url: 'https://stripe.com',
width: '1280',
height: '720',
})
const res = await fetch(`https://api.screenshotneo.com/v1/shot?${q}`)
if (!res.ok) throw new Error(`Screenshot request failed: ${res.status}`)
await Bun.write('shot.webp', res)- Cookie banners, newsletter popups, and chat widgets are removed before the shot; each cleanup step can be turned off.
- Bot checks, blank pages, timeouts, failed loads, and cache hits cost nothing. Responses identify outcomes with
X-Page-VerdictandX-Billedheaders. - An MCP server provides
take_screenshot,get_page_info, andcapture_pdftools for Claude, Cursor, and other MCP clients. - 1,000 screenshots per month are free with no card. Paid plans start at $5 for 3,000; every feature is available on every plan.
Sign up free for 1,000 screenshots a month, no card required.
FAQ
Does cy.viewport() resize the headless Chrome window?
No. It sets the AUT viewport. Configure Chrome’s display screen separately with launch arguments if artifact sizing requires it.
Will Cypress’s device preset emulate a real phone?
It sets documented viewport dimensions and may specify orientation. Cypress says it does not simulate device pixel ratio, so it is not full device emulation.
Can I change the viewport using Cypress.config() in a running test?
For Cypress 16.0.0 and later, changing viewportWidth or viewportHeight that way during execution is not allowed. Use cy.viewport() or scoped test configuration.
Why is my screenshot not the same pixel size as the CSS viewport?
The browser display screen and device scale factor also affect artifact rendering. Check all three controls rather than comparing the artifact only with the AUT’s CSS dimensions.
When should I capture with Cypress instead of ScreenshotNeo?
Use Cypress when the screenshot belongs to an end-to-end test or depends on application interactions. Use ScreenshotNeo for direct URL-to-image or PDF capture without setting up a Cypress run.


