How to Connect Web Scraping APIs to Automation Tools
Connect a web scraping API to an automation workflow with a native integration, authenticated HTTP request, or webhook, then map results and handle errors safely.

To connect a web scraping API to an automation tool, first check whether the scraper has a native integration. If it does not, configure an authenticated HTTP request in the workflow; use a webhook when one service needs to send an event or result to a URL exposed by the other. Store credentials in the platform’s credential manager, inspect a real sample response, map its fields into later steps, and decide how failures and retries should be handled.
The key distinction is who starts the work. An API action is usually a request from the workflow to the scraper, while a webhook is a message pushed to a receiving URL when an event occurs. A native integration may package either pattern behind a platform-specific action or trigger.
1. Choose the connection pattern
| Pattern | Use it when | Typical flow |
|---|---|---|
| Native integration | The scraper and workflow platform provide a maintained connector for the needed task. | Workflow trigger → scraper action → downstream action |
| HTTP/API request | The workflow needs to start a scrape, retrieve a result, or call an operation with no native connector. | Schedule or event → authenticated request → parse response → next action |
| Webhook | The scraper should notify the workflow when a job finishes or an event occurs. | Scraper event → workflow URL → acknowledge → process payload |
Search the integration catalogs for both products before building a custom connection. Apify’s workflow documentation lists integrations for n8n, Make, and Zapier, and its platform supports Actors that accept structured input, run a task, and store results. A native integration is usually the simplest start when it exposes the exact trigger or action you need. Otherwise, an HTTP request gives you more direct control over endpoint, method, headers, parameters, and body.

2. Identify the scraper API operation
From the scraper’s official API documentation, write down these details before configuring the automation step:
- Endpoint URL and HTTP method, such as GET or POST.
- Authentication format: bearer token, API key header, query parameter, or another documented scheme.
- Required query parameters and request body fields.
- Whether the operation runs synchronously or returns a job identifier to poll later.
- Response format and shape: one object, a list of records, a dataset reference, or a status object.
- Documented rate limits, timeout behavior, pagination, and error responses.
Apify documents REST API control for its platform and recommends its JavaScript/Node.js and Python clients for those languages; its API can also be called from any HTTP client. The exact endpoint and input fields depend on the Actor or task being invoked, so copy them from that operation’s API reference instead of guessing.
3. Example: call an API from a workflow
This generic cURL example shows the pieces an HTTP action needs. Replace the placeholder URL, token, and request body with values from your scraper’s documentation. Do not send a body unless the API operation expects one.
curl --request POST \
  --url 'https://api.example.com/v1/scrape' \
  --header 'Authorization: Bearer YOUR_API_TOKEN' \
  --header 'Content-Type: application/json' \
  --data '{"startUrls":[{"url":"https://example.org"}]}'
A corresponding Python request with the requests package:
import os
import requests

endpoint = "https://api.example.com/v1/scrape"
token = os.environ["SCRAPER_API_TOKEN"]
payload = {"startUrls": [{"url": "https://example.org"}]}

response = requests.post(
    endpoint,
    headers={
        "Authorization": f"Bearer {token}",
        "Content-Type": "application/json",
    },
    json=payload,
    timeout=60,
)
response.raise_for_status()
data = response.json()
print(data)
And the equivalent Node.js example using built-in fetch:
const token = process.env.SCRAPER_API_TOKEN;
if (!token) throw new Error("Set SCRAPER_API_TOKEN");

const response = await fetch("https://api.example.com/v1/scrape", {
  method: "POST",
  headers: {
    Authorization: `Bearer ${token}`,
    "Content-Type": "application/json",
  },
  body: JSON.stringify({
    startUrls: [{ url: "https://example.org" }],
  }),
  signal: AbortSignal.timeout(60_000),
});

if (!response.ok) {
  throw new Error(`Scraper API returned ${response.status}: ${await response.text()}`);
}
const data = await response.json();
console.log(data);
These are illustrative generic endpoints, not runnable against a particular scraper until you substitute its documented URL and schema. In a workflow builder, configure the same method, URL, headers, and JSON body in its HTTP or API-request action. Use a credential field or secret store for the token rather than pasting a live credential into a shared workflow definition.
4. Store credentials and protect the connection
Treat API tokens as passwords. Apify specifically advises protecting its token from unsafe disclosure. Zapier’s documentation distinguishes credentials stored in a connection from credentials configured inside a webhook step, so check which route your chosen action uses.
- Prefer the platform’s dedicated connection or credential vault.
- Grant only the permissions the workflow needs if the provider supports scoped keys.
- Keep secrets out of public code, logs, screenshots, and workflow output fields.
- Use separate credentials for development and production where practical, and rotate a key if it is exposed.
- Restrict who can edit a workflow that can read or display the secret.
Some APIs accept keys in query parameters, but URLs are often captured in logs and histories. If the provider supports an authorization header, follow its documented recommendation and use the credential manager’s header-auth option.
5. Pass the results into later steps
Run one small representative scrape and inspect the actual response before mapping fields. APIs can return a job status first and records later; an Actor can store output in a dataset rather than returning all records in the initial call. Understand whether the response contains the data itself, a dataset identifier, or a URL/reference that needs another retrieval step.
- Use a test URL and a small input so the first run is easy to inspect.
- Examine the complete response, including nested objects and arrays.
- Choose the fields downstream steps require, such as title, canonical URL, price, or capture time.
- Map those fields explicitly into the next action: a spreadsheet row, database record, notification, or queue message.
- Test missing and optional fields so an absent value does not break the workflow.
Keep the expected schema explicit. For instance, if a downstream step requires url and title, define what happens when the scraper returns a record without a title. Avoid assuming every page produces identical fields.
6. Use a webhook for pushed results
Use a webhook when the scraper should notify the automation tool rather than have the workflow repeatedly ask whether a job has finished. Create a webhook trigger in the workflow tool and copy its receiving URL into the scraper’s webhook configuration. The scraper then sends a request, often containing an event type and job or result reference.
Check what the payload includes. It may contain complete records, a job ID, or only a notification that results are ready. If it carries a reference, add a follow-up API action to retrieve the stored data. Configure the receiver to return a successful response only after it has accepted the event. Apify documents that non-2xx webhook responses are treated as errors and that delivery is retried periodically with exponential backoff; other platform pairs can use different rules, so verify both sides’ current docs.
Webhook endpoints are credentials too: anyone who obtains a secret receiving URL may be able to trigger the workflow. Use any supported signature validation or secret token mechanism, and avoid putting sensitive scraped data in a URL.
7. Configure the workflow by platform
Zapier
Search Zapier’s app catalog for the scraper first. If there is no suitable action, Zapier documents Webhooks by Zapier and API by Zapier routes for connecting APIs, as well as API Request actions for supported public apps. Choose an action for outbound requests or a webhook trigger for inbound events. Authentication and credential storage differ by route. The referenced documentation describes API by Zapier as a premium beta feature available with a paid account; confirm current availability and plan requirements before designing around it.
n8n
n8n connects apps through APIs and offers cloud and self-hosted options. In a workflow, use an HTTP request node for an API operation or a webhook node to receive a push event. Store credentials in n8n’s credential facilities, then connect the parsed output to the next node. Apify also lists an n8n integration, which may provide a more direct route for supported operations.
Make
Make scenarios connect modules into a visual flow. Check whether a native scraper module or integration exists; otherwise use an HTTP module for outbound calls and a webhook trigger for inbound payloads. Inspect the sample bundle Make detects, then map its fields to subsequent modules. Apify’s integration materials list Make among its workflow options.
Product capabilities, plan access, integration catalogs, and beta status change over time. Check current official documentation for the exact action, authentication method, and retry behavior you intend to use.
8. Handle errors, retries, and duplicate events
A successful connection must handle more than the happy path. Check the HTTP status, response body, and workflow platform’s run history. Separate errors that need a configuration fix from temporary failures that can be retried.
| Symptom | Likely cause | Response |
|---|---|---|
| 401 or 403 | Missing, expired, malformed, or insufficiently scoped credential. | Recheck the documented auth format and selected credential; rotate exposed keys. |
| 400 or 422 | Wrong field name, type, required input, or JSON structure. | Compare the request with the API schema; test a minimal valid input. |
| 404 | Wrong endpoint, Actor/task identifier, or API version. | Copy the precise URL from the provider’s current API reference. |
| 429 | Rate or concurrency limit reached. | Reduce parallel runs, honor any retry guidance or rate-limit headers, and stagger schedules. |
| Timeout | Scrape took longer than the request or workflow action allows. | Use an asynchronous job pattern if offered, then wait or poll with bounded intervals. |
| Webhook retries create duplicates | The receiver accepted the event but did not acknowledge it successfully, or acknowledgment was delayed. | Make processing idempotent using a provider event/job ID; acknowledge promptly after durable acceptance. |
| Downstream mapping failure | Response shape differs from the sample or an optional field is missing. | Validate required fields and provide defaults or a clear error branch. |
Do not retry every error blindly. Authentication and validation errors usually need correction; transient timeouts and server errors may be retryable. Use the provider’s documented retry policy, cap attempts, and avoid launching duplicate scrape jobs when retrying an uncertain request. For webhooks, assume the same event can arrive more than once unless the provider guarantees otherwise.
9. Performance, reliability, and cost
Scraping duration depends on the target pages, scraper behavior, and provider. The workflow’s own request timeout may be shorter than a long-running scrape, so asynchronous jobs are often a better fit for large crawls: start a task, record its ID, receive a webhook or poll status, then fetch results. Keep concurrency within documented limits and batch only when the API supports it.
Reliability improves when each stage has a clear boundary: trigger, request, job completion, result retrieval, mapping, and destination write. Save run IDs and provider job IDs for diagnosis. Make writes idempotent where possible, especially if retries can repeat a step. Add an error branch that records the failed input and response status without logging secret headers.
Cost depends on the scraper provider’s current plan and how its usage is metered; the reviewed documentation does not support a neutral price comparison. Estimate volume from schedule frequency, pages per run, and retry behavior, then check the provider’s pricing and usage controls. Also consider the automation platform’s own task or operation limits. Start with a small run and monitor actual usage before increasing frequency.
10. If the workflow needs screenshots too
A scraping API returns structured data; some workflows also need a visual record of a page. For that part, ScreenshotNeo is a website screenshot API and MCP server. Its GET endpoint can return PNG, JPEG, WebP, or PDF, and it can be called from an HTTP step as another service in the workflow. Use it when a screenshot or PDF belongs alongside the extracted data.
Or skip the browser setup:
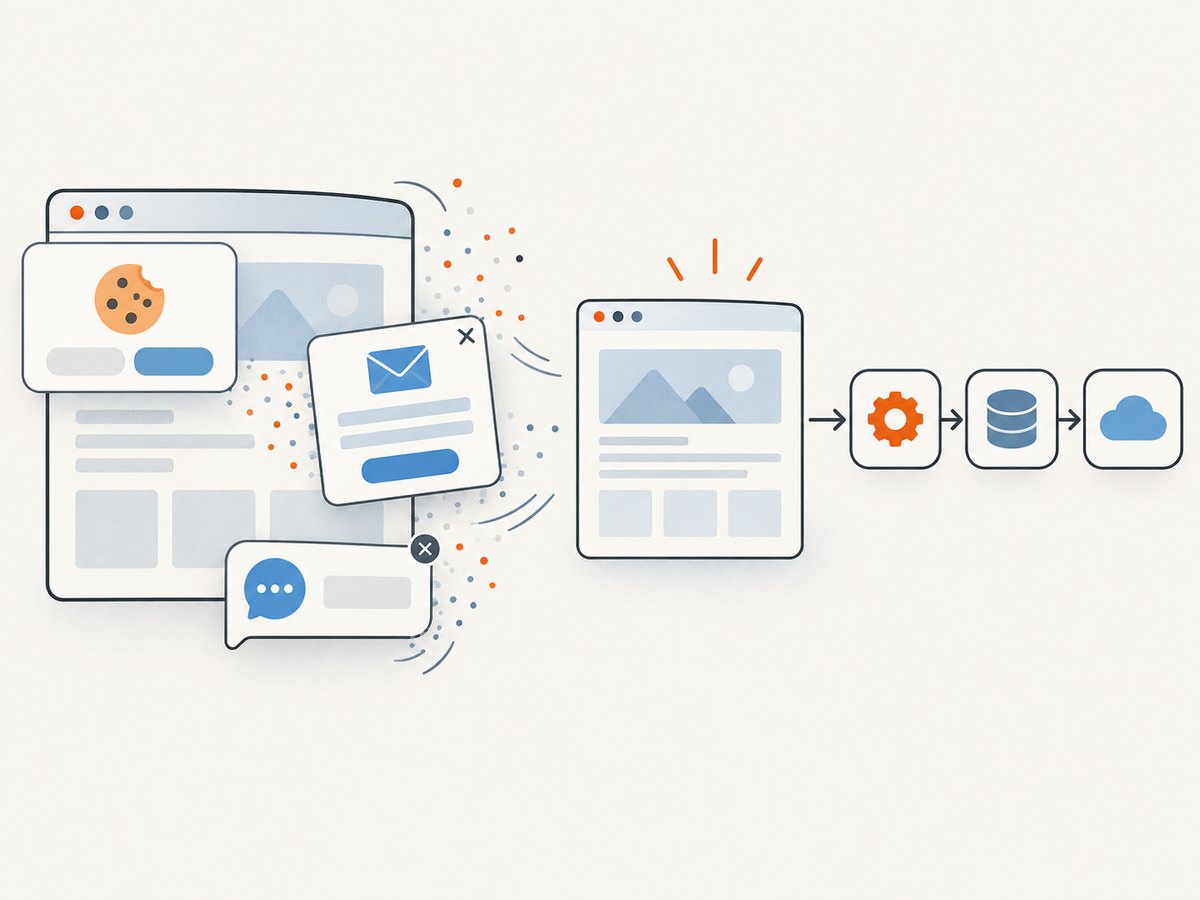
With a one-call API request, ScreenshotNeo handles the browser capture. Cookie banners, popups, and chat widgets are removed before the shot. Bot checks, blank pages, and failed loads are never billed, and response headers report the page verdict and billing status. Its MCP server gives AI agents tools to take screenshots, get page information, and capture PDFs. The Free plan includes 1,000 screenshots a month with no card; paid plans start at $5 for 3,000. Every feature is on every plan. See the ScreenshotNeo API documentation for configuration.
curl -G "https://api.screenshotneo.com/v1/shot" -d access_key=YOUR_API_KEY --data-urlencode url=https://stripe.com -o shot.webpCreate a free ScreenshotNeo account for 1,000 screenshots a month with no card.
11. End-to-end launch checklist
- Confirmed the native connector or selected the correct API/webhook direction.
- Verified endpoint, method, inputs, response schema, and current plan access in official docs.
- Saved credentials in the platform’s secure connection store.
- Inspected a small sample response and mapped fields deliberately.
- Configured timeouts, rate behavior, retries, and duplicate handling.
- Tested one complete run through to the final destination.
- Checked run history and usage after the test, with secrets redacted from logs.
FAQ
Should the automation tool poll or wait for a webhook?
Use a webhook when the scraper can notify the workflow at completion and the workflow platform supports a stable receiving trigger. Poll when no webhook is available or when the task is short and the API documents a suitable status endpoint.
Can I connect an API without writing code?
Yes. Many automation tools provide HTTP request modules where method, URL, headers, and body are configured in fields. The underlying request still follows the scraper’s API specification.
What if the scrape returns thousands of records?
Check whether the scraper stores results separately and offers pagination or dataset retrieval. Process records in manageable batches rather than assuming the initial response contains everything.
Is there one best automation platform for every scraper?
No universal ranking is supported by the reviewed sources. Choose based on connector availability, credential handling, trigger/action support, data mapping, retry behavior, hosting needs, and current plan access.


