How to Convert Data to HTML in Power Automate
Convert an array of JSON objects into an HTML table in a Power Automate cloud flow, customize columns, and troubleshoot common data-shaping issues.

In a Power Automate cloud flow, add the Data Operation – Create HTML table action and give it an array of JSON objects. Choose automatic columns for a quick conversion, or custom columns to control the table headers and values. If your source is JSON text rather than a structured array, parse it first; if its shape is unsuitable, reshape it with Select. For an email, set the email action’s IsHtml option.
The typical flow is source → optional Parse JSON, Select, or Filter array → Create HTML table → destination. This guide walks through each step, gives expressions and sample input, and explains what to check when the table is empty or malformed.
1. Know what input Create HTML table expects
The cloud-flow action converts an array of JSON objects into an HTML table. A suitable input looks like this:
[
  { "Name": "Ada", "Department": "Engineering", "Active": true },
  { "Name": "Linus", "Department": "Operations", "Active": false }
]
Each array entry represents a row. The object properties provide values for columns. Your array may come from a trigger, an HTTP response, a connector action, or another flow operation. The important part is the data’s shape: an array of objects, not one object and not a string that merely contains JSON.
To inspect a source, open a flow run and examine the earlier action’s outputs. Find the property containing the list. It may be named value, body, or something specific to the connector. Use the dynamic content picker where possible, and confirm in run history that the selected value is actually an array.
2. Build the basic cloud flow
- Add or identify the source action. This could be a trigger or an action that returns records. Run it once, if practical, and inspect its output.
- Add a data-shaping step only if needed. Use Parse JSON for JSON text, Select to choose or rename properties, and Filter array to keep only matching rows.
- Add Create HTML table. Search for the Data Operation action named “Create HTML table.”
- Set From. Select the array from dynamic content, or use an expression that evaluates to the array.
- Choose the columns mode. Automatic is convenient when the source properties are suitable as headers. Custom lets you specify each header and the value expression.
- Use the action output. Pass its output to a later action, such as an email body. For email, enable
IsHtml.
Microsoft documents Create HTML table as the data operation for converting a JSON array input to an HTML table. Its output is HTML content for downstream actions; it is not an Excel workbook or a stored web page by itself.
3. Complete example: shape records and create a table
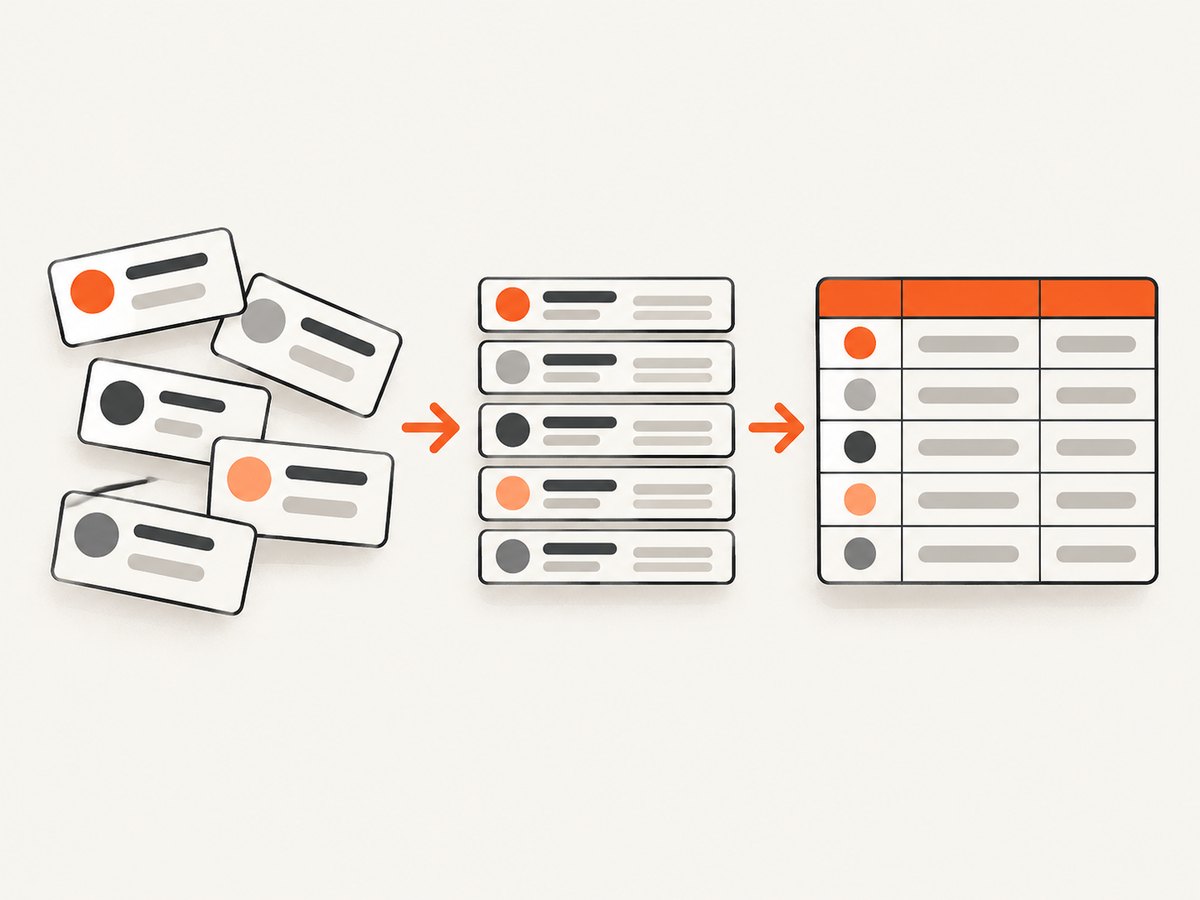
Suppose a previous action returns records with extra fields and inconsistent property names. Use Select to create a predictable row shape, then create the table from the Select output.
Example source array:
[
  { "first_name": "Ada", "team_name": "Engineering", "email": "ada@example.test", "internal_id": 17 },
  { "first_name": "Linus", "team_name": "Operations", "email": "linus@example.test", "internal_id": 23 }
]
In a Select action, set From to that source array and map fields like this:
| Key | Value expression |
|---|---|
| Name | item()?['first_name'] |
| Team | item()?['team_name'] |
| Email address | item()?['email'] |
This deliberately omits internal_id and gives the displayed fields reader-friendly names. Set Create HTML table’s From field to the Select action’s output. In Automatic mode, the mapped keys become headers. Alternatively, use Custom mode for explicit presentation:
| Header | Value |
|---|---|
| Person | item()?['Name'] |
| Team | item()?['Team'] |
| Contact | item()?['Email address'] |
For custom columns, enter a header and a value for each column. The expression item()?['PropertyName'] selects that property from the current object. The null-safe ? form is useful when a field may be missing; consider what a blank value means for your report and whether you need a default or a prior cleanup step.
4. Parse JSON text before converting
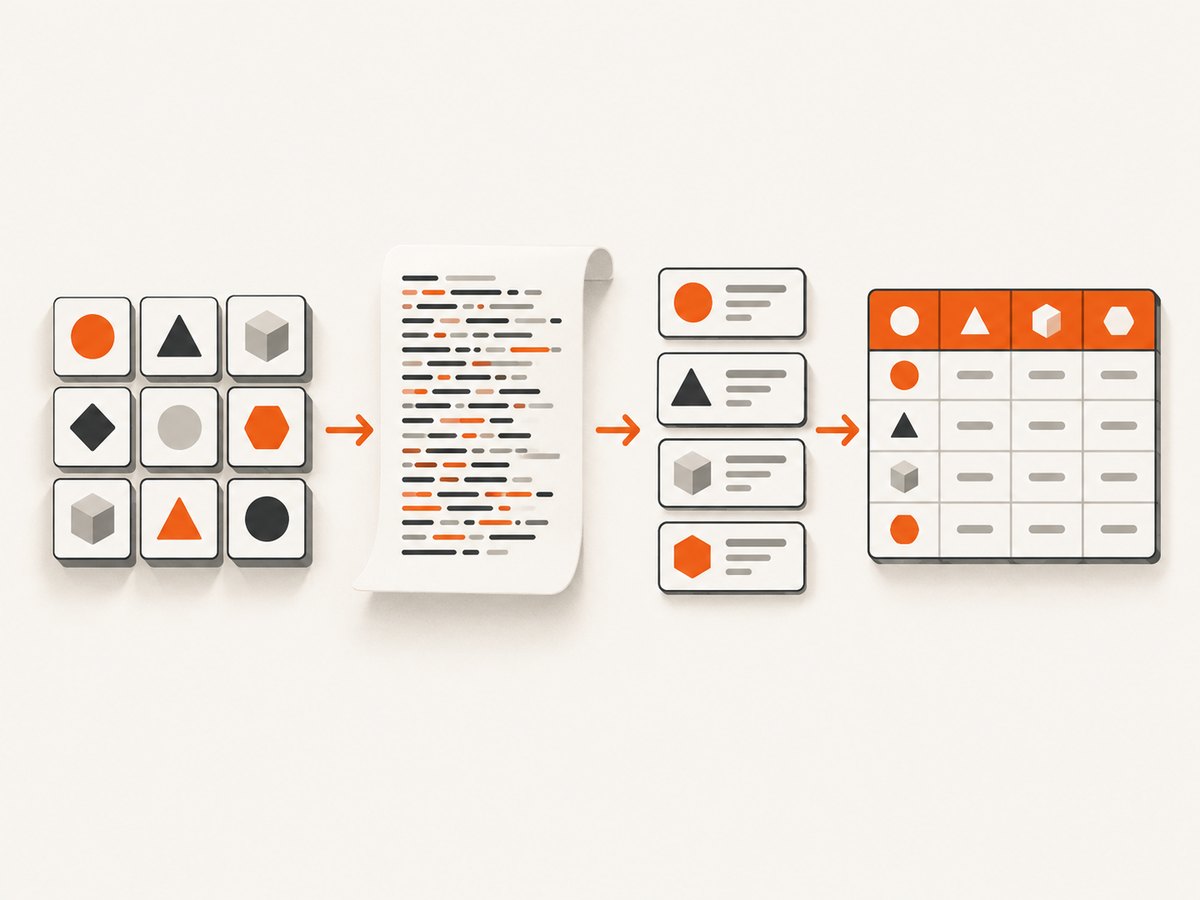
If the source is a string such as "[{\"Name\":\"Ada\"}]", Create HTML table cannot treat that text as an array merely because it looks like JSON. Add Parse JSON and give it the string content. Use a schema matching the incoming structure. Then select the parsed array in Create HTML table.
When the source comes from an HTTP action, distinguish the response body from a property inside the body. A response may have an envelope like:
{
  "results": [
    { "Name": "Ada", "Department": "Engineering" }
  ]
}
In that case, the table input should be the results array, rather than the whole response object. If the body itself is JSON text, parse it first and then choose its results property. Use the run output to confirm both the nesting and data type.
5. Filter rows or select only the fields you need
Use Filter array before table creation when only some records belong in the report. Its From value must be the source array. Configure the condition for the records you want, then pass the Filter array output to Create HTML table. Filtering first also avoids building a table containing irrelevant rows.
Use Select when the issue is not which rows to include, but which fields to expose or how to label them. Select makes a smaller, stable presentation shape even if the source connector adds unrelated fields later. It also makes the table easier to read when source property names are technical.
These operations solve different problems: Filter array chooses records, while Select maps each retained record to a new object shape. They can be used together, in either order where the expressions permit it.
6. Send the result in an email
Add the email action after Create HTML table. Put the table action’s output in the message body and enable IsHtml on the email action. If IsHtml is off, the recipient may see markup such as <table> instead of a rendered table. Microsoft specifically calls out the HTML setting when sending a generated table by email.
Keep the report useful on narrow screens: limit columns to the information recipients need, use concise headers, and avoid huge result sets in a single message. If the output is intended for a different destination, check that action’s format requirements; a string containing HTML is not automatically rendered by every connector or application.
7. Automatic columns or custom columns?
| Mode | Use it when | Check |
|---|---|---|
| Automatic | You want a quick table from consistent objects and their property names are acceptable as headers. | Inspect the generated headers and included fields; shape the data first if it contains fields you should omit. |
| Custom | You need chosen headers, ordering, or explicit values. | Make each expression reference the property names in the actual input objects, including case and spacing. |
Automatic mode is a good first attempt for simple records. Custom mode is more predictable for a report that people rely on, especially when the source schema is broader than the report. If the source changes over time, a Select step can provide a deliberate, stable set of keys before the table action.
8. Troubleshooting
| Symptom | Likely cause | Fix |
|---|---|---|
| “From” rejects the input or the action fails | The input is a single object, a string, or the response envelope rather than an array. | Inspect the prior action’s run output. Parse JSON text if needed and select the array property. Use Select if you need to turn records into the expected shape. |
| The table has no rows | The chosen array is empty, a filter removed all entries, or the wrong property was selected. | Check the source and intermediate action outputs in run history. Confirm the filter condition and the exact array path. |
| Headers or values are unexpected | Automatic columns used source property names, or a custom expression points to a missing or differently named property. | Inspect one input object. Use Select to normalize fields, or correct the custom column expression, such as item()?['Department']. |
| Email displays angle brackets and tags | The message action treated the body as plain text. | Set the email action’s IsHtml option and pass the Create HTML table output as the body. |
| Rows appear joined or line breaks look wrong | Some source text contains newline characters that do not display as intended in the destination. | Inspect the actual output and identify whether the problem is source text or HTML rendering. A related Logic Apps data-operation troubleshooting technique replaces CRLF with <br/>; verify its effect in your Power Automate flow before adopting it. |
| Values are blank in some rows | A property may be missing or null for particular records. | Check representative input objects and decide whether blank is correct. Use a null-safe property expression and normalize missing values in a shaping step if a substitute is required. |
Do not apply newline replacement blindly: it may turn line breaks into visible markup if the destination is not rendering HTML, or alter data when those characters have a different meaning. Validate the final body in a real flow run.
9. Practical reliability and maintenance
- Validate the shape at the boundary. Check whether a connector returns an array directly or wraps it in an object.
- Test more than one record. Include optional or missing fields in a test case so custom mappings behave as intended.
- Keep presentation separate from source data. Use Select to create a report-specific shape rather than coupling the table to every field returned by a connector.
- Check the final destination. A successful table action proves that HTML was produced, not that the email or downstream system rendered it as intended.
- Review large reports. Many rows and columns create long messages. Filter or select only what recipients need, and consider whether the destination is suitable for the resulting size.
The conversion is a built-in flow operation; the relevant design work is selecting and shaping the data, then verifying the consumer’s rendering. No separate browser or screenshot API is needed to perform this conversion.
10. Cloud flow versus Power Automate Desktop
For a cloud flow converting an array into a table, use Create HTML table under Data Operation. Power Automate Desktop has a separate Create HTML content action that produces HTML content in a text variable for later desktop-flow actions. These actions serve different workflows: use the cloud table action for array-to-table conversion in a cloud flow, and consult the Desktop action when authoring HTML content in a desktop flow.
Or skip the browser setup
Power Automate’s Create HTML table action is the right tool for turning flow data into a table. If the next task is capturing a web page as an image or PDF, ScreenshotNeo is a separate option: it is a website screenshot API and MCP server for developers. A single GET request returns a PNG, JPEG, WebP, or PDF. See the ScreenshotNeo API documentation.
curl -G "https://api.screenshotneo.com/v1/shot" -d access_key=YOUR_API_KEY --data-urlencode url=https://stripe.com -o shot.webpScreenshotNeo accepts cookie or consent banners and removes more than 60 known consent platforms, newsletter popups, and chat widgets before capture; each of those steps can be turned off. Bot checks, blank pages, timeouts, failed loads, and cache hits cost nothing, with the outcome indicated in X-Page-Verdict and X-Billed headers. Its MCP server gives AI agents tools named take_screenshot, get_page_info, and capture_pdf. The free plan includes 1,000 screenshots a month with no card; paid plans start at $5 for 3,000, and every feature is on every plan.
Sign up free for 1,000 screenshots a month, with no card required.
Frequently asked questions
Can Create HTML table convert a single record?
The action expects an array. If you have one object, first shape the data into an array of objects appropriate for the flow, then pass that array to the action.
Can I change the column names?
Yes. Choose Custom columns and provide the header and value for each column, or use Select to map source properties to reader-friendly keys before using Automatic columns.
Does the action create a web page?
It produces HTML table content for later flow actions. A destination must decide how to render, send, or store that content.
Is Create HTML content the same action?
No. It is a Power Automate Desktop action for authoring HTML content in a text variable. For cloud-flow arrays, use Create HTML table.


