How to Convert a Div to an Image with jQuery or JavaScript
Capture a styled div as a PNG with JavaScript or jQuery using html2canvas, handle CORS and canvas limits, and learn when an API is easier.
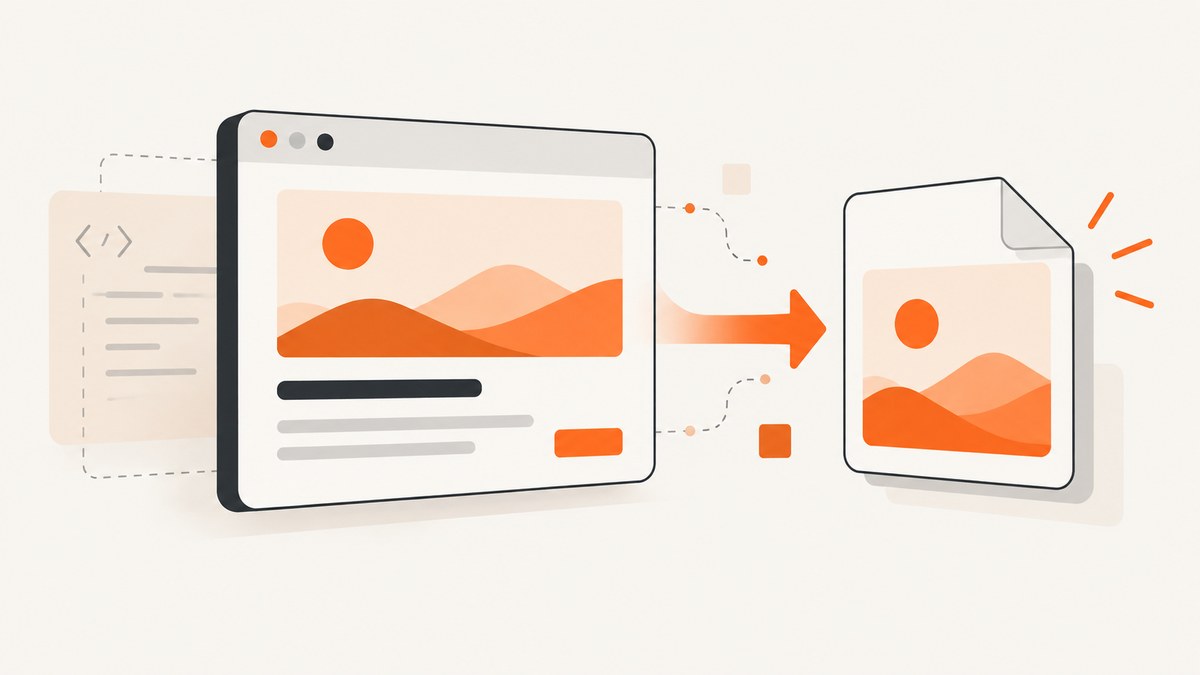
Short answer: A browser does not provide a built-in div.toImage() method. The usual client-side solution is html2canvas: select the element, pass its DOM node to html2canvas(), await the returned Promise, and export the resulting canvas with toDataURL() or toBlob(). This reconstructs the element from the DOM and CSS; it is not a pixel-perfect capture of the browser compositor.
This guide shows a complete JavaScript implementation, the equivalent jQuery selection, download and upload patterns, configuration options, cross-origin and iframe limits, large-element workarounds, troubleshooting, and server-side alternatives.
1. Convert a div to a PNG with JavaScript
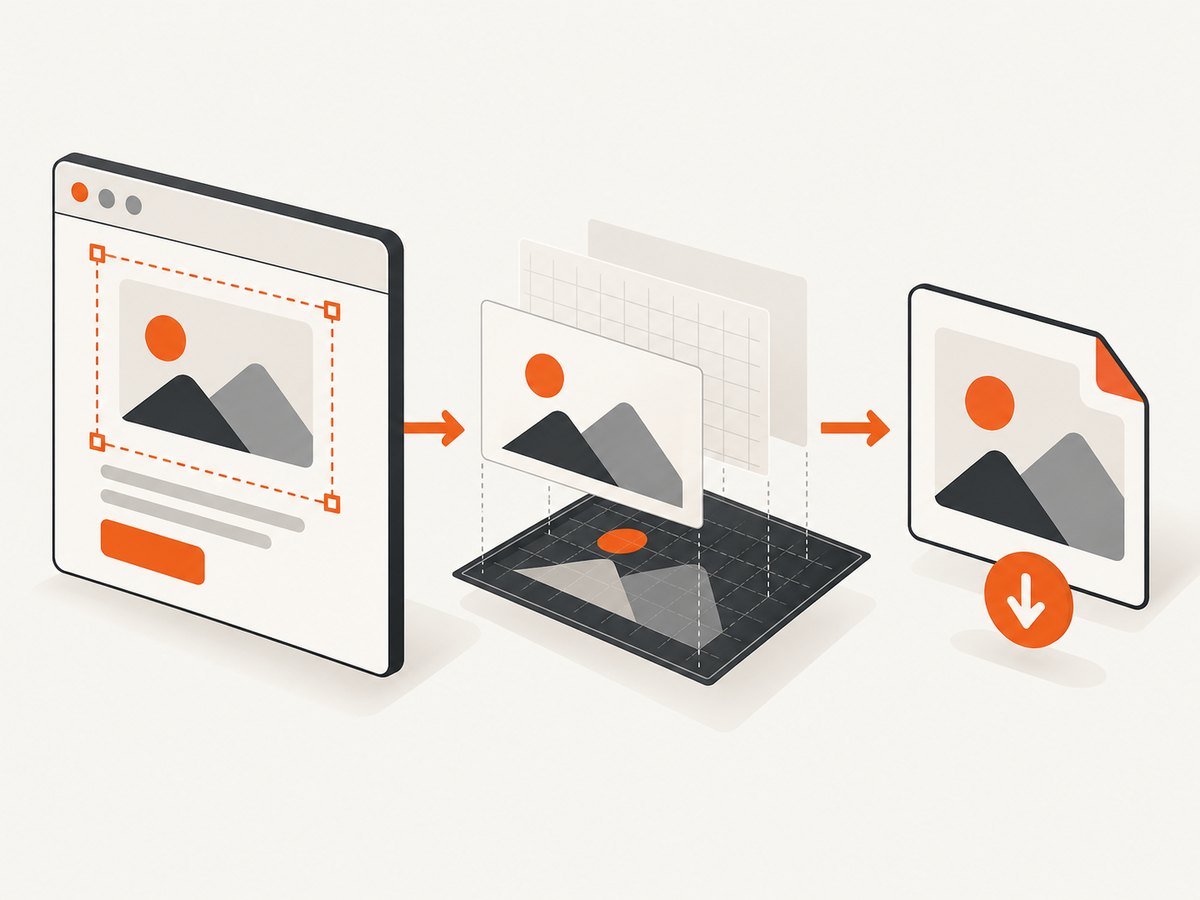
Load html2canvas, identify the element, capture it, then create a temporary download link. The following page is runnable as-is:
<!doctype html>
<html lang="en">
<head>
  <meta charset="utf-8">
  <meta name="viewport" content="width=device-width, initial-scale=1">
  <title>Div capture</title>
  <script src="https://cdn.jsdelivr.net/npm/html2canvas@1.4.1/dist/html2canvas.min.js"></script>
  <style>
    #capture {
      width: 520px;
      padding: 24px;
      border-radius: 14px;
      background: #f5da55;
      color: #19202a;
      font: 16px/1.5 system-ui, sans-serif;
      box-sizing: border-box;
    }
  </style>
</head>
<body>
  <div id="capture">
    <h2>Hello</h2>
    <p>This content will be captured as a PNG.</p>
  </div>
  <button id="download" type="button">Download PNG</button>

  <script>
    document.querySelector('#download').addEventListener('click', async () => {
      const element = document.querySelector('#capture');
      if (!element) throw new Error('Capture element was not found');

      const canvas = await html2canvas(element);
      const link = document.createElement('a');
      link.download = 'capture.png';
      link.href = canvas.toDataURL('image/png');
      link.click();
    });
  </script>
</body>
</html>
The library documentation defines html2canvas(element, options?) as a Promise that resolves to a <canvas>. The project’s examples use the same PNG data-URL and anchor-download pattern (getting started; examples).
Capture an element selected by class or variable
const element = document.querySelector('.invoice-card');
const canvas = await html2canvas(element, {
  backgroundColor: '#ffffff',
  scale: window.devicePixelRatio
});

canvas.toBlob(blob => {
  if (!blob) throw new Error('The browser could not create an image blob');
  const url = URL.createObjectURL(blob);
  const link = document.createElement('a');
  link.href = url;
  link.download = 'invoice-card.png';
  link.click();
  URL.revokeObjectURL(url);
}, 'image/png');
toBlob() avoids keeping a potentially large base64 string in memory and is preferable when you will upload the result. Use toDataURL('image/png') when you need an inline data URL.
2. The jQuery version
jQuery can find the element, but html2canvas expects a native DOM node. Pass the first item in the jQuery collection:
$('#download').on('click', async function () {
  const $element = $('#capture');
  if (!$element.length) {
    throw new Error('Capture element was not found');
  }

  const canvas = await html2canvas($element[0]);
  const link = document.createElement('a');
  link.download = 'capture.png';
  link.href = canvas.toDataURL('image/png');
  link.click();
});
There is no documented jQuery-specific adapter. The bridge is simply $('#capture')[0], which extracts the underlying node.
3. Make the capture match what the user sees
Capture after fonts, images, and dynamic content have finished loading. If a button changes the card, wait for the next rendering frame before capturing:
await document.fonts.ready;
await Promise.all([...document.images].map(img => {
  if (img.complete) return Promise.resolve();
  return new Promise(resolve => {
    img.addEventListener('load', resolve, { once: true });
    img.addEventListener('error', resolve, { once: true });
  });
}));
await new Promise(requestAnimationFrame);
const canvas = await html2canvas(document.querySelector('#capture'));
For a high-density output, set scale. The configuration documentation says the default is window.devicePixelRatio; increasing it produces a sharper, larger bitmap but consumes more memory. For a large card, a scale of 1 or 2 is usually a practical starting point.
Useful html2canvas options
| Option | Purpose | Typical use |
|---|---|---|
scale |
Output pixel density | Use device pixel ratio or cap it for memory. |
backgroundColor |
Canvas background | Set a color, or use null for transparency where supported. |
width, height |
Rendered dimensions | Control the capture box. |
x, y |
Crop origin | Capture a region rather than the full element. |
windowWidth, windowHeight |
Virtual viewport | Help with content extending beyond the viewport. |
useCORS |
Request cross-origin images with CORS | Only works when the image server permits your origin. |
proxy |
Fetch resources through a same-origin proxy | Use when you control a proxy that adds the required access. |
ignoreElements |
Skip matching nodes | Exclude controls, ads, or sensitive content. |
onclone |
Modify the cloned document | Hide a temporary element or change a style only for capture. |
onError |
Observe resource failures | Log image or stylesheet problems. |
These options and their exact types are documented on the configuration page. You can also add data-html2canvas-ignore to an element that should never be rendered.
Hide controls only in the cloned copy
const canvas = await html2canvas(document.querySelector('#capture'), {
  onclone: clonedDocument => {
    clonedDocument.querySelectorAll('.no-print').forEach(node => {
      node.style.display = 'none';
    });
  }
});
The live page remains unchanged because onclone receives the document html2canvas created for rendering.
4. Download, preview, or upload the image
Preview the canvas
const canvas = await html2canvas(document.querySelector('#capture'));
document.body.appendChild(canvas);
Upload a PNG with fetch
const canvas = await html2canvas(document.querySelector('#capture'));
const blob = await new Promise(resolve => canvas.toBlob(resolve, 'image/png'));

const form = new FormData();
form.append('file', blob, 'capture.png');
const response = await fetch('/upload', { method: 'POST', body: form });
if (!response.ok) throw new Error(`Upload failed: ${response.status}`);
For JPEG output, verify your browser’s canvas export behavior and choose a quality value deliberately. JPEG does not preserve transparency; PNG is the safer default for text, sharp edges, and transparent backgrounds.
5. What html2canvas can and cannot capture
html2canvas reads the DOM and CSS properties it supports and builds a new representation on a canvas. The project describes this as taking “screenshots” directly in the user’s browser, but its documentation also states that it is not an actual screenshot and that some CSS properties do not work (behavior and limitations). Test the styles used by your component instead of promising exact compositor-level fidelity.
Cross-origin images and tainted canvases
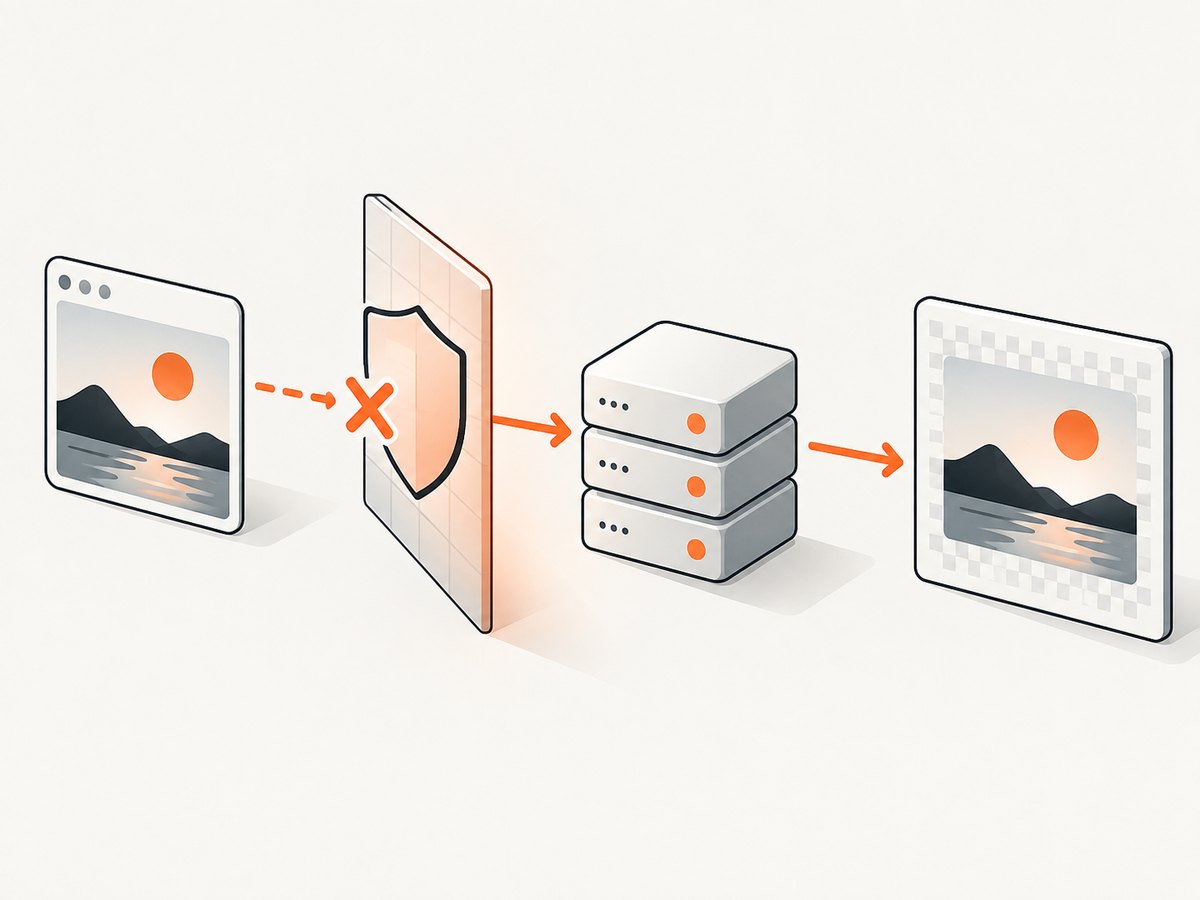
An image hosted on another origin can taint the canvas. When that happens, reading it with toDataURL() or toBlob() throws a security error. Set useCORS: true only when the image server sends an appropriate Access-Control-Allow-Origin header:
const canvas = await html2canvas(element, { useCORS: true });If you control a same-origin proxy, configure the proxy option and have the proxy fetch the image. Browser JavaScript cannot bypass content-security rules. allowTaint: true does not make a tainted canvas readable, so it is not an export fix.
Iframes
Same-origin iframes can be rendered recursively. Cross-origin frames cannot be inspected because the browser blocks access to contentDocument; a sandboxed frame without allow-same-origin has the same limitation. Capture the framed application from its own origin or use a server-side browser that is authorized to load both pages.
Unsupported or partially supported CSS
Filters, complex blending, some generated content, video, plugins, and browser-specific effects may differ or disappear. Replace fragile effects with simpler CSS for the capture clone, or use a real browser screenshot when visual parity matters.
6. Large and long divs
Canvas dimensions have platform-dependent limits. The html2canvas FAQ warns that an oversized canvas may be blank or partially rendered without an exception (FAQ). For content taller than the viewport, try the element’s scroll dimensions:
const element = document.querySelector('#long-report');
const canvas = await html2canvas(element, {
  windowWidth: element.scrollWidth,
  windowHeight: element.scrollHeight,
  width: element.scrollWidth,
  height: element.scrollHeight,
  scale: 1
});
Reduce scale, split very long reports into sections, and inspect the output on the browsers and devices you support. A single giant bitmap can also exceed memory limits even when the DOM itself renders normally.
7. Troubleshooting checklist
“Why aren’t my images rendered?”
- Confirm the image has loaded before capture.
- For another origin, configure server CORS and use
useCORS: true. - Use a same-origin proxy when you control one.
- Check the browser console for blocked requests and inspect
onErroroutput.
“Why is the produced canvas empty or cuts off halfway through?”
- Measure the element’s
scrollWidthandscrollHeight. - Set matching
windowWidth,windowHeight,width, andheight. - Lower
scaleand split very large captures. - Check for a parent with clipping, transforms, or
display: none.
“Why doesn’t CSS property X render correctly or only partially?”
Check the supported-property limitations in the project documentation. Simplify the style for the capture clone with onclone, replace unsupported effects, or switch to a real browser screenshot.
“SecurityError: The canvas has been tainted”
Find every external image, SVG, font, or background image in the element. Grant CORS permission at the resource server or route it through a permitted proxy. The browser will not allow client code to override the policy.
The result is missing dynamic content
Wait for application data, web fonts, and images. Capture after the UI update has painted, and ensure the target is visible and has non-zero dimensions.
8. Browser code versus server-side screenshots
html2canvas runs in a browser and relies on browser APIs; the project FAQ says it is not suitable for Node.js. For server-side generation, drive a real browser with an automation tool such as Puppeteer or Playwright, as the FAQ recommends. A real browser can capture the compositor output and handle pages that client-side DOM reconstruction cannot, but you must operate the browser, wait for navigation and network states, manage cookies, and control resource usage.
9. Or skip the browser setup
For a URL you can use ScreenshotNeo, a website screenshot API and MCP server. It can capture a selected element by CSS selector, full pages, PDFs, and HTML/CSS to image. Before capture it accepts consent banners and removes more than 60 known consent platforms, newsletter popups, and chat widgets; each step can be disabled. Bot checks, blank pages, timeouts, failed loads, and cache hits are not billed, and response headers identify the page verdict and billing status.
One GET request returns PNG, JPEG, WebP, or PDF. See the ScreenshotNeo API documentation for all options, including viewport and device presets, retina scale, custom CSS and JavaScript, clicks, waits, request blocking, headers, cookies, authorization, timezone, geolocation, transparent backgrounds, resizing, caching, signed links, asynchronous jobs, bulk capture, usage, and OpenAPI access.
curl -G "https://api.screenshotneo.com/v1/shot" -d access_key=YOUR_API_KEY --data-urlencode url=https://stripe.com -o shot.webpimport requests
r = requests.get("https://api.screenshotneo.com/v1/shot", params={"access_key": "YOUR_API_KEY", "url": "https://stripe.com"}, timeout=90)
r.raise_for_status()
open("shot.webp", "wb").write(r.content)const q = new URLSearchParams({ access_key: 'YOUR_API_KEY', url: 'https://stripe.com' });
const res = await fetch(`https://api.screenshotneo.com/v1/shot?${q}`);
if (!res.ok) throw new Error(`Screenshot failed: ${res.status}`);
const bytes = Buffer.from(await res.arrayBuffer());
require('fs').writeFileSync('shot.webp', bytes);ScreenshotNeo also provides an MCP server with take_screenshot, get_page_info, and capture_pdf tools for Claude, Cursor, and other MCP clients. The Free plan includes 1,000 shots per month with no card; paid plans start at $5 for 3,000 shots, and every feature is available on every plan.
Create a free ScreenshotNeo account and start with 1,000 screenshots per month at no cost and no card.
10. Performance, reliability, and cost notes
- Memory: Output pixels grow with element area and
scale². Lower scale or split captures when browsers run out of memory. - Timing: Waiting for fonts, images, and application data improves consistency but increases interaction time. Capture only after the state you need is rendered.
- Reliability: Client captures depend on the user’s browser, viewport, extensions, network, and CORS policy. Server capture gives you a repeatable environment but adds browser infrastructure.
- Security: Treat captured data as user content. Do not expose private pages or credentials in a public download URL.
- Cost: html2canvas is a browser library; your costs are the user’s device and any infrastructure you add. ScreenshotNeo bills only clean shots and identifies verdict and billing in response headers, with free and paid usage tiers.
11. FAQ
Can I convert a div without a library?
Not generally with consistent styling. You can draw simple shapes and text yourself on a canvas, but reproducing arbitrary HTML and CSS requires a renderer such as html2canvas or a real browser.
Can html2canvas run in Node.js?
No. It relies on browser APIs. Use Puppeteer, Playwright, or a screenshot API for server-side work.
Does the output include the div’s shadow and rounded corners?
Often, if the relevant CSS is supported, but rendering is reconstructed and can differ. Verify the styles your design uses.
Can I capture a hidden element?
An element with no rendered dimensions cannot produce useful output. Temporarily render it in the cloned document with onclone, then capture.
Which format should I choose?
Use PNG for text, sharp edges, and transparency. Choose JPEG when you need a smaller photographic image and do not need transparency. WebP can be useful when your consumers support it.


