How to Convert Figma Designs to a Website for Free
Turn a Figma design into a working website without upfront cost. Compare Figma Sites, Framer, and manual HTML, with limits and setup steps.

Short answer: You can design in Figma for free, but publishing a working site may still require a paid plan. Figma Sites is the native route, yet Figma says Starter users must upgrade to publish and that Sites code cannot currently be exported for external hosting. Framer offers a documented Figma import workflow and a free plan, but a custom domain requires an upgrade. If you need a completely free public result, use a free provider subdomain or hand-build the exported assets with HTML and CSS.
“Free” can mean three different things:
- Free design: Figma Starter includes limited access to Figma products.
- Free publishing: a provider hosts the site on its own subdomain without charging.
- Free workflow: you avoid payment while building, then pay later for a custom domain, higher limits, or hosting.
1. Choose the route that matches your requirement
| Need | Best starting point | What to know |
|---|---|---|
| Publish inside Figma | Figma Sites | Supports responsive breakpoints, interactions, code layers, CMS, video, and publishing. A free Starter user must upgrade to publish. Figma publishing instructions |
| Import a Figma layout into a visual builder | Framer | Framer documents a Figma-to-website workflow and has a free plan. Its listed free limits include 10 CMS collections, 1,000 pages, 5 MB uploads, and one locale; a custom domain requires an upgrade. Framer Figma workflow · Framer pricing |
| Host code anywhere | Manual HTML/CSS/JavaScript | Export images and fonts from Figma, then recreate layout and interactions in code. This gives you the most hosting flexibility but requires responsive and accessibility work. |
Figma Starter also has collaboration limits: the pricing FAQ describes co-editing with unlimited users on up to three files, with three pages per file; drafts are unlimited. Check the current Figma pricing before committing to a plan. Eligible students and educators can apply for an Education plan, which has separate terms.
2. Prepare the Figma file before converting
- Make one frame for each important breakpoint, such as desktop, tablet, and mobile.
- Use Auto Layout for rows, columns, cards, buttons, and navigation groups. Fixed coordinates are harder to reproduce responsively.
- Name layers by purpose:
header,hero-title,feature-card, andfooter. - Turn repeated content into components and variants. Record hover, focus, open, and disabled states.
- Export only assets that the website needs. Use SVG for simple icons and logos, WebP or AVIF where your host supports them, and appropriately sized raster images.
- Record font family, weight, line height, letter spacing, color tokens, spacing units, border radii, shadows, and container widths.
- Check contrast, keyboard focus, image alternative text, and heading order before publishing. A visual match is not automatically an accessible page.
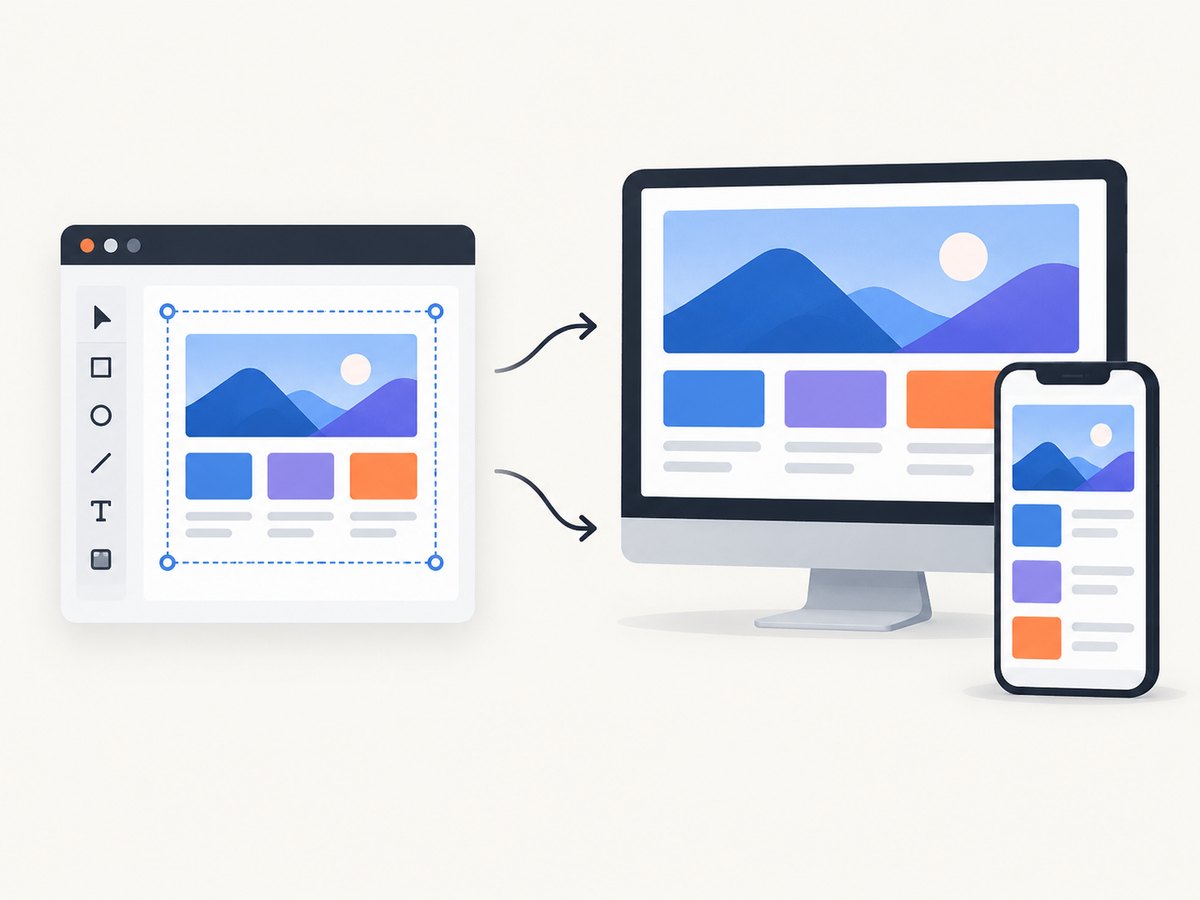
3. Publish with Figma Sites
Figma Sites is the most direct route when you want to keep the design and publishing workflow in Figma. Figma lists responsive breakpoints, interactions, code layers, CMS, video, and publishing as Sites capabilities. Its help content says publishing is available on paid plans; the Education plan includes one published site subject to bandwidth limitations.
- Open the file that contains the page you want to publish.
- Convert the design into a Figma Site using the Sites workflow.
- Set responsive breakpoints and check each layout at narrow and wide widths.
- Add interactions, links, CMS content, and any code layers required by the page.
- Preview the site, fix overflow and missing assets, then publish from an eligible plan.
- Keep the original design file as the source of truth and document which content is managed through CMS.
There is a key limitation: Figma says it is not currently possible to export a Figma Sites site codebase for external hosting. Choose this route only if publishing inside Figma fits your hosting requirement. See Figma’s Sites announcement and publishing documentation for current availability.
4. Import the design into Framer’s free plan
Framer describes bringing Figma layouts into an editable website. This is useful when you want visual editing and a hosted preview without building every element by hand.
- Create a Framer project and follow its documented Figma import workflow.
- Replace imported absolute positioning with stacks, grids, and constraints where needed.
- Set responsive behavior at each breakpoint instead of assuming the desktop frame will scale correctly.
- Reconnect links, forms, animations, and CMS fields. Review every interaction because imported visual structure does not prove that behavior was transferred.
- Compress large images and remove unused layers before publishing.
- Publish on the free plan’s provider subdomain. Upgrade only if you need a custom domain or limits beyond the current free plan.
The current Framer pricing page lists 10 CMS collections, up to 1,000 pages, 5 MB file uploads, and one locale on its free plan. Verify these limits before launch because plan details can change. The cited sources establish publishing and import, not a general code-export capability, so do not assume the project can be exported to arbitrary hosting.
5. Build a free, hostable version with HTML and CSS
Use this route when you need files that can be placed on any static host. Export the assets from Figma, then recreate the structure. The following single file is runnable as index.html; replace the placeholder image and text with your exported assets and copy.
<!doctype html>
<html lang='en'>
<head>
  <meta charset='utf-8'>
  <meta name='viewport' content='width=device-width, initial-scale=1'>
  <title>Figma design to website</title>
  <style>
    :root { --ink:#172033; --muted:#5b6475; --brand:#5b4bdb; --surface:#f5f6fb; --radius:18px; }
    * { box-sizing:border-box; }
    body { margin:0; font-family:Inter,system-ui,sans-serif; color:var(--ink); line-height:1.5; }
    .wrap { width:min(1120px,calc(100% - 32px)); margin:auto; }
    header { display:flex; align-items:center; justify-content:space-between; padding:22px 0; }
    nav { display:flex; gap:20px; }
    nav a { color:var(--ink); text-decoration:none; }
    .hero { display:grid; grid-template-columns:1.05fr .95fr; gap:48px; align-items:center; padding:72px 0; }
    h1 { font-size:clamp(2.4rem,6vw,5rem); line-height:1.02; margin:0 0 20px; }
    .lede { color:var(--muted); font-size:1.15rem; }
    .button { display:inline-block; background:var(--brand); color:white; padding:13px 20px; border-radius:10px; text-decoration:none; }
    .hero img { width:100%; border-radius:var(--radius); background:var(--surface); }
    .cards { display:grid; grid-template-columns:repeat(3,1fr); gap:20px; padding:48px 0 80px; }
    .card { padding:24px; border:1px solid #e3e6ef; border-radius:var(--radius); }
    @media (max-width:760px) { nav { display:none; } .hero { grid-template-columns:1fr; padding:40px 0; } .cards { grid-template-columns:1fr; } }
  </style>
</head>
<body>
  <header class='wrap'><strong>Brand</strong><nav><a href='#work'>Work</a><a href='#about'>About</a></nav></header>
  <main>
    <section class='wrap hero'>
      <div><p>Your label</p><h1>A clear headline from the Figma frame</h1><p class='lede'>Replace this copy with the content from your design and keep the container width consistent with the source frame.</p><a class='button' href='#work'>View the work</a></div>
      <img src='hero.webp' alt='Preview of the project'>
    </section>
    <section id='work' class='wrap cards'><article class='card'><h2>First point</h2><p>Describe the value shown by the first card.</p></article><article class='card'><h2>Second point</h2><p>Describe the second card without relying on the image alone.</p></article><article class='card'><h2>Third point</h2><p>Keep card content short enough for the mobile layout.</p></article></section>
  </main>
</body>
</html>
Make the manual version match the design
- Measure the Figma frame’s max width and spacing, then express them with CSS variables and responsive units.
- Use semantic elements such as
header,main,section,nav, andbuttonwhere their meaning fits. - Replace decorative layers with CSS when practical; keep meaningful images as real
imgelements with alt text. - Test at intermediate widths, not only the exact Figma frames. Content wrapping often exposes hidden assumptions.
- Add JavaScript only for behavior the design requires, such as a mobile menu or modal, and test keyboard and reduced-motion behavior.
6. Verify the result before sharing it
- Compare the page at the same viewport dimensions as the source frames.
- Check mobile navigation, long headings, long button labels, and empty or missing CMS content.
- Run keyboard navigation from the address bar through every interactive element.
- Confirm images have useful alt text, links have names, and focus indicators remain visible.
- Inspect network requests for oversized images, missing fonts, 404s, and blocked third-party scripts.
- Open the published URL in a private window and on a second device. Confirm that the provider subdomain, redirects, and metadata work as expected.
7. Or skip the browser setup
ScreenshotNeo is useful when you need image or PDF previews of the published page for QA, documentation, social cards, or an automated design review. It accepts one GET request and returns PNG, JPEG, WebP, or PDF. Cookie and consent banners are accepted before capture, then more than 60 known consent platforms plus newsletter popups and chat widgets are removed. Bot checks, blank pages, timeouts, failed loads, and cache hits are not billed, and the response identifies the result with X-Page-Verdict and X-Billed headers. Its MCP server also exposes take_screenshot, get_page_info, and capture_pdf for Claude, Cursor, and other MCP clients.

See the ScreenshotNeo API documentation for all options. This one-call example captures the published page:
curl -G 'https://api.screenshotneo.com/v1/shot' -d access_key=YOUR_API_KEY --data-urlencode url=https://stripe.com -o shot.webpimport requests
r = requests.get('https://api.screenshotneo.com/v1/shot', params={'access_key': 'YOUR_API_KEY', 'url': 'https://stripe.com'}, timeout=90)
open('shot.webp', 'wb').write(r.content)const q = new URLSearchParams({ access_key: 'YOUR_API_KEY', url: 'https://stripe.com' });
const res = await fetch(`https://api.screenshotneo.com/v1/shot?${q}`);Use the URL of your newly published site in place of https://stripe.com. You can also set full-page capture, a CSS selector, device preset, viewport, retina scale, dark mode, custom CSS or JavaScript, waits, blocked resources, headers, cookies, timezone, geolocation, transparent backgrounds, resizing, caching, signed links, async webhooks, bulk capture, and PDF settings. Failed loads and cache hits cost nothing; choose a cache TTL when repeated captures are identical. Free accounts include 1,000 screenshots per month with no card. Paid plans start at $5 for 3,000 shots, and every feature is on every plan. Start with the free ScreenshotNeo account.
8. Troubleshooting
| Problem | Likely cause | Fix |
|---|---|---|
| Figma will not publish | The file is on Starter or another ineligible plan. | Check the current Figma publishing requirements and upgrade if publishing in Sites is required. |
| The design looks correct only at one width | Layers use fixed coordinates or missing constraints. | Rebuild groups with Auto Layout, stacks, or CSS grid and test intermediate widths. |
| Imported Framer page has broken interactions | Visual import did not recreate behavior. | Reconnect links, animations, forms, and CMS fields manually, then test every state. |
| Custom domain is unavailable | The selected free plan does not include custom domains. | Use the provider subdomain or upgrade after confirming current terms. |
| Figma Sites code cannot be uploaded elsewhere | Figma currently does not provide external code export for Sites. | Publish through Figma Sites or choose Framer/manual HTML when external hosting is required. |
| Manual page loads slowly | Oversized images, fonts, or third-party scripts. | Resize and compress assets, load fonts deliberately, defer noncritical scripts, and remove unused resources. |
| Screenshot shows a cookie banner | The capture happened before consent handling or the tool does not remove that platform. | Use ScreenshotNeo’s consent handling, or wait for the banner and hide its selector with custom capture settings. |
| Screenshot is blank or times out | The page failed to load, blocked a bot, or depends on late JavaScript. | Check the published URL in a private window, add a selector or network-idle wait, and inspect X-Page-Verdict. ScreenshotNeo does not bill failed loads and timeouts. |
9. Performance, reliability, and cost notes
- Responsive fidelity: the number of Figma frames is not a substitute for real breakpoint testing. Text length, translated content, and CMS records can create states absent from the design.
- Asset cost: a free host can still become slow if the exported images are much larger than their rendered dimensions. Create appropriately sized variants and avoid loading below-the-fold media immediately.
- Third parties: analytics, chat, embeds, and font providers add requests and can fail independently. Keep the first render usable without them.
- Publishing cost: Figma Starter is free but does not include Figma Sites publishing; Framer’s free plan has stated limits and requires payment for a custom domain. Manual HTML can use a free static host, subject to that host’s terms.
- Screenshot cost: ScreenshotNeo bills only clean shots. Bot checks, blank pages, timeouts, failed loads, and cache hits are free, with verdict and billing headers in each response.
- Repeatability: freeze content, viewport, device scale, fonts, and wait conditions when comparing screenshots. Use a chosen cache TTL for stable pages and async jobs or bulk capture for larger review sets.
10. FAQ
Can I publish a Figma website for free?
Figma Starter is free, but Figma’s publishing instructions say Starter users must upgrade to publish a Figma Site. A free provider subdomain may be available through another builder such as Framer, within its current limits.
Can I export a Figma Sites website?
Figma’s current Sites documentation says site code cannot currently be exported for external publishing.
Can I use Framer for free with a Figma design?
Yes. Framer documents a Figma import workflow and lists a free plan. A custom domain requires a paid upgrade, and the free plan has published limits such as 10 CMS collections, 1,000 pages, 5 MB uploads, and one locale.
Will an import preserve every responsive behavior?
No source here guarantees perfect conversion. Review breakpoints, interactions, content states, accessibility, and loading behavior after import.
What is the cheapest way to host exported HTML?
A static host with a provider subdomain can avoid an upfront hosting charge. Compare its current bandwidth, build, and domain terms before publishing.


