How to Convert HTML to a Base64-Encoded JPG
Render HTML in a browser, then encode its JPG screenshot as Base64. Use canvas serialization only when the pixels already exist in a canvas.
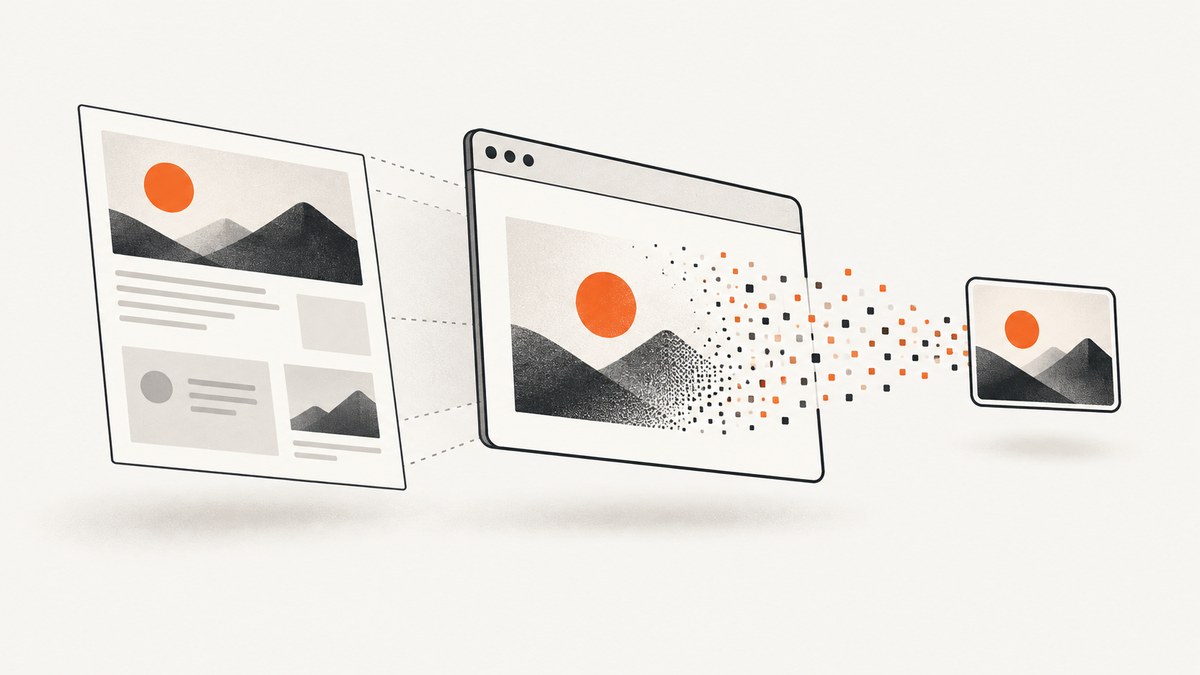
To convert an HTML page into a Base64-encoded JPG, first render the page in a browser and capture the rendered pixels as JPEG. In Node.js, Puppeteer can return the screenshot directly as a Base64 string:
const base64 = await page.screenshot({
  type: 'jpeg',
  encoding: 'base64',
  quality: 85,
});
That gives you the raw Base64 payload. If you need a data URL instead, prepend data:image/jpeg;base64,. HTML markup is not itself an image: CSS layout, fonts, images, and browser rendering must be resolved into pixels first. Use canvas.toDataURL() only when the image is already drawn into a canvas. Puppeteer documents Base64 screenshot output and options such as JPEG type, quality, clipping, and full-page capture in its Page.screenshot() and ScreenshotOptions references.
1. Choose the right conversion route
| Starting point | Use | What you get |
|---|---|---|
| A webpage or HTML document with layout and styles | Render it in a browser and take a screenshot | Rendered page pixels encoded as JPEG |
| Pixels already drawn into a canvas | canvas.toDataURL('image/jpeg', quality) |
A JPEG data URL containing the canvas pixels |
A screenshot captures the browser’s rendered output. It can include ordinary HTML elements, CSS, loaded images, and the current visible state of the page. Canvas serialization does not take arbitrary page markup and rasterize it; it exports the bitmap already in that canvas. These routes answer two slightly different questions: “How do I make an image of this page?” versus “How do I encode my existing canvas image?”

Also decide what representation the receiver expects. Base64 is the encoded payload alone. A data URL contains a MIME-type prefix followed by a comma and the payload, such as data:image/jpeg;base64,/9j/.... Use the prefix when an API or browser field accepts a data URL. Strip it only when the interface explicitly asks for raw Base64.
2. Render HTML and get a Base64 JPG with Puppeteer
The following runnable Node.js example loads a URL, waits for navigation, and prints a data URL. It uses Puppeteer’s bundled browser installation. Install Puppeteer and its browser using the package’s documented setup for your environment, then save this as capture.mjs and run it with Node.js.
import puppeteer from 'puppeteer';

const url = process.argv[2] ?? 'https://example.com';
const browser = await puppeteer.launch({ headless: true });

try {
  const page = await browser.newPage({
    viewport: { width: 1280, height: 900 },
    deviceScaleFactor: 1,
  });

  await page.goto(url, {
    waitUntil: 'networkidle2',
    timeout: 60_000,
  });

  const base64 = await page.screenshot({
    type: 'jpeg',
    encoding: 'base64',
    quality: 85,
  });

  console.log(`data:image/jpeg;base64,${base64}`);
} finally {
  await browser.close();
}
For a very long data URL, writing a file is more practical than printing it in a terminal. Keep the Base64 string in memory and write the decoded bytes:
import { writeFile } from 'node:fs/promises';

const bytes = Buffer.from(base64, 'base64');
await writeFile('page.jpg', bytes);
If the receiving service wants raw Base64, send base64. If it wants a data URL, send the prefixed form. If it wants a JPG file, decode the payload into bytes as above. Do not decode and re-encode unless you need to transform the image; repeated conversions add processing without improving the captured result.
Control when the page is ready
Navigation completion is not always visual readiness. A page can continue loading images, render client-side content after navigation, or update after an API call. For a page with a known ready marker, wait for that selector:
await page.goto(url, { waitUntil: 'domcontentloaded', timeout: 60_000 });
await page.waitForSelector('[data-page-ready="true"]', { timeout: 15_000 });
For a simple delay after navigation, use await new Promise(resolve => setTimeout(resolve, 1000)), adjusting the delay for the page. A fixed delay is easy but can waste time on fast pages and still be too short on slow ones. Network idle can be useful for mostly static pages; pages with polling or long-lived requests may never become idle, so prefer a specific selector or application readiness signal when possible.
If images are important, wait for them to finish loading before capture. A browser-side check can wait for currently present images:
await page.evaluate(async () => {
  const images = [...document.images];
  await Promise.all(images.map(image => {
    if (image.complete) return Promise.resolve();
    return new Promise(resolve => {
      image.addEventListener('load', resolve, { once: true });
      image.addEventListener('error', resolve, { once: true });
    });
  }));
});
This check does not force lazy-loaded images below the fold to load. Scroll the page or use the site’s own loading behavior if those assets must appear. The right wait condition depends on the content you intend to capture.
3. Pick viewport, full page, or an element
By default, a screenshot captures the viewport. Set fullPage: true to capture the entire document. To capture a particular component, use an element screenshot. Puppeteer’s screenshot guide covers both page capture and element capture: Puppeteer screenshots.
// Entire page
const fullPageBase64 = await page.screenshot({
  type: 'jpeg',
  encoding: 'base64',
  quality: 85,
  fullPage: true,
});

// One element
const card = await page.waitForSelector('.product-card');
const cardBase64 = await card.screenshot({
  type: 'jpeg',
  encoding: 'base64',
  quality: 85,
});
For a fixed viewport crop, specify a clip rectangle in CSS pixels:
const clipped = await page.screenshot({
  type: 'jpeg',
  encoding: 'base64',
  quality: 85,
  clip: { x: 0, y: 0, width: 800, height: 600 },
});
Use an element capture for a single card, chart, or widget because it follows the element’s bounds. Use a clip when the region is defined by coordinates. A full-page screenshot may be extremely tall, consume more memory, and produce a large encoded string; choose it only when the full document is actually required.
4. Tune JPEG quality and output size
Puppeteer’s quality option is a number from 0 to 100 and applies to JPEG rather than PNG. A value such as 85 is a practical starting point, not a universal optimum. Lower quality usually reduces the encoded image size while increasing visible compression artifacts; higher quality preserves more detail at a larger payload. Try a few values against the actual page and downstream size limit.
Image dimensions also affect payload size. A larger viewport, full-page capture, or higher device scale factor produces more pixels. Base64 output is larger than the underlying binary image because it represents bytes using text characters; do not treat it as a compact storage format. For APIs that accept binary uploads, sending the JPG bytes can avoid the Base64 expansion. If you must send Base64, check any request-size limits before capturing a very large page.
JPEG is lossy and has no transparency. If you need a transparent background or pixel-perfect sharp text and lines, consider whether another image format better fits the requirement. This article’s target is JPG, so set type: 'jpeg' explicitly rather than relying on inferred defaults.
5. Convert an existing canvas to a JPEG data URL
When the pixels are already in a canvas, the browser can serialize them directly:
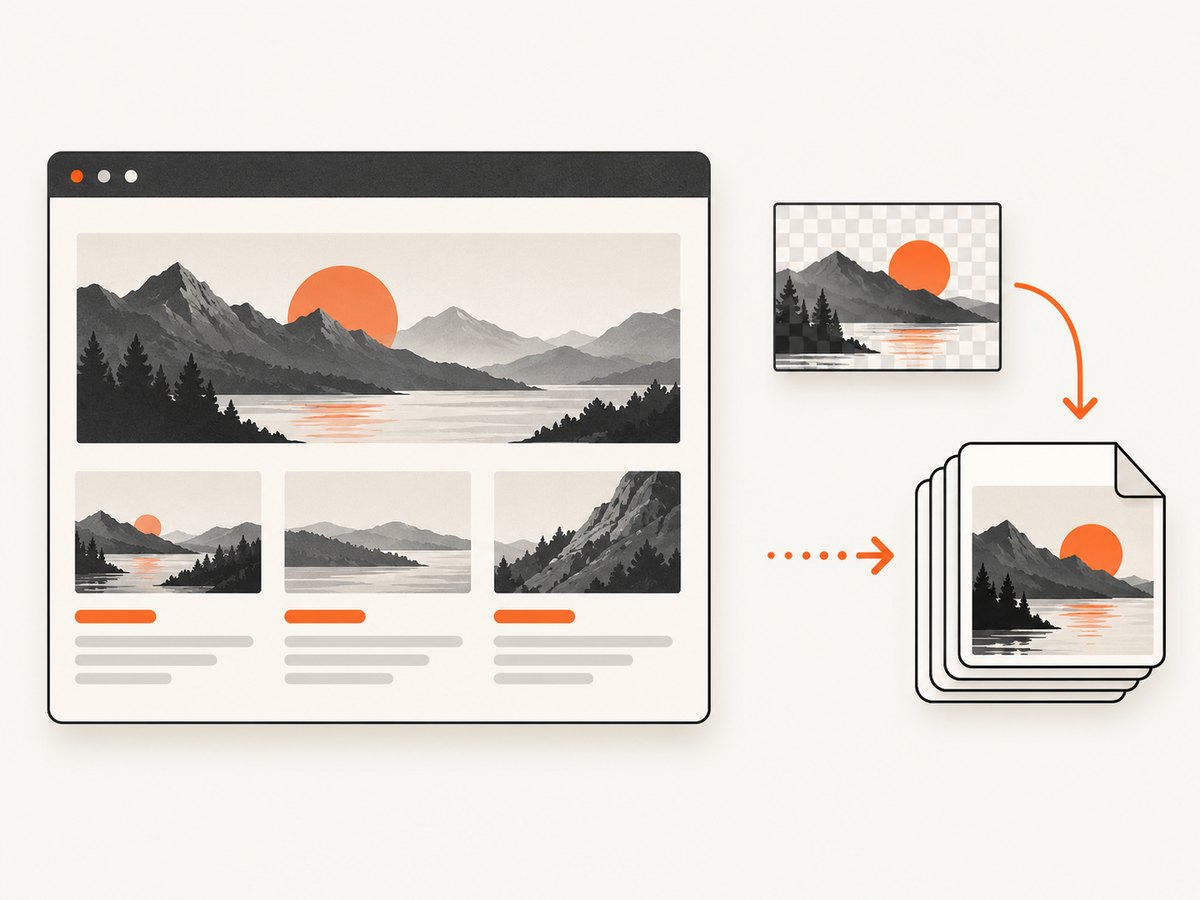
const canvas = document.querySelector('canvas');
if (!canvas) throw new Error('Canvas not found');

const dataUrl = canvas.toDataURL('image/jpeg', 0.85);
const comma = dataUrl.indexOf(',');
const base64 = dataUrl.slice(comma + 1);

console.log(dataUrl); // data:image/jpeg;base64,...
console.log(base64);  // raw Base64 only
The quality argument for toDataURL is from 0 to 1. The method returns a data URL, not a bare Base64 string. The WebKit HTMLCanvasElement.toDataURL reference describes that return format and JPEG quality. WebKit notes that JPEG support can vary between browsers, while PNG is the format required by the HTML specification. The HTML Standard describes canvas serialization and handling of unsupported image types.
Check what the browser returned before assuming JPEG was produced:
const dataUrl = canvas.toDataURL('image/jpeg', 0.85);
if (!dataUrl.startsWith('data:image/jpeg;base64,')) {
  throw new Error(`Expected JPEG data URL, got: ${dataUrl.slice(0, 40)}`);
}
Canvas dimensions are the bitmap dimensions, controlled by the canvas’s width and height attributes, rather than only its CSS display size. Setting either dimension resets the canvas and clears its drawing state, so set dimensions before drawing. An empty canvas exports as a blank image. A canvas that uses cross-origin image content without the required permissions may be tainted; the browser can refuse serialization for security reasons. Serve the source image with appropriate cross-origin access and load it using a compatible CORS mode, or use content you control.
6. Common errors and fixes
| Symptom | Likely cause | Fix |
|---|---|---|
| The JPG is blank or missing content | Capture ran before client-side rendering or image loading finished | Wait for a page-specific selector, image readiness, or a suitable navigation condition before capture. |
Base64 begins with data:image/jpeg;base64, but the API rejects it |
The receiver expects only the payload | Remove everything through the first comma, but only when raw Base64 is required. |
| Receiver says the Base64 is invalid | A data URL prefix was passed where raw Base64 was expected, or text was truncated | Check the receiver’s contract and transmit the complete string without logging or copy/paste truncation. |
| Output is PNG rather than JPEG | The screenshot type was omitted, or canvas JPEG serialization was unsupported | Set type: 'jpeg' in Puppeteer; check the returned canvas MIME prefix in the target browser. |
toDataURL throws a security error |
The canvas is tainted by cross-origin content | Load assets with appropriate CORS response headers or avoid drawing inaccessible sources. |
| Text or graphics look soft | Capture dimensions or device scale are too low, or JPEG quality is too low | Increase viewport/device scale where appropriate and raise JPEG quality; inspect the resulting size. |
| Screenshot navigation times out | The page has slow or persistent requests, or the timeout is too short | Use a navigation state that suits the page, then wait for a specific ready condition; handle timeout as a failed capture. |
| Full-page capture uses too much memory | The document is very long or high-resolution | Capture only the needed element or viewport, reduce scale/dimensions, or divide the work into sections. |
7. Performance, reliability, and cost
Browser rendering is the expensive part: it starts or reuses a browser, fetches page resources, runs page scripts, waits for the chosen readiness condition, and encodes the pixels. Reusing a browser process for multiple captures can avoid repeated startup overhead, but isolate pages and clean them up after use. Always close the browser in a finally path, as in the example, so errors do not leave browser processes running.
Reliability depends on the page as well as the code. Third-party assets can fail, pages can change their markup, and dynamic content can appear at different times. Use bounded navigation and selector timeouts, record which URL and capture settings failed, and retry only transient errors with a limit. A retry cannot fix a consistently broken selector or a page that blocks automation. For repeatable captures, use a stable target page and explicit viewport, readiness condition, and quality settings.
Base64 strings can also put pressure on memory: encoding creates a text representation in addition to the image bytes. Avoid printing large payloads to logs, and prefer a file or binary transfer when the receiver permits it. For an existing canvas, toDataURL creates the complete encoded value in memory; for very large images, that can be less convenient than a binary-oriented workflow.
DIY cost includes the compute and maintenance for a browser runtime, plus time spent handling browser versions, dynamic pages, and failures. There is no meaningful universal cost figure: it depends on where the code runs, capture volume, page complexity, and whether a browser process is already available. If you use a screenshot API instead, compare the billed event definition, output options, and limits rather than price alone.
8. Or skip the browser setup
ScreenshotNeo is a website screenshot API and MCP server. One GET request can return an image or PDF; for this workflow, request a screenshot and convert its returned image bytes into Base64 if your receiving system needs Base64. See the ScreenshotNeo documentation for API parameters and response details.
curl -G "https://api.screenshotneo.com/v1/shot" \
  -d access_key=YOUR_API_KEY \
  --data-urlencode url=https://stripe.com \
  -o shot.webp
The call above saves a WebP response. If the next system requires a Base64 JPG, request JPEG using the format option documented by ScreenshotNeo, then Base64-encode the returned bytes. For example, after saving a JPEG response as shot.jpg, a platform’s Base64 encoder can encode the file contents. Do not label WebP bytes as JPEG; the format and MIME type need to match.
import requests

r = requests.get(
    "https://api.screenshotneo.com/v1/shot",
    params={"access_key": "YOUR_API_KEY", "url": "https://stripe.com"},
    timeout=90,
)
r.raise_for_status()
open("shot.webp", "wb").write(r.content)
const q = new URLSearchParams({
access_key: 'YOUR_API_KEY',
url: 'https://stripe.com',
});
const res = await fetch(`https://api.screenshotneo.com/v1/shot?${q}`);
if (!res.ok) throw new Error(`Screenshot request failed: ${res.status}`);
const imageBytes = Buffer.from(await res.arrayBuffer());
const base64 = imageBytes.toString('base64');ScreenshotNeo removes cookie/consent banners, newsletter popups, and chat widgets before the shot; those steps can be turned off. Bot checks, blank pages, failed loads, timeouts, and cache hits are not billed, and response headers report page verdict and billing status. Its MCP server gives AI agents tools for screenshots, page information, and PDF capture. The free plan includes 1,000 shots per month with no card; paid plans start at $5 for 3,000. Sign up for 1,000 free screenshots a month, with no card required.
9. FAQ
Can I convert an HTML string without opening a browser?
Not into a faithful screenshot of its rendered layout. HTML needs a rendering engine to calculate layout and paint pixels. A browser automation library or screenshot service supplies that rendering step.
Is Base64 the same as a JPG file?
No. A JPG is binary image data. Base64 is a text encoding of those bytes. Decode the Base64 to recover the JPG file, or add the data URL prefix if the consumer accepts a data URL.
Does canvas serialization capture the whole webpage?
No. It serializes only the bitmap in that canvas. To capture the webpage’s rendered DOM and CSS, take a browser screenshot.
Why use JPG instead of PNG?
JPG is useful when a lossy photographic image is acceptable and the receiving system specifically expects JPEG. PNG is lossless and supports transparency; choose the format based on the content and the receiver’s requirements.
Should I store Base64 in a database?
Usually store the image bytes or an object-storage reference if the system supports it. Base64 is text transport encoding and makes the representation larger; store it only when the consuming interface specifically needs that form.


