How to Convert HTML to an Image in NestJS
Render HTML in NestJS, capture it with Puppeteer, return PNG bytes, and learn production options, troubleshooting, and a managed API alternative.
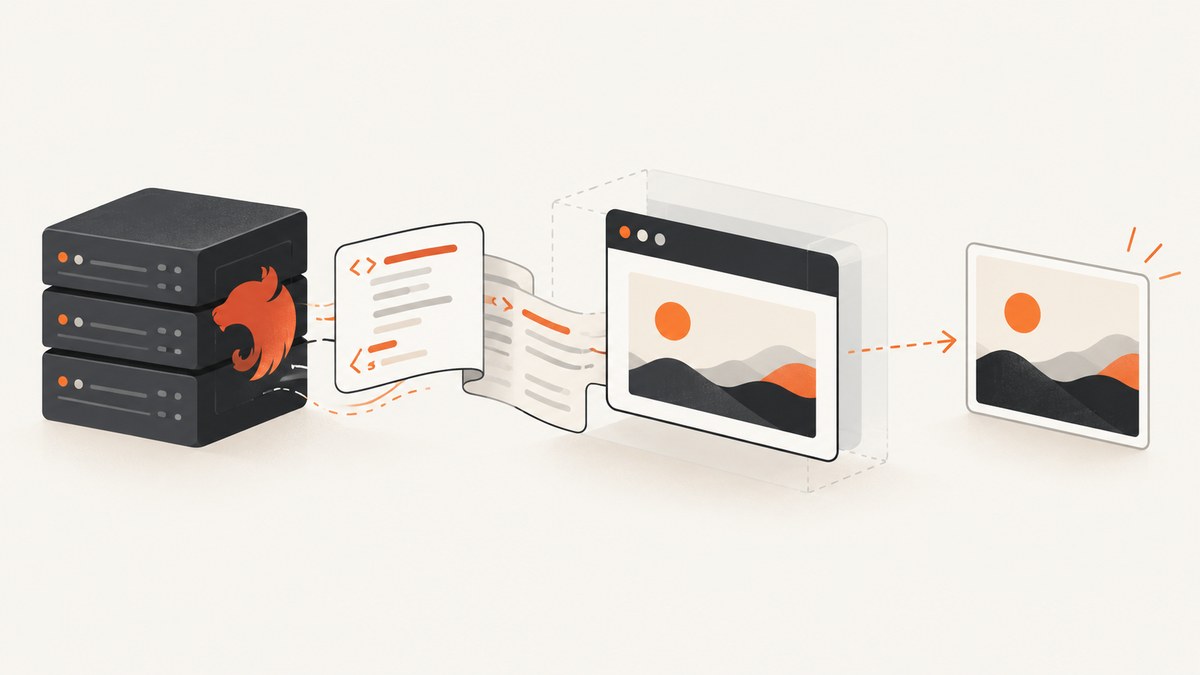
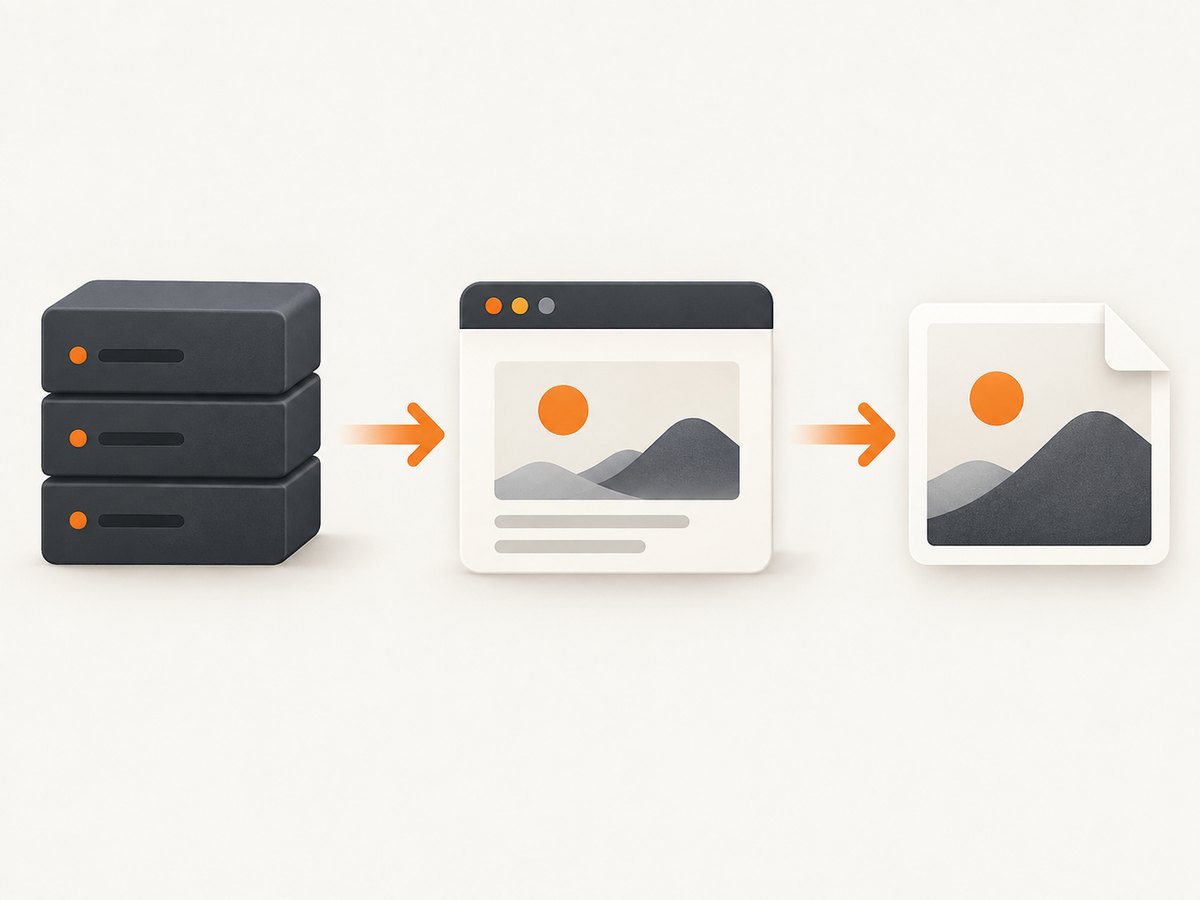
Direct answer: NestJS can render a template to HTML, but HTML is not an image. To convert it, render the HTML and open it in a headless browser such as Puppeteer, wait for the page’s real readiness condition, then call page.screenshot(). Return the resulting bytes from a NestJS controller with an image content type.
This separation keeps template rendering, browser capture, and HTTP delivery testable. Nest’s MVC support documents view engines and the @Render() decorator for producing HTML, while Puppeteer documents page and element screenshots: NestJS MVC and Puppeteer screenshots.
1. Choose the rendering pipeline
- Build HTML. Use a Nest view (Handlebars, EJS, Pug) or create a controlled HTML string from data.
- Capture in a browser. A browser evaluates CSS, web fonts, SVG, canvas, and client-side JavaScript before producing pixels.
- Send bytes. Set
Content-Typetoimage/png,image/jpeg, orimage/webp.
Do not launch a new browser process for every request in production. Create one managed browser during application startup, create a fresh page per job, and close each page in a finally block. Limit concurrent pages and set timeouts so a broken target cannot exhaust the process.
2. Install NestJS and Puppeteer
npm install puppeteer
npm install -D @types/express
If you prefer Nest dependency injection for a shared browser, nestjs-puppeteer provides a module and browser provider. Its npm metadata lists compatibility ranges that change over time, so verify the current peer dependencies before installing: nestjs-puppeteer on npm.
3. Create a capture service
The service below accepts already-rendered HTML. It sets a deterministic viewport, waits for network activity and fonts, captures a full page, and always closes the page.
import { Injectable, OnModuleDestroy, OnModuleInit } from '@nestjs/common';
import puppeteer, { Browser, ScreenshotOptions } from 'puppeteer';

@Injectable()
export class HtmlImageService implements OnModuleInit, OnModuleDestroy {
  private browser!: Browser;

  async onModuleInit() {
    this.browser = await puppeteer.launch({
      headless: true,
      args: ['--no-sandbox', '--disable-setuid-sandbox'],
    });
  }

  async onModuleDestroy() {
    await this.browser?.close();
  }

  async capture(html: string, options: ScreenshotOptions = {}) {
    const page = await this.browser.newPage();
    try {
      await page.setViewport({ width: 1200, height: 800, deviceScaleFactor: 1 });
      await page.setContent(html, { waitUntil: 'networkidle0', timeout: 30_000 });
      await page.evaluate(() => document.fonts.ready);
      return await page.screenshot({
        type: 'png',
        fullPage: true,
        ...options,
      });
    } finally {
      await page.close();
    }
  }
}
networkidle0 is useful for static pages, but it is not a universal readiness signal. Analytics, WebSockets, polling, and advertisements can keep requests open forever. For an application page, prefer an explicit selector or application flag (shown below), with a bounded timeout.
4. Render HTML and return a PNG from NestJS
A controller can accept data, render a template, and pass the result to the capture service. Keep the input schema narrow; do not let an untrusted caller choose arbitrary file paths, browser flags, or unrestricted URLs.
import { Body, Controller, Post, Res } from '@nestjs/common';
import { Response } from 'express';
import { compile } from 'handlebars';
import { HtmlImageService } from './html-image.service';

const template = `<!doctype html>
<html><head>
  <meta charset="utf-8">
  <style>body{font-family:Arial;margin:40px} .card{padding:24px;border:1px solid #ddd}</style>
</head><body>
  <main class="card"><h1>{{title}}</h1><p>{{description}}</p></main>
</body></html>`;
const render = compile(template);

@Controller('images')
export class ImagesController {
  constructor(private readonly images: HtmlImageService) {}

  @Post('from-html')
  async fromHtml(@Body() body: { title: string; description: string }, @Res() res: Response) {
    const html = render({ title: body.title, description: body.description });
    const png = await this.images.capture(html);
    res.type('png').send(png);
  }
}
Register the service and controller in a module. If you use Nest’s view engine instead, configure it in main.ts and render a view with @Render('name'); for screenshot bytes, obtain the same template output as a string before calling Puppeteer.
5. Wait for the content that must appear
Correct readiness depends on the page. Combine a short navigation wait with a specific condition:
await page.setContent(html, { waitUntil: 'domcontentloaded', timeout: 30_000 });
await page.waitForSelector('#chart[data-ready="true"]', { timeout: 10_000 });
await page.evaluate(() => document.fonts.ready);
await page.waitForTimeout(100); // only for a known animation settling period
For client rendering, set a flag after data and images finish:
// application code
await drawChart(data);
document.documentElement.dataset.ready = 'true';

// capture code
await page.waitForFunction(() => document.documentElement.dataset.ready === 'true', { timeout: 15_000 });
Wait for lazy images explicitly when needed:
await page.evaluate(async () => {
  const images = Array.from(document.images);
  await Promise.all(images.map(img => img.complete ? Promise.resolve() : new Promise(r => {
    img.addEventListener('load', r, { once: true });
    img.addEventListener('error', r, { once: true });
  })));
});
6. Screenshot scope and output options
| Need | Puppeteer setting | Notes |
|---|---|---|
| Visible viewport | fullPage: false |
Captures the current viewport dimensions. |
| Entire document | fullPage: true |
Captures the scrollable page; very tall pages may use substantial memory. |
| One component | page.locator(selector).screenshot() or an element handle |
Useful for cards, charts, and invoices. |
| Format | type: 'png' | 'jpeg' | 'webp' |
PNG preserves lossless detail and transparency; JPEG is smaller but has no alpha channel. |
| Quality | quality: 0-100 |
Applies to JPEG/WebP; ignored for PNG. |
| Transparent page | omitBackground: true |
Use with PNG and CSS that does not paint an opaque body. |
| Clip a region | clip: { x, y, width, height } |
Coordinates are CSS pixels in the viewport. |
| Save to disk | path: '/safe/output.png' |
Prefer returning a buffer in an API and writing files in a controlled worker. |
Set the viewport before loading the page. Use deviceScaleFactor: 2 for a retina-style image, then verify the final pixel dimensions for your Puppeteer version. If the design changes at a breakpoint, choose the viewport that matches the consumer rather than resizing the resulting bitmap.
7. Capture a selected element
const page = await browser.newPage();
try {
  await page.setViewport({ width: 1440, height: 900 });
  await page.setContent(html, { waitUntil: 'networkidle0' });
  const card = await page.$('.invoice-card');
  if (!card) throw new Error('invoice-card was not found');
  return await card.screenshot({ type: 'png' });
} finally {
  await page.close();
}
Element screenshots fail when the selector is absent, hidden, detached, or outside a page state that has not finished rendering. Validate the selector and return a 4xx response for caller mistakes instead of retrying indefinitely.
8. Security and input controls
- Validate titles, text, template identifiers, and requested dimensions with DTOs and limits.
- Escape user text in templates. Handlebars escapes by default; avoid triple-stash output for untrusted values.
- Do not expose a raw “render any URL” endpoint without SSRF defenses, private-network blocking, DNS checks, and egress limits.
- Disable unnecessary browser capabilities, isolate tenants, and avoid passing secrets into page HTML.
- Set request, navigation, and total-job timeouts. Abort work when the client disconnects if your job model supports cancellation.
9. Troubleshooting
| Symptom | Likely cause | Fix |
|---|---|---|
| Chromium will not start in a container | Missing shared libraries or sandbox permissions | Use a Chromium-capable image, install required libraries, and apply the sandbox policy appropriate to your deployment. The no-sandbox flags above are a deployment choice, not a universal security recommendation. |
| Blank or partial image | Capture ran before client rendering, fonts, or images completed | Wait for a selector/ready flag, document.fonts.ready, and image completion; inspect console and network errors. |
| Navigation timeout | Persistent requests or an unreachable resource | Use a bounded timeout, a targeted readiness condition, and block or mock nonessential requests. |
| Wrong dimensions | Viewport and device scale were set inconsistently | Set viewport before navigation and assert output dimensions in a representative environment. |
| Missing external CSS or images | Relative URLs have no base, CORS/auth blocks resources, or requests fail | Use absolute URLs or a <base> element, provide required headers/cookies, and log failed requests. |
| Out-of-memory or slow requests | Launching browsers repeatedly, unlimited full-page captures, or too much concurrency | Reuse one browser, cap pages and document height, queue jobs, and close pages in finally. |
10. Performance, reliability, and cost
A shared browser avoids Chromium startup on every request, but pages still consume CPU and memory. Measure your own templates: complexity, fonts, image size, JavaScript, and full-page height dominate work. Use a queue for bursts, a concurrency semaphore for pages, and a circuit breaker for repeated browser crashes. Recycle the browser after a controlled number of jobs if you observe memory growth.
Cache deterministic captures using a key derived from template data, viewport, format, and asset version. Return an ETag for HTTP clients and avoid recapturing unchanged content. Keep timeouts separate for browser launch, navigation, readiness, and screenshot so logs identify the failing phase.
Puppeteer and Playwright both expose screenshot APIs. Choose based on the browser engines you need, existing project dependencies, deployment packaging, team familiarity, and the current version compatibility of any Nest integration. The reviewed sources do not establish a universal performance winner: Playwright Page API.
11. Or skip the browser setup
ScreenshotNeo provides a website screenshot API when you do not want to package and operate Chromium. One GET request returns PNG, JPEG, WebP, or PDF. It accepts cookie and consent banners like a visitor, then removes more than 60 known consent platforms, newsletter popups, and chat widgets; each step can be disabled. Bot checks/CAPTCHAs, blank pages, timeouts, failed loads, and cache hits are not billed, and response headers identify the page verdict and billing status. An MCP server provides take_screenshot, get_page_info, and capture_pdf for Claude, Cursor, and other MCP clients. The free plan includes 1,000 shots per month without a card; paid plans start at $5 for 3,000 shots.

cURL (see the ScreenshotNeo documentation):
curl -G "https://api.screenshotneo.com/v1/shot" -d access_key=YOUR_API_KEY --data-urlencode url=https://stripe.com -o shot.webpPython:
import requests
r = requests.get("https://api.screenshotneo.com/v1/shot", params={"access_key": "YOUR_API_KEY", "url": "https://stripe.com"}, timeout=90)
open("shot.webp", "wb").write(r.content)
Node.js:
const q = new URLSearchParams({ access_key: 'YOUR_API_KEY', url: 'https://stripe.com' });
const res = await fetch(`https://api.screenshotneo.com/v1/shot?${q}`);
For production integrations, use its options for full-page or selector capture, dark mode, device and retina settings, custom CSS/JavaScript, waits, headers/cookies, blocking, geolocation, resizing, TTL caching, signed links, asynchronous webhooks, bulk capture (100 URLs per call), usage reporting, and PDF output. Create a free ScreenshotNeo account with 1,000 screenshots each month and no card.
12. FAQ
Can NestJS itself convert HTML to PNG?
NestJS handles HTTP, dependency injection, and template rendering. A browser engine such as Puppeteer or Playwright performs the HTML-to-pixels conversion.
Should I use @Render() for screenshots?
Use @Render() when returning a normal HTML response. For an image endpoint, render the template to a string, capture it in a browser, and send the resulting buffer.
Why does networkidle0 hang?
Pages with analytics, polling, or WebSockets may never become idle. Wait for the selector or ready flag that represents the content your image needs.
How do I return JPEG instead of PNG?
Pass { type: 'jpeg', quality: 85 } to page.screenshot() and set the response content type to image/jpeg.
When is an external screenshot API a better fit?
It is useful when you need managed browsers, consent cleanup, billing for successful captures only, async jobs, or AI-agent access without maintaining Chromium workers.
Conclusion
The reliable NestJS pattern is render, load, wait for an explicit ready state, capture, and close the page. Start with Puppeteer for full control, enforce input and resource limits, and add queueing and caching as volume grows. If browser packaging and operations are not part of your application, use the ScreenshotNeo endpoint or MCP tools and keep your NestJS code focused on your domain.


