How to Convert HTML or PDF to PNG
Convert HTML to PNG with headless Chrome, or render PDF pages with Poppler and Python. Choose the right dimensions, DPI, and workflow for reliable output.
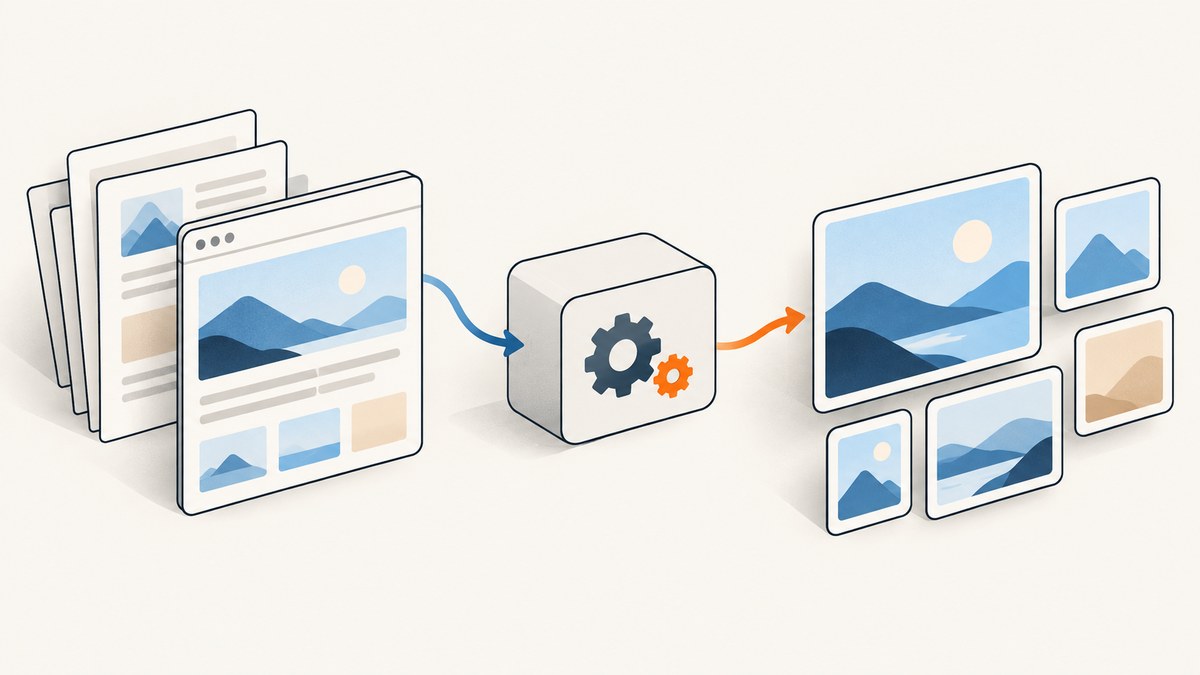
To convert a web page to PNG, render it with Chrome or Chromium Headless. To convert a PDF, rasterize its pages with Poppler, using pdftoppm or Python’s pdf2image. HTML is laid out by a browser; PDF is already page-oriented, so it normally produces one PNG per page. Set the viewport for HTML and the DPI and page range for PDF to make output repeatable.
For a single web page, start with chrome --headless --screenshot https://example.com/. For PDF pages, start with pdftoppm -png -r 200 input.pdf page. The sections below show complete workflows, controls, and fixes for common problems.
1. Convert a web page or HTML file with Chrome
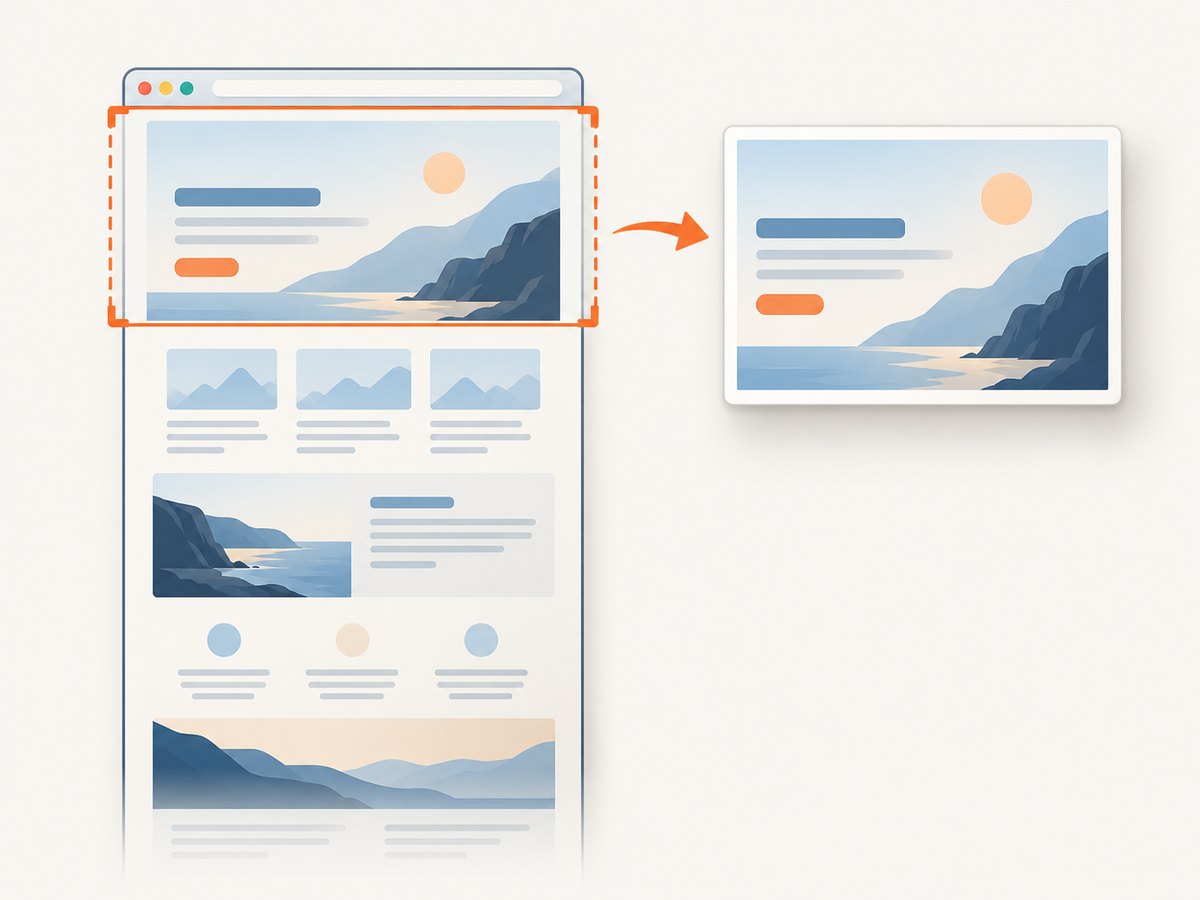
Chrome renders the page, including its layout and JavaScript changes, then saves a screenshot. Its --screenshot option writes screenshot.png to the current working directory. Add a fixed window size when you need a predictable viewport. See the Chrome Headless CLI reference for the documented flags.
Capture a live URL
chrome --headless --screenshot https://example.com/For a known viewport, specify width and height in pixels:
chrome --headless --screenshot --window-size=1280,1696 https://example.com/This captures the browser viewport, not automatically the entire height of a long page. If you need full-page output, use a browser automation workflow such as Puppeteer, shown below.
Capture a local HTML file
Use a file:/// URL with an absolute path. For example, on Linux or macOS:
chrome --headless --screenshot --window-size=1280,1696 file:///home/alex/project/page.htmlReplace the path with the actual location of your file. Relative images, stylesheets, fonts, and scripts must resolve from the document’s location. If the page depends on remote resources, the machine running Chrome needs network access to them. Local documents are a useful choice for confidential HTML because the input can stay on your machine.
Wait for late content
A page may still be loading when the capture happens. Set a maximum wait in milliseconds:
chrome --headless --screenshot --timeout=5000 https://example.com/--timeout caps the wait before capture; it does not guarantee that every image, font, or application request has finished. For scripts or animations driven by timers, use a virtual-time budget to let the page advance before capture:
chrome --headless --screenshot --virtual-time-budget=3000 https://example.com/Choose the wait based on the state you want to capture. A fixed timeout is simple but can wait longer than necessary or still be too short for a slow page. For repeatable application code, wait for a specific page condition with browser automation.
2. Capture HTML programmatically with Puppeteer
Puppeteer controls Headless Chrome from Node.js. It is useful when you need to set a viewport, choose a navigation wait condition, take a full-page screenshot, or process many pages in code. Install it in a Node.js project:
npm install puppeteerSave this as capture.js and run node capture.js:
const puppeteer = require('puppeteer');

(async () => {
  const browser = await puppeteer.launch();
  try {
    const page = await browser.newPage();
    await page.setViewport({ width: 1280, height: 1696, deviceScaleFactor: 1 });
    await page.goto('https://example.com/', {
      waitUntil: 'networkidle2',
      timeout: 30000,
    });
    await page.screenshot({ path: 'page.png', fullPage: true });
  } finally {
    await browser.close();
  }
})();
networkidle2 waits for network activity to settle according to Puppeteer’s navigation condition. Some sites keep connections open or load content later, so it may not represent the exact moment your application is ready. In those cases, wait for a meaningful selector or application state instead of increasing waits without limit. Set a timeout appropriate to your job and handle navigation failures in the surrounding application.
The viewport affects responsive layout; deviceScaleFactor affects pixel density. Set both explicitly when screenshots are compared or generated in a pipeline. fullPage: true captures beyond the viewport. Very long pages can produce large images and use substantial memory. Consider capturing sections or a specific element when a full-page image is unnecessary.
3. Convert PDF pages to PNG with Poppler
A PDF is made of pages, so PDF-to-PNG conversion normally creates one image for each selected page. Install Poppler utilities for your operating system, then run:
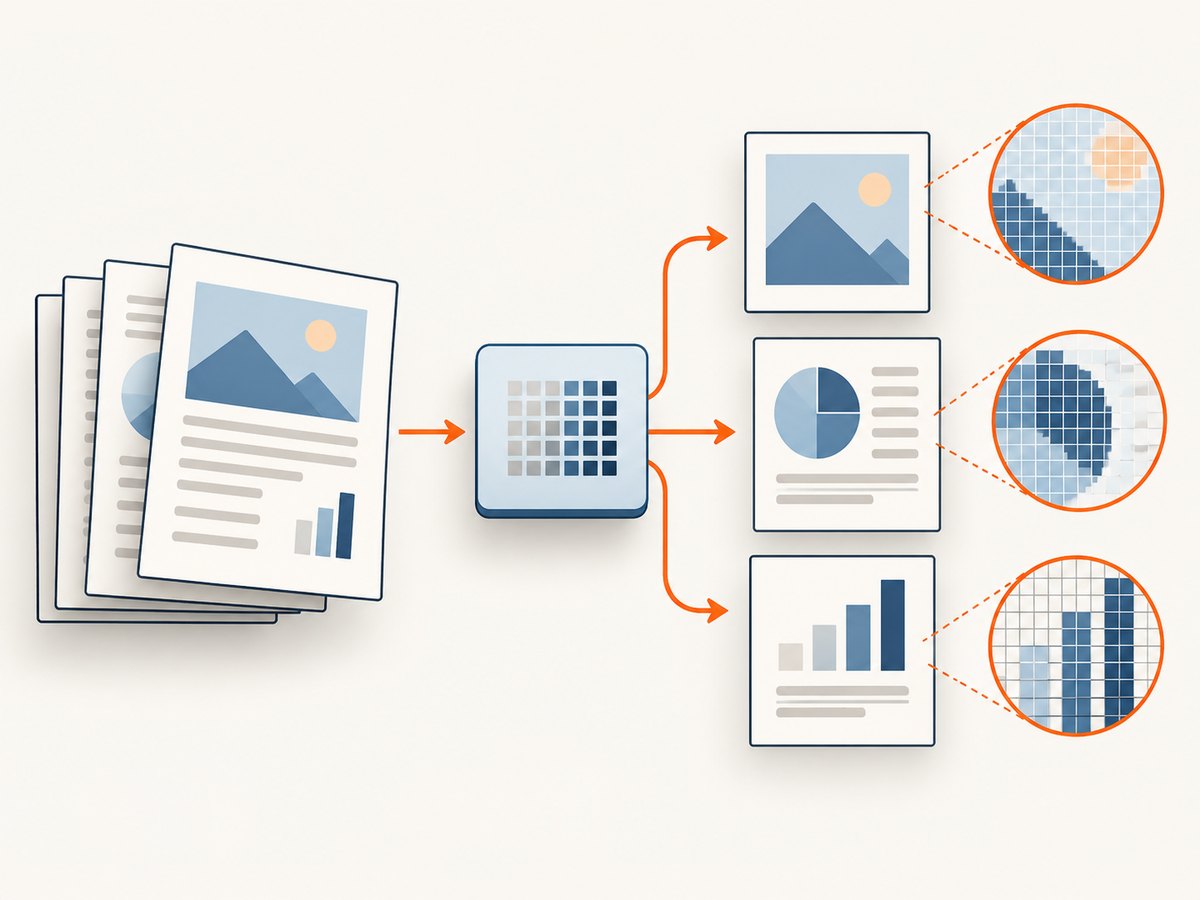
pdftoppm -png -r 200 input.pdf pageThis renders at 200 DPI and writes files with the prefix page, commonly named page-1.png, page-2.png, and so on. Exact naming can vary with utility version and options. Use pdftoppm -h to inspect the options available in your installed version.
Select a page range to avoid rendering pages you do not need. For example:
pdftoppm -f 2 -l 4 -png -r 200 input.pdf selected-pageThis asks for pages 2 through 4. Check the output filenames after conversion, especially when scripts expect a particular numbering convention. Poppler also provides pdftocairo, another command-line renderer that can write PNG output.
4. Convert PDF pages with Python
pdf2image is a Python wrapper around Poppler utilities. Install the Python package and make sure the Poppler command-line tools are available in the environment:
python -m pip install pdf2imageThen save and run this script. It converts pages 1 through 3 at 200 DPI and saves each returned Pillow image:
from pdf2image import convert_from_path

pages = convert_from_path(
    "input.pdf",
    dpi=200,
    first_page=1,
    last_page=3,
    fmt="png",
    timeout=120,
)

for index, image in enumerate(pages, start=1):
    image.save(f"page-{index}.png", "PNG")
For a document that fits comfortably in memory, returning images is convenient. For large PDFs, convert smaller page ranges or use an output folder so you do not hold every rendered page in memory at once:
from pdf2image import convert_from_path

paths = convert_from_path(
    "input.pdf",
    dpi=150,
    first_page=1,
    last_page=10,
    fmt="png",
    output_folder="rendered",
    paths_only=True,
    timeout=120,
)

for path in paths:
    print(path)
Options depend on your installed pdf2image version and Poppler setup. The pdf2image reference documents controls including page bounds, output folder, DPI, grayscale, transparency, crop box, single-file output, timeout, and password parameters. Its default DPI is 200; set it explicitly in production scripts so a default change or an implicit assumption does not affect output.
5. Choose the right dimensions and quality
HTML viewport and pixel density
A browser screenshot’s layout depends on viewport width and height. A responsive page may show a desktop navigation at 1280 pixels and a mobile menu at 390 pixels. Keep the viewport stable when comparing images, producing documentation, or running visual checks. On Puppeteer, set the viewport before navigating and choose the device scale factor deliberately.
For a long page, decide whether you need the visible viewport or the full document. Full-page capture is convenient, but it can create a tall image that is awkward to view, expensive to transfer, or unsuitable for a downstream image limit. If a report needs only its main content, capture the relevant element where your browser tool supports it.
PDF DPI and page selection
DPI determines raster output dimensions from the PDF’s physical page size. Raising DPI increases the number of pixels and usually increases memory use, conversion time, and file size. A lower DPI is often enough for screen previews; OCR or print-oriented workflows may need more pixels. There is no universal setting that fits every document and downstream task, so render a representative page and inspect the result.
Record DPI and page range alongside the conversion command. Render only required pages, and consider grayscale when color is not needed. If the document contains fine text or diagrams, inspect those details before reducing resolution. Resizing a low-resolution image afterward cannot restore detail that was never rendered.
6. Resize or prepare PNGs with ImageMagick
ImageMagick is a finishing step for an existing image, not an HTML layout engine. After rendering, use its magick command to standardize dimensions or create thumbnails. For example, resize a page image to 1600 pixels wide while preserving its aspect ratio:
magick page-1.png -resize 1600x page-1-web.pngImageMagick’s command-line tools documentation covers format conversion and resizing. Keep the original render if you may need a higher-resolution version later. PNG is lossless, so file size can remain large for detailed pages; choose dimensions appropriate to the destination and avoid unnecessary intermediate copies.
7. cURL, Python, and Node.js for ScreenshotNeo
When the input is a public web URL and you need a rendered screenshot without installing or managing a browser, ScreenshotNeo provides a one-request screenshot API. It returns PNG, JPEG, WebP, or PDF output. For the complete parameter list, see the ScreenshotNeo API documentation.
These examples request a WebP screenshot of a public page. Adapt the target URL as needed. Store your API key in an environment variable or secret manager in real applications; do not commit it to source control.
cURL
curl -G "https://api.screenshotneo.com/v1/shot" \
  -d access_key=YOUR_API_KEY \
  --data-urlencode url=https://stripe.com \
  -o shot.webp
Python
import requests

r = requests.get(
    "https://api.screenshotneo.com/v1/shot",
    params={"access_key": "YOUR_API_KEY", "url": "https://stripe.com"},
    timeout=90,
)
r.raise_for_status()
with open("shot.webp", "wb") as output:
    output.write(r.content)
Node.js
const q = new URLSearchParams({
  access_key: 'YOUR_API_KEY',
  url: 'https://stripe.com',
});
const res = await fetch(`https://api.screenshotneo.com/v1/shot?${q}`);
if (!res.ok) throw new Error(`Screenshot request failed: ${res.status}`);
const bytes = new Uint8Array(await res.arrayBuffer());
await import('node:fs/promises').then(fs => fs.writeFile('shot.webp', bytes));
Or skip the browser setup
ScreenshotNeo can remove cookie banners, popups, and chat widgets before the shot. Bot checks, blank pages, and failed loads are never billed; response headers identify the page verdict and billing status. Its MCP server lets AI agents use tools to take screenshots, get page information, and capture PDFs. The free plan includes 1,000 screenshots a month with no card; paid plans start at $5 for 3,000.
curl -G "https://api.screenshotneo.com/v1/shot" -d access_key=YOUR_API_KEY --data-urlencode url=https://stripe.com -o shot.webpCreate a free ScreenshotNeo account to get 1,000 screenshots a month with no card.
8. Troubleshooting
| Symptom | Likely cause | What to do |
|---|---|---|
| Chrome says the command was not found | Chrome or Chromium is missing, or its executable is not on PATH. | Install a browser for the environment and use its executable name or full path. Confirm the same account that runs the script can launch it. |
| Screenshot is blank or missing content | The page is still loading, renders after a timer, or requires interaction. | Use a bounded timeout or virtual-time budget. With Puppeteer, wait for a selector or application-ready condition and check navigation errors. |
| Screenshot has the wrong layout | Viewport dimensions differ or responsive CSS chose another breakpoint. | Set width and height explicitly and keep them fixed between runs. For Puppeteer, also set device scale factor. |
| Images or fonts are absent on a local HTML file | Relative paths do not resolve, or remote assets are blocked or unreachable. | Use an absolute file:/// path, inspect asset paths, and verify network access for remote resources. |
pdf2image raises a Poppler-not-found error |
The Python package is installed but the Poppler utilities are not installed or discoverable. | Install Poppler for the host OS and make its binaries available on PATH; if needed, configure the package’s Poppler path option. |
| PDF output looks soft | The render DPI is too low for the text or intended use. | Render again at a higher DPI. Upscaling the existing PNG does not recover lost detail. |
| PDF conversion uses too much memory or creates huge files | DPI is high, many pages are being rendered together, or the document is image-heavy. | Lower DPI if the use case permits, process a smaller page range, use grayscale where acceptable, or write outputs to disk incrementally. |
| A password-protected PDF fails | The renderer needs a document password. | Pass the appropriate user or owner password through the supported pdf2image parameters. Do not place secrets in logs or checked-in scripts. |
| One page fails while others render | The PDF may be malformed or contain content the installed renderer handles differently. | Try that page range separately, validate the file, and inspect the conversion error. Test malformed and font-heavy inputs independently in your pipeline. |
9. Performance, reliability, and cost
For local conversion, the main costs are the machine’s CPU, memory, storage, and time. Browser rendering loads a full page and its assets; PDF rasterization scales with page count and DPI. Bound the wait, select only required PDF pages, and avoid holding large batches in memory. For repeatable jobs, pin the browser and conversion environment used by your pipeline and record viewport, DPI, page range, and relevant wait settings.
Reliability depends on the input as well as the tool: websites change, network assets can fail, and PDFs may be encrypted or malformed. Treat a successful process exit as one check, not proof that the resulting image is useful. For automated workflows, verify that the output exists, is non-empty, has expected dimensions, and corresponds to the intended page or state.
For public URLs, a hosted API avoids setting up and maintaining browser capture infrastructure. ScreenshotNeo’s plans are Free: 1,000 shots a month; Starter: $5 for 3,000; Growth: $15 for 15,000; Pro: $39 for 60,000; Scale: $99 for 250,000; and Business: $249 for 1,000,000. Yearly billing gives two months free. Every feature is on every plan. Only clean shots are billed; cache hits and failed or unusable captures such as bot checks, blank pages, timeouts, and failed loads cost nothing. Check the response’s X-Page-Verdict and X-Billed headers when accounting for results.
10. Frequently asked questions
Can I convert HTML to PNG without a browser?
For a rendered web page, use a browser engine such as Chrome. ImageMagick can manipulate an image after capture, but it does not lay out HTML like a browser.
Does Chrome’s screenshot command capture a whole page?
The basic Headless CLI example captures the viewport. Use an automation workflow with full-page screenshot support, such as Puppeteer, when the image must include content below the fold.
Does PDF to PNG produce one image or many?
Usually one PNG per selected PDF page. Use a page range when you need only some pages; use a separate joining or composition step if your destination specifically requires one combined image.
What DPI should I use?
Start from the intended use and inspect a representative output. A screen preview can use less resolution than OCR or print-oriented work. Increase DPI when detail is missing, while accounting for the larger pixel count and memory demand.


