How to Convert HTML to an Image in React
Capture a React element as a PNG with html2canvas, handle fonts, CORS, sizing and CSS limits, or use ScreenshotNeo for browser-rendered shots.
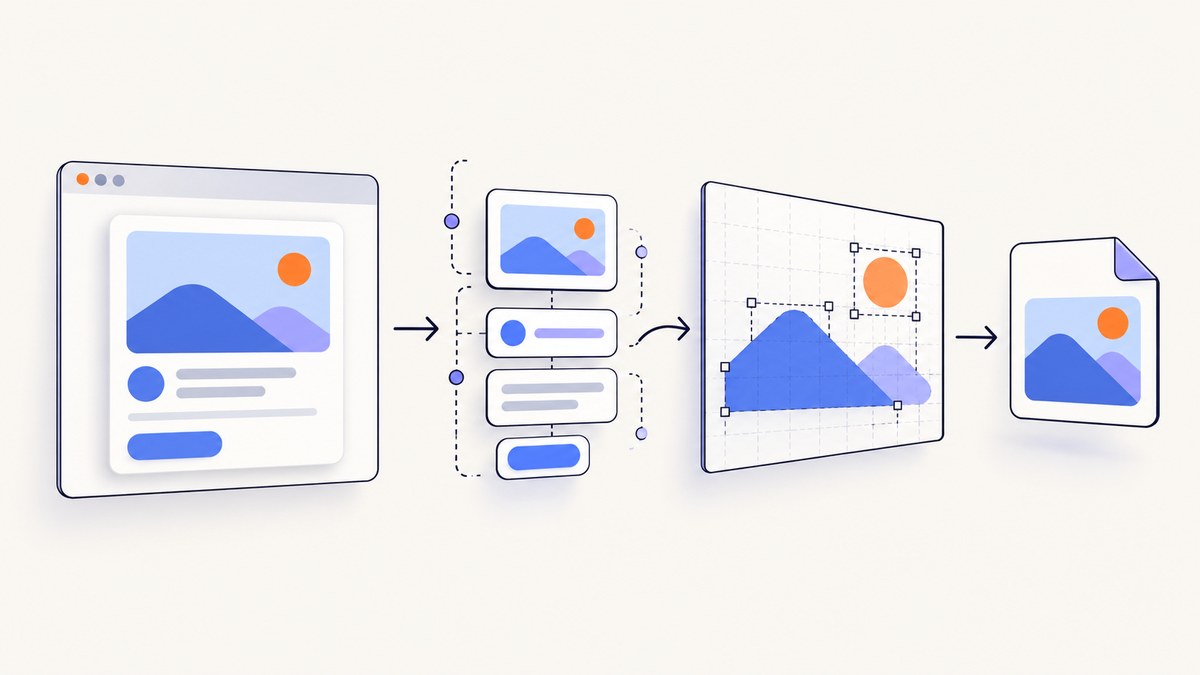
To convert HTML to an image in React, render the component in the browser, attach a ref to its DOM element, pass that element to html2canvas, and export the returned canvas as PNG, JPEG or another browser-supported format. This is a client-side DOM reconstruction, not a pixel-perfect browser screenshot.
The basic flow is:
- Install and import
@html2canvas/html2canvas. - Attach
useRefto the element you want to export. - Wait until the component, fonts and images are ready.
- Call
html2canvas(element, options). - Use
canvas.toBlob()ortoDataURL()to download the result.
1. Install html2canvas and create a React export
The official guide documents installation with npm, yarn and pnpm. Package names and import details can change, so confirm the current instructions in the html2canvas documentation before publishing a production build.
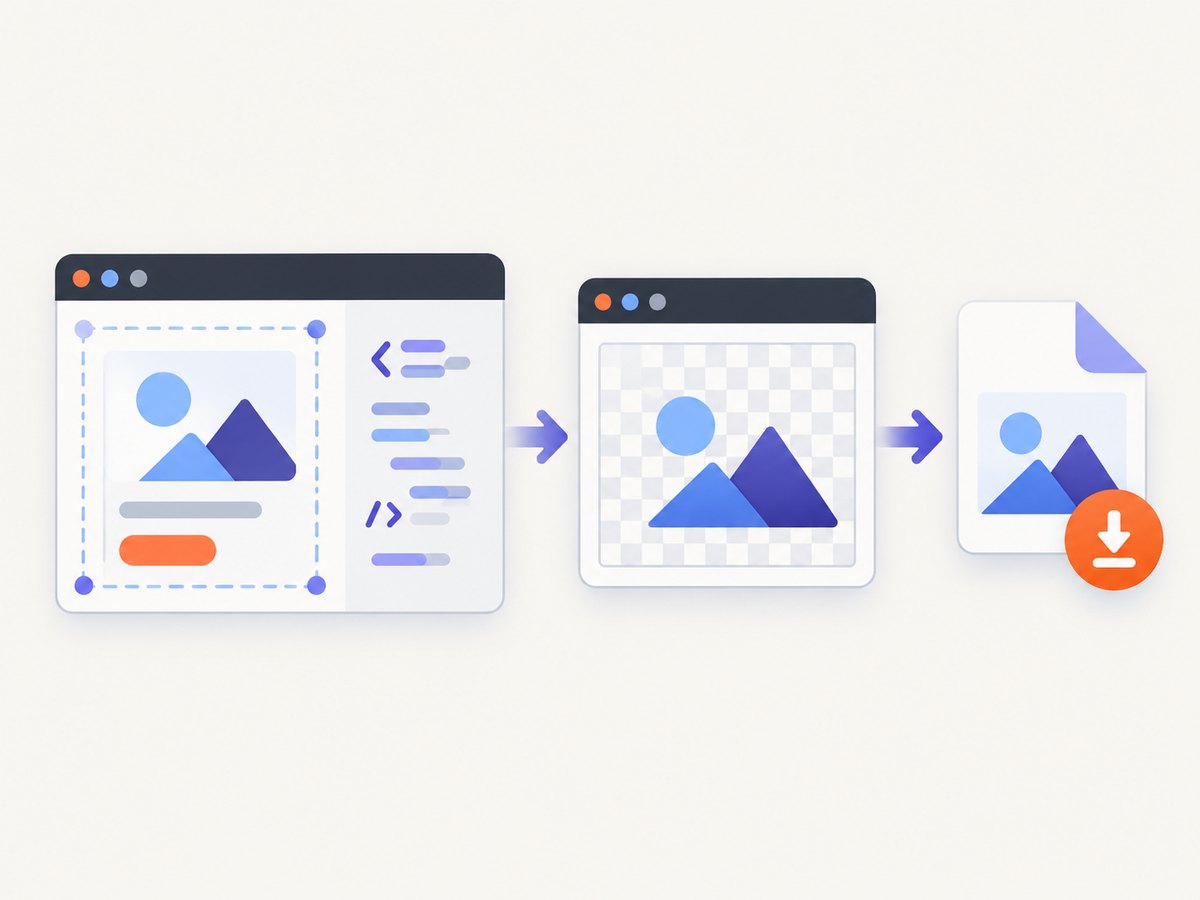
npm install @html2canvas/html2canvasHere is a complete React component. It captures a card, creates a PNG blob, and starts a download. The null check prevents a click before the ref has been attached, and the error handler gives the user a useful failure state.
import { useRef, useState } from 'react';
import html2canvas from '@html2canvas/html2canvas';

export default function ExportCard() {
  const cardRef = useRef(null);
  const [status, setStatus] = useState('');

  async function downloadImage() {
    if (!cardRef.current) {
      setStatus('The card is not ready yet.');
      return;
    }

    setStatus('Preparing image…');

    try {
      const canvas = await html2canvas(cardRef.current, {
        backgroundColor: null,
        scale: window.devicePixelRatio || 1,
        useCORS: true,
      });

      const blob = await new Promise((resolve) =>
        canvas.toBlob(resolve, 'image/png')
      );

      if (!blob) {
        throw new Error('The browser could not create an image blob.');
      }

      const link = document.createElement('a');
      link.download = 'react-card.png';
      link.href = URL.createObjectURL(blob);
      link.click();
      URL.revokeObjectURL(link.href);
      setStatus('Downloaded.');
    } catch (error) {
      console.error(error);
      setStatus('Could not create the image. Check the console for details.');
    }
  }

  return (
    <main>
      <section ref={cardRef} className='card'>
        <h1>Ship faster</h1>
        <p>This rendered React element becomes a PNG.</p>
      </section>
      <button type='button' onClick={downloadImage}>
        Download PNG
      </button>
      <p role='status'>{status}</p>
    </main>
  );
}
html2canvas resolves with a canvas after it reads the target element and reconstructs its appearance. The official example uses canvas.toDataURL('image/png'); toBlob() is often a better choice for larger files because it avoids holding a large base64 string in memory.
2. Understand what is and is not captured
The library receives a DOM element, not a React component object. React has already rendered your JSX into HTML and SVG nodes by the time the capture runs. A ref must therefore point to a real browser element such as div, article or svg.
html2canvas rebuilds the image from DOM information and styles. Its documentation warns: “The screenshot is based on the DOM and as such may not be 100% accurate to the real representation as it does not make an actual screenshot, but builds the screenshot based on the information available on the page.” Unsupported CSS can be missing or look different. Review the project’s supported-features list for a specific property.
| Requirement | Recommended approach | Reason |
|---|---|---|
| Export one rendered card in a React page | html2canvas with a ref | Runs directly in the browser and needs no server. |
| Capture a URL on a server | Playwright or Puppeteer | The html2canvas FAQ identifies browser automation for server-side work. |
| Capture a browser extension tab | Native extension screenshot APIs | The FAQ describes these as more reliable for extension screenshots. |
| Guarantee browser-pixel fidelity | Use a real browser capture service or automation | DOM reconstruction has incomplete CSS coverage. |
3. Configure size, quality and background
Scale and pixel dimensions
scale multiplies the output pixel dimensions. The official example uses window.devicePixelRatio for sharper high-DPI output:
const canvas = await html2canvas(node, {
  scale: window.devicePixelRatio || 1,
});
Higher scale increases memory use and encoding time. A 1200 by 800 CSS-pixel element at scale 2 produces roughly 2400 by 1600 output pixels. Test the actual component and target browsers; canvas limits vary by browser, operating system, hardware and available memory.
Transparent or solid backgrounds
Set backgroundColor: null when transparency is required. Use a CSS color when the exported asset needs a predictable background:
await html2canvas(node, { backgroundColor: '#ffffff' });
await html2canvas(node, { backgroundColor: null });
Transparency only helps if the target styles and exported format support it. PNG preserves alpha; JPEG does not.
PNG, JPEG and WebP output
const canvas = await html2canvas(node);
const png = canvas.toDataURL('image/png');
const jpeg = canvas.toDataURL('image/jpeg', 0.9);
const webp = canvas.toDataURL('image/webp', 0.9);
Use toBlob() for downloads and uploads:
canvas.toBlob((blob) => {
  if (!blob) return;
  // upload blob or create an object URL
}, 'image/webp', 0.9);
4. Make fonts, images and dynamic content ready
Capture only after the content you want is present. If the component appears after an API request, call the capture handler after the request has updated state and React has committed the result. For local assets, wait for image elements to finish loading:
async function waitForImages(root) {
  const images = Array.from(root.querySelectorAll('img'));
  await Promise.all(images.map((img) => {
    if (img.complete) return Promise.resolve();
    return new Promise((resolve) => {
      img.addEventListener('load', resolve, { once: true });
      img.addEventListener('error', resolve, { once: true });
    });
  }));
}
Call await waitForImages(cardRef.current) immediately before html2canvas. Font readiness depends on the fonts used by your app; verify the resulting image in the browsers you support rather than assuming a universal font-loading recipe.
Animations, blinking cursors, video frames and time-dependent content can change during capture. Pause animations with a capture-specific class, or provide custom CSS that sets deterministic states:
.exporting *, .exporting *::before, .exporting *::after {
  animation: none !important;
  transition: none !important;
}
5. Handle cross-origin images safely
Images loaded from another origin can taint the canvas. A tainted canvas cannot be read or exported by browser APIs. The documented useCORS option attempts a CORS-enabled image request, but it does not bypass the browser’s same-origin policy. The image server must send compatible CORS headers.
const canvas = await html2canvas(node, {
  useCORS: true,
  imageTimeout: 15000,
});
If you control the asset server, configure it to permit the requesting origin and serve the image with the correct content type. Otherwise, proxy the asset through a server you control, subject to the asset owner’s permissions. Do not expect allowTaint to make a tainted canvas exportable; it changes how the library handles loading, not the browser’s security rules.
6. Capture long or clipped elements
Fixed viewport dimensions, overflow containers and sticky elements are common reasons that a long export is cut off. The html2canvas FAQ describes matching windowWidth and windowHeight to an element’s scroll dimensions as one way to address content dimensions:
const node = cardRef.current;
const canvas = await html2canvas(node, {
  windowWidth: node.scrollWidth,
  windowHeight: node.scrollHeight,
});
Check the output for fixed headers, sticky controls and nested elements with overflow: auto. For very long documents, capture sections separately and join them with an image or document workflow. Browser canvas size and area limits differ, and exceeding them can produce blank or partial output.
7. Useful html2canvas options
| Option | Use | Limit |
|---|---|---|
backgroundColor |
Choose a color or null for transparency. |
Output format still controls alpha support. |
scale |
Increase or reduce output resolution. | Higher values consume more memory. |
useCORS |
Attempt CORS-enabled image loading. | Requires server CORS headers. |
imageTimeout |
Stop waiting for an image after a duration. | Timed-out assets may be absent. |
windowWidth and windowHeight |
Control the virtual capture dimensions. | Validate responsive and sticky layouts. |
logging |
Enable library diagnostics while debugging. | Disable noisy logs in normal production use. |
ignoreElements |
Skip elements that should not appear. | Skipped nodes leave intentional gaps. |
onclone |
Modify the cloned document before rendering. | Changes apply to the clone, not the live UI. |
An onclone callback is useful for export-only changes:
const canvas = await html2canvas(node, {
  onclone(documentClone) {
    documentClone.body.classList.add('exporting');
  },
});
8. Or skip the browser setup
If you need screenshots of URLs, server-side jobs, repeatable rendering or an AI agent workflow, ScreenshotNeo provides a GET request that returns PNG, JPEG, WebP or PDF. It handles the browser environment for you.

See the ScreenshotNeo API documentation for authentication and options. A minimal request is:
curl -G 'https://api.screenshotneo.com/v1/shot' -d access_key=YOUR_API_KEY --data-urlencode url=https://stripe.com -o shot.webpimport requests
r = requests.get('https://api.screenshotneo.com/v1/shot', params={'access_key': 'YOUR_API_KEY', 'url': 'https://stripe.com'}, timeout=90)
open('shot.webp', 'wb').write(r.content)const q = new URLSearchParams({ access_key: 'YOUR_API_KEY', url: 'https://stripe.com' });
const res = await fetch(`https://api.screenshotneo.com/v1/shot?${q}`);Cookie and consent banners are accepted before capture, and more than 60 known consent platforms, newsletter popups and chat widgets can be removed. Bot checks, blank pages, timeouts, failed loads and cache hits cost nothing; response headers identify the page verdict and whether the shot was billed. The service also offers element capture, full-page lazy-image loading, custom CSS and JavaScript, waits, request blocking, headers, cookies, user agents, authorization, timezone, geolocation, resizing, caching, signed links, asynchronous jobs, webhooks, bulk capture and an MCP server with take_screenshot, get_page_info and capture_pdf for AI clients.
There are 1,000 screenshots per month free with no card. Paid plans start at $5 for 3,000 shots, and every feature is available on every plan. Create a free ScreenshotNeo account.
9. Troubleshooting checklist
CSS looks different
Cause: html2canvas implements supported styles itself and does not reproduce every browser feature. Fix: check the supported-features documentation, replace unsupported effects with export-specific CSS, and make a small reproduction for the exact property.
Images are missing or export throws a security error
Cause: a cross-origin image tainted the canvas or never loaded. Fix: inspect the image origin and response headers, use useCORS only when the server permits it, or proxy the asset. Confirm that the image has loaded before capture.
The image is blurry
Cause: output dimensions are too small. Fix: inspect scale and the canvas width and height; try the device pixel ratio, then reduce it if memory becomes a problem.
The bottom of a long element is missing
Cause: viewport dimensions or overflow containers constrain the clone. Fix: test windowWidth and windowHeight using scroll dimensions, and inspect sticky and fixed children.
The canvas is blank or only partly rendered
Cause: the requested pixel area exceeds a browser or platform canvas limit, or memory is exhausted. Fix: reduce scale, capture sections, shorten the page, or move the job to a real browser screenshot workflow. There is no universal safe maximum.
The component works in the browser but fails in Node.js
Cause: html2canvas needs window, document and computed styles. Fix: run it in a client component after mount, or use Playwright/Puppeteer for server-side browser rendering.
10. Performance, reliability and cost decisions
- Keep the target small: capture the specific card instead of the entire application shell.
- Control scale: choose the smallest pixel dimensions that meet the delivery requirement.
- Prepare assets: wait for images and fonts, and disable animations to avoid retries and inconsistent output.
- Avoid repeated work: debounce export buttons and cache generated blobs when the same state is downloaded repeatedly.
- Watch memory: large canvases require contiguous memory; release object URLs after downloads.
- Make failures visible: catch rejected promises, report missing assets, and let users retry.
- Choose execution deliberately: browser-side export has no screenshot-service request cost, while server capture adds browser infrastructure or a service charge but can handle URLs and centralize rendering.
For a user-facing export, test representative browsers, responsive widths, fonts, remote images, dark mode and the largest supported content. Store the actual output dimensions and file size in development logs so regressions are visible.
11. FAQ
Can I convert JSX directly without rendering it?
No. html2canvas needs a rendered DOM node. Render the component, attach a ref, then capture that node.
Does html2canvas take a real screenshot?
No. It reconstructs an image from DOM and style information. A browser automation screenshot is a better fit when exact browser pixels matter.
Can I use it in a Next.js server component?
Run it in a client component after the browser mounts. It depends on browser globals and cannot execute during server rendering.
Which format is best for a transparent card?
Use PNG with backgroundColor: null. JPEG does not preserve transparency.
Why does useCORS: true not fix every image?
It requests CORS-enabled resources; it cannot override a remote server’s headers or browser security policy.
Should I use html2canvas for a whole public website?
For a single rendered React element, it is convenient. For arbitrary URLs, full-page rendering, PDFs or repeatable server jobs, use a browser capture service or automation workflow.


