Convert HTML Pages to Images with Node.js and PhantomJS
Learn the legacy Node.js and PhantomJS workflow for rendering HTML as PNG, JPEG, GIF, PDF, or Base64 image data, with complete code and troubleshooting.
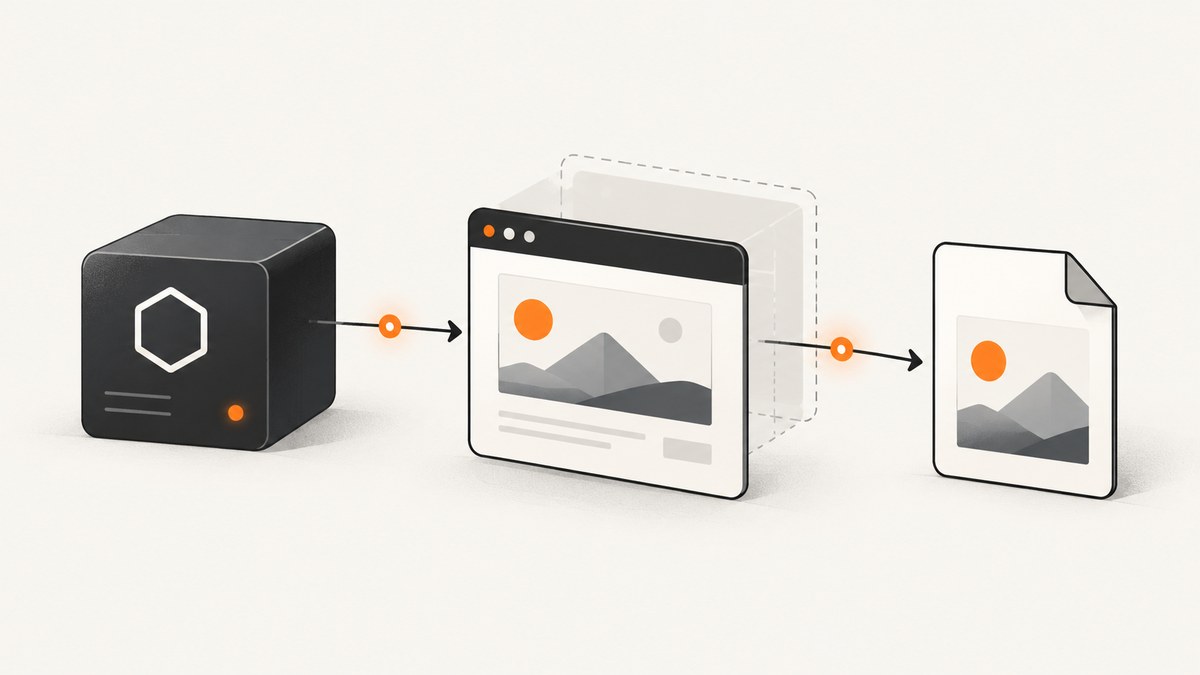
Direct answer: write a PhantomJS script that opens the page with require('webpage').create(), checks the page.open() status, renders with page.render(), and calls phantom.exit(). From Node.js, launch that script as a separate executable with child_process.execFile(). Node.js and PhantomJS run in different JavaScript environments.
This is a maintenance guide for existing systems and historical reproductions. PhantomJS is archived and read-only; its repository identifies 2.1 as the latest stable release. The historical npm phantomjs package is deprecated and was renamed to phantomjs-prebuilt. It installs a binary; it is not a Node.js wrapper. Check current platform compatibility before adopting either package.
1. Minimal PhantomJS renderer
Create render.js:
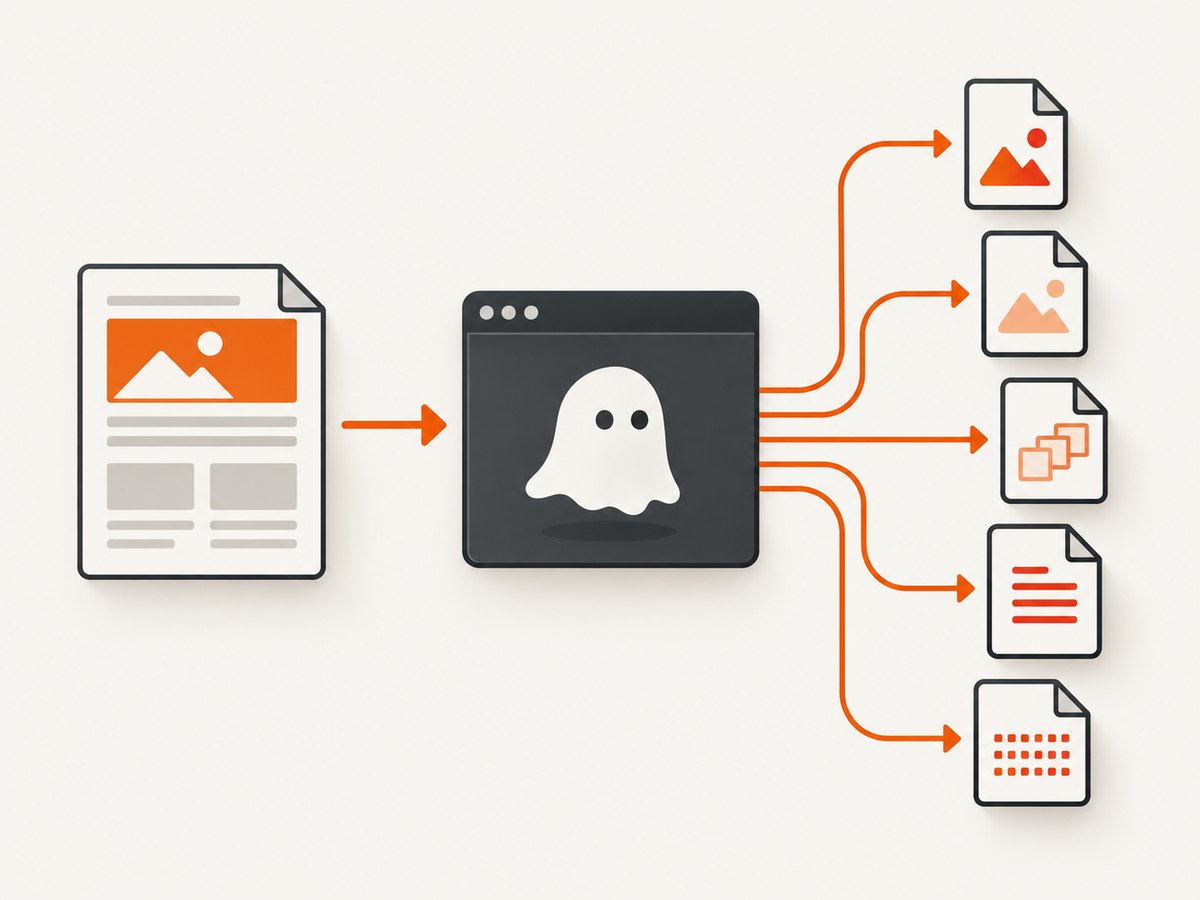
var system = require('system');
var webpage = require('webpage');

if (system.args.length < 3) {
  console.error('Usage: phantomjs render.js <url> <output>');
  phantom.exit(2);
}

var url = system.args[1];
var output = system.args[2];
var page = webpage.create();

page.open(url, function (status) {
  if (status !== 'success') {
    console.error('Could not load ' + url + ' (status: ' + status + ')');
    phantom.exit(1);
  }

  page.render(output);
  console.log('Wrote ' + output);
  phantom.exit(0);
});
Run it directly when the PhantomJS executable is available on your PATH:
phantomjs render.js https://example.com output.pngThe callback can report values such as success or fail. Render only after a successful load. Calling phantom.exit() is required; otherwise the process may stay alive.
2. Launch PhantomJS from Node.js
Save this as capture.js. Set PHANTOMJS_BIN to the executable installed on your machine, or use phantomjs when it is on PATH.
const { execFile } = require('node:child_process');
const path = require('node:path');

const phantomBin = process.env.PHANTOMJS_BIN || 'phantomjs';
const phantomScript = path.join(__dirname, 'render.js');
const url = process.argv[2] || 'https://example.com';
const output = process.argv[3] || path.join(__dirname, 'output.png');

execFile(phantomBin, [phantomScript, url, output], { timeout: 120000 }, (error, stdout, stderr) => {
  if (stdout) process.stdout.write(stdout);
  if (stderr) process.stderr.write(stderr);

  if (error) {
    console.error(`PhantomJS failed (code ${error.code ?? 'unknown'}): ${error.message}`);
    process.exitCode = 1;
    return;
  }

  console.log(`Screenshot saved to ${output}`);
});
Run:
node capture.js https://example.com ./example.pngUse execFile with an argument array instead of constructing a shell command string. This keeps the URL and output path as separate arguments and lets Node report the child process exit code.
Installing or locating the executable
The deprecated npm page documents the “loose binding” approach: install an executable package, then run the binary with Node’s child-process APIs. A historical setup is:
npm install phantomjs-prebuiltBecause PhantomJS and its installer are unmaintained, installation can fail on current Node.js versions or operating systems. Prefer a PhantomJS binary already approved for your legacy environment, set PHANTOMJS_BIN to its absolute path, and verify the binary before deploying.
3. Viewport, cropping, and output formats
page.viewportSize controls the browser viewport. page.clipRect crops the rectangle captured from that rendered page. The official screen-capture guide documents PNG, JPEG, GIF, and PDF output.

var webpage = require('webpage');
var page = webpage.create();

page.viewportSize = { width: 1440, height: 900 };
page.clipRect = { top: 0, left: 0, width: 1200, height: 700 };

page.open('https://example.com', function (status) {
  if (status === 'success') {
    page.render('cropped.png');
  }
  phantom.exit(status === 'success' ? 0 : 1);
});
Choose the extension that matches the required output:
| Output | Use it when | Example |
|---|---|---|
| PNG | You need lossless pixels, transparency, or crisp UI text. | page.render('shot.png') |
| JPEG | You need a photographic image and accept lossy compression. | page.render('shot.jpg') |
| GIF | Your consumer specifically accepts GIF. | page.render('shot.gif') |
| You need a document output rather than an image. | page.render('page.pdf') |
These formats are documented capabilities, not a promise of identical rendering across pages. Validate the result your consumer expects.
4. Backgrounds, SVG, Canvas, and Base64
PhantomJS renders HTML styled with CSS and can capture SVG, images, and Canvas. If the page does not specify a background color, the rendered background may remain transparent. Set one before rendering when an opaque image is required.
page.open('https://example.com', function (status) {
  if (status !== 'success') {
    phantom.exit(1);
  }

  page.evaluate(function () {
    document.body.style.backgroundColor = '#ffffff';
  });
  page.render('opaque.png');
  phantom.exit(0);
});
When the caller needs bytes in memory instead of a file, use renderBase64(format). The documented formats are PNG, GIF, and JPEG:
page.open('https://example.com', function (status) {
  if (status !== 'success') {
    phantom.exit(1);
  }

  var base64 = page.renderBase64('PNG');
  console.log(base64);
  phantom.exit(0);
});
5. Pages that load content asynchronously
page.open() reports whether the load succeeded, but a successful callback does not establish that an application has finished rendering data fetched after the load event. Add a page-specific readiness check or delay only when you have validated it for that page.
var system = require('system');
var page = require('webpage').create();
var url = system.args[1];
var output = system.args[2];
var delayMs = Number(system.args[3] || 1500);

page.open(url, function (status) {
  if (status !== 'success') {
    console.error('Load failed: ' + status);
    phantom.exit(1);
  }

  window.setTimeout(function () {
    var ready = page.evaluate(function () {
      return document.querySelector('[data-render-ready]') !== null;
    });

    if (!ready) {
      console.error('Readiness marker was not found');
      phantom.exit(1);
    }

    page.render(output);
    phantom.exit(0);
  }, delayMs);
});
A marker such as data-render-ready is an application contract. Do not assume one delay works for every page; slow networks and variable API responses can make fixed delays unreliable.
6. A production-oriented Node wrapper
const { execFile } = require('node:child_process');
const fs = require('node:fs/promises');
const path = require('node:path');

function runPhantom({ binary, script, url, output, timeoutMs = 120000 }) {
  return new Promise((resolve, reject) => {
    execFile(binary, [script, url, output], { timeout: timeoutMs }, (error, stdout, stderr) => {
      if (error) {
        const detail = stderr.trim() || stdout.trim() || error.message;
        reject(new Error(`PhantomJS capture failed: ${detail}`));
        return;
      }
      resolve({ stdout, stderr });
    });
  });
}

async function main() {
  const url = process.argv[2];
  if (!url) throw new Error('Usage: node capture-production.js <url> [output]');

  const output = process.argv[3] || path.resolve('capture.png');
  const binary = process.env.PHANTOMJS_BIN || 'phantomjs';
  const script = path.resolve(__dirname, 'render.js');

  await runPhantom({ binary, script, url, output });
  const stat = await fs.stat(output);
  if (stat.size === 0) throw new Error('Renderer produced an empty file');
  console.log(JSON.stringify({ url, output, bytes: stat.size }));
}

main().catch((error) => {
  console.error(error.message);
  process.exitCode = 1;
});
For a service, bound concurrency so each worker does not start unlimited browser processes. Use unique temporary output paths, clean them up after upload, and record the URL, exit code, stderr, elapsed time, and output size for diagnosis.
7. Troubleshooting
| Symptom | Likely cause | Fix |
|---|---|---|
phantomjs: command not found |
The executable is not on PATH. |
Set PHANTOMJS_BIN to an absolute executable path or install a compatible historical binary. |
| Node exits before an image appears | The child process failed or the output path is invalid. | Inspect error, stderr, and the output directory permissions. |
| Process never terminates | The PhantomJS script omitted phantom.exit(). |
Call it on every success and failure path. |
| Blank or partial page | Content is loaded after page.open() or the page failed. |
Check the status, add a validated readiness marker or delay, and inspect network/page errors. |
| Transparent background | The document has no background color. | Set document.body.style.backgroundColor before rendering. |
| Wrong dimensions | Viewport and crop were confused. | Set page.viewportSize for layout and page.clipRect for the captured rectangle. |
| Install fails on a modern machine | The upstream project and installer are deprecated. | Use a known compatible legacy environment, or migrate to a maintained browser or screenshot API. |
| Output is missing fonts or assets | The page depends on resources unavailable to the renderer. | Verify resource URLs, network access, certificates, and page-specific readiness before capture. |
8. Performance, reliability, and cost considerations
- Startup: launching a separate PhantomJS process has fixed startup overhead. Reuse a controlled worker model only if your legacy integration supports it safely.
- Memory: large pages, high viewports, Canvas, and many concurrent processes increase memory use. Limit concurrency and measure in your deployment environment.
- Timeouts: always set a Node child-process timeout and terminate failed jobs. A page that never finishes loading must not occupy a worker indefinitely.
- Determinism: pin the PhantomJS binary and page inputs when reproducible images matter. Dynamic data, remote fonts, animations, and asynchronous requests can change output.
- Security: treat URLs as untrusted input in a capture service. Apply an allowlist or network policy appropriate to your environment, and never expose arbitrary filesystem paths to callers.
- Cost: PhantomJS itself does not define a hosted screenshot price. Your costs come from the machines, storage, network, and engineering time needed to operate the renderer.
9. Or skip the browser setup
If you need an HTTP API instead of maintaining a legacy executable, ScreenshotNeo returns a PNG, JPEG, WebP, or PDF from one GET request. Its capture steps can accept consent banners and remove more than 60 known consent platforms, newsletter popups, and chat widgets before the shot; each step can be disabled.
Only clean shots are billed. Bot checks or CAPTCHAs, blank pages, timeouts, failed loads, and cache hits cost nothing, and the response identifies the result with X-Page-Verdict and X-Billed headers. ScreenshotNeo also provides an MCP server with take_screenshot, get_page_info, and capture_pdf tools for Claude, Cursor, and other MCP clients.
See the ScreenshotNeo API documentation for all options.
cURL
curl -G "https://api.screenshotneo.com/v1/shot" -d access_key=YOUR_API_KEY --data-urlencode url=https://stripe.com -o shot.webpPython
import requests

r = requests.get(
    "https://api.screenshotneo.com/v1/shot",
    params={"access_key": "YOUR_API_KEY", "url": "https://stripe.com"},
    timeout=90,
)
r.raise_for_status()
open("shot.webp", "wb").write(r.content)
Node.js
const q = new URLSearchParams({ access_key: 'YOUR_API_KEY', url: 'https://stripe.com' });
const res = await fetch(`https://api.screenshotneo.com/v1/shot?${q}`);
if (!res.ok) throw new Error(`ScreenshotNeo returned ${res.status}`);
require('node:fs').writeFileSync('shot.webp', Buffer.from(await res.arrayBuffer()));
You can also set full-page capture, an element selector, dark mode, device or viewport, retina scale, custom CSS and JavaScript, clicks, waits, blocked resources, headers, cookies, user agent, authorization, timezone, geolocation, transparent backgrounds, resizing, caching TTL, signed links, asynchronous webhooks, bulk capture for up to 100 URLs per call, and usage reporting. Every plan includes every feature. The Free plan includes 1,000 shots per month with no card; paid plans start at $5 for 3,000 shots.
Create a free ScreenshotNeo account and get 1,000 screenshots each month with no card.
10. FAQ
How do I take a screenshot with PhantomJS?
Create a webpage, call page.open(), render after a successful status with page.render(), then call phantom.exit().
How do I run PhantomJS from Node.js?
Use child_process.execFile() to launch the PhantomJS executable and pass the script, URL, and output path as arguments.
Can PhantomJS capture a full page automatically?
The documented controls are viewport size and a clipping rectangle. Build the capture dimensions or scrolling logic your page requires and validate the result.
Should a new project use PhantomJS?
Usually no. The upstream project is archived and the historical npm package is deprecated. Use PhantomJS when maintaining a known legacy workflow, or migrate to a maintained browser or an API such as ScreenshotNeo.
Can I return image data without writing a file?
Yes. Use page.renderBase64('PNG'), 'GIF', or 'JPEG' and send the resulting string from your integration.


