How to Convert HTML to JPG Online
Convert pasted HTML or an .html file into a JPG, or capture a hosted page by URL. Choose the right workflow and fix common rendering issues.

To convert an HTML file or snippet to JPG online, open an HTML-to-JPG converter, paste the markup or upload the .html file, preview the rendered result, set its width and JPG quality, and download the image. If the content is already hosted on a public website, use a URL screenshot service instead: an HTML converter renders markup you provide, while a screenshot service opens a page by URL.
The JPG is a raster image: the browser-rendered page becomes pixels, so its text is no longer selectable or searchable. Keep the original HTML if you may need to edit the content later. JPG also does not support transparency; select a background color or choose PNG when transparency or lossless edges matter. FileFlip explains the rasterization tradeoff.
1. Convert an HTML file or snippet with an online tool
For a one-off conversion, a browser-based converter is usually the shortest route. For example, TestMu AI’s HTML-to-JPG converter describes a workflow with pasted markup or an uploaded file, a live preview, width and quality controls, and a download. Its page says rendering occurs in the browser and markup is not uploaded; that is the vendor’s description, not an independent privacy audit. Review a tool’s own privacy information before entering sensitive HTML.
- Prepare the source. Save a complete document as
page.html, or copy the fragment you want to render. Include essential styles in a<style>block or inline them so the preview does not depend on missing project files. - Open a converter. Choose one that accepts either pasted markup or an HTML file. Upload the file or paste the snippet into its editor.
- Set the render width. Match the intended layout: a narrow width may trigger mobile styles, while a wider one can change line wraps and element positions. Check the preview at the width you plan to export.
- Choose quality and background. Higher JPG quality preserves more detail but generally creates a larger file. Since JPG has no alpha channel, set a solid background if the page or component would otherwise be transparent.
- Convert and inspect. Download the JPG and check its edges, text, images, and bottom of the page. If anything is missing or clipped, fix the source or settings and render again.
A small self-contained example to paste into an HTML converter:
<!doctype html>
<html lang="en">
<head>
  <meta charset="utf-8">
  <style>
    body { font: 16px Arial, sans-serif; background: #f4f6f8; padding: 32px; }
    article { background: white; padding: 24px; border-radius: 12px; }
    h1 { color: #244a73; }
  </style>
</head>
<body>
  <article>
    <h1>Release notes</h1>
    <p>A short preview rendered from HTML and CSS.</p>
  </article>
</body>
</html>
That example needs no external files, which makes it a useful baseline when diagnosing a more complex page. Online converters differ in whether they run scripts, allow linked assets, support long pages, or expose quality and pixel-density controls. Confirm the available options in the converter rather than assuming that an uploaded file will behave exactly like it does on your production site.
2. Choose the right source: markup, file, or URL
| Your input | Best-fit workflow | Check before converting |
|---|---|---|
| A short HTML fragment | Paste it into a browser converter | Add the CSS and a background needed for the intended preview. |
A local .html file |
Upload it to a converter that accepts files | Check whether local images, fonts, and stylesheets are included or accessible. |
| A public website | Capture its URL with a screenshot API | Set the viewport, image format, page length, and wait behavior. |
| A page behind login | Use an authorized browser or an API that supports credentials | Never send credentials to a service unless you are authorized and understand its handling. |
| Repeated or automated output | Use a rendering API or browser automation | Account for authentication, rendering time, output delivery, retries, and plan limits. |
A local file and a public URL are not interchangeable inputs. A converter that accepts uploaded markup may not fetch project assets from your computer. A URL screenshot API generally needs a publicly reachable page unless it offers documented authentication options. For example, HTML/CSS to Image documents HTML and URL inputs, JPG output, and a device-scale setting. Its options and requirements belong to that service and should not be assumed to apply to other APIs.
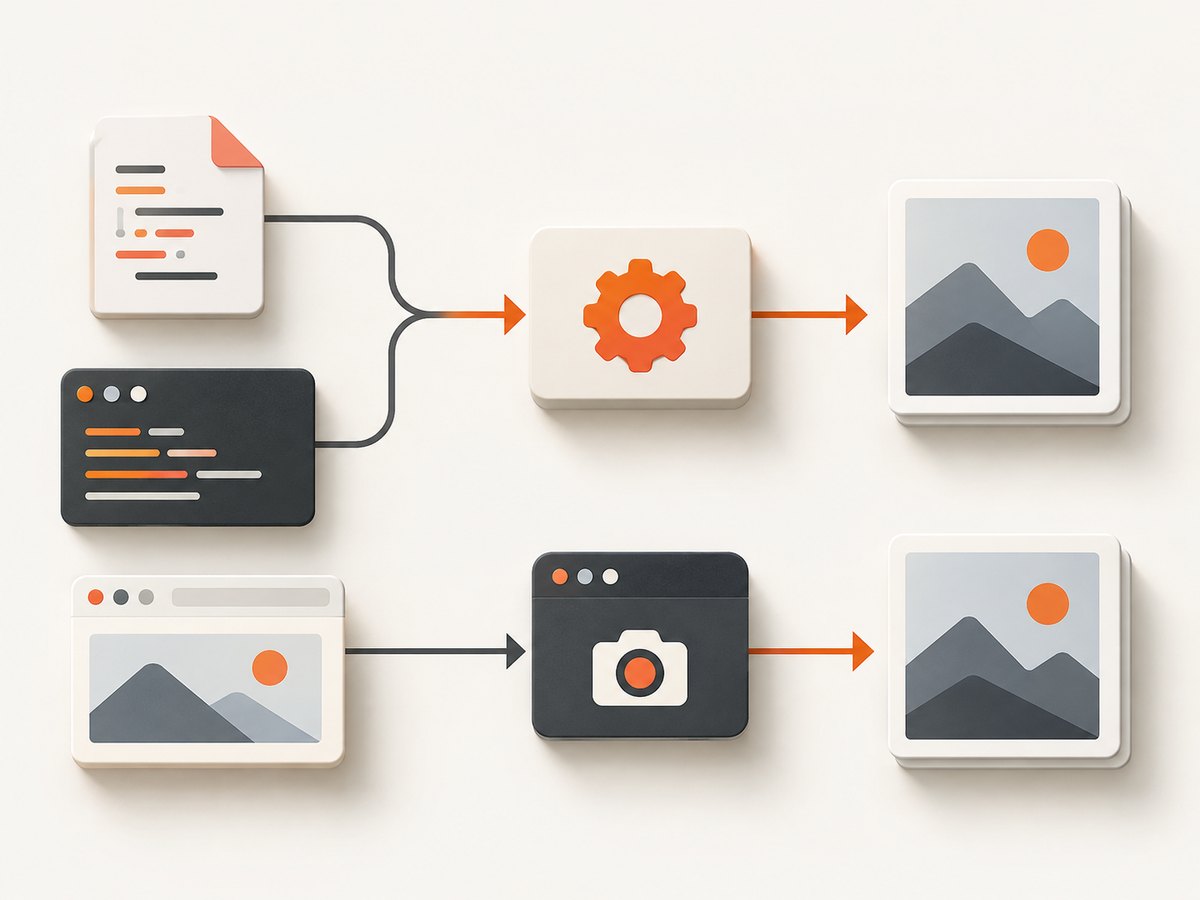
3. Capture a hosted page as JPG with an API
When the page already has a URL, the API renders the browser view rather than converting your local HTML source. In a screenshot API, choose a viewport width and height for the visible area, or full-page capture if you need the page beyond the initial viewport. Use JPG when compact photographic output is useful; for transparency or lossless text edges, PNG may fit better. The HCTI API documentation lists format, device scale, and full-page capture controls.
JavaScript-heavy sites may need a wait condition before capture. A navigation event can happen before client-rendered content, images, or fonts are ready. Cloudflare’s browser screenshot API documents wait behavior such as networkidle0 and networkidle2; its exact parameters are specific to Cloudflare. See the Cloudflare screenshot API reference.
Example: render HTML or a URL with HCTI
The following cURL request illustrates HCTI’s documented API shape. Replace the credentials and input with values for a page you control; consult its docs for any account setup and current response details.
curl -X POST "https://hcti.io/v1/image" \
  -u "YOUR_API_ID:YOUR_API_KEY" \
  -H "Content-Type: application/json" \
  -d '{
    "url": "https://example.com",
    "format": "jpg",
    "device_scale": 1
  }'
HCTI also accepts HTML as an input according to its documentation. A URL request is appropriate for an already hosted page; HTML input is the alternative when you want to send markup directly. Check the API response and save or fetch the returned image according to the service’s current instructions. Do not assume every API returns image bytes in the same way.
Timing and capture settings to consider
- Wait for a selector: Useful when a known element indicates that the page has rendered. A selector that never appears can cause a wait to expire.
- Wait for network activity: Useful for pages that fetch data after navigation. Persistent polling or analytics can prevent a strict network-idle condition from becoming true.
- Fixed delay: A simple fallback for pages with predictable rendering time, but too short can capture incomplete content and too long wastes time.
- Viewport and full page: The viewport defines responsive layout. Full-page captures include content below the fold, though very long pages may need more time and memory.
- Pixel density: A higher device scale can make output sharper at the cost of larger files and more rendering resources. HCTI documents a
device_scalerange of 0.1 to 3.
4. Or skip the browser setup
If you need a clean image of a hosted site without setting up a browser renderer, ScreenshotNeo captures a URL with one GET request and can return PNG, JPEG, WebP, or PDF. Its API accepts a format=jpg parameter; see the ScreenshotNeo API documentation for request options.
curl -G "https://api.screenshotneo.com/v1/shot" \
  -d access_key=YOUR_API_KEY \
  --data-urlencode url=https://stripe.com \
  -d format=jpg \
  -o shot.jpg
ScreenshotNeo removes cookie banners, newsletter popups, and chat widgets before capture, and each cleanup step can be turned off. Bot checks, blank pages, failed loads, timeouts, and cache hits are not billed; response headers identify the page verdict and billing status. Its MCP server gives AI agents tools for screenshots, page information, and PDF capture. The free plan includes 1,000 shots a month with no card, and paid plans start at $5 for 3,000 shots. Use the free sign-up to get started.
5. Fix common rendering problems
| Symptom | Likely cause | What to try |
|---|---|---|
| Blank or partly rendered page | JavaScript has not finished, or the renderer captured at navigation too early. | Wait for a page-specific selector or suitable network-idle state. If needed, use a modest delay and inspect the result. |
| Missing images | Broken URLs, private resources, blocked cross-origin image access, or late image loading. | Use valid absolute URLs, verify access from the rendering environment, and wait for images. For browser canvas conversion, cross-origin restrictions can prevent drawing remote images. |
| Fallback font or changed line breaks | Web fonts have not loaded, or the file’s font paths are unavailable. | Wait for fonts, use an available system font, or include the needed font assets in a way supported by the tool. |
| Content clipped at the side | The viewport is narrower than the layout or a fixed-width element extends beyond it. | Increase render width, adjust responsive CSS, or capture a specific element if the API supports it. |
| Bottom of the page is missing | The capture is viewport-only, or lazy-loaded content never entered the viewport. | Enable full-page capture if available and use a service that supports loading lazy images before capture. |
| JPG looks blurry | Output dimensions or device scale are too low for the display size. | Raise the viewport or pixel density carefully, then compare file size and sharpness. HCTI notes that higher device scale increases quality and file size. |
| JPG has an unexpected solid background | JPEG has no transparency channel. | Set the desired background before export, or use PNG if transparent output is essential. |
| Login page or access denied | The renderer cannot access a private page, or the site blocks automated requests. | Use an authorized session or documented cookie/header authentication. Never put secrets in public URLs or shareable code. |
| API returns an error or times out | Invalid credentials, malformed input, inaccessible URL, excessive render dimensions, or slow page scripts. | Check status and error body, verify key and URL, reduce capture complexity, and use the API’s documented async or webhook flow where available. |
Cloudflare warns that default page-load waiting can return incomplete results for JavaScript-heavy pages, while html2img documents selector waits and a delay option. These are useful examples of the controls available in some APIs, not universal parameter names. html2img’s getting-started guide covers its own endpoints and options.

6. Quality, performance, and cost
Choose dimensions before quality
Set the page width to match its intended use before raising JPG quality. Width changes responsive breakpoints and line wrapping; scaling up a capture after rendering cannot restore detail that was never captured. Higher quality settings and higher pixel density can increase file size. Keep JPG for photographs, gradients, and compact previews; prefer PNG when sharp interface text, flat-color edges, or transparency matter.
Keep captures reliable
Make the render deterministic where you can: use stable content, known dimensions, a selector that signals readiness, and a limited set of external dependencies. For an API pipeline, record the requested URL and capture settings alongside the output, check status codes and response metadata, and retry only failures that are likely temporary. A slow third-party page can fail even when your request is valid. For bulk workloads, use the service’s documented asynchronous or webhook mechanisms rather than holding a short-lived request open indefinitely.
Estimate the practical cost
A browser converter may be convenient for occasional manual files; API usage can involve an account, credentials, credits, or a paid plan. Compare the actual service terms and billing unit before automating a large batch. Also account for the work of hosting the resulting images and retaining source HTML. ScreenshotNeo lists 1,000 free monthly shots without a card, then plans of $5 for 3,000, $15 for 15,000, $39 for 60,000, $99 for 250,000, and $249 for 1,000,000; yearly billing gives two months free. Every feature is on every plan. These are ScreenshotNeo’s stated prices and may change; check its site for current details.
7. Quick checklist before downloading
- Is the source pasted HTML, an uploaded file, or an existing URL?
- Do linked styles, fonts, and images load in the rendering environment?
- Does the viewport produce the layout you intend?
- Should the capture show only the viewport, one element, or the full page?
- Have dynamic content and lazy images finished loading?
- Is JPG the right format, given its compression and lack of transparency?
- Have you inspected the downloaded file for missing assets, clipped edges, and readability?
FAQ
Can I convert HTML to JPG without installing software?
Yes. A browser-based converter that accepts pasted HTML or an uploaded file can handle a one-off conversion without local browser automation. Confirm its file and asset support first.
Can I convert a webpage URL using an HTML file converter?
Only if the tool explicitly supports URL capture. Otherwise use a screenshot API that renders a publicly accessible URL.
Will JPG preserve selectable text?
No. JPG stores pixels rather than document text. Keep the HTML or create a PDF when searchable or selectable content matters.
Should I choose JPG or PNG?
Choose JPG for a compact image with a solid background. Choose PNG for lossless detail or transparency.
Can an online converter run scripts in my HTML?
Behavior varies by converter. Some tools disable scripts in their preview for safety; hosted-page screenshot APIs run a browser and may wait for page JavaScript. Check the specific tool’s documentation and only render code you trust.


