How to Convert HTML to JPG with n8n
Build an n8n workflow that turns HTML or a webpage URL into a JPG, handles binary output, and avoids common rendering failures.
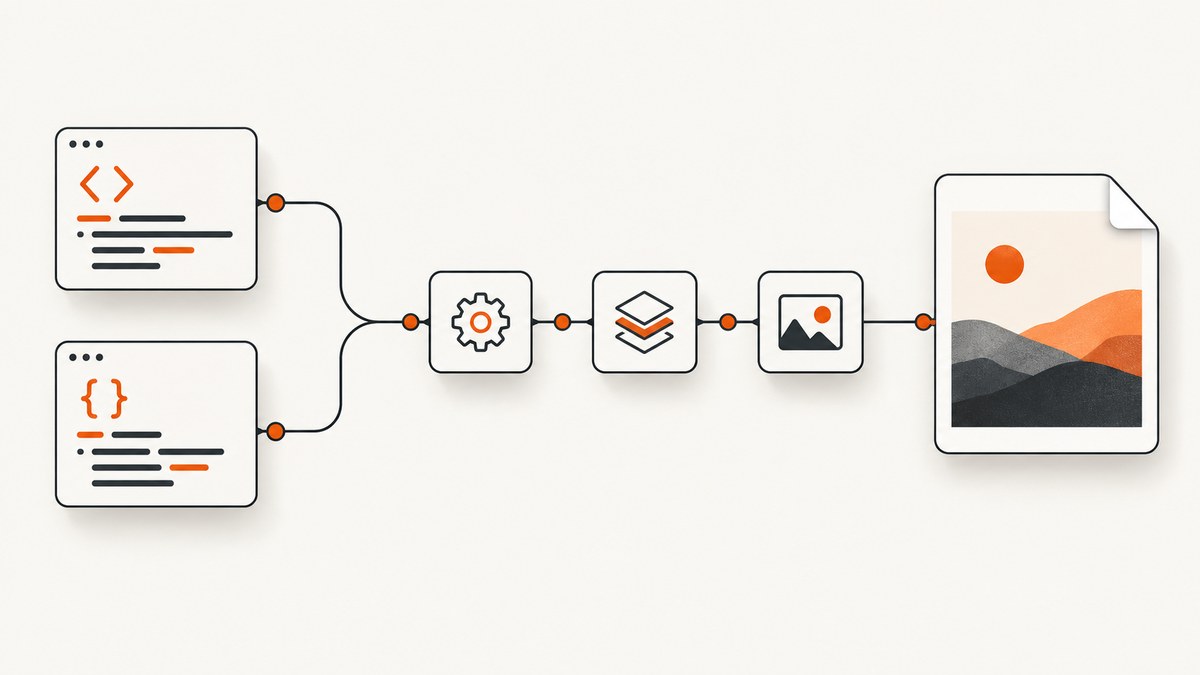
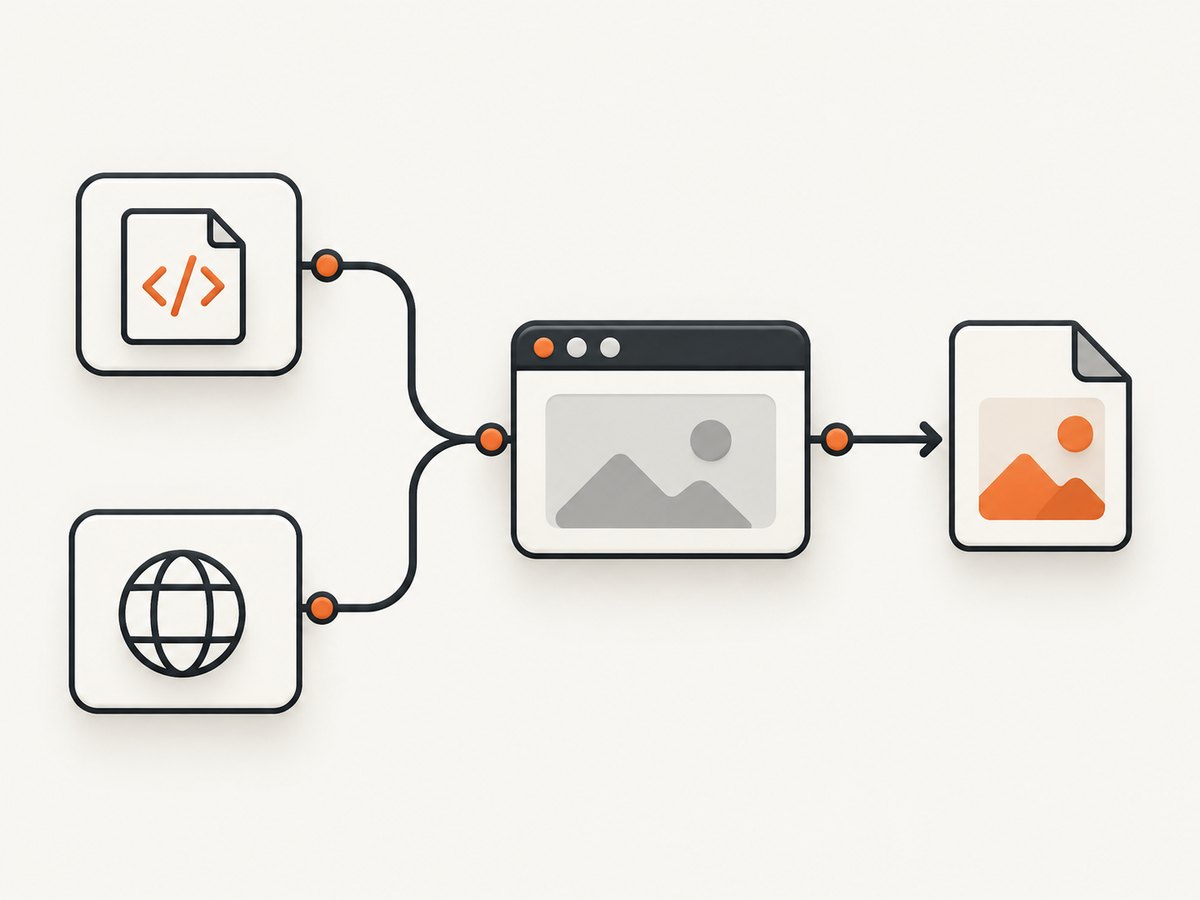
Yes. n8n can convert HTML to JPG by sending your markup or a webpage URL to an HTML/CSS-to-image integration, selecting JPEG output, and passing the returned binary to storage, email, Slack, or another destination. If a verified image node is unavailable in your n8n instance, use the HTTP Request node with a rendering API.
The key choice is the input you already have:
- Use HTML to Image when the workflow owns an HTML/CSS string.
- Use URL to Image when you only have a webpage address.
- Use HTTP Request when your selected renderer has no installed n8n node.
What the workflow does
A reliable conversion workflow has five stages:
- Trigger the workflow with a webhook, schedule, manual run, or an upstream data event.
- Build or retrieve the HTML and CSS.
- Send the content or URL to a renderer.
- Receive a JPG/JPEG as binary data.
- Save or deliver that binary file.
n8n’s verified HTML/CSS-to-image integration is designed to “Render HTML and CSS as an image or PDF.” Its integration separates HTML-to-image and URL-to-image modes, so selecting the correct operation prevents a common mistake: sending a URL where the node expects markup, or sending markup where it expects a URL.
Prerequisites and rendering decisions
Before creating nodes, decide what the renderer must be able to access:
| Question | Why it matters |
|---|---|
| Do you have raw HTML? | Choose HTML to Image and include CSS in the request or document. |
| Do you have only a webpage URL? | Choose URL to Image or use an HTTP screenshot endpoint. |
| Are images, fonts, or scripts external? | The rendering service must be able to reach those assets. Private or blocked URLs may appear blank. |
| Does the page depend on JavaScript? | Use a browser-based renderer and allow enough wait time for the page to finish. |
| Where should the JPG go? | Plan the binary property name and connect it to a file-capable destination. |
The cited integrations establish that HTML, URL, image, and PDF rendering are supported. They do not guarantee identical font loading, JavaScript behavior, dimensions, quality, latency, rate limits, or pricing across providers. Test the exact templates and assets used by your workflow.
Method 1: Use the verified HTML/CSS-to-image node
Step 1: Create the trigger
Add a Webhook, Schedule Trigger, Manual Trigger, or the event node that supplies your data. For a generated invoice, for example, the incoming item might contain a customer name, total, and invoice number.
Step 2: Build the HTML
Use a Set or Code node to create the document. Keep the CSS self-contained when possible. A Set node value can contain an expression such as:
<!doctype html>
<html>
<head>
  <meta charset="utf-8">
  <style>
    body { font-family: Arial, sans-serif; margin: 0; padding: 32px; }
    .card { width: 900px; background: #ffffff; color: #111827; }
    h1 { margin: 0 0 12px; font-size: 32px; }
    .total { margin-top: 24px; font-size: 24px; font-weight: 700; }
  </style>
</head>
<body>
  <main class="card">
    <h1>Invoice {{$json.invoiceNumber}}</h1>
    <p>Customer: {{$json.customerName}}</p>
    <p class="total">Total: {{$json.total}}</p>
  </main>
</body>
</html>
Escape or sanitize user-controlled values before inserting them into HTML. This avoids malformed markup and prevents unexpected markup from becoming part of the rendered document.
Step 3: Select HTML to Image
Add the verified HTML/CSS-to-image integration and select its HTML to Image operation. Map the HTML field from the previous node. Select JPG or JPEG as the output format when the node exposes that option.
Review every field offered by your installed version. Relevant settings commonly include output format, width, height, quality, and whether the result is returned as binary data. The integration’s documented return formats include binary JPG, along with PNG, WebP, and PDF.
Step 4: Check the binary output
Run the node once and inspect the output. n8n should show a binary property, often named data, containing the image. Do not treat the binary value as ordinary JSON. Downstream nodes need the binary property name.
Step 5: Deliver the file
Connect the image to a destination that accepts binary data:
- Google Drive, S3-compatible storage, or another file store: map the binary property and choose a filename ending in
.jpg. - Email: configure the binary property as an attachment.
- Slack: pass the binary property to the file upload field.
- Webhook response: return the binary data with an image content type if your workflow is serving the JPG directly.
Set a deterministic filename, such as invoice-{{$json.invoiceNumber}}.jpg, and avoid overwriting files when multiple items are processed.
Method 2: Convert a webpage URL to JPG
When your workflow has a URL instead of HTML, choose URL to Image. Pass a complete URL including the scheme, for example https://example.com/report.
- Trigger the workflow with an item containing
url. - Add the HTML/CSS-to-image integration.
- Select URL to Image.
- Map the URL field.
- Select JPG/JPEG output.
- Send the resulting binary property to storage or delivery.
For a page that renders content after JavaScript runs, check whether the integration exposes a delay, wait-for-selector, or browser-rendering setting. If it does not, use a browser-oriented REST renderer through HTTP Request.
Method 3: Use HTTP Request as the fallback
HTTP Request works with any REST-based renderer that accepts a URL or HTML body and returns an image. n8n documents this pattern for Browserless and GetScreenshot integrations.
Configure the request
- Add an HTTP Request node.
- Set the provider’s HTTP method and endpoint.
- Configure authentication using the provider’s credential method.
- Send either the HTML string in the body or the page URL in the provider’s documented parameter.
- Request JPEG output when the API supports it.
- Set the response format to a file/binary response.
- Choose a binary property name such as
data.
Browserless documents PNG, JPEG, and WebP screenshot output. The exact endpoint, authentication header, request body, viewport options, wait settings, and quality parameters belong to the provider’s API documentation; copy those values into HTTP Request rather than guessing them.
Example request body shape
The following is a structural example. Replace the endpoint and field names with those required by your renderer:
{
  "url": "https://example.com/report",
  "type": "jpeg",
  "quality": 90,
  "waitForTimeout": 1000
}
For raw HTML, the provider may instead expect an HTML field:
{
  "html": "<html>...</html>",
  "type": "jpeg"
}
After the request runs, inspect the binary tab. If n8n displays JSON containing a URL rather than image bytes, the provider returned an asynchronous job or a hosted result. Add a follow-up HTTP Request to retrieve the file, or poll the job until it completes.
Or skip the browser setup
ScreenshotNeo provides a one-call website screenshot API at https://api.screenshotneo.com/v1/shot. It accepts a URL and returns PNG, JPEG, WebP, or PDF. This is useful when n8n should capture a webpage without maintaining browser infrastructure.
cURL:
curl -G "https://api.screenshotneo.com/v1/shot" -d access_key=YOUR_API_KEY --data-urlencode url=https://stripe.com -o shot.webpPython:
import requests
r = requests.get("https://api.screenshotneo.com/v1/shot", params={"access_key": "YOUR_API_KEY", "url": "https://stripe.com"}, timeout=90)
open("shot.webp", "wb").write(r.content)
Node.js:
const q = new URLSearchParams({ access_key: 'YOUR_API_KEY', url: 'https://stripe.com' });
const res = await fetch(`https://api.screenshotneo.com/v1/shot?${q}`);
In n8n, the equivalent is an HTTP Request node using GET, the URL above, query parameters for access_key and url, and a file response. See the ScreenshotNeo documentation for request options.
ScreenshotNeo removes cookie and consent banners, newsletter popups, and chat widgets before capture. Bot checks, blank pages, timeouts, failed loads, and cache hits are not billed; response headers identify the page verdict and whether the request was billed. Its MCP server provides take_screenshot, get_page_info, and capture_pdf tools for Claude, Cursor, and other MCP clients. The free plan includes 1,000 screenshots each month with no card, and paid plans start at $5 for 3,000 shots. Create a free ScreenshotNeo account.
HTML versus URL: which mode should you choose?
| Use case | Recommended mode | Reason |
|---|---|---|
| Invoice assembled inside n8n | HTML to Image | You control the markup and can generate a repeatable document. |
| Public marketing page | URL to Image | The renderer loads the existing page. |
| Authenticated dashboard | URL plus renderer authentication support | The page must receive the required cookies, headers, or credentials. |
| Dynamic chart rendered by JavaScript | Browser-based URL capture | The browser must wait for the chart to appear. |
| Provider has no n8n node | HTTP Request | REST APIs can still be called directly. |

Options that affect JPG quality
Dimensions and viewport
A webpage screenshot is constrained by viewport width and height. A narrow viewport can trigger mobile CSS and change the layout. For generated HTML, set an explicit width in CSS and use a matching renderer width. For long pages, choose full-page capture if the provider supports it, or split the document into predictable sections.
Quality and compression
JPEG is appropriate for photographs and gradients, but text and line art may show compression artifacts. Increase quality when small type must remain legible. If the renderer supports only PNG for pixel-perfect UI assets, keep PNG for that use case and convert later only when file size matters.
Fonts and external assets
Use web-safe fonts or ensure that custom font URLs are reachable from the renderer. External images must return successfully without an interactive login. A page can technically load while its font or hero image fails, producing a visually incomplete JPG.
Waiting for dynamic content
Use a provider’s selector wait, delay, or network-idle option when content appears after JavaScript execution. A fixed delay is simple but may waste time on fast pages and still fail on slow pages. A selector wait is more deterministic when the page has a reliable completion element.
Handling multiple items
n8n processes items independently. If an upstream node emits 100 records, the image node may make 100 rendering requests. Add batching when the provider has rate limits, and give every item a unique filename. Preserve the original JSON fields alongside the binary property if later nodes need both metadata and the image.
For high-volume workflows, record the source URL, render status, output filename, and timestamp. This makes retries and reconciliation possible when one item fails.
Troubleshooting common errors
| Symptom | Likely cause | Fix |
|---|---|---|
| JPG is blank | HTML is empty, assets are inaccessible, or capture occurred before JavaScript finished. | Inspect the mapped HTML, test asset URLs, and add a selector wait or delay. |
| Only JSON appears in output | The HTTP Request node is parsing the response as JSON. | Set the response format to file/binary and inspect the binary property. |
| Image is returned but cannot open | The provider returned an error document or truncated bytes. | Check HTTP status, content type, and response body before writing the file. |
| External images are missing | The renderer cannot reach private URLs, requires authentication, or blocks mixed content. | Use public HTTPS assets or configure supported headers/cookies. |
| Custom font is replaced | Font loading failed or the renderer captured too early. | Use a reachable font URL and wait for the document to finish loading. |
| Mobile layout appears unexpectedly | Viewport width triggered responsive CSS. | Set an explicit desktop viewport or use the intended device width. |
| Request times out | The page is slow, blocked, or waiting on an unavailable resource. | Reduce unnecessary assets, set a suitable timeout, and inspect the URL independently. |
| Authentication page is captured | The renderer did not receive required cookies or headers. | Configure provider-supported authentication and never place secrets in public URLs. |
| Files overwrite each other | Every item uses the same filename. | Include an ID, timestamp, or source key in the filename. |
Reliability, performance, and cost
Rendering cost and latency depend on the selected provider, page complexity, asset count, viewport, and wait strategy. The research sources do not publish a universal conversion speed, quality score, or cost figure, so measure your own templates before setting workflow timeouts.
- Reduce work: remove unused third-party scripts and oversized images from generated HTML.
- Cache stable results: avoid rerendering identical content when the provider supports caching or your workflow can reuse a prior file.
- Retry carefully: retry transient network failures, but avoid duplicating delivery actions such as email or file creation.
- Separate rendering from delivery: save the binary first, then send it to downstream services so a Slack failure does not force a second render.
- Log metadata: store source URL, status, duration, provider request ID when available, and output path.
- Protect credentials: use n8n credentials or environment-backed secrets rather than embedding API keys in HTML or query strings.
ScreenshotNeo reports whether a response was a clean page and whether it was billed through response headers. Its cache hits, bot checks, blank pages, timeouts, and failed loads cost nothing, which can make failure handling easier to account for.
Security and privacy checks
Do not send passwords, session tokens, or personal data in a URL query string. If the page is private, use the renderer’s documented authentication mechanism and limit credentials to the minimum scope. Sanitize HTML assembled from user input. Treat rendered output as potentially sensitive: configure storage permissions, retention, and downstream sharing deliberately.
Short FAQ
Can n8n take a screenshot of HTML?
Yes. Use an HTML/CSS-to-image integration for markup you own, or call a browser-based screenshot API with HTTP Request.
Is JPG the same as JPEG in n8n?
They refer to the same image format. A node or API may label the option JPG or JPEG, and the output filename should normally end in .jpg.
Can I convert a URL instead of raw HTML?
Yes. Select URL to Image when the integration provides it, or send the URL to a screenshot endpoint through HTTP Request.
Why is my HTML rendered without CSS?
Relative stylesheet paths may not resolve, external assets may be blocked, or the renderer may capture before styles load. Inline critical CSS and verify every external URL.
Can the output go directly to Google Drive or Slack?
Yes. Keep the renderer response as binary data and map that binary property in the destination node.
When should I use ScreenshotNeo?
Use it when you want a URL-to-image API without managing browser setup, especially when consent banners, popups, chat widgets, failed loads, and billing clarity matter. It also provides MCP tools for AI-agent workflows.
Final checklist
- Choose HTML to Image for markup and URL to Image for webpages.
- Select JPG/JPEG output explicitly.
- Return the response as binary data.
- Verify fonts, images, JavaScript, authentication, viewport, and wait behavior.
- Use unique filenames and batch high-volume work.
- Check status and content type before saving.
- Send the binary property to storage, email, Slack, or a webhook response.
- Use ScreenshotNeo when a managed screenshot endpoint fits the workflow.


