How to Convert HTML to JPG with npm
Convert HTML strings or DOM elements to JPG in Node.js with node-html-to-image, Puppeteer, browser APIs, and a hosted ScreenshotNeo option.
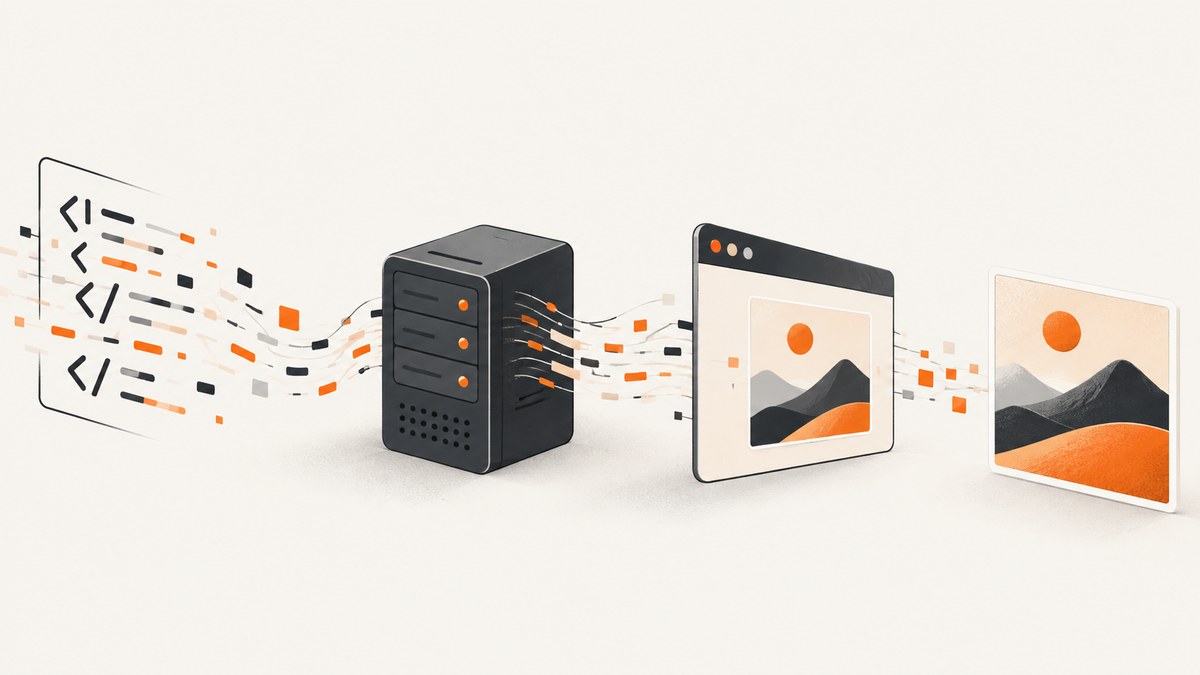
To convert HTML to JPG with npm, render the HTML in a browser engine and save a JPEG screenshot. For server-side HTML strings, the shortest reliable path is node-html-to-image, which uses Puppeteer. Set type: 'jpeg', choose a JPEG quality, and define explicit CSS dimensions so the output is predictable.
This guide covers HTML strings, files, single DOM elements, direct Puppeteer control, browser-only conversion, waiting for fonts and images, deployment, troubleshooting, and a hosted alternative. The examples use CommonJS where possible; an ESM version is included for browser-side work.
1. The recommended npm method: node-html-to-image
node-html-to-image exposes a function that generates PNG or JPEG images from HTML through Puppeteer. It captures the document body by default, can capture a CSS-selected element, writes to a file when output is supplied, and returns a Buffer when you omit it.

Install the package
mkdir html-to-jpg
cd html-to-jpg
npm init -y
npm install node-html-to-image
Puppeteer may download a compatible Chromium executable during installation. In restricted containers or serverless environments, plan for the browser binary and its system dependencies as part of deployment.
Convert an HTML string to a JPG file
const nodeHtmlToImage = require('node-html-to-image');

(async () => {
  await nodeHtmlToImage({
    output: './image.jpg',
    type: 'jpeg',
    quality: 85,
    html: `<!doctype html>
      <html>
        <head>
          <meta charset="utf-8">
          <style>
            * { box-sizing: border-box; }
            html, body { margin: 0; }
            body {
              width: 1200px;
              height: 630px;
              padding: 64px;
              background: #f5f7fb;
              color: #172033;
              font-family: Arial, sans-serif;
            }
            h1 { margin: 0 0 16px; font-size: 56px; }
            p { font-size: 24px; }
          </style>
        </head>
        <body>
          <h1>Hello from HTML</h1>
          <p>This page is rendered as a JPEG.</p>
        </body>
      </html>`
  });
})();
Run it with node index.js. The result is image.jpg. JPEG output requires type: 'jpeg'; the package defaults to PNG if you do not specify the type. JPEG quality is normally an integer from 0 through 100. Higher quality produces a larger file.
Return a Buffer instead of writing a file
Omit output when you need to upload the image, return it from an HTTP endpoint, or process it in memory.
const fs = require('node:fs/promises');
const nodeHtmlToImage = require('node-html-to-image');

(async () => {
  const imageBuffer = await nodeHtmlToImage({
    type: 'jpeg',
    quality: 85,
    html: `<html>
      <body style="margin:0;width:800px;height:450px;background:white">
        <h1>Render me</h1>
      </body>
    </html>`
  });

  await fs.writeFile('./image.jpg', imageBuffer);
})();
2. Control dimensions and capture one element
A screenshot is measured in CSS pixels, so define the body or target element dimensions in CSS. This matters for social cards, receipts, thumbnails, and any image that must have a fixed aspect ratio. If the body has no useful dimensions, the browser may produce an image that is smaller or taller than you expect.
Capture a selected element
const nodeHtmlToImage = require('node-html-to-image');

(async () => {
  await nodeHtmlToImage({
    output: './card.jpg',
    type: 'jpeg',
    quality: 90,
    selector: '#card',
    html: `<html>
      <head>
        <style>
          body { margin: 0; padding: 40px; background: #ddd; }
          #card {
            width: 640px;
            height: 360px;
            padding: 32px;
            background: white;
            border-radius: 18px;
            font-family: Arial, sans-serif;
          }
        </style>
      </head>
      <body>
        <section id="card">
          <h2>A single card</h2>
          <p>Only this element is saved.</p>
        </section>
      </body>
    </html>`
  });
})();
Use selector for a component such as a card or invoice. Use body capture when the whole document is the image. Make sure the selector exists and has non-zero dimensions; a missing or hidden selector is a common cause of blank output.
Use dynamic values safely
When interpolating user data into HTML, escape text before inserting it. HTML inserted directly into a browser context can execute scripts or load unexpected resources. For untrusted templates, sanitize markup and restrict external requests at the application boundary.
3. Wait for fonts, images, and other assets
Rendering can finish before remote fonts or images are visually ready. The package documents a waitUntil setting and hooks for configuring the Puppeteer page before the screenshot. Select a readiness condition that matches your page, and make sure every asset is reachable from the runtime.
const nodeHtmlToImage = require('node-html-to-image');

(async () => {
  await nodeHtmlToImage({
    output: './report.jpg',
    type: 'jpeg',
    quality: 88,
    waitUntil: 'networkidle0',
    html: `<html>
      <body style="margin:0;width:1000px;padding:48px;font-family:Arial">
        <img src="https://example.com/diagram.png" width="900" alt="Diagram">
        <h1>Report</h1>
      </body>
    </html>`
  });
})();
For deterministic output, prefer local assets, embed small images as data URLs, and use a web font only when the rendering environment can access it. A network-idle condition can take longer or never settle on pages with analytics, long polling, or streaming requests. In those cases, use a controlled delay or a page hook that waits for a specific application signal.
4. Full browser control with Puppeteer
Use Puppeteer directly when you need explicit browser lifecycle, viewport size, device scale factor, navigation behavior, request interception, or custom page setup. Puppeteer’s official Page API documents the sequence of launching a browser, navigating or setting content, and calling page.screenshot.
const puppeteer = require('puppeteer');

(async () => {
  const browser = await puppeteer.launch();
  try {
    const page = await browser.newPage();

    await page.setViewport({
      width: 1200,
      height: 630,
      deviceScaleFactor: 1
    });

    await page.setContent(`<!doctype html>
      <html>
        <body style="margin:0;width:1200px;height:630px;background:#fff;font-family:Arial">
          <h1 style="padding:64px">Hello</h1>
        </body>
      </html>`, {
      waitUntil: 'load'
    });

    await page.screenshot({
      path: './image.jpg',
      type: 'jpeg',
      quality: 85,
      fullPage: true
    });
  } finally {
    await browser.close();
  }
})();
Capture an element with Puppeteer
const card = await page.locator('#card');
await card.screenshot({
  path: './card.jpg',
  type: 'jpeg',
  quality: 90
});
Use a viewport that matches the intended design. Increase deviceScaleFactor when you need more physical pixels for high-density displays, but expect a larger file and greater memory use. fullPage: true captures the page’s complete scrollable height; it is not appropriate when you need a fixed social-card size.
5. Browser-only conversion with html-to-image
html-to-image works on an existing DOM node in a browser. Its toJpeg function returns a JPEG data URL and accepts a quality value between 0 and 1. This is useful when the page is already rendered and you do not want to run Chromium on a server.
import * as htmlToImage from 'html-to-image';

const node = document.getElementById('card');
const dataUrl = await htmlToImage.toJpeg(node, {
  quality: 0.92,
  backgroundColor: '#ffffff'
});

const link = document.createElement('a');
link.download = 'card.jpg';
link.href = dataUrl;
link.click();
This route captures the DOM the user already has. Cross-origin images without suitable CORS headers can be excluded or cause a canvas security error. It also does not replace a server-side browser when your input is only an HTML string or when you need a trusted, repeatable rendering environment.
6. Choosing the right approach
| Requirement | Best fit | Why |
|---|---|---|
| HTML string on a Node server | node-html-to-image | Small API with JPEG type, quality, output, selector, and wait controls. |
| Precise browser behavior | Puppeteer | Direct control over viewport, navigation, page lifecycle, and screenshots. |
| Already-rendered browser element | html-to-image | Converts an existing DOM node to a data URL without server Chromium. |
| Many remote URLs or production capture infrastructure | ScreenshotNeo | Hosted capture with cleanup, billing verdicts, automation options, and no browser deployment. |
7. Or skip the browser setup
ScreenshotNeo provides a website screenshot API at https://api.screenshotneo.com/v1/shot. A GET request returns a PNG, JPEG, WebP, or PDF. The same endpoint accepts HTML/CSS to image workflows, custom CSS and JavaScript, element selectors, viewport and device presets, retina scale, waits, cookies, headers, user agents, geolocation, timezone, request blocking, caching, and other capture controls. See the ScreenshotNeo API documentation for the complete option list.

curl -G "https://api.screenshotneo.com/v1/shot" \
  -d access_key=YOUR_API_KEY \
  --data-urlencode url=https://stripe.com \
  -o shot.webp
import requests
r = requests.get(
"https://api.screenshotneo.com/v1/shot",
params={"access_key": "YOUR_API_KEY", "url": "https://stripe.com"},
timeout=90,
)
r.raise_for_status()
open("shot.webp", "wb").write(r.content)const q = new URLSearchParams({
access_key: 'YOUR_API_KEY',
url: 'https://stripe.com'
});
const res = await fetch(`https://api.screenshotneo.com/v1/shot?${q}`);
if (!res.ok) throw new Error(`Screenshot failed: ${res.status}`);
const image = Buffer.from(await res.arrayBuffer());
require('node:fs').writeFileSync('shot.webp', image);Cookie banners, newsletter popups, and chat widgets are removed before the shot. Bot checks, blank pages, timeouts, failed loads, and cache hits are not billed; response headers identify the page verdict and whether the request was billed. An MCP server provides take_screenshot, get_page_info, and capture_pdf tools for Claude, Cursor, and other MCP clients. The Free plan includes 1,000 screenshots per month with no card; paid plans start at $5 for 3,000 screenshots. Create a free ScreenshotNeo account.
8. Troubleshooting common failures
Output is PNG instead of JPG
Set type: 'jpeg'. The package’s default is PNG. Check the file extension and the image’s MIME type rather than relying on the filename alone.
The image is blank or only partly rendered
Give the body or selected element explicit width and height. Check that the selector matches an existing, visible node. Wait for images, fonts, and application data before taking the screenshot. For remote assets, verify DNS, TLS, authentication, and CORS or server access from the runtime.
Fonts look different
The Chromium process must be able to download or access the font. Use a local font, embed it with a data URL, or wait until document.fonts.ready before capture. A fallback font changes line wrapping and therefore the final dimensions.
Network idle never completes
Analytics, WebSockets, polling, and streaming endpoints can keep a page active indefinitely. Replace a broad network-idle wait with a specific selector, a finite delay, or an application-ready flag. Block nonessential requests when you control the Puppeteer page.
Chromium fails in Docker or serverless
Install the operating-system libraries required by the Puppeteer-compatible browser, use a browser binary supported by your Puppeteer version, and make the executable path explicit when your environment does not use Puppeteer’s downloaded browser. Keep browser launch and shutdown inside a try/finally block so failed jobs do not leak processes.
JPEG has halos or an unexpected background
JPEG has no transparency. Set an explicit background color in CSS or with the browser screenshot options. If you need transparent pixels, use PNG or WebP instead.
Large pages consume too much memory
Capture an element instead of a full page, reduce the viewport or device scale factor, avoid keeping many Buffers in memory, and close pages promptly. Reuse a browser process carefully for throughput, but isolate jobs when untrusted pages or memory growth make reuse unsafe.
9. Performance, reliability, and cost notes
- Rendering cost: Browser startup is expensive. For batches, reuse a controlled browser and create separate pages, or queue jobs so concurrency matches available CPU and memory.
- Determinism: Fix viewport, CSS dimensions, timezone, locale, fonts, and input data. Avoid animations by injecting CSS that sets short transitions to none.
- Asset readiness: Local assets and explicit readiness signals are more reliable than arbitrary sleeps. Record navigation and rendering errors with the URL and selector.
- JPEG trade-off: Quality around 80–90 is often a practical starting point for web images. Measure your own output because photographs, text-heavy cards, and gradients compress differently.
- Retries: Retry transient navigation failures with a limit and backoff. Do not blindly retry invalid URLs, missing selectors, authentication failures, or pages that consistently time out.
- Hosted capture: ScreenshotNeo’s billing response distinguishes clean shots from bot checks, blank pages, timeouts, failed loads, and cache hits. Its configurable cache TTL, async jobs, signed webhooks, bulk capture of up to 100 URLs per call, and usage API can reduce repeated browser work for production pipelines.
10. Production checklist
- Declare
type: 'jpeg'and choose a quality value. - Set fixed CSS dimensions or an explicit viewport.
- Choose body capture or a specific selector.
- Wait for fonts, images, and application data.
- Set a background color because JPEG cannot be transparent.
- Validate the URL, template data, and selector before launching a job.
- Close browser pages and processes in error paths.
- Limit concurrency and monitor memory for batches.
- Keep credentials and authenticated headers out of client-side code.
- Log output dimensions, duration, and failure reason so retries are targeted.
11. FAQ
Can npm convert an HTML file directly to JPG?
Yes. Read the file with Node.js, pass its contents as the html option to node-html-to-image, and set type: 'jpeg'. External assets still need to be reachable by Chromium.
What is the difference between JPG and JPEG here?
They refer to the same image format. Use either filename extension, but keep the MIME type and extension consistent in APIs and storage.
How do I create a 1200 by 630 social image?
Set the body or target element to width: 1200px; height: 630px. With Puppeteer, also set a 1200 by 630 viewport and avoid fullPage when you need exactly that canvas.
Should I use a browser library or a hosted API?
Use a library when you need local control and can operate Chromium. Use a hosted API when you want URL capture without browser packaging, especially for batches, scheduled jobs, cleanup of consent UI, or AI-agent workflows.
Can I convert a live DOM element without Node.js?
Yes. html-to-image can turn an existing browser element into a JPEG data URL. It is not a replacement for server rendering of an HTML string.


