How to Convert HTML to PNG with an npm Package
Convert an HTML string or DOM node to PNG in Node.js with node-html-to-image, html-to-image, Puppeteer, Playwright, or ScreenshotNeo.
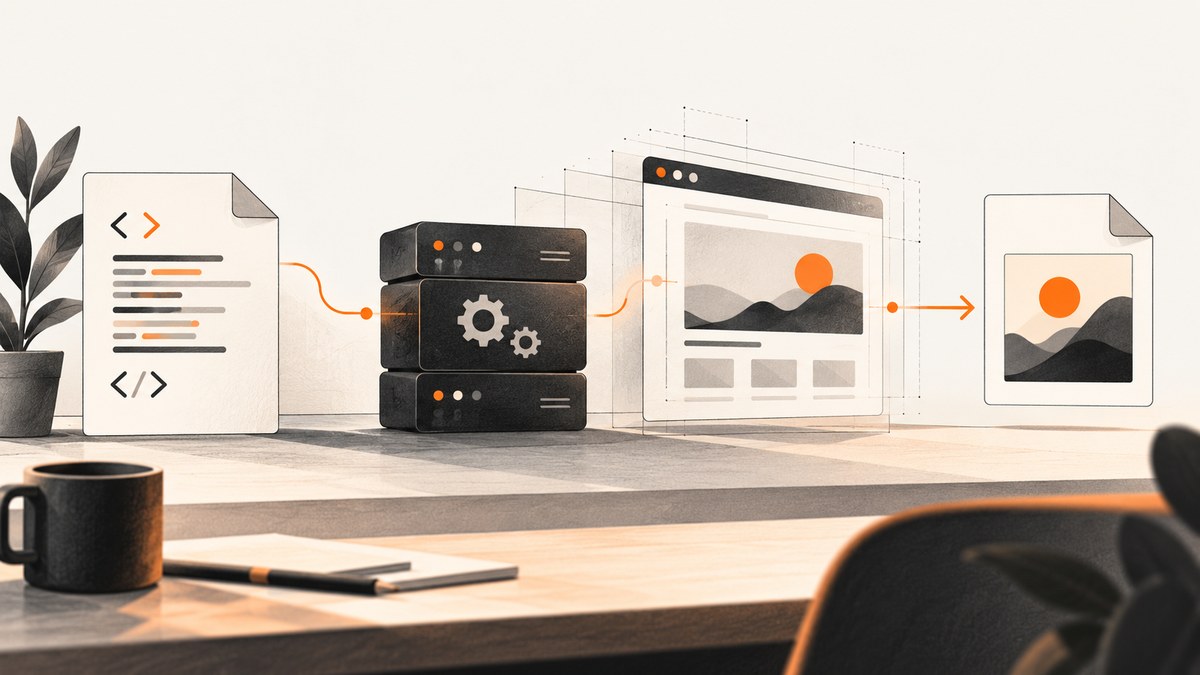
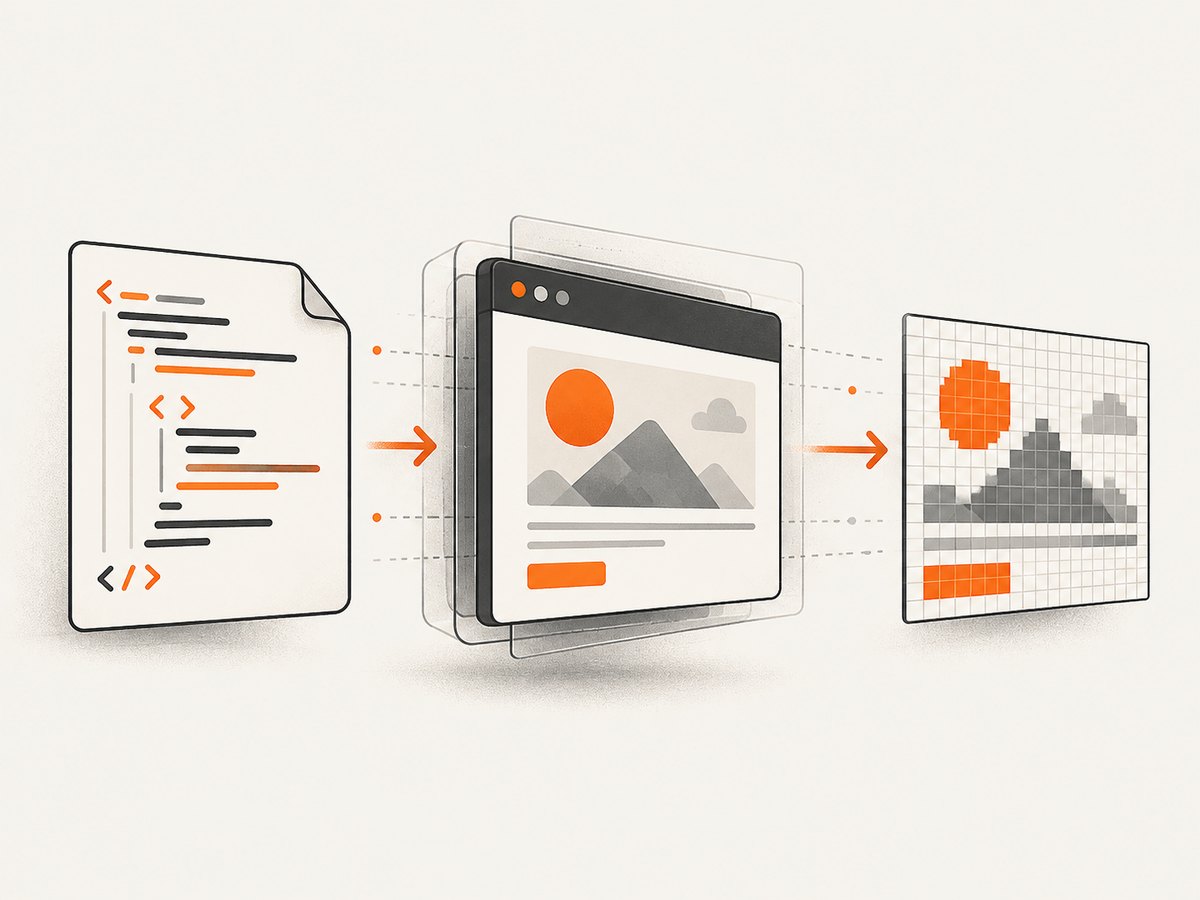
To convert an HTML string to a PNG in Node.js, the shortest server-side route is node-html-to-image. It accepts an HTML string, renders it in headless Puppeteer, and writes a PNG file or returns image data. For an existing browser DOM node, use html-to-image. For direct browser control, use Puppeteer or Playwright.
This guide covers the practical differences, complete examples, rendering options, external assets, failures, scaling, and a hosted alternative. The correct package depends mainly on where your HTML lives: a string on the server, a DOM node in a browser, or a page that needs browser automation.
1. Choose the right npm package
| Situation | Best fit | Why |
|---|---|---|
| HTML string in Node.js | node-html-to-image |
Small API that renders HTML through headless Puppeteer. |
| Existing DOM element in a browser | html-to-image |
Clones a node, embeds styles and assets, and returns a PNG data URL or other formats. |
| Full page lifecycle and browser control | Puppeteer | Direct access to navigation, selectors, waiting, screenshots, and Chromium settings. |
| Multiple browser engines | Playwright | Page, element, viewport, and full-page screenshots with Chromium, Firefox, and WebKit support. |
| Hosted URL-to-image API | ScreenshotNeo | Clean shots remove consent banners, popups, and chat widgets; only clean shots are billed. |
If your input is an HTML string and you control a Node.js server, start with node-html-to-image. It generates PNG or JPEG images, uses Puppeteer in headless mode, defaults to PNG, and can write directly to an output path.
2. Convert an HTML string with node-html-to-image
Install
mkdir html-png
cd html-png
npm init -y
npm install node-html-to-image
Installing this package also installs Puppeteer and its Chromium dependency. The package documentation notes an approximate Chromium download of 170 MB on macOS, 282 MB on Linux, and 280 MB on Windows. Treat those figures as package installation guidance rather than a performance benchmark.
Minimal runnable example
import nodeHtmlToImage from 'node-html-to-image';

await nodeHtmlToImage({
  output: './image.png',
  html: '<html><body><h1>Hello world!</h1></body></html>'
});

console.log('Wrote image.png');
Save this as index.mjs and run node index.mjs. The resulting file is a PNG rendered by Chromium without opening a visible browser window.
Use a template and data
import nodeHtmlToImage from 'node-html-to-image';

const product = {
  name: 'Notebook',
  price: '$24',
  accent: '#2563eb'
};

const html = `
  <!doctype html>
  <html>
    <head>
      <meta charset="utf-8">
      <style>
        * { box-sizing: border-box; }
        body {
          margin: 0;
          width: 1200px;
          min-height: 630px;
          display: grid;
          place-items: center;
          background: #f8fafc;
          font-family: Arial, sans-serif;
        }
        .card {
          width: 980px;
          padding: 64px;
          color: #0f172a;
          background: white;
          border-radius: 28px;
          border-top: 18px solid ${product.accent};
          box-shadow: 0 24px 70px rgba(15, 23, 42, .14);
        }
        h1 { margin: 0 0 20px; font-size: 64px; }
        p { margin: 0; font-size: 34px; }
      </style>
    </head>
    <body>
      <main class="card">
        <h1>${product.name}</h1>
        <p>${product.price}</p>
      </main>
    </body>
  </html>`;

await nodeHtmlToImage({
  output: './product.png',
  html,
  type: 'png'
});
When values come from users or an external database, escape them before inserting them into an HTML template. Otherwise a value containing markup can change the document or create an injection path.
Return a buffer instead of writing a file
import nodeHtmlToImage from 'node-html-to-image';

const image = await nodeHtmlToImage({
  html: '<html><body><div style="padding:40px">Buffer output</div></body></html>'
});

console.log(Buffer.isBuffer(image));
// Send image with Express, upload it to object storage, or write it yourself.
Use a buffer when an HTTP endpoint should return the image directly or when you want to upload it without a temporary file.
3. Rendering options that affect the PNG
Format, transparency, and output
type: 'png' is the default. Use JPEG when a smaller photographic image is more useful. PNG supports transparent output when your document and capture settings leave the background transparent. Set an explicit page background when you need consistent colors across environments.
await nodeHtmlToImage({
  output: './transparent.png',
  type: 'png',
  html: `<html><body style="margin:0;background:transparent">
    <div style="padding:32px;color:#111">Transparent card</div>
  </body></html>`
});
Select one element
The documented selector option targets a specific element and defaults to body. Put the desired export in a wrapper and select it:
await nodeHtmlToImage({
  output: './panel.png',
  selector: '#panel',
  html: `
    <html><body>
      <div id="panel" style="width:800px;padding:40px;background:#fff">
        Export only this panel
      </div>
      <div>This is outside the capture</div>
    </body></html>`
});
Wait for fonts, images, and scripts
Rendering can finish before a remote font or image has loaded. Use the package’s waitUntil, timeout, and lifecycle hooks where appropriate. A deterministic approach is to include critical CSS and assets directly, then use a hook for asynchronous setup.
await nodeHtmlToImage({
  output: './report.png',
  html: reportHtml,
  waitUntil: 'networkidle0',
  timeout: 60000,
  beforeScreenshot: async (page) => {
    await page.evaluate(() => document.fonts.ready);
  }
});
Use beforeRendering when you need to modify the page before the package renders it, and beforeScreenshot for final browser actions. Keep hooks short and fail them clearly so a missing asset does not silently produce an incomplete image. Exact option names and supported values can change with package releases; consult the package documentation when pinning a version.
Concurrency
Screenshot generation is browser work. Running many jobs at once can exhaust memory or file descriptors. Use the package’s concurrency controls, queue requests, and cap parallel renders based on the memory available to your process. Reuse a browser in a larger Puppeteer implementation when startup time becomes significant.
4. Browser-side conversion with html-to-image
html-to-image is designed for an existing DOM node. It clones the node, copies computed styles, embeds fonts and images, serializes the result through SVG foreignObject, and rasterizes it on a canvas.
npm install html-to-imageimport { toPng } from 'html-to-image';
const node = document.querySelector('#invoice');
const dataUrl = await toPng(node, {
backgroundColor: '#ffffff',
pixelRatio: 2,
cacheBust: true,
width: node.scrollWidth,
height: node.scrollHeight
});
const link = document.createElement('a');
link.download = 'invoice.png';
link.href = dataUrl;
link.click();The library also exposes conversions to blobs, canvases, SVG, and JPEG. Options include background color, width and height, canvas dimensions, pixel ratio, cache busting, font embedding, and image placeholders.
This method does not launch a headless browser. It is a good fit for a user action such as “download this chart.” It can fail for very large DOM trees because serialized data URLs become too large. Cross-origin images, fonts, and tainted canvas content can also prevent a successful export. Configure CORS on assets you control, inline critical assets, or provide placeholders for optional images.
5. Use Puppeteer when you need direct control
Puppeteer is the lower-level choice behind node-html-to-image. It is useful when you need custom navigation, request interception, authentication, viewport settings, or several screenshots from one page.
import puppeteer from 'puppeteer';

const browser = await puppeteer.launch({ headless: true });
try {
  const page = await browser.newPage();
  await page.setViewport({ width: 1200, height: 800, deviceScaleFactor: 2 });
  await page.setContent(`
    <html><body style="margin:0">
      <main style="width:1200px;height:800px;background:#e0f2fe;padding:80px">
        <h1>Generated page</h1>
      </main>
    </body></html>`, { waitUntil: 'networkidle0' });

  await page.screenshot({ path: 'puppeteer.png', fullPage: true });
} finally {
  await browser.close();
}
Puppeteer’s screenshot API can return a base64 string or a Uint8Array instead of writing a path. It also supports element screenshots. Use a stable viewport and wait for the exact selector or asset state your design requires.
6. Use Playwright for browser-engine coverage
Playwright exposes page, element, viewport, and full-scrollable-page screenshots. Its file extension infers PNG in the basic case, and its options include full-page capture, quality, and CSS or device scale settings.
import { chromium } from 'playwright';

const browser = await chromium.launch();
try {
  const page = await browser.newPage({
    viewport: { width: 1280, height: 720 },
    deviceScaleFactor: 2
  });
  await page.setContent(`
    <html><body style="margin:0">
      <section style="height:1400px;padding:48px;background:#f1f5f9">
        <h1>Playwright PNG</h1>
      </section>
    </body></html>`, { waitUntil: 'networkidle' });

  await page.screenshot({ path: 'playwright.png', fullPage: true });
} finally {
  await browser.close();
}
Choose Playwright when testing or capturing across browser engines matters. Choose Puppeteer when Chromium control and its ecosystem are sufficient.
7. Edge cases and production checklist
- Fonts: Wait for
document.fonts.ready. Bundle important fonts or verify that the server can reach the font host. - Images: Prefer absolute URLs, correct MIME types, and CORS headers. Inline small critical images when reliability matters.
- CSS dimensions: Set an explicit width, height, margin, and background. Otherwise the screenshot may include unexpected whitespace.
- Lazy content: Trigger scrolling or wait for the content before capturing. A screenshot only contains what has rendered.
- Animations: Disable transitions and animations for repeatable output.
- Security: Treat remote HTML as untrusted. Restrict navigation and avoid allowing arbitrary file access in browser processes.
- Large pages: Full-page images can consume substantial memory. Capture a selected element or split long documents when possible.
- Locale: Set timezone, language, and data explicitly if dates or number formats appear in the image.
const stableCss = `
  *, *::before, *::after {
    animation: none !important;
    transition: none !important;
    caret-color: transparent !important;
  }
`;
8. Troubleshooting common failures
| Symptom | Likely cause | Fix |
|---|---|---|
| Chromium fails to launch in Linux | Missing system libraries or a restricted sandbox. | Install the dependencies required by your chosen Puppeteer or Playwright image, use the package’s documented container setup, and inspect the launch error before changing flags. |
| Blank or partially blank PNG | Capture happened before content, fonts, or images finished loading. | Wait for a selector, document.fonts.ready, and a suitable network-idle state; inline critical assets. |
| Remote images disappear | Cross-origin policy or an inaccessible URL. | Enable CORS, use same-origin assets, or configure an image placeholder. |
| Text wraps differently on the server | Different viewport, device scale, font, or installed font set. | Set viewport and device scale explicitly and package the fonts used by the design. |
| html-to-image throws a canvas or data URL error | Very large DOM or tainted canvas content. | Capture a smaller node, reduce dimensions, fix CORS, or switch to a headless browser. |
| Output has unexpected margins | Browser default body margin or an unconstrained wrapper. | Set html, body { margin: 0; } and define the capture element’s dimensions. |
| Job memory grows over time | Too much concurrency or browsers not being closed. | Queue work, cap concurrency, close every browser in a finally block, and monitor process memory. |
9. Performance, reliability, and cost
For local conversion, the main costs are Chromium installation, browser startup, CPU, memory, and asset loading. Keep one browser process alive for a controlled worker, create isolated pages per job, and close pages promptly. A queue with a fixed concurrency limit is safer than starting one browser per request.
For reproducible output, pin package versions, use a known browser version, set dimensions and device scale, disable motion, and make external dependencies explicit. Store the input data and rendering options with generated assets so you can reproduce a changed image.
For a browser-side export, avoid converting an unnecessarily large DOM. Pixel ratio improves sharpness but increases canvas memory and output size. Test the largest expected node, especially on mobile browsers.
If you do not want to install and operate a browser, a hosted screenshot API moves browser setup and page cleanup out of your application. Review the service’s billing and failure semantics before putting it in a batch pipeline.
10. Or skip the browser setup
ScreenshotNeo accepts one GET request and returns a PNG, JPEG, WebP, or PDF. It is useful when the source is a URL rather than a local HTML string:

cURL
curl -G "https://api.screenshotneo.com/v1/shot" -d access_key=YOUR_API_KEY --data-urlencode url=https://stripe.com -o shot.webpPython
import requests

r = requests.get("https://api.screenshotneo.com/v1/shot", params={"access_key": "YOUR_API_KEY", "url": "https://stripe.com"}, timeout=90)
open("shot.webp", "wb").write(r.content)
Node.js
const q = new URLSearchParams({ access_key: 'YOUR_API_KEY', url: 'https://stripe.com' });
const res = await fetch(`https://api.screenshotneo.com/v1/shot?${q}`);
See the ScreenshotNeo API documentation for request parameters and response details. Before capture, cookie and consent banners are accepted like a visitor when possible, and more than 60 known consent platforms, newsletter popups, and chat widgets are removed. Each cleanup step can be turned off.
Bot checks, CAPTCHAs, blank pages, timeouts, failed loads, and cache hits cost nothing. Response headers identify the page verdict and whether the request was billed through X-Page-Verdict and X-Billed. Other options include full-page capture with lazy images loaded, CSS element capture, dark mode, device presets or custom viewports, retina scale, custom CSS and JavaScript, clicks, selector hiding, selector or network-idle waits, request blocking, headers, cookies, user agents, authorization, timezone, geolocation, transparent backgrounds, resizing, chosen cache TTLs, signed links, asynchronous jobs with signed webhooks, bulk capture for up to 100 URLs per call, a usage API, and an OpenAPI specification.
An MCP server provides take_screenshot, get_page_info, and capture_pdf tools for Claude, Cursor, and other MCP clients. The Free plan includes 1,000 screenshots per month with no card. Paid plans start at $5 for 3,000 shots; yearly billing gives two months free, and every feature is available on every plan.
Sign up for ScreenshotNeo and start with the free 1,000 screenshots per month.
11. Short FAQ
Can I convert HTML to PNG without opening a visible browser?
Yes. node-html-to-image, Puppeteer, and Playwright run headless. A browser process still renders the page, but no visible window is required.
Which package should I use for a React component?
If the component is already mounted in the browser, use html-to-image on its DOM node. If it must render on a server from data, use node-html-to-image or direct Puppeteer.
Why is my PNG different in CI?
CI may use different fonts, browser versions, viewport dimensions, timezone, or device scale. Pin those inputs and make external assets available.
Can these packages create PDFs?
Puppeteer and Playwright can be used for PDF generation. node-html-to-image focuses on PNG and JPEG output. ScreenshotNeo can return a PDF from a URL.
Should I use PNG or JPEG?
Use PNG for text, diagrams, transparency, and sharp UI edges. Use JPEG when photographic content and smaller files matter more.


