How to Convert HTML to PNG in React
Export a React element as a PNG with html2canvas, handle images and canvas limits, and choose when a browser screenshot API fits better.
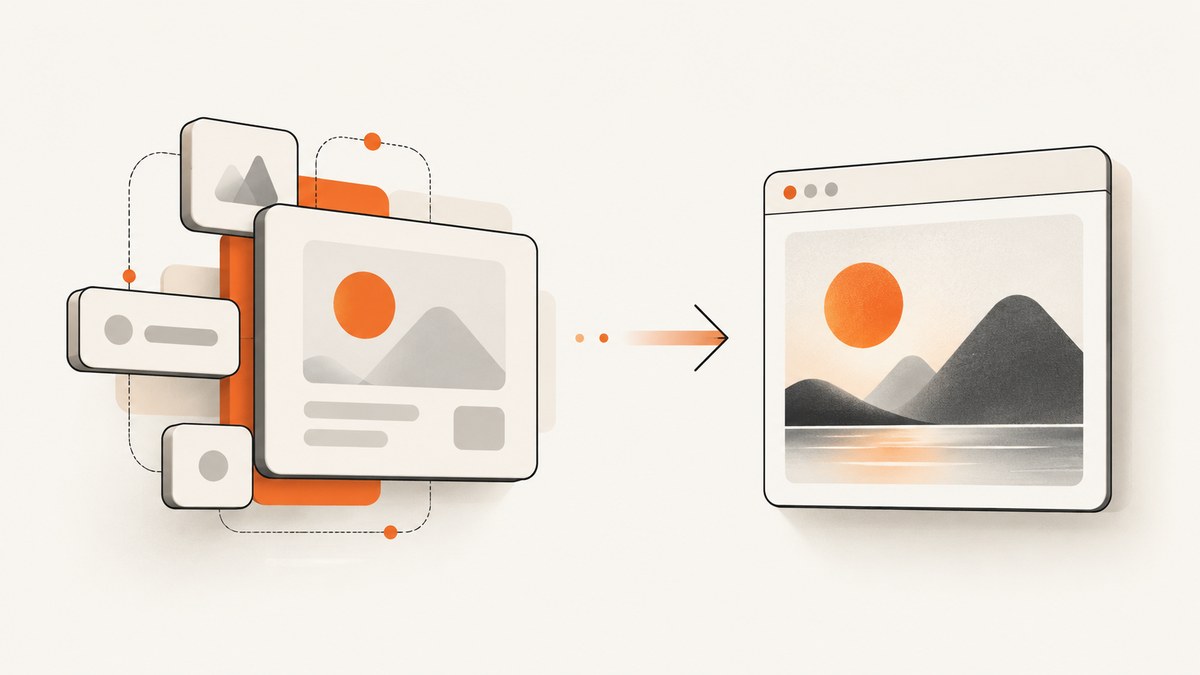
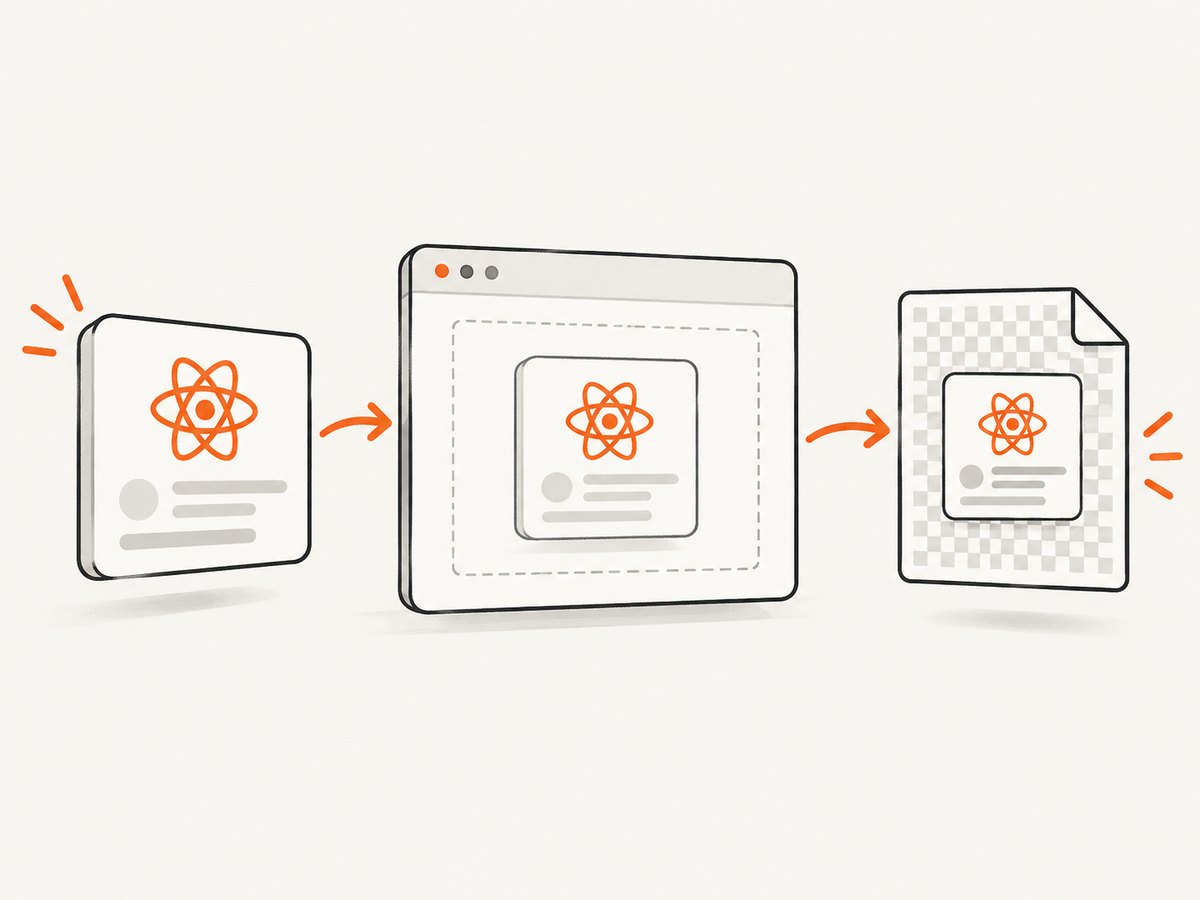
To convert a React element to PNG in the browser, render it, attach a ref to the element, wait until its content is ready, then pass the element to html2canvas. Export the returned canvas with toDataURL() for a small image or toBlob() for a Blob-based download. This creates an image by reconstructing the page from DOM and CSS information; it is not a native browser screenshot, so some styles and embedded content may differ.
Install the current package, @html2canvas/html2canvas, and import it in the client-side component that performs the capture. The examples below use a React ref so the capture target is available after rendering.
1. Install the package
Use the package manager already used by your app:
npm install @html2canvas/html2canvas
# or
yarn add @html2canvas/html2canvas
# or
pnpm add @html2canvas/html2canvas
The function accepts a DOM element and options, and resolves asynchronously with a canvas. Make sure the code runs in the browser: it relies on browser DOM and canvas APIs, so it cannot capture during server-side rendering.
2. Capture a React element and download it as PNG
This component captures a card when the user clicks the button. It requests a transparent canvas background when the element itself has no background, uses the browser’s device pixel ratio for output scale, and asks the library to load cross-origin images with CORS where the image server permits it.
import { useRef, useState } from 'react';
import html2canvas from '@html2canvas/html2canvas';

export function CardExport() {
  const captureRef = useRef(null);
  const [busy, setBusy] = useState(false);
  const [error, setError] = useState('');

  async function downloadPng() {
    const element = captureRef.current;
    if (!element || busy) return;

    setBusy(true);
    setError('');
    try {
      const canvas = await html2canvas(element, {
        backgroundColor: null,
        scale: window.devicePixelRatio || 1,
        useCORS: true,
      });
      const link = document.createElement('a');
      link.download = 'card.png';
      link.href = canvas.toDataURL('image/png');
      link.click();
    } catch (err) {
      setError(err instanceof Error ? err.message : 'Could not export this element.');
    } finally {
      setBusy(false);
    }
  }

  return (
    <main>
      <section ref={captureRef} className="card">
        <h2>Quarterly summary</h2>
        <p>Revenue is up 12% this quarter.</p>
      </section>
      <button type="button" onClick={downloadPng} disabled={busy}>
        {busy ? 'Preparing image…' : 'Download PNG'}
      </button>
      {error && <p role="alert">{error}</p>}
    </main>
  );
}
In a JSX source file, write the returned markup with ordinary JSX angle brackets; they are escaped above only because this article displays the code as HTML. Keep the element attached to the document during capture. The example uses a data URL because it is concise; the next section shows a Blob flow that avoids keeping a base64 string in JavaScript.
3. Prefer a Blob for larger exports
toDataURL() encodes the whole image as a string in memory. For larger captures, use toBlob() and an object URL instead. Always revoke the object URL after the download has been triggered so the browser can release it.
function downloadCanvas(canvas, filename = 'capture.png') {
  canvas.toBlob((blob) => {
    if (!blob) throw new Error('PNG encoding failed.');
    const objectUrl = URL.createObjectURL(blob);
    const link = document.createElement('a');
    link.href = objectUrl;
    link.download = filename;
    link.click();
    setTimeout(() => URL.revokeObjectURL(objectUrl), 0);
  }, 'image/png');
}

async function captureToBlob(element) {
  const canvas = await html2canvas(element, { useCORS: true });
  downloadCanvas(canvas);
}
Because toBlob() uses a callback, handle a null Blob in the callback as shown. If you need to upload the result, pass the Blob to FormData rather than first converting it to a data URL.
4. Wait for content and assets before capturing
Capture only after React has rendered the target and any changing content has settled. If the element includes images, wait for them to complete before calling the capture function. A simple helper can wait for image elements under the capture target:
async function waitForImages(root) {
  const images = [...root.querySelectorAll('img')];
  await Promise.all(images.map((img) => {
    if (img.complete) return Promise.resolve();
    return new Promise((resolve) => {
      img.addEventListener('load', resolve, { once: true });
      img.addEventListener('error', resolve, { once: true });
    });
  }));
}

async function captureReadyElement(element) {
  await document.fonts?.ready;
  await waitForImages(element);
  return html2canvas(element, { useCORS: true });
}
This helper waits for image load or failure so one broken image does not block the export forever. It does not make a cross-origin image readable: the remote server still needs to allow CORS. If your component fetches data asynchronously, wait for that application state as well; the helper cannot know when your React data request is complete.
5. Choose the right capture options
Options control the size and appearance of the result. Set them based on the output you need, then verify the actual page’s CSS and assets because this renderer reconstructs the image from information available in the DOM.
| Option | Purpose | Practical guidance |
|---|---|---|
scale |
Changes output pixel dimensions. | The default is the device pixel ratio. Lower it to reduce memory and file size; raise it for sharper output while watching canvas limits. |
backgroundColor |
Sets the canvas background. | Use null to request transparency where no element background fills it. Supply a color for a solid background. |
useCORS |
Attempts CORS loading for remote images. | Enable it when relevant, but the image host must send permissive CORS headers. |
allowTaint |
Allows drawing images that taint the canvas. | This does not make a tainted canvas exportable. Avoid relying on it if you need PNG readback. |
width, height |
Set the output window dimensions. | Consider the element’s scroll dimensions for content extending beyond its visible box. |
x, y |
Choose the crop origin. | Use with width and height when you need only a region of the target. |
For a standard component export, start with the target element, default dimensions, and a suitable scale. Add crop dimensions only when the desired output should omit part of that element. Large dimensions combined with a high scale can consume substantial memory and may exceed browser canvas limits; there is no universal safe maximum across browsers.
6. Understand fidelity and browser restrictions
html2canvas does not ask the browser to take a screenshot. Its documentation explains that it builds the output from DOM and style information, so the result may not exactly match the real rendered page. Test the particular CSS features and browser targets your users depend on before treating the export as a canonical representation.
- Cross-origin assets: remote images, fonts, and stylesheets are subject to browser origin rules and server CORS headers.
- Canvas security: drawing unauthorized cross-origin pixels can taint the canvas. Reading it back as PNG then fails for security reasons.
- Cross-origin iframes: the browser same-origin policy prevents reading another origin’s document for reconstruction.
- Very large output: browser canvas size limits vary. A canvas can become blank, truncated, or fail when dimensions are excessive.
- Dynamic page state: animations, data updates, lazy loading, and fonts can change what is visible. Settle the state before capturing.
If exact browser rendering or server-side generation is required, use a real browser screenshot approach or a managed screenshot service. The html2canvas FAQ points to Puppeteer and Playwright as server-side screenshot options; use their official documentation to choose and configure those tools. A managed service can move browser setup and capture execution out of the React client.
7. Troubleshooting
| Symptom | Likely cause | What to try |
|---|---|---|
| Images are missing from the PNG | The image host does not allow cross-origin access, or capture started before loading finished. | Inspect the image response’s CORS headers, set useCORS: true, and wait for image completion. If you control the backend, a suitable proxy is another option. |
| Export throws a security error | The canvas is tainted by cross-origin pixels. | Serve assets with appropriate CORS permission or omit those assets. allowTaint does not permit reading a tainted canvas back into a PNG. |
| An iframe’s contents are absent | The iframe is from another origin and cannot be read under same-origin restrictions. | Capture content that your page is permitted to read, or use a browser screenshot workflow that can access the target page at the appropriate level. |
| The image looks different from the page | DOM-to-canvas reconstruction differs from native rendering, or a CSS feature is unsupported. | Check the library’s supported features and simplify or adjust the captured markup. If browser-accurate output is a requirement, use a real browser capture method. |
| The PNG is blank or cut off | Capture dimensions do not include the content, or canvas limits were reached. | Inspect the element’s bounds and scroll dimensions, set window dimensions where appropriate, and reduce scale or crop the output. |
| Fonts or images appear inconsistently | The capture ran before assets or asynchronous component data were ready. | Wait for application data, document fonts, and image load completion before calling html2canvas. |
| The button does nothing | The ref is still null, an exception was swallowed, or the code ran outside the browser. | Confirm the ref is attached to a mounted DOM element, surface errors, and invoke capture from a client-side event handler. |
8. Performance, reliability, and cost
Client-side export avoids a screenshot API request and keeps the capture work in the visitor’s browser, but it also uses that device’s CPU and memory. The output canvas grows with both the target’s dimensions and scale, so reducing scale or capturing a smaller region can help with large exports. Blob output avoids a large base64 data URL string, though the rendered canvas itself still occupies memory.
For reliability, handle asynchronous failures and make the interface show a pending state while capture runs. Decide what to do when individual images fail, and avoid asking users to wait indefinitely on a never-resolving asset. For a server-side workflow, account for browser execution, network access to page assets, storage or delivery, and the operational cost of running or buying the rendering service. Do not assume a client library will produce identical pixels across browsers.
ScreenshotNeo is a hosted screenshot API and MCP server for developers. It accepts a URL and returns PNG, JPEG, WebP, or PDF; its API is useful when you need a browser capture of a page or want to avoid configuring capture infrastructure in your app. Read the ScreenshotNeo API documentation for request options and integration details.
Or skip the browser setup
For a URL-based screenshot, ScreenshotNeo accepts one GET request:
curl -G "https://api.screenshotneo.com/v1/shot" -d access_key=YOUR_API_KEY --data-urlencode url=https://stripe.com -o shot.webpimport requests
r = requests.get(
"https://api.screenshotneo.com/v1/shot",
params={"access_key": "YOUR_API_KEY", "url": "https://stripe.com"},
timeout=90,
)
open("shot.webp", "wb").write(r.content)const q = new URLSearchParams({ access_key: 'YOUR_API_KEY', url: 'https://stripe.com' });
const res = await fetch(`https://api.screenshotneo.com/v1/shot?${q}`);
if (!res.ok) throw new Error(`Screenshot request failed: ${res.status}`);
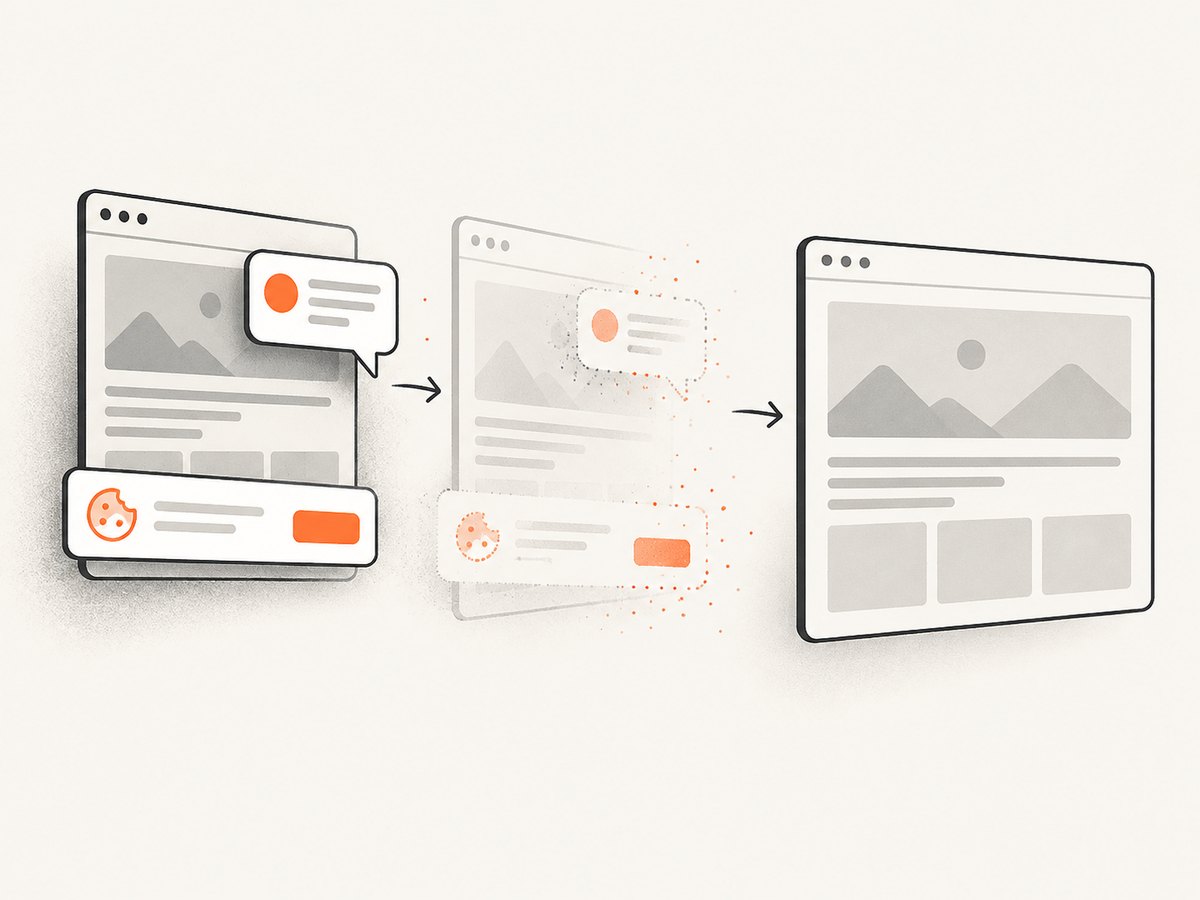
await Bun.write('shot.webp', res);ScreenshotNeo accepts cookie and consent banners like a visitor and removes more than 60 known consent platforms, newsletter popups, and chat widgets before the capture; each step can be turned off. Bot checks, blank pages, failed loads, timeouts, and cache hits are not billed, and response headers say which outcome occurred. Its MCP server lets AI agents use take_screenshot, get_page_info, and capture_pdf. The free plan includes 1,000 screenshots a month with no card; paid plans start at $5 for 3,000. Create a free ScreenshotNeo account and get 1,000 screenshots a month with no card.
9. FAQ
Can I export just one component instead of the whole page?
Yes. Attach the ref to the specific component’s DOM element and pass that element to html2canvas.
Can I create a transparent PNG?
Set backgroundColor: null and ensure the captured element itself does not paint an opaque background.
Is this suitable for a downloadable chart or card?
It can work for modest client-side exports if the chart’s rendered DOM and assets are supported. Check the result against your target browsers and content.
Does converting the canvas to PNG improve screenshot accuracy?
No. PNG is the output format; it does not change how html2canvas reconstructs the canvas from the page.
Sources
- html2canvas getting started — installation and element-to-canvas API.
- html2canvas overview — rendering approach and constraints.
- html2canvas FAQ — CORS, canvas limits, and server-side screenshot alternatives.
- html2canvas configuration — capture options.
- html2canvas examples — PNG export example.


