How to Convert HTML to a Transparent PNG
Render HTML in a real browser and save a PNG with transparency. Learn how to capture a viewport, full page, or single element with Puppeteer or Playwright.
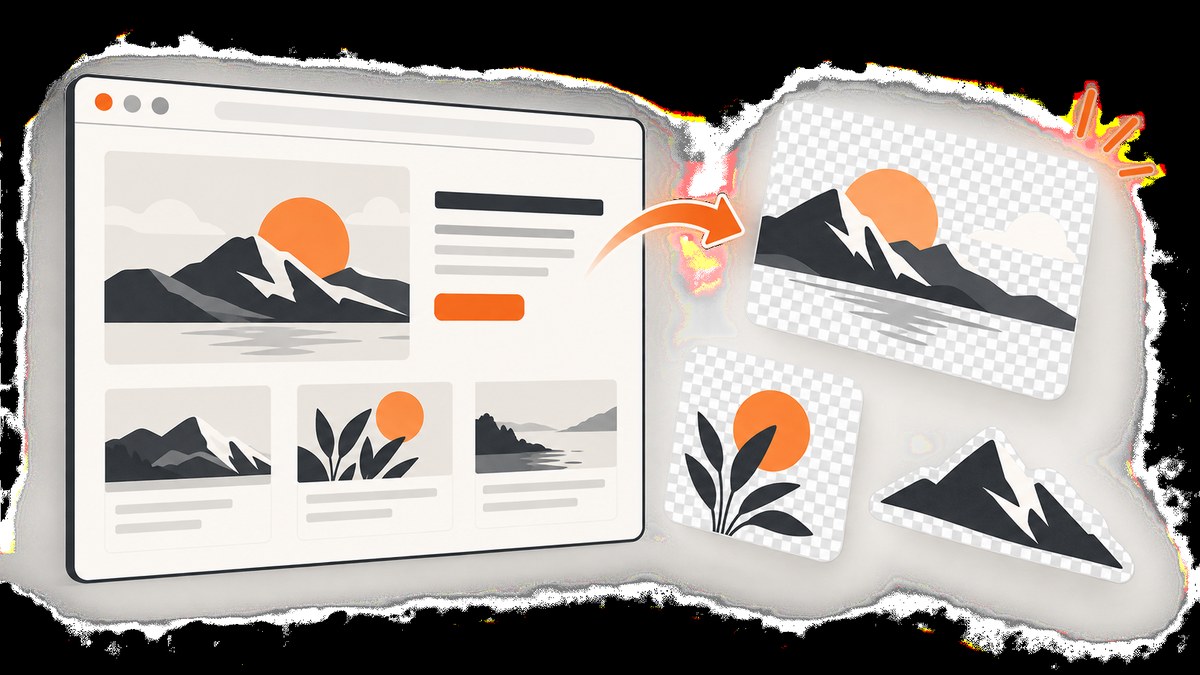
To convert HTML to a transparent PNG, render it in a browser and take a PNG screenshot with omitBackground: true. Puppeteer and Playwright both support this option. It hides the browser’s default white backdrop; it does not erase an opaque background supplied by the page’s CSS. Use a viewport screenshot for the visible screen, a full-page screenshot for all scrollable content, or an element screenshot for one component.
1. Choose a capture method
Use browser automation when you need control over browser state, page readiness, dimensions, or the capture area. Puppeteer is a direct Node.js option; Playwright offers a similar page screenshot API. PHP applications can use Spatie Browsershot, which wraps Puppeteer and headless Chrome. A hosted conversion API can avoid maintaining a browser, though check its transparency support and other requirements before integrating it.
| Method | Good fit | Consider |
|---|---|---|
| Puppeteer | Node.js scripts and services that need Chrome automation | Install and run a compatible browser; manage waits and browser resources. |
| Playwright | Node.js workflows using Playwright’s browser automation API | Install its browser runtime and choose the browser behavior you need. |
| Spatie Browsershot | PHP applications that want a PHP-facing interface | It uses Puppeteer running headless Chrome; browser setup remains part of the deployment. |
| Hosted API | Applications that prefer an HTTP request over managing a browser | Verify the provider’s current API, transparency behavior, limits, and price. |
The examples below use Puppeteer. If you already use Playwright, its Page screenshot call takes the same transparency option. Pick the route that fits your runtime and deployment; the core requirements stay the same: render the HTML, ensure it is ready, capture PNG, and omit the default background.
2. Set up Puppeteer
In a new Node.js project, install Puppeteer:
npm init -y
npm install puppeteer
Save the following as convert.mjs. It loads a local HTML file, waits for the page to finish loading, and writes a PNG. Replace the sample markup with your HTML or navigate to a URL instead.
import puppeteer from 'puppeteer';
import { pathToFileURL } from 'node:url';
import { resolve } from 'node:path';

const html = `<!doctype html>
<html>
<head>
  <meta charset="utf-8">
  <style>
    html, body { margin: 0; background: transparent; }
    .card { display: inline-block; padding: 24px; color: #172033;
      font: 16px system-ui, sans-serif; border: 1px solid #ccd3df;
      border-radius: 12px; background: white; }
  </style>
</head>
<body><div class="card">Transparent PNG</div></body>
</html>`;

const browser = await puppeteer.launch({ headless: true });
try {
  const page = await browser.newPage({
    viewport: { width: 640, height: 360 },
    deviceScaleFactor: 1,
  });
  await page.setContent(html, { waitUntil: 'load' });
  await page.screenshot({
    path: 'output.png',
    type: 'png',
    omitBackground: true,
  });
} finally {
  await browser.close();
}
Run it with node convert.mjs. The sample deliberately gives the card a white background while leaving the page canvas transparent. That is useful for a card asset with transparent margins. If you want the card itself to be see-through too, remove or change its background CSS.
3. Choose the output area and dimensions
Viewport screenshot
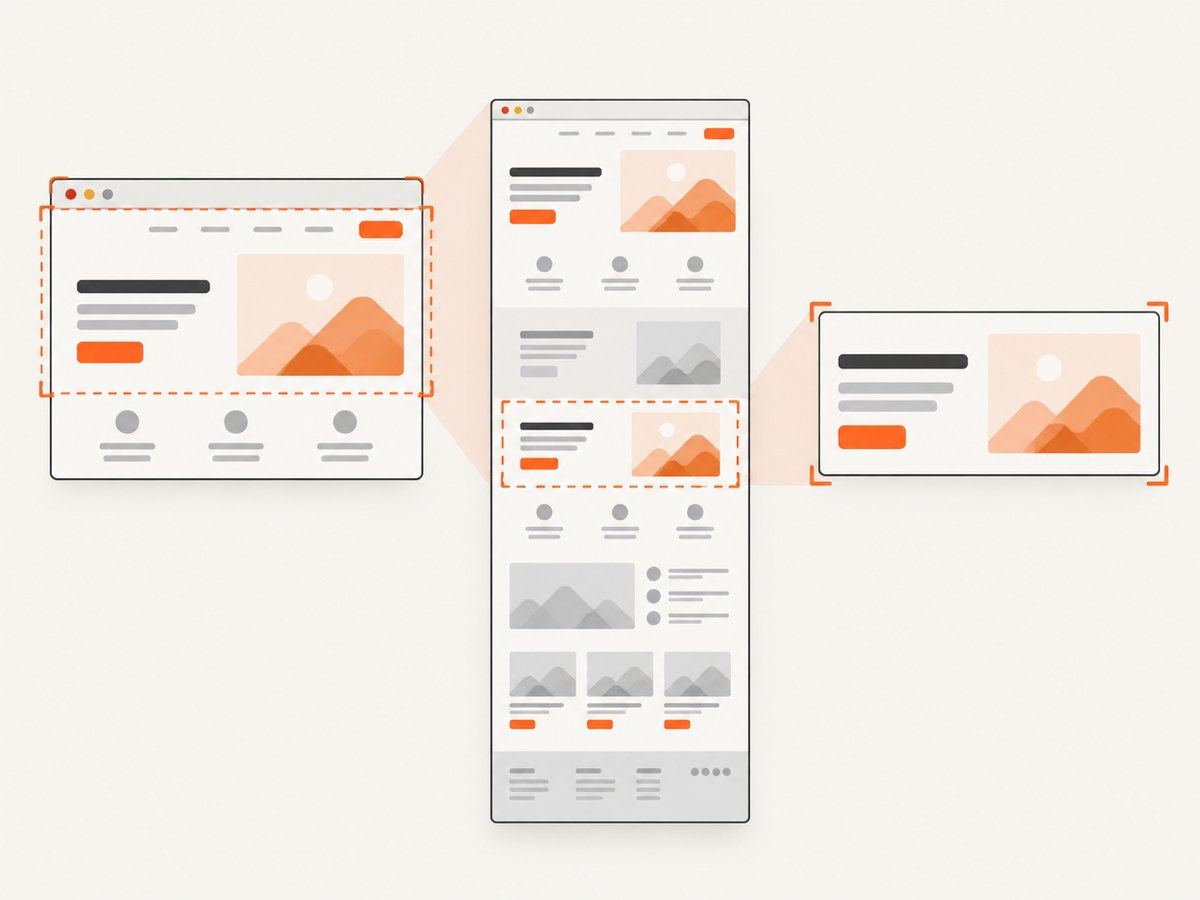
page.screenshot() captures the current viewport by default. Set the viewport before loading or measuring the page when the desired composition has known dimensions. The deviceScaleFactor controls the device scale used by the page; a higher value can produce more pixels for the same CSS viewport, with a corresponding increase in output size and work.
Full-page screenshot
For a long document, pass fullPage: true. The browser captures the page’s full scrollable height rather than only the visible viewport:
await page.screenshot({
  path: 'full-page.png',
  type: 'png',
  omitBackground: true,
  fullPage: true,
});
Very tall pages can consume substantial memory and produce large files. If the destination needs a particular size, consider capturing a component or viewport at deliberate dimensions instead of rasterizing an entire document.
One element
For a logo, chart, card, or other component, select it and capture the element. Puppeteer’s element screenshot method scrolls the element into view if needed:
const element = await page.waitForSelector('.card');
if (!element) throw new Error('Could not find .card');
await element.screenshot({
  path: 'card.png',
  type: 'png',
  omitBackground: true,
});
Use a selector that identifies one intended element. If the selector matches the wrong component, adjust it or scope the query to a parent. If the selected element has an opaque CSS background, that background remains in the image.
4. Make the result transparent
omitBackground: true hides the browser’s default white screenshot background and permits transparency. It does not remove colors painted by the document. This distinction matters: a transparent page canvas can surround a white card, while an opaque body background makes the whole page look filled.
For transparency around the content, inspect the relevant CSS. Set the page canvas to transparent where appropriate:
html, body {
  background: transparent;
}
For an element screenshot, inspect the target and its descendants as well. A background color, gradient, background image, pseudo-element, or embedded canvas may intentionally paint pixels. Change those styles only if those pixels should be transparent. Transparency preserves the page’s rendered content; it is not a background-removal tool.
After saving, open the PNG over both a light and dark background. This makes transparent margins and unexpectedly opaque regions easier to distinguish. A viewer that displays transparency as white can make a correctly transparent image appear opaque at first glance.
5. Wait for the page to be ready
For a local, self-contained HTML string, page.setContent() with waitUntil: 'load' is often enough when the page has no delayed assets. For a URL, navigate first and choose a readiness condition that matches the page:
await page.goto('https://example.com', {
  waitUntil: 'networkidle2',
  timeout: 30000,
});
await page.screenshot({ path: 'page.png', type: 'png', omitBackground: true });
Network idle is an example, not a universal signal. Analytics, streaming connections, and frequently updated applications may prevent an idle state. Some pages report navigation complete before client-side rendering or lazy-loaded images are ready. Prefer waiting for a meaningful selector when you know what marks completion:
await page.goto('https://example.com/report', { waitUntil: 'domcontentloaded' });
await page.waitForSelector('[data-rendered="true"]', { timeout: 15000 });
await page.screenshot({ path: 'report.png', type: 'png', omitBackground: true });
Fonts and images can affect layout. If they are important, wait for the relevant resources or visible content before capture. A fixed delay can be a fallback for a known animation or delayed render, but it can also waste time or still finish too early.
6. Playwright, cURL, Python, and hosted capture
Playwright in Node.js
Install Playwright and its browser runtime using the project’s documented setup. Then capture a page with the same transparency setting:
import { chromium } from 'playwright';

const browser = await chromium.launch();
try {
  const page = await browser.newPage({ viewport: { width: 640, height: 360 } });
  await page.setContent('<html><body><div>Hello</div></body></html>');
  await page.screenshot({ path: 'output.png', type: 'png', omitBackground: true });
} finally {
  await browser.close();
}
The screenshot format can be PNG, JPEG, or WebP in Playwright, but the transparency option does not apply to JPEG. Use PNG for a transparent output. See the Puppeteer ScreenshotOptions, the Puppeteer screenshot guide, and the Playwright Page screenshot API for their current options.
cURL with a hosted screenshot API
A hosted API can render a URL without making your application launch a browser process. ScreenshotNeo provides a screenshot API at https://api.screenshotneo.com/v1/shot. Its documented service supports PNG, JPEG, or WebP screenshots and PDF output, along with options for capture behavior. Check the ScreenshotNeo API documentation for the parameters available for the request you need.
curl -G "https://api.screenshotneo.com/v1/shot" \
  -d access_key=YOUR_API_KEY \
  --data-urlencode url=https://stripe.com \
  -o shot.webp
Python
import requests

r = requests.get(
    "https://api.screenshotneo.com/v1/shot",
    params={"access_key": "YOUR_API_KEY", "url": "https://stripe.com"},
    timeout=90,
)
open("shot.webp", "wb").write(r.content)
Node.js
const q = new URLSearchParams({ access_key: 'YOUR_API_KEY', url: 'https://stripe.com' });
const res = await fetch(`https://api.screenshotneo.com/v1/shot?${q}`);
const bytes = Buffer.from(await res.arrayBuffer());
await import('node:fs/promises').then(fs => fs.writeFile('shot.webp', bytes));
These API examples follow the supplied ScreenshotNeo request format for a URL screenshot. When you need transparent output, consult the docs for the supported output and transparency parameters and set them explicitly; do not assume a default or that a remote page’s own CSS background will be removed. As with any screenshot service, a URL capture renders the page at the service’s browser conditions, which may differ from your local browser state.
7. Or skip the browser setup
ScreenshotNeo is a website screenshot API and MCP server for developers. Its capture flow accepts cookie and consent banners like a visitor and removes more than 60 known consent platforms, newsletter popups, and chat widgets; each cleanup step can be turned off. Only clean shots are billed: bot checks and CAPTCHAs, blank pages, timeouts, failed loads, and cache hits cost nothing, and response headers identify the page verdict and billing status. AI agents can use its MCP server tools, including take_screenshot, get_page_info, and capture_pdf.
curl -G "https://api.screenshotneo.com/v1/shot" \
  -d access_key=YOUR_API_KEY \
  --data-urlencode url=https://stripe.com \
  -o shot.webp
Cookie banners, popups, and chat widgets are removed before the shot. Bot checks, blank pages, and failed loads are never billed. An MCP server lets AI agents take screenshots. The Free plan includes 1,000 screenshots a month with no card; paid plans start at $5 for 3,000. See the API docs for request options and sign up for 1,000 free screenshots a month with no card.
8. Troubleshooting
| Symptom | Likely cause | Fix |
|---|---|---|
| Image looks white or opaque | The PNG viewer shows transparency as white, or page CSS paints a background. | Inspect it over a contrasting canvas. Check omitBackground and the page or element’s background styles. |
| Output is JPEG | The screenshot type or output filename selects JPEG, which cannot preserve transparency. | Choose PNG explicitly and save to a .png path. |
| Text or images are missing | Capture happened before assets or client rendering completed. | Wait for a meaningful selector or resource readiness condition; avoid relying on one arbitrary delay. |
| Wrong content or too much whitespace | Viewport capture includes the visible screen, or the element selector targets a large container. | Capture the intended element, refine its selector, or set viewport dimensions to the composition. |
| Bottom of page is missing | Only the viewport was captured. | Use fullPage: true when the complete scrollable page is intended. |
| Navigation times out | The site keeps network activity open or responds slowly. | Use a suitable navigation condition such as domcontentloaded, then wait for the actual content selector. Set a timeout appropriate to your environment. |
| Element not found | The selector is incorrect or the element has not rendered. | Check the selector in the page, wait for it explicitly, and account for content inside frames or shadow roots if applicable. |
| Hosted response is not an image | The request may have failed or returned a page verdict instead of a clean capture. | Check the HTTP status and response headers, then follow the API’s documented error and verdict handling. |
9. Performance, reliability, and cost
Local browser automation gives you direct control but means your application must launch and close browser processes safely. Reuse a browser where appropriate in a long-running worker, create isolated pages for independent jobs, and close pages and browsers in cleanup paths. Bound concurrent captures: each render consumes CPU and memory, and full-page or high-scale screenshots can be especially large. For serverless environments, account for browser installation size and startup time.
Hosted capture moves browser operation outside your application and turns rendering into an HTTP dependency. Set a realistic request timeout, handle failed responses, and avoid treating a returned file as valid until the status and expected response are checked. For repeatable output, keep viewport, device scale, locale-sensitive state, and page readiness conditions consistent. Dynamic ads, live data, animations, and third-party assets can still make separate captures differ.
PNG preserves transparency and is often larger than a lossy format. Choose dimensions that fit the destination, avoid unnecessary full-page captures, and consider resizing after capture if the consumer needs fewer pixels. ScreenshotNeo offers caching with a caller-chosen TTL and async jobs with signed webhooks; use those where they fit the freshness and processing needs of your workflow. Its stated tiers range from Free at 1,000 shots/month, to Starter $5 for 3,000, Growth $15 for 15,000, Pro $39 for 60,000, Scale $99 for 250,000, and Business $249 for 1,000,000; yearly billing gives two months free. All features are available on every plan. Only clean shots are billed under the product rules described above.
10. Frequently asked questions
Can I convert an HTML string without hosting it?
Yes. Load it with Puppeteer’s page.setContent() or write it to a local file and navigate to that file. If the markup references external fonts, images, or stylesheets, make sure those resources can load in the browser environment.
Will an SVG inside my HTML stay crisp?
The browser rasterizes the rendered page into PNG pixels. Set a sufficiently large viewport or device scale for the size at which the image will be used; the result is still a raster image.
Can I preserve transparency in JPEG?
No. Use PNG when transparent pixels are required. A JPEG output has no alpha channel.
Can a hosted URL screenshot reproduce my local browser exactly?
Not necessarily. Browser version, viewport, cookies, authentication, network access, and page timing affect rendering. Set supported request options deliberately and use local automation when you need control over the browser environment.


