How to Convert Large Videos to GIF Efficiently
Convert large videos to smaller, cleaner GIFs with FFmpeg, palette generation, sizing, FPS controls, troubleshooting, and practical file-size advice.
To convert a large video to GIF efficiently, trim the source first, scale to the required width, lower the frame rate, and use a two-pass palette workflow. The following FFmpeg command is a strong starting point:
ffmpeg -ss 00:00:00 -t 00:00:05 -i input.mp4 \
  -filter_complex "[0:v]fps=12,scale=480:-1:flags=lanczos,split[a][b];[a]palettegen=stats_mode=diff[p];[b][p]paletteuse=dither=bayer" \
  -loop 0 output.gif
Change the start time, duration, frame rate, and width for your destination. GIF is limited to a palette of up to 256 colors, so a clip-specific palette usually preserves color and gradients better than a direct one-pass conversion.
1. Plan the GIF before converting
Decide these constraints first:
- Duration: select only the useful interval.
- Display width: use the size the audience will actually see.
- Frame rate: choose enough frames for smooth motion without storing unnecessary frames.
- Looping: use an infinite loop for an animation, or configure a finite loop when the destination requires it.
- Destination limit: check the platform’s maximum upload size and dimensions before tuning quality.
A large source file does not automatically produce a large GIF. Duration, output dimensions, FPS, and color detail have the greatest effect on the result.
2. Install FFmpeg and inspect the source
Install FFmpeg from the official packages for your operating system, then inspect the input:
ffprobe -v error -show_entries format=duration:stream=index,codec_name,width,height,r_frame_rate \
  -of default=noprint_wrappers=1 input.mp4
Use the reported duration and dimensions to select a short interval and a practical output width. If your source has several video streams, add a stream map such as -map 0:v:0 to select the intended video stream.
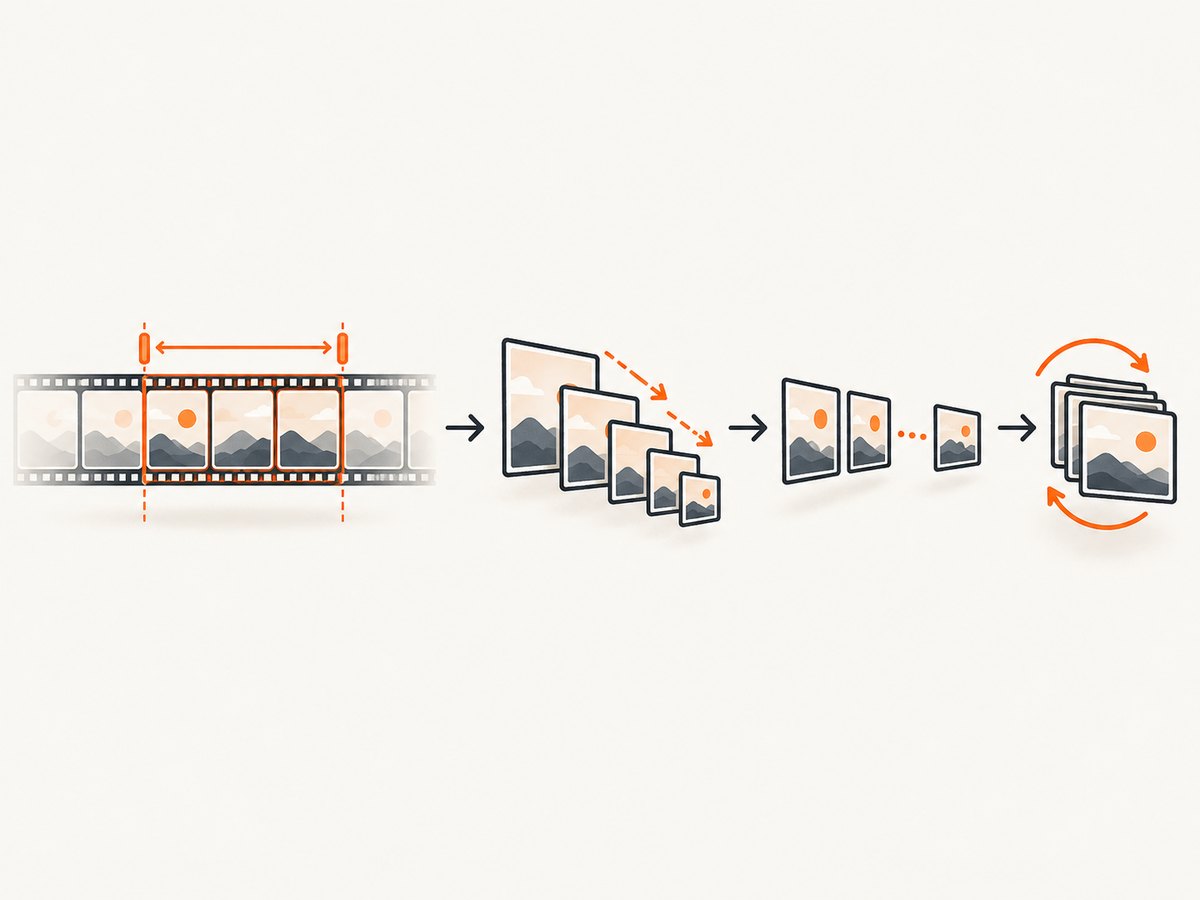
3. Trim before encoding
Trimming first avoids decoding and encoding frames that will never appear in the GIF.
Fast seek for large files
ffmpeg -ss 00:01:20 -t 00:00:06 -i input.mp4 -c:v libx264 -an clip.mp4Putting -ss before -i can make seeking faster when the input format permits it. The seek may begin at a nearby keyframe, so it is not always frame exact.
More accurate seek
ffmpeg -i input.mp4 -ss 00:01:20 -t 00:00:06 -c:v libx264 -an clip.mp4This generally decodes from the beginning of the input up to the requested point, which can take longer but gives more accurate trimming.
Convert the selected interval directly
For a short clip, use the main palette-aware command and set -ss and -t to the required interval. Avoid converting an entire long recording unless the destination truly needs it.
4. Generate and apply a content-specific palette
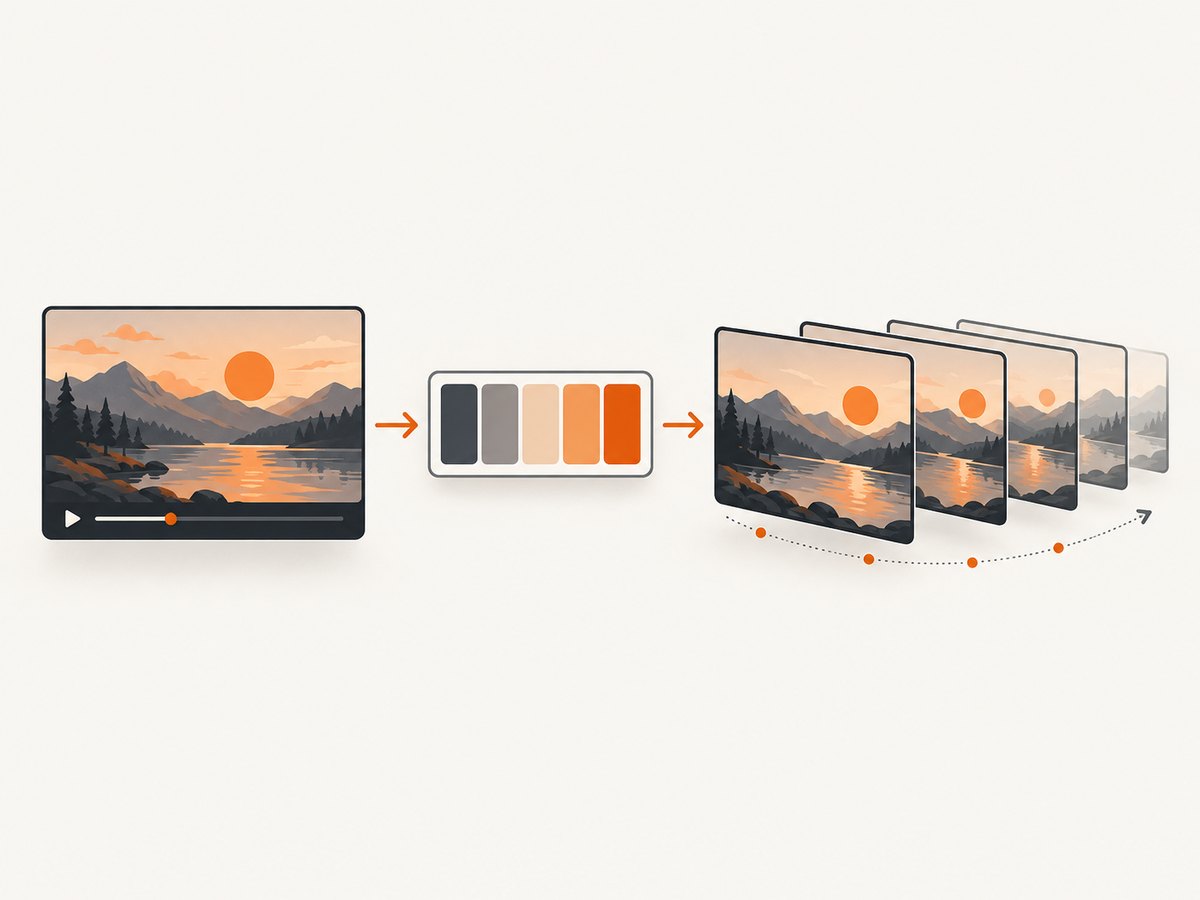
FFmpeg’s palettegen filter generates one representative palette for a video stream. paletteuse applies that palette while encoding the GIF.
ffmpeg -i clip.mp4 \
  -filter_complex "fps=12,scale=480:-1:flags=lanczos,split[a][b];[a]palettegen[p];[b][p]paletteuse" \
  -loop 0 output.gif
The two-pass sequence gives the encoder information about the colors used by the actual clip. Direct GIF output can produce washed-out colors, banding, or unstable colors between frames.
5. Tune width, FPS, colors, and dithering
Width
Width is usually the strongest size control. Keep the height proportional with scale=480:-1. For a smaller output, try 360 or 320 pixels. For a larger display, increase the width only after checking the file size.
Frame rate
Lower FPS reduces the number of frames and usually reduces file size. Try 8–12 FPS for UI demonstrations and simple motion, then increase it when motion looks jerky. The correct value depends on the source and destination; inspect the result rather than assuming a universal setting.
Color count
palettegen supports a max_colors setting. GIF’s format supports up to 256 colors:
ffmpeg -ss 00:00:00 -t 00:00:05 -i input.mp4 \
  -filter_complex "fps=10,scale=400:-1:flags=lanczos,split[a][b];[a]palettegen=max_colors=192:stats_mode=diff[p];[b][p]paletteuse=dither=sierra2_4a" \
  -loop 0 output.gif
Reducing the palette can reduce color detail and may create more banding. Keep the default maximum when gradients and photographs matter.
Palette statistics
stats_mode=fullanalyzes the whole video stream.stats_mode=difffocuses analysis on pixels that change between frames and can work well when most of the background is static.stats_mode=singlebuilds a palette per frame and may follow rapidly changing scenes, but can cause colors to vary between frames.
Dithering
paletteuse supports several dithering modes. Bayer dithering is predictable and often compact. Sierra-style dithering can hide banding in gradients but may add texture and noise. Compare a few modes at the final display size:
ffmpeg -i clip.mp4 \
  -filter_complex "fps=12,scale=480:-1:flags=lanczos,split[a][b];[a]palettegen=stats_mode=diff[p];[b][p]paletteuse=dither=floyd_steinberg" \
  -loop 0 output.gif
6. Handle transparency
If the source contains transparency or you need transparent GIF pixels, reserve palette entries for transparency. Test the result against the actual page background because transparent edges can show halos.
ffmpeg -i input.mov \
  -filter_complex "fps=12,scale=480:-1:flags=lanczos,split[a][b];[a]palettegen=reserve_transparent=1[p];[b][p]paletteuse" \
  -loop 0 output.gif
7. Process very large inputs safely
For a very large source, create a short intermediate clip first, then run palette generation on that clip. This bounds the amount of video each step needs to process.
ffmpeg -ss 00:05:00 -t 00:00:08 -i huge-recording.mkv \
  -vf "scale=640:-1:flags=lanczos" -an intermediate.mp4

ffmpeg -i intermediate.mp4 \
  -filter_complex "fps=10,split[a][b];[a]palettegen=stats_mode=diff[p];[b][p]paletteuse=dither=bayer" \
  -loop 0 output.gif
A researched browser converter documents a 200 MB input limit, says it loads the full video into memory, and recommends clips of about 10 seconds or less for memory practicality. Those are limits of that browser tool, not universal FFmpeg limits. FFmpeg’s memory use depends on the codec, resolution, duration, filters, and build.
8. Use gifski when GIF quality is the priority
gifski is a dedicated GIF encoder that accepts frames from FFmpeg:
ffmpeg -i video.mp4 -f yuv4mpegpipe - | gifski -o anim.gifIt documents options including --width, --quality, --lossy-quality, and --motion-quality, and automatically downsizes high-resolution input. Its documentation cautions that fitting a predefined file size requires experimentation and that size estimates are imprecise. Use FFmpeg when you need one reproducible command with explicit trimming, filtering, palette, transparency, and dithering controls; use gifski when its dedicated encoder produces a better result for your footage.
9. Reduce file size in the right order
- Shorten the duration.
- Reduce the output width.
- Reduce FPS.
- Reduce palette colors or choose a more compact dither.
- Remove unnecessary metadata and audio, which GIF does not use.
Inspect the GIF at its destination size after every change. A smaller width often preserves perceived quality better than aggressively reducing colors. If the destination supports video, WebM or MP4 will usually be a more suitable format for long or high-quality motion because GIF has limited colors and less efficient compression.
10. Verify the output
identify output.gif
ffprobe -v error -show_entries format=duration,size:stream=width,height,r_frame_rate \
  -of default=noprint_wrappers=1 output.gif
Check duration, dimensions, loop behavior, color gradients, text edges, and motion smoothness. View the file in the same browser or application where it will be published.
11. Or skip the browser setup
ScreenshotNeo is a website screenshot API, so it does not convert video files to GIF. It can help when the GIF or conversion result is presented on a web page and you need a clean screenshot of that page without configuring a browser.
See the ScreenshotNeo API docs for all options. A single request returns PNG, JPEG, WebP, or PDF:
curl -G "https://api.screenshotneo.com/v1/shot" -d access_key=YOUR_API_KEY --data-urlencode url=https://stripe.com -o shot.webpimport requests
r = requests.get("https://api.screenshotneo.com/v1/shot", params={"access_key": "YOUR_API_KEY", "url": "https://stripe.com"}, timeout=90)
open("shot.webp", "wb").write(r.content)const q = new URLSearchParams({ access_key: 'YOUR_API_KEY', url: 'https://stripe.com' });
const res = await fetch(`https://api.screenshotneo.com/v1/shot?${q}`);Cookie banners, newsletter popups, and chat widgets are removed before the shot. Bot checks, blank pages, failed loads, timeouts, and cache hits are not billed, and response headers identify the page verdict and billing status. An MCP server lets AI agents use take_screenshot, get_page_info, and capture_pdf. The Free plan includes 1,000 screenshots per month with no card; paid plans start at $5 for 3,000. Create a free ScreenshotNeo account.
12. Troubleshooting
| Symptom | Cause | Fix |
|---|---|---|
| FFmpeg runs out of memory | The interval, resolution, or filter graph is too large. | Trim first, create an intermediate clip, reduce width, and lower FPS. |
| GIF is much too large | Too many frames or pixels. | Reduce duration first, then width, then FPS; inspect palette and dithering. |
| Washed-out colors | A generic or poorly chosen palette was used. | Use palettegen followed by paletteuse on the same clip. |
| Banding in gradients | GIF’s limited palette cannot represent smooth color changes. | Keep more colors, try another dither, or publish video when supported. |
| Colors flicker between frames | Per-frame palette generation or changing scene content. | Use one palette for the stream with stats_mode=full or diff. |
| Motion looks jerky | FPS is too low or frames were dropped. | Increase FPS gradually and verify the source frame rate. |
| Start time is inaccurate | Fast seek landed on a nearby keyframe. | Move -ss after -i for more accurate seeking. |
| Transparent edges have halos | Transparency was not reserved or the matte differs. | Use reserve_transparent=1 and test on the destination background. |
| Output will not loop | The loop option was omitted or the viewer handles looping differently. | Use -loop 0 and test in the target viewer. |
13. Performance, reliability, and cost notes
- Trim and scale early so later filters handle fewer pixels and frames.
- Use a deterministic command line and record FFmpeg version, input, interval, width, FPS, and palette settings for reproducible output.
- Do not promise a fixed RAM requirement: codec, source dimensions, duration, and filters change it substantially.
- For repeated jobs, process clips independently so one failed input does not discard an entire batch.
- GIF encoding uses local CPU and storage; budget temporary disk space for intermediate clips and palettes.
- When a destination accepts video, compare the GIF’s size and visual quality with an MP4 or WebM before committing to GIF.
FAQ
Can I convert a 4K video directly to GIF?
Yes, but convert only the needed interval and scale before palette generation. A 4K-to-GIF workflow wastes memory and produces a file larger than most destinations need.
What is the best FPS for a GIF?
There is no universal best value. Start around 8–12 FPS, then raise it if motion is visibly jerky and the file size remains acceptable.
Why does lowering quality barely reduce the file?
GIF size is strongly affected by duration, dimensions, and frame count. Reduce those variables before reducing palette quality.
Should I use GIF for a long recording?
Usually not. GIF’s color and compression limits make it better for short, silent loops than long-form video.


