How to Convert Multiple Divs into PNG or JPEG Images with PHP and JavaScript
Render every matching div in the browser with html2canvas, download PNG or JPEG files, and optionally send validated image bytes to PHP.
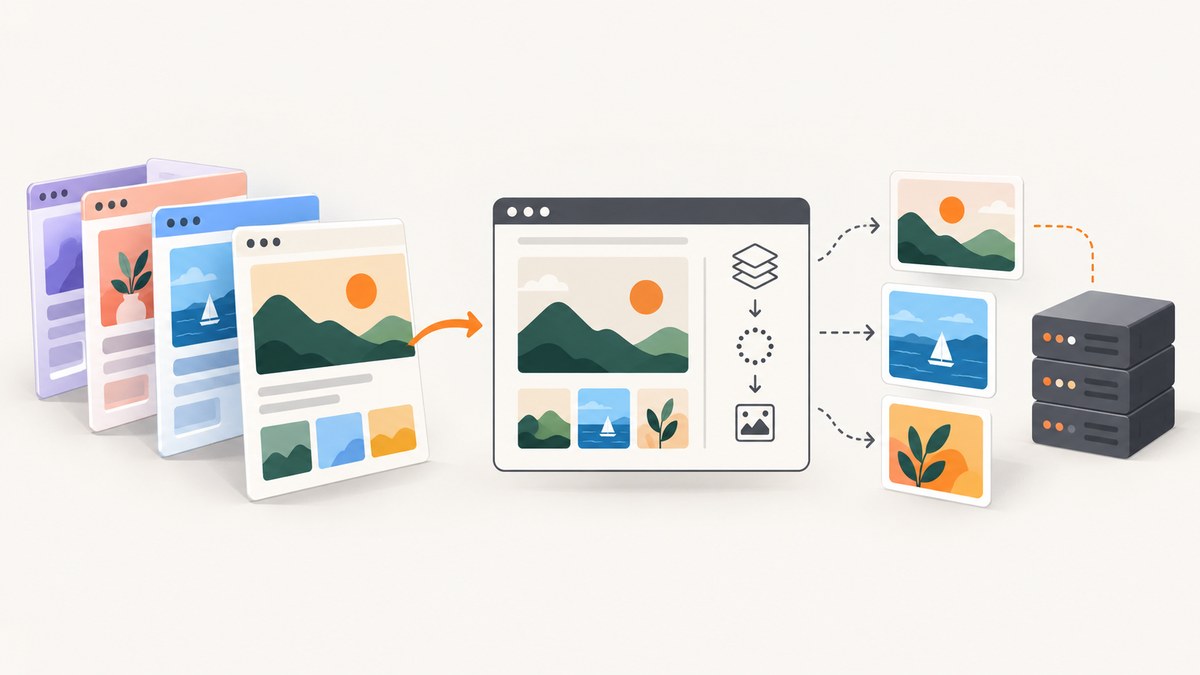
Direct answer: select the divs in JavaScript, render each one with html2canvas, serialize the canvas as PNG or JPEG, and download or upload the resulting bytes. PHP does not render a browser DOM by itself. Add PHP when you need to validate, store, authorize, or re-encode the images on your server.
This guide covers a complete browser-only implementation, a PHP upload endpoint using GD, PNG versus JPEG decisions, cross-origin and CSS limitations, large batches, troubleshooting, and a hosted alternative. The examples use one file per div and wait for each asynchronous render before moving on.
1. Choose the rendering architecture
| Route | Rendering location | Best for | Trade-offs |
|---|---|---|---|
| Browser export | User’s browser with JavaScript and html2canvas | Downloads, previews, no server copy | Subject to browser security and supported CSS |
| Browser render plus PHP | Browser creates bytes; PHP validates and stores or converts them | Persistence, access control, centralized processing | Requires upload limits, validation, storage, and error handling |
Use the browser-only route when a user simply needs image files. Use PHP when the application must keep a server-side copy or apply server-side policy. PHP GD’s image functions support formats such as PNG and JPEG when the extension is built with the required support; GD is not a DOM renderer. See the PHP GD manual and imagecreatefromstring() documentation.
2. Prepare the page and install html2canvas
Load a pinned html2canvas version from your package manager or a trusted static asset. The library reconstructs an image from DOM and style information. It is not a literal compositor screenshot, so verify representative cards in the browsers you support.
<script src="https://cdn.jsdelivr.net/npm/html2canvas@1.4.1/dist/html2canvas.min.js"></script>Give every target a stable selector and avoid changing layout while capture is running:
<section class="export-card" data-name="revenue">
  <h2>Revenue</h2>
  <strong>$48,200</strong>
</section>
<section class="export-card" data-name="users">
  <h2>Users</h2>
  <strong>12,840</strong>
</section>
<button id="export-all" type="button">Export cards</button>
3. Render multiple divs and download PNG files
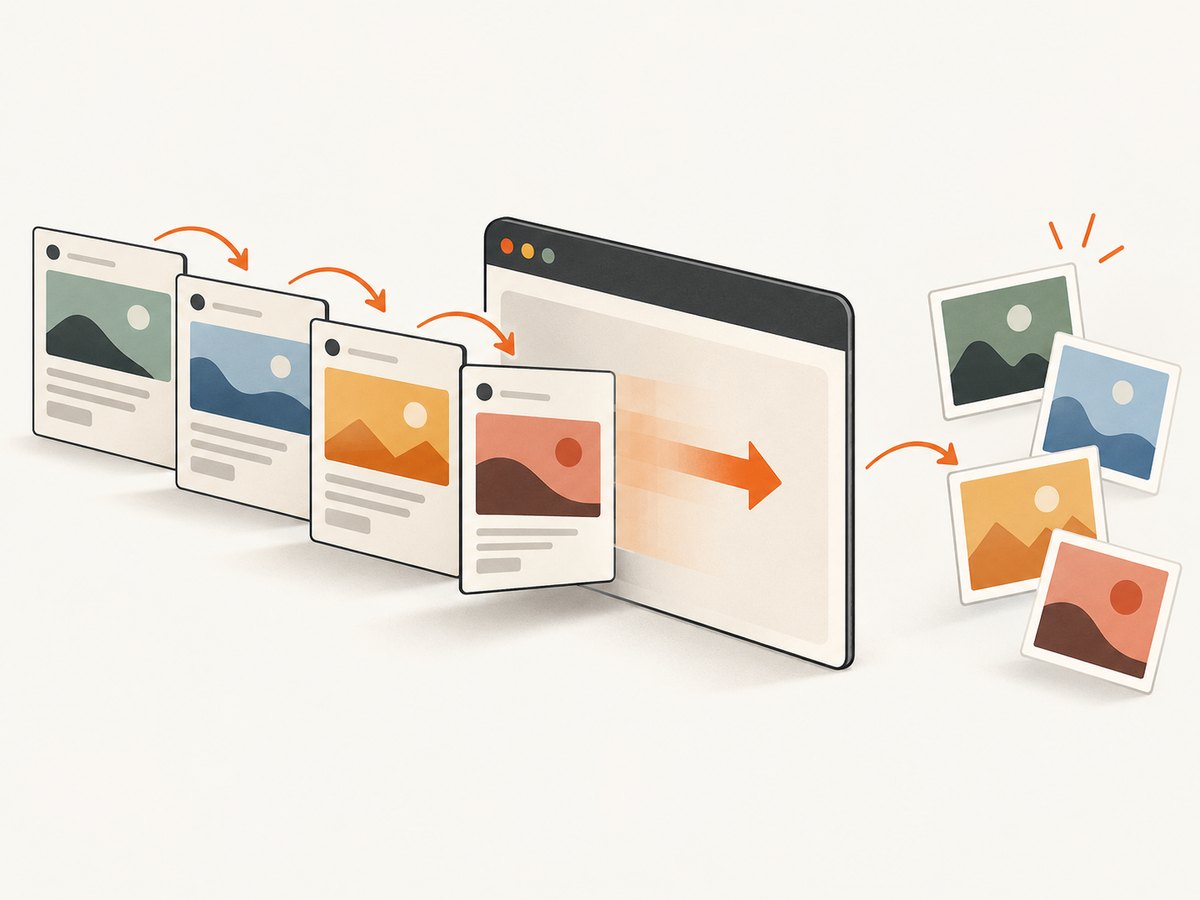
This complete example renders sequentially. Sequential work avoids starting many expensive canvas operations at once and gives each download a distinct filename.
document.querySelector('#export-all').addEventListener('click', async () => {
  const elements = [...document.querySelectorAll('.export-card')];

  for (const [index, element] of elements.entries()) {
    const canvas = await html2canvas(element, {
      scale: window.devicePixelRatio,
      backgroundColor: '#ffffff',
      useCORS: true
    });

    const name = element.dataset.name || `card-${index + 1}`;
    const link = document.createElement('a');
    link.download = `${name}.png`;
    link.href = canvas.toDataURL('image/png');
    link.click();
  }
});
scale controls output resolution. A device-pixel ratio of 2 creates a sharper image but increases memory and file size. You can use a fixed value such as scale: 2 for consistent exports across devices. The backgroundColor option prevents unexpected transparency when your design expects white.
4. Export JPEG with a deliberate quality setting
JPEG is useful for photographic cards and usually produces smaller files. It does not preserve transparency. Pass a quality value between 0 and 1; lower values reduce size and visible detail.
async function exportAsJpeg(element, filename, quality = 0. nine) {
  const canvas = await html2canvas(element, {
    scale: window.devicePixelRatio,
    backgroundColor: '#ffffff',
    useCORS: true
  });

  const link = document.createElement('a');
  link.download = `${filename}.jpg`;
  link.href = canvas.toDataURL('image/jpeg', quality);
  link.click();
}

(async () => {
  for (const [index, element] of [...document.querySelectorAll('.export-card')].entries()) {
    await exportAsJpeg(element, element.dataset.name || `card-${index + 1}`, 0.9);
  }
})();
Correct the JavaScript typo if copying manually: the quality literal must be 0.9. A complete corrected function is:
async function exportAsJpeg(element, filename, quality = 0.9) {
  const canvas = await html2canvas(element, {
    scale: window.devicePixelRatio,
    backgroundColor: '#ffffff',
    useCORS: true
  });
  const link = document.createElement('a');
  link.download = `${filename}.jpg`;
  link.href = canvas.toDataURL('image/jpeg', quality);
  link.click();
}
PNG is the safer default for interface cards, text, diagrams, and transparent backgrounds. Canvas serialization supports PNG as the standard fallback and may support JPEG depending on browser behavior. Test the browsers that matter to your application; the WebKit canvas serialization documentation describes PNG and JPEG behavior.
5. Prefer Blob downloads for many or large elements
toDataURL() creates a large base64 string in memory. For large cards or long batches, use toBlob(), create an object URL, then revoke it after the click.
function downloadCanvas(canvas, filename, type = 'image/png', quality) {
  return new Promise((resolve, reject) => {
    canvas.toBlob(blob => {
      if (!blob) return reject(new Error('Canvas could not be encoded'));
      const url = URL.createObjectURL(blob);
      const link = document.createElement('a');
      link.download = filename;
      link.href = url;
      link.click();
      setTimeout(() => {
        URL.revokeObjectURL(url);
        resolve();
      }, 0);
    }, type, quality);
  });
}

async function exportAll() {
  for (const [index, element] of [...document.querySelectorAll('.export-card')].entries()) {
    const canvas = await html2canvas(element, { scale: 2, useCORS: true });
    await downloadCanvas(canvas, `card-${index + 1}.png`);
  }
}
exportAll().catch(console.error);
6. Upload generated bytes to PHP
Send a Blob with fetch and FormData. Do not trust a client filename or MIME type on the server.
async function uploadCard(element, index) {
  const canvas = await html2canvas(element, { scale: 2, useCORS: true });
  const blob = await new Promise(resolve => canvas.toBlob(resolve, 'image/png'));
  if (!blob) throw new Error('Encoding failed');

  const form = new FormData();
  form.append('image', blob, `card-${index + 1}.png`);
  const response = await fetch('/upload-image.php', { method: 'POST', body: form });
  if (!response.ok) throw new Error(`Upload failed: ${response.status}`);
  return response.json();
}

(async () => {
  for (const [index, element] of [...document.querySelectorAll('.export-card')].entries()) {
    console.log(await uploadCard(element, index));
  }
})();
7. Validate and store the image in PHP GD
The endpoint below limits the request, checks the decoded bytes with GD, generates its own filename, and stores a PNG. Configure authentication and authorization for your application before accepting uploads.
<?php
header('Content-Type: application/json');

if ($_SERVER['REQUEST_METHOD'] !== 'POST') {
    http_response_code(405);
    exit(json_encode(['error' => 'POST required']));
}

if (!isset($_FILES['image']) || $_FILES['image']['error'] !== UPLOAD_ERR_OK) {
    http_response_code(400);
    exit(json_encode(['error' => 'Valid image upload required']));
}

if ($_FILES['image']['size'] > 10 * 1024 * 1024) {
    http_response_code(413);
    exit(json_encode(['error' => 'Image is larger than 10 MB']));
}

$bytes = file_get_contents($_FILES['image']['tmp_name']);
$image = @imagecreatefromstring($bytes);
if ($image === false) {
    http_response_code(415);
    exit(json_encode(['error' => 'Unsupported or corrupt image']));
}

$directory = __DIR__ . '/stored-images';
if (!is_dir($directory) && !mkdir($directory, 0750, true)) {
    imagedestroy($image);
    http_response_code(500);
    exit(json_encode(['error' => 'Storage directory unavailable']));
}

$filename = bin2hex(random_bytes(16)) . '.png';
$path = $directory . '/' . $filename;
if (!imagepng($image, $path, 6)) {
    imagedestroy($image);
    http_response_code(500);
    exit(json_encode(['error' => 'Could not save image']));
}

imagedestroy($image);
echo json_encode(['filename' => $filename]);
?>
Store uploads outside a public directory when possible, or serve them through an access-controlled endpoint. Set PHP and web-server request limits high enough for the chosen canvas size, but keep an application limit as shown. If you need JPEG output, decode the bytes and call imagejpeg($image, $path, 90); confirm that your GD build supports the format.
8. Handle the limits of html2canvas
The html2canvas documentation explains that the result is based on DOM and style information and may differ from the browser’s real representation. Unsupported CSS can be omitted or rendered differently. Test transforms, filters, blend modes, pseudo-elements, web fonts, sticky positioning, and complex SVGs in your target browsers.
- Cross-origin images: images must be same-origin or served with suitable CORS headers.
useCORS: truerequests CORS access but cannot override a server that omits the header. - Tainted canvas: cross-origin content without permission can prevent reading pixels or calling
toDataURL/toBlob. - Cross-origin iframes: browser security rules prevent reading another origin’s iframe DOM.
- Fonts and timing: wait for fonts and asynchronous data before capture; otherwise the image can contain fallback fonts or empty regions.
- Very large elements: reduce scale, split the content, or capture one card at a time to avoid canvas dimension and memory limits.
await document.fonts.ready;
await new Promise(resolve => requestAnimationFrame(() => requestAnimationFrame(resolve)));
const canvas = await html2canvas(element, { scale: 2, useCORS: true });
9. Troubleshooting checklist
| Symptom | Likely cause | Fix |
|---|---|---|
| Blank or partial image | Capture started before content finished loading | Wait for data, fonts, images, and a couple of animation frames; disable animations during capture. |
| SecurityError when reading canvas | Cross-origin image tainted the canvas | Serve the image with appropriate CORS headers, proxy it from your origin, or remove it from the export. |
| Images missing | Lazy loading or inaccessible URLs | Scroll targets into view, await image loading, and verify each image response and CORS policy. |
| CSS looks different | Property is unsupported by html2canvas | Check the installed version’s supported features and provide an export-specific fallback style. |
| JPEG has a black or unexpected background | JPEG has no alpha channel | Set backgroundColor explicitly before encoding. |
| PHP says unsupported image | Corrupt upload or missing GD format support | Validate decoded bytes with imagecreatefromstring and enable the required GD support. |
| Upload returns 413 | Request or server body limit is too low | Raise limits carefully or lower canvas scale and export dimensions. |
| Only one download appears | Browser download protection or simultaneous clicks | Run sequentially, use a user-initiated action, and consider bundling files server-side. |
10. Performance, reliability, and cost considerations
- Capture sequentially for predictable memory use. Release Blob URLs immediately and avoid retaining canvas objects.
- Use the smallest scale that meets print or display requirements. Pixel dimensions grow with scale, and memory grows rapidly with canvas area.
- Prefer
toBlobfor uploads and large files. Base64 adds overhead and creates another large in-memory representation. - Hide blinking cursors, timestamps, hover states, and animations with an export class before rendering.
- For retries, assign each export an ID and make the PHP endpoint idempotent if duplicate files would be harmful.
- Keep generated files private when they contain user data, and apply retention rules appropriate to your application.
The browser route has no API charge, but it consumes the user’s CPU, memory, bandwidth, and download permissions. Server processing adds storage and transfer costs that depend on your hosting setup; the supplied sources do not establish a benchmark.
11. Or skip the browser setup
If you need a clean screenshot of a URL instead of reconstructing individual local DOM nodes, ScreenshotNeo provides a website screenshot API and MCP server. One GET request returns PNG, JPEG, WebP, or PDF. It accepts cookie and consent banners before capture and removes more than 60 known consent platforms, newsletter popups, and chat widgets; each cleanup step can be disabled. Bot checks, blank pages, timeouts, failed loads, and cache hits are not billed, and response headers identify the page verdict and billing state.

See the ScreenshotNeo documentation for all options, including full-page capture with lazy images loaded, CSS-selector element capture, dark mode, device presets and custom viewports, retina scale, custom CSS and JavaScript, clicks, selector or network-idle waits, request blocking, headers, cookies, user agents, authorization, timezone, geolocation, transparent backgrounds, resizing, TTL caching, signed links, asynchronous jobs and webhooks, bulk capture, usage data, and the OpenAPI specification.
curl -G "https://api.screenshotneo.com/v1/shot" \
  -d access_key=YOUR_API_KEY \
  --data-urlencode url=https://stripe.com \
  -o shot.webp
import requests
r = requests.get(
"https://api.screenshotneo.com/v1/shot",
params={"access_key": "YOUR_API_KEY", "url": "https://stripe.com"},
timeout=90,
)
r.raise_for_status()
open("shot.webp", "wb").write(r.content)const q = new URLSearchParams({
access_key: 'YOUR_API_KEY',
url: 'https://stripe.com'
});
const res = await fetch(`https://api.screenshotneo.com/v1/shot?${q}`);
if (!res.ok) throw new Error(`HTTP ${res.status}`);
const bytes = Buffer.from(await res.arrayBuffer());
require('fs').writeFileSync('shot.webp', bytes);An MCP server lets Claude, Cursor, and other MCP clients use take_screenshot, get_page_info, and capture_pdf. The free plan includes 1,000 screenshots each month with no card; paid plans start at $5 for 3,000 shots, and every feature is available on every plan.
Start with 1,000 free screenshots a month—no card required.
12. FAQ
Can PHP convert a div directly?
No. PHP receives HTML or image bytes but does not have a browser DOM renderer. Render in JavaScript, then send bytes to PHP, or choose a separate server-side browser architecture.
Should every div become a separate file?
That is usually simplest for downloads and retries. If users need one document, combine the canvases into a larger canvas or assemble files server-side after validating each upload.
When should I choose PNG?
Choose PNG for text, interface cards, diagrams, and transparency. Choose JPEG for photographic content where a lossy, opaque image is acceptable.
Why is my result not pixel-perfect?
html2canvas reconstructs from DOM and supported styles rather than copying compositor pixels. Unsupported CSS, cross-origin content, fonts, and timing can change the result.
Can I capture an element inside a third-party iframe?
Not from ordinary page JavaScript when the iframe is cross-origin. Browser security prevents access to its DOM.


