How to Convert a PDF Page to an Image
Convert one PDF page to PNG, JPG, or another image format with Python, Poppler, or Acrobat. Choose DPI, crop pages, troubleshoot errors, and automate conversion.

Direct answer: render the PDF page with a PDF engine, then save the rendered pixels as PNG, JPEG, or another image format. For automation, PyMuPDF is a practical Python choice: open the document, select a zero-based page index, call page.get_pixmap(), and save the pixmap. For command-line jobs, Poppler’s pdftoppm handles page ranges and resolution. Adobe Acrobat provides a desktop export workflow.
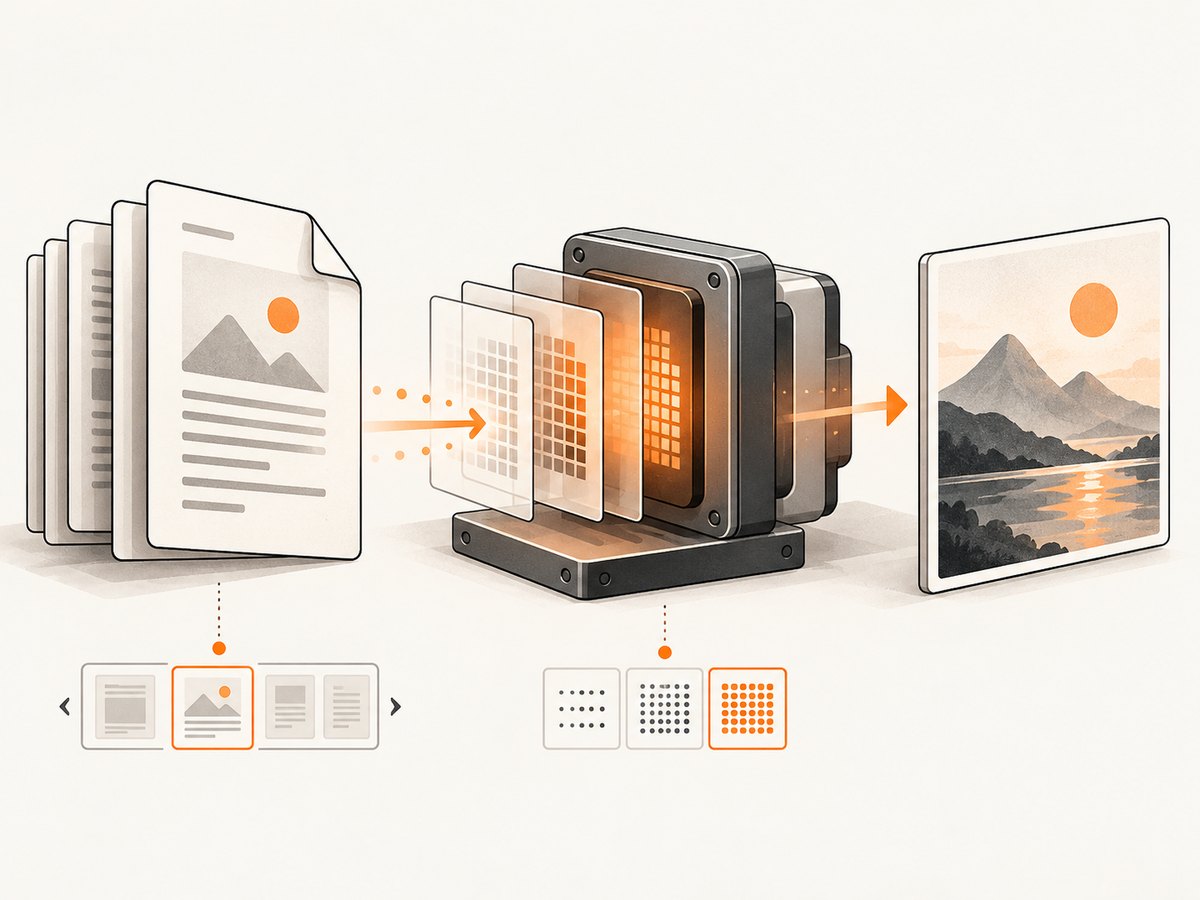
Rendering produces a picture of the complete page, including text, vector artwork, lines, and placed images. It is different from extracting embedded images: extraction can recover raster assets stored inside the PDF but cannot reproduce text or vector drawings as a complete page image. PyMuPDF’s FAQ explicitly notes that vector graphics cannot be extracted as images directly. Use rendering when you need a faithful page snapshot.
Choose the right conversion method
| Method | Best for | Controls | Trade-offs |
|---|---|---|---|
| PyMuPDF | Python scripts, services, and batch jobs | Page index, DPI, color space, alpha, crop rectangle, annotations | Requires a Python dependency |
Poppler pdftoppm |
Shell pipelines and server automation | Page range, DPI, output format, filename handling | Requires Poppler to be installed |
| Adobe Acrobat | Occasional desktop conversion | Image format and export destination | Manual and harder to automate |
Use PNG for text, diagrams, screenshots, and other sharp edges. Use JPEG when a photographic page should be smaller and a little quality loss is acceptable. TIFF is common in archival and imaging workflows. Select the page range before rendering so a large document does not create unnecessary images.
Convert a PDF page to PNG in Python with PyMuPDF
Install PyMuPDF in the environment that will run the script:
python -m pip install pymupdfThis complete example renders page 1 (index 0) and writes a PNG:
import pymupdf

with pymupdf.open("document.pdf") as doc:
    page = doc[0]                 # PDF page 1; indexes are zero-based
    pix = page.get_pixmap()
    pix.save("page-1.png")
The documented basic call uses the page’s normal matrix and produces page-sized output. To convert another page, change the index:
page_number = 3                  # human-readable page number
with pymupdf.open("document.pdf") as doc:
    if not 1 <= page_number <= len(doc):
        raise ValueError("page number is outside the PDF")
    page = doc[page_number - 1]
    page.get_pixmap().save(f"page-{page_number}.png")
Render at a specific DPI
For print-quality output, OCR, or very small text, request a higher resolution. PyMuPDF supports a dpi argument:
import pymupdf

with pymupdf.open("document.pdf") as doc:
    page = doc[0]
    pix = page.get_pixmap(dpi=300)
    pix.save("page-1-300dpi.png")
Higher DPI increases pixel dimensions, memory use, processing time, and output size. A lower resolution is usually sufficient for a web thumbnail or ordinary screen display. Pick a value based on the next consumer: screen display, OCR, or print.
Convert one page to JPEG
PyMuPDF’s pixmap can be saved using an image filename extension. A JPEG is smaller for photographic pages but uses lossy compression:
import pymupdf

with pymupdf.open("document.pdf") as doc:
    pix = doc[0].get_pixmap(dpi=200)
    pix.save("page-1.jpg")
If your installed version or workflow needs explicit format handling, save a PNG first and convert it with an image library such as Pillow. Keep PNG as the source when text or line art must remain exact.
Control color and transparency
get_pixmap() accepts colorspace, alpha, and annotation controls. Opaque rendering clears empty areas to white. Set alpha=True when the output must preserve transparent empty areas:
import pymupdf

with pymupdf.open("document.pdf") as doc:
    pix = doc[0].get_pixmap(alpha=True)
    pix.save("page-1-transparent.png")
Use the colorspace option when a downstream system requires a particular color model, such as grayscale or RGB. Verify the output in that system because color conversion can change appearance, especially for PDFs containing profiles or CMYK content.
Crop a region instead of the complete page
Pass a rectangle through clip= when only a region is needed. Coordinates use the page’s coordinate system:
import pymupdf

with pymupdf.open("document.pdf") as doc:
    page = doc[0]
    region = pymupdf.Rect(72, 72, 540, 360)
    pix = page.get_pixmap(dpi=200, clip=region)
    pix.save("page-1-crop.png")
Crop before rendering at a high DPI to reduce work and file size. A crop is a rendering operation; it still includes text and vector artwork that falls inside the rectangle.
Convert every page
Iterate over the document when you need one image per page:
import pymupdf

with pymupdf.open("document.pdf") as doc:
    for page in doc:
        pix = page.get_pixmap(dpi=150)
        pix.save(f"page-{page.number + 1}.png")
Use a predictable naming scheme and write to a dedicated output directory. For very large documents, process pages incrementally rather than holding every pixmap in memory.
Convert a PDF page with Poppler’s pdftoppm
pdftoppm reads a PDF and writes bitmap files. To convert only page 3 to a PNG at 300 DPI:
pdftoppm -f 3 -l 3 -png -r 300 input.pdf pageThe command uses -f for the first page, -l for the last page, -r for resolution, and -png for PNG output. The result normally has a page-number suffix such as page-3.png. Check the installed version’s help for platform-specific options:
pdftoppm -hTo convert a range, set different first and last pages:
pdftoppm -f 3 -l 8 -png -r 200 input.pdf pageThe -singlefile option writes one file without a numeric suffix when you are converting a single first page in the selected range. Confirm the output name in your Poppler build before wiring it into a script. Poppler’s default resolution is 150 DPI; set -r deliberately when readability or print output matters.
Shell automation with error checking
#!/usr/bin/env bash
set -euo pipefail

input="${1:?usage: $0 input.pdf page_number}"
page="${2:?usage: $0 input.pdf page_number}"
output_prefix="rendered/page"
mkdir -p rendered

pdftoppm -f "$page" -l "$page" -png -r 200 "$input" "$output_prefix"
echo "Created rendered/page-${page}.png"
Quote paths so filenames containing spaces do not become multiple arguments. Validate page numbers before invoking the command if the script receives untrusted input.
Convert a PDF to an image in Adobe Acrobat
Acrobat’s official export workflow supports JPEG, PNG, TIFF, and JPEG 2000. Open the PDF, use the save or export workflow, select an image format, choose the destination, and export. Dialog labels vary by Acrobat version and operating system, so follow the format-specific options shown in your installation. For a single page, select or extract that page first if the workflow would otherwise export the whole document.
Desktop export is useful when you need a quick visual result and do not need repeatable batch processing. For scheduled jobs, a script provides explicit page selection, DPI, naming, and error handling.
Rendering versus extracting embedded images
These operations solve different problems:
- Render: creates a visual image of the page, including text, vectors, fills, and placed images.
- Extract: recovers image objects already embedded in the PDF, often preserving their original pixels.
Extraction may omit headings, rules, charts drawn as vectors, and selectable text. If the requirement is “show exactly what the page looks like,” render it. Extract only when you specifically need the original raster assets.
Choose DPI, format, and page scope
| Requirement | Suggested decision | Reason |
|---|---|---|
| Web preview | Moderate DPI, PNG or JPEG | Keeps downloads and memory manageable |
| Small text or OCR | Higher DPI, often 300 | Produces more detail for recognition |
| Print workflow | High DPI and a suitable color space | Preserves fine detail at physical size |
| Diagrams and UI screenshots | PNG | Lossless edges and text |
| Photographic pages | JPEG | Smaller output with adjustable quality downstream |
| One page only | Use an index or -f/-l |
Avoids unnecessary rendering |
There is no universally correct DPI. Estimate the required pixel width from the display or print target, then increase it only when text, OCR, or fine artwork needs more detail.

Troubleshooting common conversion errors
“No module named pymupdf”
The package is not installed in the Python interpreter running the script. Run python -m pip install pymupdf with the same interpreter, or activate the virtual environment used by your application. If multiple Python versions exist, compare python -c "import sys; print(sys.executable)" with the environment where you installed the package.
“page index out of range”
PyMuPDF uses zero-based indexes, so page 1 is doc[0]. Check len(doc), subtract one from a human-readable page number, and reject values outside 1 through the document length.
The image is blank or has missing content
The PDF may contain damaged content, unusual transparency, or rendering features unsupported by the installed engine. Try a current PyMuPDF or Poppler build, render with alpha=False, and compare the page in a second PDF viewer. If only annotations are missing, inspect the renderer’s annotation controls and the PDF’s annotation types.
Output is too large
Reduce DPI, render only the needed page or crop, and choose JPEG for photographic content. Avoid increasing DPI merely to make a file “sharper” when the target display cannot show the additional pixels.
Text is hard to read
Increase DPI and use PNG for sharp text. Do not enlarge a low-resolution output after rendering; render again at the required resolution. For OCR, test the recognizer with a representative page and keep the source DPI consistent.
pdftoppm is not found
Poppler is not installed or its binary directory is absent from PATH. Install Poppler using your operating system’s package manager, then run pdftoppm -h to confirm the executable and available switches.
The output has an unexpected filename
pdftoppm normally appends a page number to the prefix. Account for that suffix in scripts, or use -singlefile where supported for a one-page conversion. Do not assume the naming behavior is identical across builds without checking the local help output.
Performance, reliability, and cost considerations
Rendering time and memory grow with page dimensions, DPI, color depth, and the number of pages. Select a page range before rendering, crop early, and process large documents page by page. Reuse a document handle for multiple pages instead of reopening the file for every page. Write outputs incrementally so a later failure does not discard earlier results.
For a reliable service, validate that the input exists, is a readable PDF, and has the requested page. Put a limit on maximum page count, pixel dimensions, and output bytes when files come from users. Record the input identifier, page number, DPI, format, and renderer version so you can reproduce a result. Treat malformed or password-protected PDFs as expected errors and return a useful message rather than a generic 500 response.
Local conversion has no per-page API charge, but it still consumes CPU, memory, disk, and operational time. Cloud rendering may simplify scaling, but measure total transfer and processing costs for your workload. Cache deterministic conversions using the document checksum plus page, DPI, crop, color, alpha, and format as the cache key.
Or skip the browser setup
If the page you need is delivered through a web PDF viewer or a web page rather than a local PDF file, ScreenshotNeo can return a screenshot from one GET request. It is a website screenshot API, so use it for a rendered URL; local PDF files still need a PDF renderer such as PyMuPDF or Poppler. See the ScreenshotNeo documentation for request options.
curl -G "https://api.screenshotneo.com/v1/shot" -d access_key=YOUR_API_KEY --data-urlencode url=https://stripe.com -o shot.webpimport requests
r = requests.get("https://api.screenshotneo.com/v1/shot", params={"access_key": "YOUR_API_KEY", "url": "https://stripe.com"}, timeout=90)
open("shot.webp", "wb").write(r.content)const q = new URLSearchParams({ access_key: 'YOUR_API_KEY', url: 'https://stripe.com' });
const res = await fetch(`https://api.screenshotneo.com/v1/shot?${q}`);Before capture, cookie and consent banners, newsletter popups, and chat widgets are removed. Bot checks, blank pages, failed loads, timeouts, and cache hits are not billed, and response headers identify the page verdict and billing result. An MCP server provides take_screenshot, get_page_info, and capture_pdf tools for Claude, Cursor, and other MCP clients. The free plan includes 1,000 screenshots per month without a card; paid plans start at $5 for 3,000 shots. Create a free ScreenshotNeo account.
FAQ
What is the simplest way to convert one PDF page to PNG?
Use PyMuPDF: open the file, select doc[0], call get_pixmap(), and save the pixmap as a PNG.
How do I save one PDF page as JPG?
Render only the selected page and save with a .jpg filename, or render to PNG and convert with an image library when you need explicit JPEG quality control.
Can I convert a PDF page without rendering?
Not when you need a complete picture of the page. Embedded-image extraction does not include text and vector artwork, so rendering is the correct operation.
What DPI should I use?
Use the lowest DPI that meets the display, OCR, or print requirement. Increase it for small text or print detail, remembering that output dimensions and file size increase.
How do I convert only a section of a page?
With PyMuPDF, pass a rectangle through clip=. With Poppler, render the page first and crop the resulting image in a second step.