How to Convert Screenshots to Code With AI
Learn how to turn screenshots into editable designs, prototypes, or production code with AI, including prompts, review steps, and ScreenshotNeo captures.

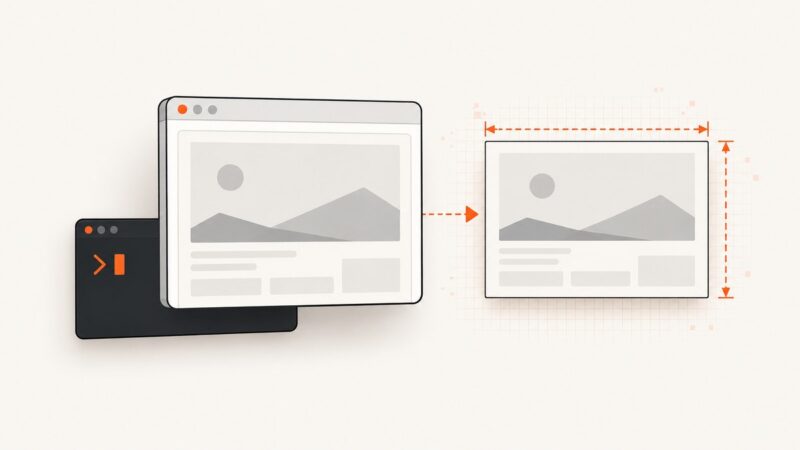
Short answer: an AI model can inspect a screenshot and generate a useful first draft of HTML, CSS, React, or another interface, but a screenshot contains pixels rather than the original component tree, design tokens, assets, or responsive rules. The dependable workflow is to choose the output first, provide the clearest reference and project context available, generate one region or layout at a time, render the result at the same viewport, and refine the largest visual and behavioral differences.
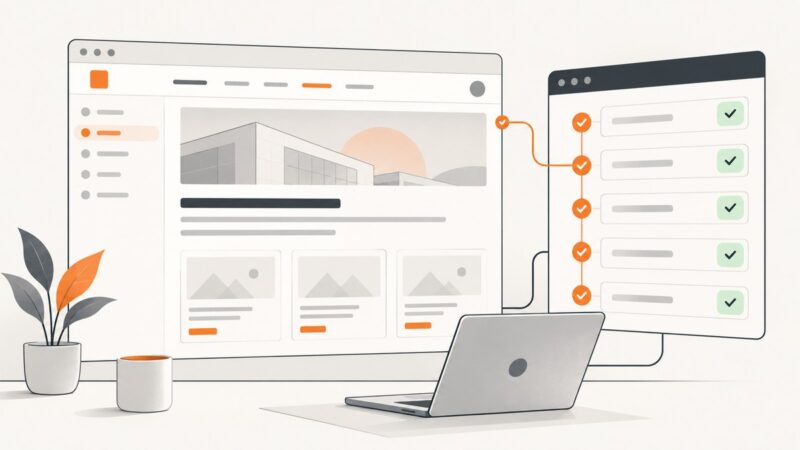
If you need editable visual layers, use a screenshot-to-design workflow. If you need a working demonstration, use an image-guided prototype builder. If you are shipping inside an existing application, give a coding agent the screenshot plus your framework, components, tokens, assets, and constraints. When the original Figma frame or live page is available, provide it too: structured design data is more informative than pixels alone.
Decide what “convert to code” means
The phrase covers several different jobs. Decide which one you need before selecting a tool or writing a prompt.
| Goal | Best input | Expected output | What you still review |
|---|---|---|---|
| Editable design | Screenshot, preferably with the original frame | Editable layers and a design canvas | Layer names, spacing, colors, typography, and missing elements |
| Interactive prototype | Screenshot or Figma frame plus behavior requirements | Previewable web app or prototype | States, navigation, responsive behavior, and accessibility |
| Production implementation | Screenshot, codebase, components, tokens, assets, and framework | HTML/CSS/JS or framework code | Architecture, tests, security, performance, and visual fidelity |
| Design-system-aware implementation | Figma file with components and variables | Code that can reuse known design primitives | Permission boundaries, component mapping, and behavior |
A screenshot is a visual brief, not a source file. It does not reliably reveal whether a region is a grid or flex layout, which font file was used, how content changes on mobile, or which controls have hover, focus, loading, and error states. Figma’s guidance says images are useful for general direction but cannot reliably provide exact values such as colors. When possible, attach a design frame or connect structured design context through the Figma MCP server.
Prepare a reference the model can use
- Capture the correct state. Record the page URL or route, viewport width and height, browser zoom, theme, locale, and whether the page is scrolled. A screenshot of a loading state will produce a different implementation from a screenshot after data arrives.
- Use a clear, uncropped image. Prefer the largest lossless image available. If several screens are present, provide one screen per prompt or label the target region precisely.
- Supply structured sources. Include the Figma frame, component library, design tokens, existing CSS variables, icon package, image assets, and font files. Tell the agent which existing components it must reuse.
- Remove sensitive material. Do not put credentials, private customer data, API keys, or confidential source code into a prompt. Check that you have rights to use supplied fonts, images, code packages, and third-party content.
- Describe responsive intent. State the desktop and mobile targets, breakpoints if known, and what may stack, hide, scroll, or become a different control.
Write a constrained screenshot-to-code prompt
A strong prompt names the task, context, constraints, expected output, and unknowns. It also tells the model how to work in stages.
Recreate the attached pricing-page screenshot in our existing React application.Context:
- Use React and the project’s existing CSS modules.
- Reuse Button, Card, Modal, and typography components from src/components.
- Use the existing color and spacing tokens; do not create a second design system.
- The screenshot is a 1440px desktop viewport at 100% zoom.
Requirements:
- Match the visible section order, column widths, alignment, spacing, borders, and hierarchy.
- Make the plan selector interactive and keyboard accessible.
- Add a responsive layout for 390px mobile width; stack cards in the same order.
- Do not invent sections, copy, testimonials, or illustrations that are not visible.
- Use semantic HTML, visible focus states, alt text, and labels for controls.
Process:
1. Describe the inferred layout and list uncertain details.
2. Implement the desktop structure only.
3. Render it at 1440px and identify the five largest differences.
4. Fix those differences, then implement mobile behavior.
5. State what remains uncertain.For a simple landing page, ask for the page shell first, then the hero, navigation, cards, and footer. For a complex screen, split the image into regions and integrate the resulting components. This divide-and-conquer approach addresses common failures such as omitted, distorted, or misarranged elements. A 2025 ACM paper by Wan and colleagues reported up to a 14% improvement in visual similarity for its segment-aware method; that is a study-specific result, not a general accuracy guarantee.
Generate a first implementation
Ask the model to produce runnable files rather than a prose description. The following minimal example shows the shape of a generated page you can paste into a new folder and extend.
<!doctype html>
<html lang='en'>
<head>
  <meta charset='utf-8'>
  <meta name='viewport' content='width=device-width, initial-scale=1'>
  <title>Plans</title>
  <style>
    :root { --ink:#172033; --muted:#667085; --line:#e5e7eb; --accent:#5b5ce2; }
    * { box-sizing:border-box; }
    body { margin:0; color:var(--ink); font:16px/1.5 system-ui,sans-serif; }
    .wrap { max-width:1120px; margin:auto; padding:64px 24px; }
    .hero { max-width:680px; margin-bottom:40px; }
    .hero h1 { font-size:clamp(2.2rem,5vw,4.4rem); line-height:1.05; margin:0 0 16px; }
    .hero p { color:var(--muted); font-size:1.15rem; }
    .plans { display:grid; grid-template-columns:repeat(3,1fr); gap:20px; }
    .card { border:1px solid var(--line); border-radius:16px; padding:24px; }
    .card.featured { border:2px solid var(--accent); }
    .price { font-size:2.5rem; font-weight:700; }
    button { border:0; border-radius:10px; background:var(--accent); color:#fff; padding:12px 18px; cursor:pointer; }
    button:focus-visible { outline:3px solid #a5b4fc; outline-offset:3px; }
    @media (max-width:760px) { .wrap { padding:40px 18px; } .plans { grid-template-columns:1fr; } }
  </style>
</head>
<body>
  <main class='wrap'>
    <section class='hero' aria-labelledby='title'>
      <h1 id='title'>Choose a plan</h1>
      <p>A concise description that follows the reference hierarchy.</p>
    </section>
    <section class='plans' aria-label='Plans'>
      <article class='card'><h2>Starter</h2><p class='price'>$9</p><button type='button'>Select Starter</button></article>
      <article class='card featured'><h2>Team</h2><p class='price'>$29</p><button type='button'>Select Team</button></article>
      <article class='card'><h2>Business</h2><p class='price'>$79</p><button type='button'>Select Business</button></article>
    </section>
  </main>
</body>
</html>
The example is intentionally generic. Replace its copy, assets, colors, and component structure with values supplied by your project. The model should list every inference it made so you can verify it instead of silently accepting guesses.
Render, compare, and refine
- Run the project. Build it with the same framework and asset pipeline used in production. Fix compile errors before judging visual output.
- Match the reference viewport. Use the same width, height, device pixel ratio, zoom, theme, locale, and scroll position.
- Compare large regions first. Check page width, columns, section order, dominant imagery, and vertical rhythm before adjusting individual labels.
- Inspect behavior. Test keyboard navigation, focus visibility, menus, form validation, loading, empty, error, and hover states. A screenshot cannot prove that a control works.
- Give narrow follow-ups. Say “the card row starts 24px too low; align its top with the heading” rather than “make everything pixel perfect.” Fix one or two discrepancies per iteration.
- Repeat for mobile. Do not assume desktop CSS will produce a sensible mobile layout. Decide what stacks, scrolls, hides, or changes interaction.
For visual review, capture your rendered page at each target viewport and compare the same regions. Keep a short discrepancy checklist: missing element, wrong size, wrong position, wrong typography, wrong color, or wrong behavior. This makes refinement measurable without treating any generated result as verified production code.
Choose the right tool path
Screenshot to editable design
Figma’s screenshot-to-design workflow lets you place or select an image, specify whether to extract a full layout or particular elements, and then review and refine editable layers. It is useful when designers need to adjust spacing, hierarchy, or content visually. Availability and plan terms can change, so check the current Figma documentation before relying on a beta feature.
Image or frame to prototype
Figma Make accepts text, images, and Figma designs as context and generates a functional prototype or web app with a preview. Frames are preferable when available because they contain structure. Prompts consume AI credits according to factors such as model, task complexity, and context volume; budget for iterations rather than a single generation.
Design-system-aware coding
Figma’s MCP server can expose components, variables, layout data, and other design information to supported coding agents. That context helps an agent map a screenshot to real components instead of recreating every shape from scratch. Access depends on the file’s permissions and the client’s current support.
Accuracy limits and review checklist
Clean layouts with familiar UI patterns are easier for models to infer than custom or ambiguous designs. Expect errors in these areas:

- Element omission, especially low-contrast icons, badges, and decorative details.
- Element distortion, such as incorrect corner radii, font weight, line height, or image crop.
- Element misarrangement, including wrong order, alignment, nesting, and spacing.
- Unseen behavior: responsive breakpoints, keyboard interaction, validation, animation, and data states.
- Unknown assets: the model may substitute a similar icon, font, gradient, or image.
Before merging generated code, check:
- Text, links, labels, and heading levels are correct.
- Color contrast and focus states meet your accessibility requirements.
- Images have meaningful alternative text and are appropriately sized.
- Layout works at target widths and with longer translations.
- Controls work with keyboard and screen readers.
- Dependencies, licenses, and generated code fit your project policy.
- The build, lint, type checks, and application tests pass.
Or skip the browser setup
If your goal is to obtain a clean reference screenshot for an AI coding workflow, ScreenshotNeo provides a single HTTP request instead of maintaining a browser automation stack. It accepts a URL and returns PNG, JPEG, WebP, or PDF. Before capture it can accept cookie and consent banners and remove more than 60 known consent platforms, newsletter popups, and chat widgets; each cleanup step can be turned off.
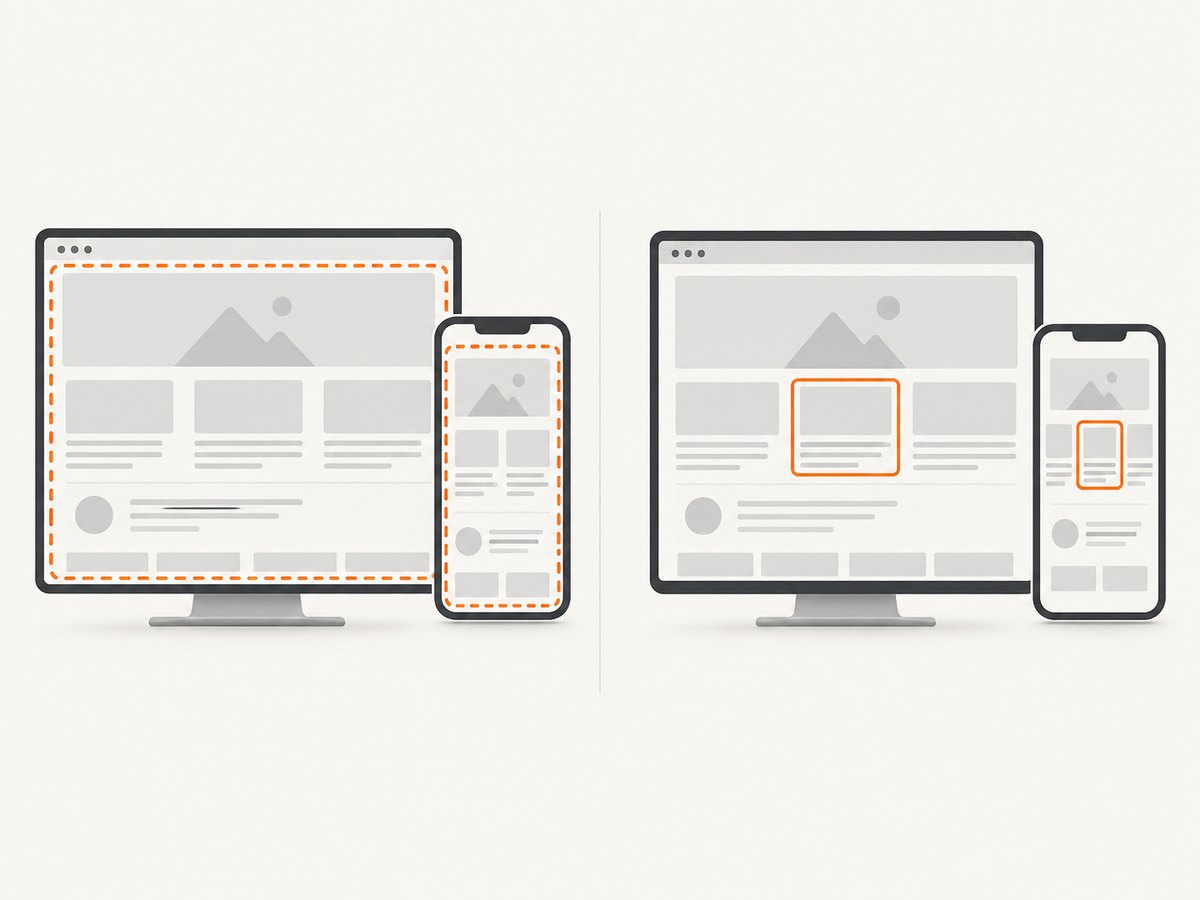
Only clean shots are billed. Bot checks and CAPTCHAs, blank pages, timeouts, failed loads, and cache hits cost nothing, and the response identifies the result with X-Page-Verdict and X-Billed headers. An MCP server provides take_screenshot, get_page_info, and capture_pdf tools for Claude, Cursor, and other MCP clients.
See the ScreenshotNeo API documentation for all options. The basic call is:
curl -G "https://api.screenshotneo.com/v1/shot" -d access_key=YOUR_API_KEY --data-urlencode url=https://stripe.com -o shot.webpPython:
import requests
r = requests.get("https://api.screenshotneo.com/v1/shot", params={"access_key": "YOUR_API_KEY", "url": "https://stripe.com"}, timeout=90)
open("shot.webp", "wb").write(r.content)
Node.js:
const q = new URLSearchParams({ access_key: 'YOUR_API_KEY', url: 'https://stripe.com' });
const res = await fetch(`https://api.screenshotneo.com/v1/shot?${q}`);
if (!res.ok) throw new Error(`Screenshot failed: ${res.status}`);
const data = Buffer.from(await res.arrayBuffer());
await import('node:fs/promises').then(fs => fs.writeFile('shot.webp', data));
ScreenshotNeo supports full-page capture with lazy images loaded, CSS-selector element capture, dark mode, 12 device presets, custom viewports, retina scale, PDF paper sizes and page ranges, custom CSS and JavaScript, click-before-capture actions, waits for selectors, delays or network idle, request and resource blocking, custom headers, cookies, user agents and Authorization, timezone and geolocation, transparent backgrounds, resizing, configurable-TTL caching, signed image links, asynchronous jobs with signed webhooks, bulk capture of up to 100 URLs per call, a usage API, and an OpenAPI specification. Parameter names used by other screenshot APIs also work, which can simplify migration.
For an AI screenshot-to-code loop, use a stable viewport and wait condition, capture the page, feed the image to your model, render the generated code, and capture the rendered result again. Use caching when the source is unchanged, and asynchronous jobs or bulk capture for larger batches. Inspect the verdict and billed headers so your pipeline can distinguish a usable image from a blocked or failed page.
Troubleshooting
The generated layout looks close but feels wrong
Cause: the model inferred spacing, font metrics, or container width from pixels. Fix: provide exact tokens, font files, viewport dimensions, and a measurement checklist. Correct the page shell before tuning individual components.
Important elements are missing
Cause: low-contrast or crowded regions are difficult to segment. Fix: crop and describe that region separately, then ask the model to integrate the resulting component. Name every required element explicitly.
Mobile output is unusable
Cause: a desktop screenshot does not reveal responsive rules. Fix: provide a mobile reference or state the breakpoint behavior, stacking order, minimum tap sizes, and overflow policy.
Colors and fonts do not match
Cause: screenshots encode rendered pixels, not exact design values. Fix: provide CSS variables, font files, weight mappings, and color values. Treat image-based color extraction as an approximation.
ScreenshotNeo returns a blocked or blank result
Cause: the target may have a bot check, CAPTCHA, failed load, timeout, or incomplete rendering. Fix: inspect X-Page-Verdict and X-Billed, increase an appropriate wait, wait for a selector or network idle, supply required headers or cookies, or capture after authentication where permitted. Failed and blank results are not billed.
Lazy images are absent
Cause: the page has not reached the state that triggers image loading. Fix: use full-page capture with lazy images loaded, wait for a relevant selector, or add a delay after the page becomes idle.
A control works visually but fails in use
Cause: generated code copied appearance without interaction state. Fix: specify keyboard, focus, hover, loading, error, and success behavior in the prompt, then test with keyboard and assistive technology.
Performance, reliability, and cost
Keep captures deterministic: pin the viewport, color scheme, locale, timezone, geolocation, user agent, cookies, and wait condition. Block analytics, ads, trackers, or unnecessary resource types when they are irrelevant to the visual reference. Use a cache TTL for repeated captures and capture only the needed element when a full page is unnecessary.
For review pipelines, compare a small number of stable regions first and avoid recapturing unchanged pages. Use asynchronous jobs and signed webhooks when a request does not need to remain open, and bulk capture for up to 100 URLs per call. Keep source screenshots and generated output versioned together so visual regressions can be traced.
ScreenshotNeo’s Free plan includes 1,000 shots per month with no card. Paid plans are Starter $5 for 3,000, Growth $15 for 15,000, Pro $39 for 60,000, Scale $99 for 250,000, and Business $249 for 1,000,000; yearly billing gives two months free, and every feature is available on every plan. Create a free ScreenshotNeo account and start with 1,000 screenshots a month without a card.
FAQ
Can AI recover the original source code from a screenshot?
No. It can infer a plausible implementation, but the original component hierarchy, tokens, assets, and behavior are not present in the pixels.
Should I use one huge prompt?
Usually no. Start with the shell and major regions, then refine focused areas with rendered comparisons.
Is a Figma frame better than a screenshot?
Yes when available. A frame can contain structure, components, variables, and layout information that a flat image cannot.
How do I make generated code production-ready?
Replace guessed assets and values, integrate existing components, add behavior and accessibility, test responsive states, and run your normal build and review process.
Can I use screenshots from a live website?
Yes, provided you have permission to capture and reuse the content and assets. Remove private information before sending the image to an AI system.