How to Convert Screenshots to Code With GPT
Turn a screenshot into maintainable UI code with GPT using a repeatable prompt, preview loop, responsive checks, and ScreenshotNeo captures.

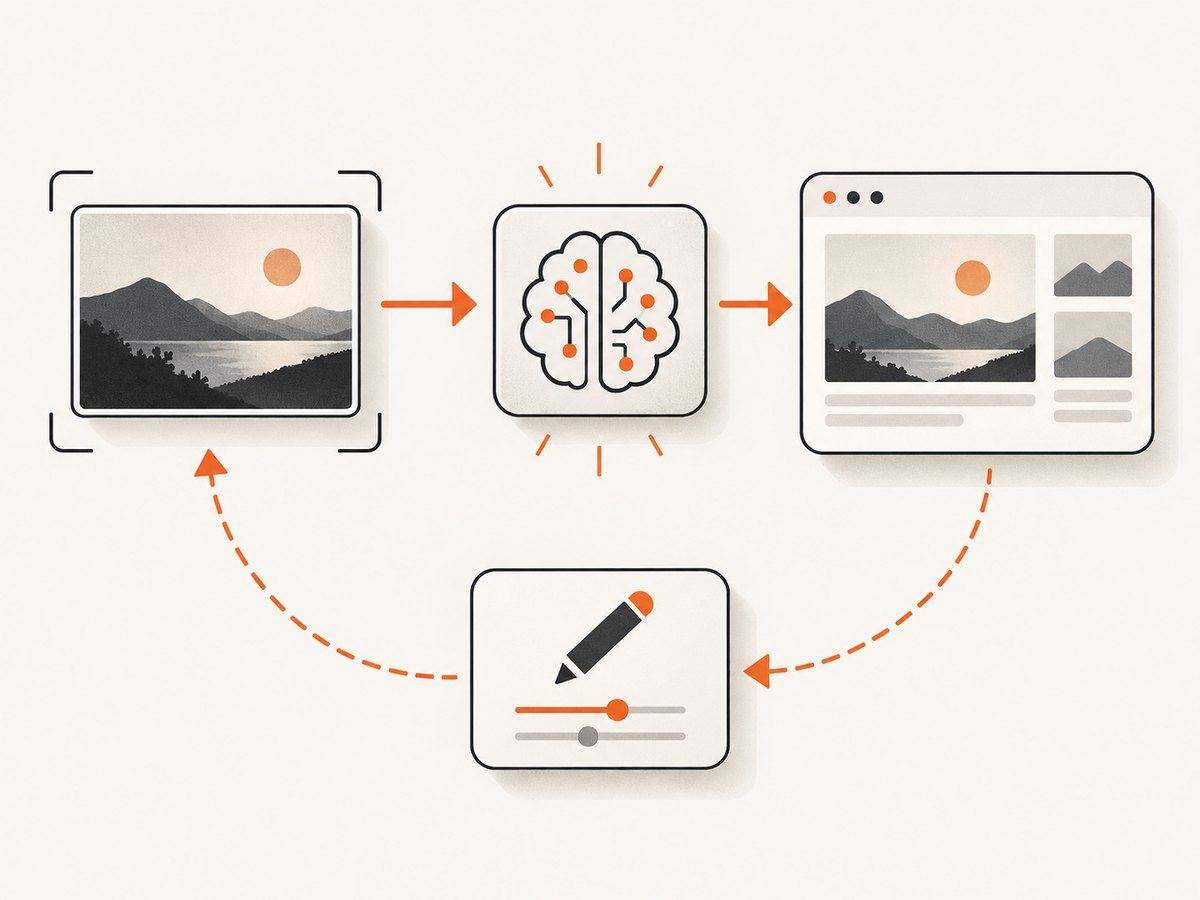
A GPT model can analyze a screenshot and generate a useful first implementation, but the image does not contain your source code, hidden interactions, responsive rules, original assets, or accessibility requirements. The reliable method is: provide the screenshot and project context, describe what the image cannot show, generate code in the real project, render it, capture the result, and iterate with focused visual feedback.
1. Choose the implementation context
Before attaching an image, define where the result will run:
- Target: website page, mobile screen, or reusable component.
- Stack: React, Next.js, Vue, Svelte, plain HTML/CSS, or another framework.
- Styling: CSS modules, Tailwind, styled components, or existing design tokens.
- Project: an existing repository whose conventions must be preserved, or a standalone prototype.
- Viewport: exact width and height, device class, and whether the screenshot is retina.
GPT can analyze image inputs, while coding agents such as Codex can use screenshots as context while inspecting and editing a project. See the OpenAI image and vision guide and code-generation guide for current product details.
2. Prepare the screenshot and requirements
Use the highest-resolution image available. Crop unrelated browser chrome unless it communicates the target viewport. Tell GPT which text must remain exact, which assets you can provide, and which parts are placeholders.
A screenshot reveals appearance at one moment. Add the requirements it cannot reveal:
- What each button, link, form, menu, and card should do.
- Navigation destinations and URL structure.
- Loading, empty, validation, error, and success states.
- Responsive behavior at narrow and wide widths.
- Keyboard navigation, focus states, labels, contrast, and reduced-motion behavior.
- Data sources, authentication boundaries, and whether content is static or fetched.
3. Use a precise conversion prompt
Attach the screenshot and adapt this scaffold:
Recreate the attached screenshot as a [web page / mobile screen / component] using [framework] and [styling approach].

Work in [existing project path / standalone prototype]. First inspect the project structure and existing components. Preserve the visible text and overall layout. The reference viewport is [width] x [height]. Use these supplied assets: [list files]. If an asset is missing, use a clearly labeled placeholder rather than inventing a brand asset.

The page should also:
- [describe interactions and navigation]
- [describe loading, empty, error, and success states]
- respond at [breakpoints or device classes]
- meet these accessibility requirements: [requirements]

Implement the interface in the project. Reuse existing tokens and components where they fit. Keep content and behavior separate from presentation. Run a local preview and compare it with the reference. Report assumptions and files changed. Wait for my next screenshot before making visual corrections.
This prompt is an editorial template, not an official OpenAI prompt or a guarantee of one-shot visual accuracy.
4. Generate in the real project
- Ask GPT to inspect the repository before writing files.
- Have it identify the route, entry component, styling system, asset locations, and existing layout primitives.
- Request the smallest coherent implementation that can render immediately.
- Ask it to list assumptions, unresolved behavior, and every file changed.
- Run the project using its normal development command and open the target route.
In an existing codebase, insist that the model follows current naming, linting, routing, and state-management conventions. In a prototype, start with a simple component boundary so later corrections do not become one giant file.
5. Capture a fresh preview and compare it
Compare the rendered page at the same viewport as the reference. Work from large differences to small ones:
- Page width, major columns, and section order.
- Container size, alignment, and vertical rhythm.
- Typography family, size, weight, line height, and wrapping.
- Colors, borders, shadows, radii, and image cropping.
- Small spacing, icon alignment, and hover or focus states.
Send a new screenshot with a short, ordered correction list. Group related issues so the model does not keep changing unrelated parts:
Use this latest screenshot as the current state. Make only these corrections, in order:
1. Set the content column to 720px and center it at desktop widths.
2. Reduce the heading line-height so it wraps like the reference.
3. Move the primary button 8px closer to the form.
4. Keep all existing behavior and text unchanged.

After editing, explain which files changed.
OpenAI’s computer-use guidance recommends supplying a current screenshot when UI state is unknown and returning screenshots for the model to assess actions. Treat that as a feedback pattern, not as a promise of pixel-perfect output: visual parity still requires review. See the computer-use guide.
6. Make the implementation responsive and accessible
A desktop screenshot is not a responsive specification. Ask GPT to define behavior between the observed width and your supported breakpoints. Check:
- Navigation collapse and menu focus management.
- Text wrapping without clipped or overlapping content.
- Images with useful alternative text and sensible cropping.
- Keyboard order, visible focus, labels, and error announcements.
- Touch target size and horizontal overflow.
- Reduced-motion behavior for animated transitions.
Use real content lengths, not only short placeholder strings. A layout that matches one screenshot can still fail when a heading, translation, validation message, or user name is longer.
7. Validate behavior and maintainability
Exercise every interactive state described in the requirements. Check the page at the reference viewport plus at least one narrow and one wide viewport. Review the generated code for duplicated styles, inaccessible controls, hard-coded coordinates, missing loading states, and unnecessary dependencies. Confirm that assets are licensed and that secrets are not embedded in client code.
Common failure modes and fixes
| Symptom | Likely cause | Fix |
|---|---|---|
| The layout looks close but not aligned | Wrong viewport, container width, or font metrics | Provide exact dimensions, font files or names, and a fresh screenshot; correct one geometry issue at a time. |
| Text differs from the reference | Text was unreadable or omitted from the prompt | Paste exact copy and specify truncation, wrapping, and locale rules. |
| Images or icons look wrong | The screenshot does not contain original source assets | Attach the real files or name approved replacements; do not expect GPT to recover the originals. |
| Buttons are decorative | Behavior was not visible in the image | Describe destinations, events, validation, loading, and error states explicitly. |
| Mobile view breaks | Only one desktop state was specified | Define breakpoints and transformations for columns, navigation, spacing, and type. |
| Every iteration changes too much | Feedback is broad or the model lacks the current screenshot | Attach the latest render and list a few ordered corrections with unchanged constraints. |
| Generated code ignores project conventions | The model started coding before inspecting the repository | Require a structure scan first and point to an existing analogous component. |
| Preview is blank or incomplete | Missing dependency, route, asset, or runtime data | Ask GPT to read the console error, verify the route and imports, and add a deterministic loading or mock state. |
Performance, reliability, and cost notes
- Use a fixed viewport and deterministic data for visual comparisons; changing content makes differences difficult to attribute.
- Load local fonts and images when possible. Network-hosted assets can change layout between iterations.
- Keep screenshots at a practical resolution. Very large images consume more context while adding little information after text and layout are legible.
- Split a complex page into regions when the model loses details, then integrate the components in the project.
- Save each reference and generated screenshot with viewport and commit information so regressions are traceable.
- Model usage costs and product limits vary by interface and can change; consult the current OpenAI documentation for the surface you use.
Or skip the browser setup
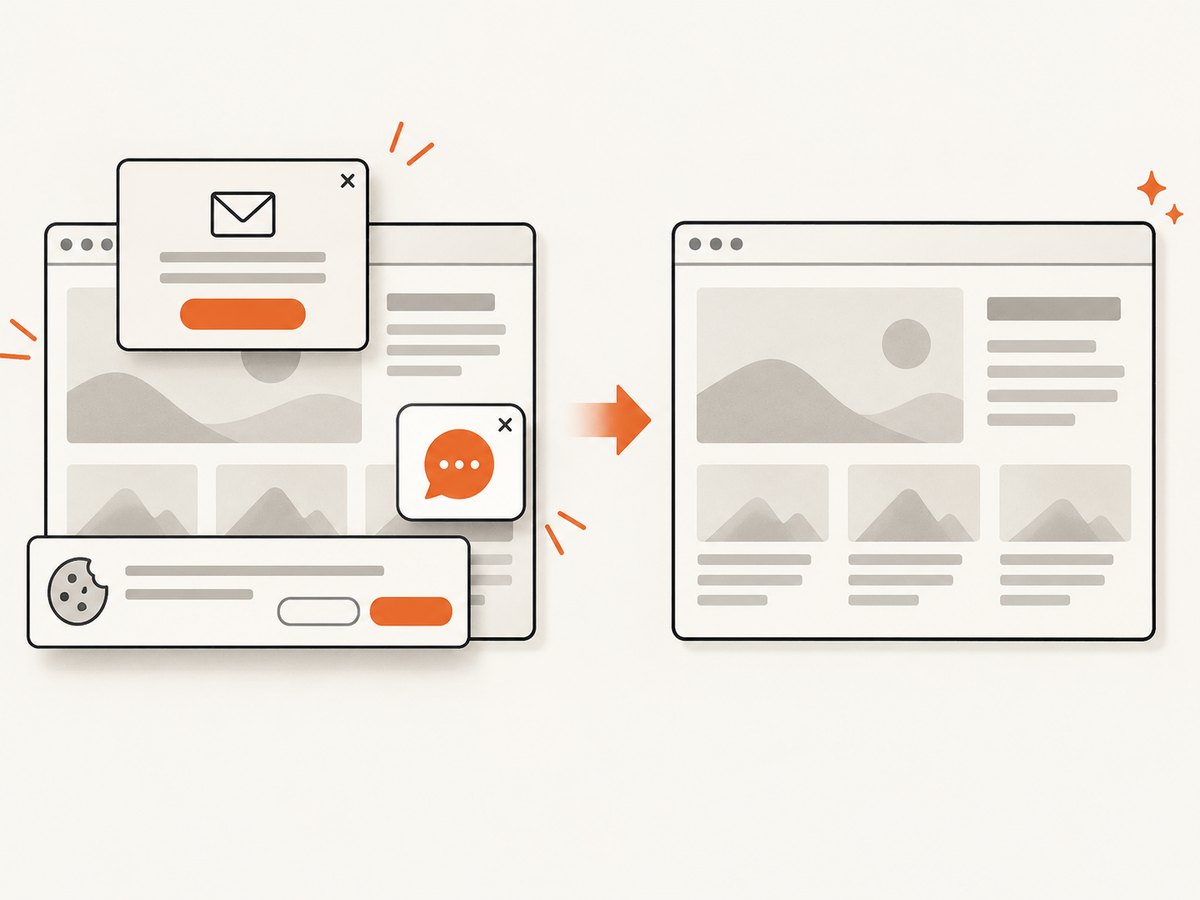
If you need reference screenshots for this feedback loop, ScreenshotNeo captures a URL with one request. It accepts consent banners like a visitor, removes more than 60 known consent platforms plus newsletter popups and chat widgets before capture, and reports whether a response was clean and billed. Bot checks, blank pages, timeouts, failed loads, and cache hits are not billed.
Use any of its capture options for repeatable references, including full-page shots with lazy images loaded, CSS element capture, device or custom viewports, dark mode, retina scale, custom CSS and JavaScript, waits, blocked resources, cookies, headers, timezone, geolocation, caching, signed links, asynchronous jobs, bulk capture, and PDF output. See the ScreenshotNeo API documentation for parameter names and configuration.
cURL
curl -G "https://api.screenshotneo.com/v1/shot" \
  -d access_key=YOUR_API_KEY \
  --data-urlencode url=https://your-site.example \
  -o reference.webp
Python
import requests

r = requests.get(
    "https://api.screenshotneo.com/v1/shot",
    params={"access_key": "YOUR_API_KEY", "url": "https://your-site.example"},
    timeout=90,
)
r.raise_for_status()
open("reference.webp", "wb").write(r.content)
Node.js
const q = new URLSearchParams({
  access_key: 'YOUR_API_KEY',
  url: 'https://your-site.example'
});
const res = await fetch(`https://api.screenshotneo.com/v1/shot?${q}`);
if (!res.ok) throw new Error(`Screenshot failed: ${res.status}`);
const buffer = Buffer.from(await res.arrayBuffer());
await import('node:fs/promises').then(fs => fs.writeFile('reference.webp', buffer));
Inspect the X-Page-Verdict and X-Billed response headers when automating captures. Cache with a TTL when the page is stable, and use async jobs or bulk capture for larger reference sets. ScreenshotNeo also provides an MCP server with take_screenshot, get_page_info, and capture_pdf, so Claude, Cursor, and other MCP clients can request references directly. One thousand shots per month are free with no card; paid plans start at $5 for 3,000 shots. Create a free ScreenshotNeo account.
FAQ
Can GPT recover the original HTML and CSS from a screenshot?
No. It can infer a plausible implementation from visible evidence, but the original source, assets, breakpoints, and behavior are not encoded in the image.
Should I ask for all pages at once?
Start with one representative route or component. Establish tokens and layout conventions, then reuse them across additional screens.
Is a screenshot enough to specify responsive design?
No. Provide supported widths and describe how navigation, columns, spacing, and typography should change.
When should I use a coding agent instead of a chat response?
Use a coding agent when the model needs to inspect files, edit several modules, run the preview, and repeat the screenshot comparison. A chat response is suitable for a standalone snippet or planning.
How do I avoid visual regressions?
Keep reference screenshots at fixed viewports, compare after each focused change, and review behavior and accessibility alongside appearance.


