Convert a Single-File Webpage to JPG
Render a self-contained HTML file in a browser, capture the full page, then export it as JPG with control over quality, size, and background.
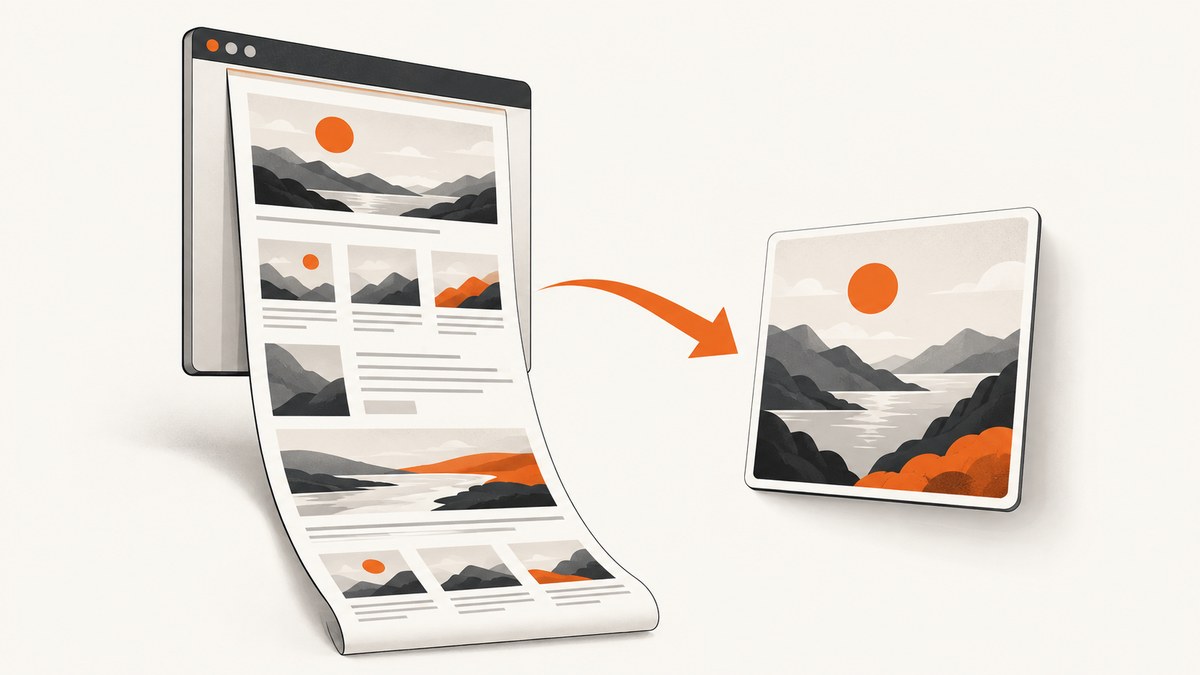
To convert a single-file webpage to JPG, open the HTML file in a desktop browser, let it render, capture the visible area or entire page, and export the resulting image as JPEG in an image editor or conversion tool. The browser renders the HTML; JPG is the final raster export. Saving a page as MHTML or as HTML plus a resource folder preserves a webpage, but does not create a JPG.
For a long page, use a full-page screenshot. For a precise output, set the browser viewport and zoom before capturing, then choose the final dimensions, JPEG quality, and background when exporting. If text sharpness or transparency matters more than file size, keep the image as PNG instead.
1. Check the input file
A file ending in .html may be self-contained, or it may refer to separate images, fonts, stylesheets, scripts, and frames. If those resources are missing or inaccessible, the page can look different from its intended appearance. Open the file and check that the important content and styling are present before capturing.
- Single-file HTML: Resources are embedded in the HTML, so the file is intended to carry the page with it. SingleFile can package webpage resources, including images, stylesheets, fonts, and frames, into one HTML file. See the SingleFile project.
- HTML plus a folder: Some “complete webpage” saves put supporting files in a separate folder. Keep that folder next to the HTML file and preserve its name and relative location.
- MHTML or Web Archive: These are browser-readable archive formats, not JPG files. Open the archive in a compatible browser, then capture and export the rendered page.
If you are saving a page from the web first, Firefox distinguishes “Web page, complete,” which can create a supporting folder, from “Web page, HTML only.” SingleFile is another option for packaging a page and its resources. Neither step itself converts the page to JPG.
2. Open and prepare the page
- Open the file in Chrome, Firefox, Edge, or Safari. If the browser does not open it when you double-click, use the browser’s Open File command.
- Check the page from top to bottom. Confirm that images, fonts, and styles loaded and that no important content is missing.
- Choose the viewport width and browser zoom. These affect line wrapping, layout, and output dimensions. A narrow viewport may cause columns to stack; zooming out can change how the page is laid out.
- Wait for web fonts, images, and any content that loads after scrolling. Scroll through long pages if images load only when they approach the viewport.
- For moving content, wait for a useful frame or pause animations if the page allows it. A screenshot captures one moment, not an interactive webpage.
For repeatable captures, use the same browser, viewport, zoom, and available fonts. Do not assume two browsers will produce pixel-identical images: font rendering, timing, animations, viewport size, and cross-origin resources can all affect the result.
3. Capture the full page or a selected area
Choose the capture scope based on what the image needs to show:
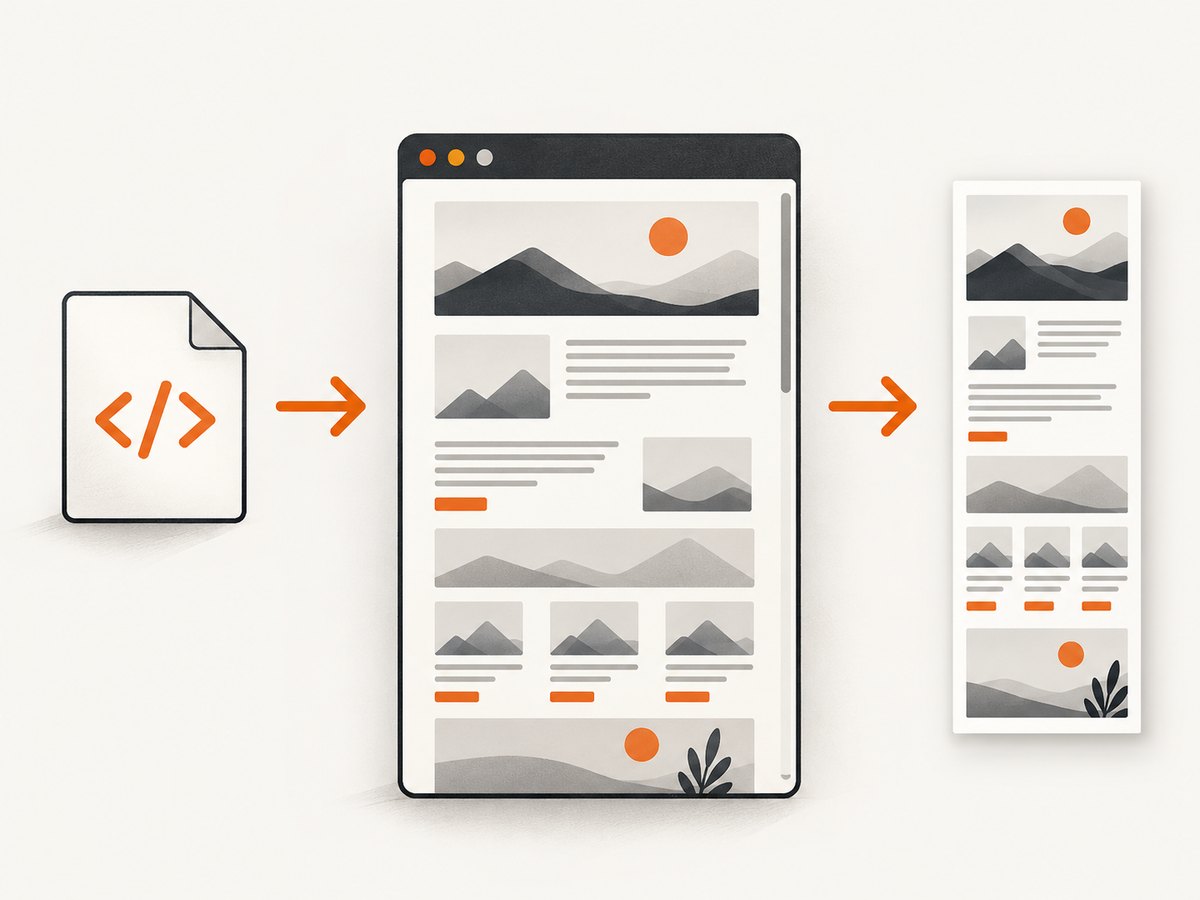
- Visible area: Captures what is currently on screen. Use it for a quick preview or a page that fits in the viewport.
- Full page: Captures the full document in a tall image. Use it for long articles or complete-page records.
- Region or element: Captures a selected rectangle or a particular page element when browser tooling offers that option.
Firefox: full-page screenshot
Firefox offers several ways to capture. Its Screenshot feature can save the visible area, a region, an automatically detected part, or the full page. You can access it from the context menu with “Take Screenshot,” then choose “Save full page.” Firefox DevTools also supports screenshots of the entire page or a single element, and documents a --fullpage option. The captured screenshot is saved to Downloads. See Mozilla’s screenshot documentation and Firefox’s Take Screenshots guide.
For a standard manual capture, open the page, choose “Take Screenshot,” select the full-page option, and save the result. If using DevTools, follow the instructions for your Firefox version to enable its screenshot control or use the documented command-line option. Browser versions and menus can change, so consult Mozilla’s current instructions if an option is not where expected.
Chrome and Chromium: distinguish archives from screenshots
Chrome’s “Save page” or pageCapture.saveAsMHTML() workflow creates an MHTML archive. Chrome describes MHTML as a format that encapsulates a page and its resources in one file. It is useful for preserving a webpage, but it is not a JPG exporter. Use a browser screenshot or DevTools capture for the image stage, then convert that image to JPEG. See Chrome’s pageCapture API documentation and the Chromium Save Page As MHTML design document.
4. Export the screenshot as JPG
Browser screenshot tools commonly provide an image capture without offering the JPEG quality and background controls you may need. Open the capture in an image editor or image-conversion utility and export it as JPG or JPEG.
- Open the captured image in your editor.
- Choose Export, Save As, or the equivalent command.
- Select JPEG/JPG as the output format.
- Choose quality and dimensions according to your use. Higher JPEG quality generally preserves more detail and produces a larger file; exact controls depend on the editor.
- If the source image has transparent areas, choose a background color before exporting. JPEG does not preserve transparency.
- Save to a new file and reopen it to check text edges, colors, and cropping.
JPEG uses lossy compression. Small text and sharp edges can show artifacts at lower quality settings, so inspect the result at its intended display size. Keep the original PNG if you may need lossless detail or transparency. There is no universal browser JPEG quality setting in the cited screenshot documentation; quality is an editor-dependent export choice.
5. Automate a local HTML-to-JPG conversion
For a repeatable conversion, use a browser automation library to load the local file, capture a screenshot, and convert the resulting PNG to JPEG. The example below uses Playwright for rendering and Pillow for conversion. It captures the entire document, sets a viewport, waits for fonts and network activity to settle, and flattens transparency against white during JPEG export.
Install the dependencies and a Playwright browser:
python -m pip install playwright pillow
python -m playwright install chromium
Save this as html_to_jpg.py:
import asyncio
from pathlib import Path
from PIL import Image
from playwright.async_api import async_playwright

async def main():
    source = Path("page.html").resolve()
    png_path = Path("capture.png")
    jpg_path = Path("capture.jpg")

    if not source.is_file():
        raise FileNotFoundError(f"HTML file not found: {source}")

    async with async_playwright() as p:
        browser = await p.chromium.launch()
        page = await browser.new_page(
            viewport={"width": 1440, "height": 900},
            device_scale_factor=1,
        )
        await page.goto(source.as_uri(), wait_until="networkidle")
        await page.evaluate("document.fonts.ready")
        await page.screenshot(path=str(png_path), full_page=True)
        await browser.close()

    with Image.open(png_path) as image:
        # JPEG has no alpha channel; use a white background for transparency.
        if image.mode in ("RGBA", "LA") or "transparency" in image.info:
            rgba = image.convert("RGBA")
            background = Image.new("RGBA", rgba.size, "white")
            background.alpha_composite(rgba)
            image = background.convert("RGB")
        else:
            image = image.convert("RGB")
        image.save(jpg_path, "JPEG", quality=90, optimize=True)

    print(f"Saved {jpg_path} ({jpg_path.stat().st_size} bytes)")

asyncio.run(main())
Put page.html in the same directory and run:
python html_to_jpg.pyThe script writes an intermediate PNG and a JPEG. Change the viewport width to affect responsive layout. Adjust quality=90 to trade file size against compression artifacts; this is a Pillow setting, not a browser guarantee.
Automation caveats
networkidlecan time out on pages that keep connections open. For a fully local page, use a suitable load condition such asload, then wait for a known selector or a short delay.- Lazy images may not load until scrolled into view. If the page uses them, scroll through the document before taking the screenshot, or use an explicit wait for the relevant content.
- A very tall page can exceed browser or image-editor limits. Capture sections separately or reduce the viewport width only if the resulting responsive layout is acceptable.
- Local pages that refer to external resources still need network access for those resources. A self-contained file is more dependable offline.
- For untrusted HTML, use a controlled environment and do not grant the browser access to sensitive local files or credentials.
6. Choose a workflow for your constraints
| Need | Recommended approach | Tradeoff |
|---|---|---|
| One quick image | Open in a browser, capture, export as JPG | Manual, but easy to inspect before saving |
| Long page | Use full-page capture, then export | Produces a tall image that may be unwieldy to share or print |
| Exact JPEG quality or background | Capture to PNG and export in an editor | Adds a conversion step; controls vary by editor |
| Repeatable local batch | Automate browser rendering and image conversion | Requires browser and library setup; dynamic pages need explicit waits |
| Keep an offline webpage | Save as MHTML, Web Archive, or self-contained HTML | These preserve webpage content; they are not JPG output |
Or skip the browser setup
For a public, hosted webpage, ScreenshotNeo can render the URL and return an image in one request. Its API supports PNG, JPEG, and WebP output, and its documentation is at ScreenshotNeo API docs. This does not upload or open a local HTML file; the page must be reachable at a URL.

curl -G "https://api.screenshotneo.com/v1/shot" -d access_key=YOUR_API_KEY --data-urlencode url=https://stripe.com -o shot.webpimport requests
r = requests.get(
"https://api.screenshotneo.com/v1/shot",
params={"access_key": "YOUR_API_KEY", "url": "https://stripe.com"},
timeout=90,
)
open("shot.webp", "wb").write(r.content)const q = new URLSearchParams({ access_key: 'YOUR_API_KEY', url: 'https://stripe.com' });
const res = await fetch(`https://api.screenshotneo.com/v1/shot?${q}`);ScreenshotNeo accepts cookie and consent banners before capture and removes more than 60 known consent platforms, newsletter popups, and chat widgets; each step can be turned off. Bot checks, blank pages, failed loads, timeouts, and cache hits are not billed, and response headers identify the page verdict and billing status. Its MCP server provides screenshot tools for AI agents. The free plan includes 1,000 screenshots per month with no card; paid plans start at $5 for 3,000.
Create a free ScreenshotNeo account to get 1,000 screenshots a month with no card.
Troubleshooting
| Symptom | Likely cause | Fix |
|---|---|---|
| Images or styling are missing | The HTML references separate files that were moved, omitted, or blocked | Restore the resource folder beside the HTML file, or package the page resources into a self-contained file. Check browser developer tools for failed requests. |
| The output only shows the first screen | You captured the viewport, not the full document | Use the browser’s full-page screenshot option or a full-page automation capture. |
| Text wraps differently than expected | Viewport width, zoom, or font availability changed the layout | Set the intended viewport and zoom before capture, and make sure required fonts are available. |
| Images are blank in the capture | Images are lazy-loaded or still downloading | Wait for loading to finish and scroll through the page to trigger lazy images before capturing. |
| Automation waits forever | The page never reaches network idle, often because of persistent connections | Use a different load condition and wait for a specific element or a bounded delay. |
| JPEG has a colored or black background | Transparent pixels were flattened by the conversion tool | Choose the intended background explicitly before saving as JPEG. |
| JPEG text looks fuzzy | Lossy compression or repeated resaving degraded sharp edges | Export from the original capture at higher quality. Keep PNG when crisp text is more important than file size. |
| The page is cut off or the image is too tall | Capture limits, very long documents, or fixed-height elements can affect full-page screenshots | Check the capture dimensions, capture sections separately if necessary, and inspect sticky or fixed elements in the result. |
Performance, reliability, and file size
Capture time depends on how quickly the page and its resources render. A self-contained local file avoids dependence on network-loaded assets, while a page that fetches fonts, images, or scripts still needs those requests to complete. Waiting for a specific element is often more reliable than assuming a fixed delay when the page has dynamic content.
Full-page screenshots can create large images, especially on long pages or at high device scale. Before capture, decide whether you need the whole page or just a section. After capture, resize only if the smaller dimensions still preserve readable content. JPEG can reduce file size, but quality settings and image content matter; check the output instead of relying on an assumed percentage reduction.
For a reliable archive, keep the original HTML and any supporting files, along with the captured PNG if image fidelity matters. The JPG is a convenient flattened representation of one rendered state; it does not preserve links, selectable text, animation, or page behavior.
FAQ
Can I convert HTML to JPG without opening a browser?
A faithful screenshot requires rendering the page. A browser automation tool can do that in the background, but it still uses a browser engine. A simple file-format rename or archive conversion will not render HTML into an image.
Does Chrome’s “Save page” create a JPG?
No. The MHTML option saves a webpage and its resources in an archive. Capture the rendered page separately, then export the image as JPEG.
Should I use JPG or PNG?
Use JPG when a smaller flattened image is useful and some compression is acceptable. Use PNG for lossless sharp text or when transparency must remain.
Can I turn a local HTML file into a ScreenshotNeo screenshot?
The ScreenshotNeo API example captures a URL. To use it, the page must be available at a reachable URL; for a local-only file, capture it in a local browser instead.


