Converting Video and Audio Formats Using FFmpeg
Convert video and audio with FFmpeg: remux without re-encoding, transcode safely, select streams, preserve quality, and troubleshoot common failures.
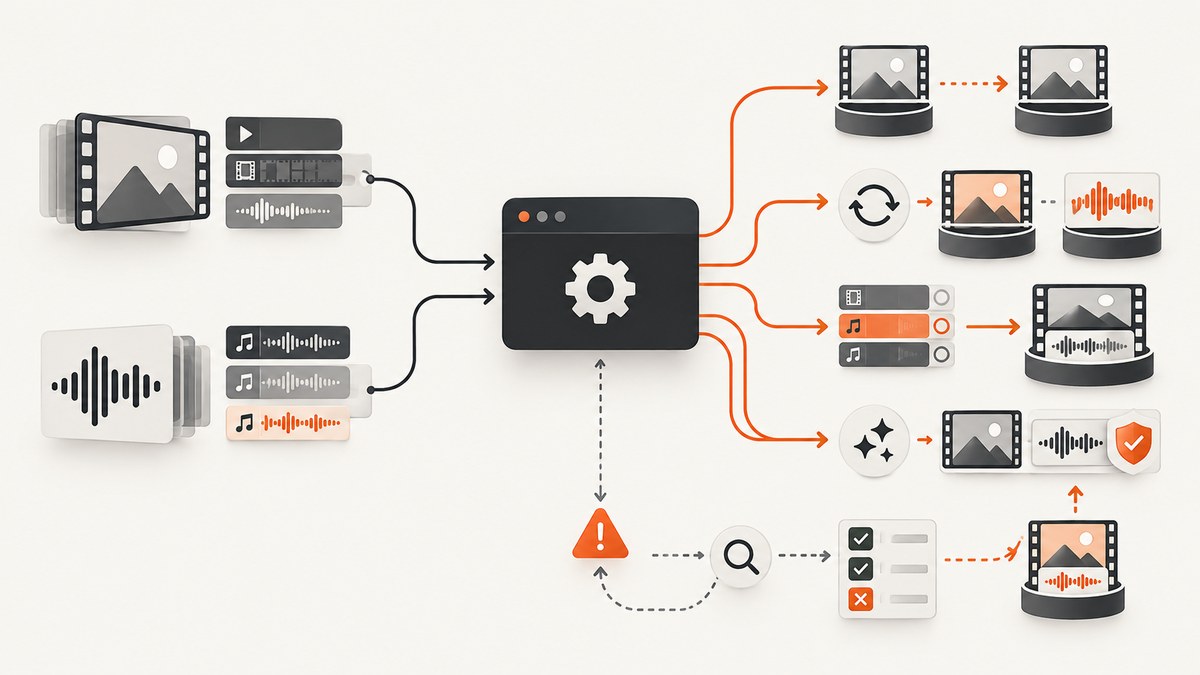
FFmpeg converts media by reading an input with -i, selecting or transforming its streams, and writing an output file. The correct command depends on whether you need a new container, new codecs, filters, smaller files, or compatibility with a particular player or editor. Start by identifying that requirement; the filename extension alone does not guarantee a usable result.
This guide covers stream copying (remuxing), full transcoding, video and audio examples, stream selection, quality and size controls, metadata, subtitles, automation, troubleshooting, performance, reliability, and cost. Commands assume a recent FFmpeg executable is installed and available as ffmpeg.
1. Understand containers, codecs, and streams
A container is the file format that holds media streams and related data. MP4, Matroska (MKV), WebM, MOV, AVI, and OGG are containers. A video stream may use H.264, H.265/HEVC, VP9, or AV1; an audio stream may use AAC, Opus, MP3, FLAC, or another codec. Subtitles, attachments, chapters, and data can also be present.
Changing a container is different from changing an encoded stream. A remux can put already encoded streams into another container without decoding them. Transcoding decodes and then encodes again. FFmpeg’s documentation defines transcoding as “the process of decoding a stream and then encoding it again.” Stream copying is faster and avoids another lossy generation, but only works when the destination container and target application accept the existing streams.
2. Inspect your FFmpeg build and the input
Support varies by version, compile-time options, and external libraries. The official FFmpeg format and codec reference describes general support, while your local build is authoritative for what you can run.
ffmpeg -version
ffmpeg -formats
ffmpeg -codecs
ffprobe -hide_banner input.mkv
ffprobe reports stream indexes, codecs, dimensions, frame rates, sample rates, channel layouts, durations, metadata, and disposition flags. Read its output before writing a conversion command when a file contains multiple tracks.
3. Choose streamcopy or transcoding
| Approach | Command pattern | Use it when | Trade-offs |
|---|---|---|---|
| Streamcopy/remux | -c copy |
Only the container must change and streams are compatible | Very little CPU; no quality loss; can fail for incompatible combinations |
| Transcode | -c:v ... -c:a ... |
You need different codecs, filtering, resizing, deinterlacing, resampling, or mixing | More CPU and time; lossy encoders can reduce quality |
| Hybrid | Encode only selected streams, copy the rest | One stream needs conversion while another is already suitable | Requires deliberate stream mapping and compatibility checks |
Remux without re-encoding
ffmpeg -i input.mkv -c copy output.mp4This copies encoded streams into an MP4 container. It does not convert H.264 to another video codec or FLAC to AAC. If FFmpeg reports that a stream cannot be muxed into the destination, choose a compatible container or transcode that stream.
Transcode selected streams
ffmpeg -i input.mkv -c:v libx264 -c:a aac output.mp4The video is decoded and encoded with x264, and the audio is encoded as AAC. A hybrid example keeps compatible audio untouched:
ffmpeg -i input.mkv -c:v libx264 -c:a copy output.mp4Verify that the copied audio codec is accepted by MP4 and by the final player. FFmpeg does not validate every destination-specific compatibility rule for you.
4. Convert common video formats
AVI or MKV to broadly compatible MP4
ffmpeg -i input.avi -c:v libx264 -preset medium -crf .crf 23 -c:a aac -b:a 160k output.mp4-crf controls constant-quality encoding for libx264; lower values generally mean higher quality and larger files. Treat 23 as a starting point, then inspect the output on the actual destination. The preset changes encoding speed versus compression efficiency; it does not define a universal quality level.
Convert to WebM
ffmpeg -i input.mp4 -c:v libvpx-vp9 -crf 32 -b:v 0 -c:a libopus -b:a 128k output.webmSome builds may not include a requested encoder. Confirm with ffmpeg -encoders or ffmpeg -codecs.
Resize while converting
ffmpeg -i input.mp4 -vf "scale=1280:-2" -c:v libx264 -crf 23 -c:a aac output-720p.mp4The -2 keeps the computed height even, which is accepted by many codecs. Filtering requires decoding and re-encoding; -c copy cannot be combined with a video filter.
Extract a short preview
ffmpeg -ss 00:01:00 -i input.mp4 -t 00:00:20 -c copy preview.mp4Fast seeking before -i may begin at a nearby keyframe. For frame-accurate cuts, place -ss after -i and re-encode the affected streams.
5. Convert audio formats
Convert to MP3
ffmpeg -i input.wav -c:a libmp3lame -q:a 2 output.mp3VBR quality values are encoder-specific. If a workflow requires a fixed bitrate, use -b:a 192k (or the bitrate required by that workflow) instead.
Convert to AAC in an M4A container
ffmpeg -i input.flac -c:a aac -b:a 192k output.m4aConvert to lossless FLAC
ffmpeg -i input.wav -c:a flac output.flacFLAC is lossless, but converting an already lossy MP3 back to FLAC cannot restore discarded information.
Resample or change channels
ffmpeg -i input.wav -ar 48000 -ac 2 -c:a pcm_s16le output.wav-ar sets sample rate and -ac sets channel count. Downmixing changes the source’s channel arrangement, so listen to the result when phase or surround content matters.
6. Select streams deliberately
Inputs can contain multiple videos, languages, commentary tracks, subtitles, attachments, or data streams. Automatic selection may choose a different stream than you expect. Use -map with stream specifiers.
# First video and second audio stream
ffmpeg -i input.mkv -map 0:v:0 -map 0:a:1 -c:v libx264 -c:a aac output.mp4

# Copy all video and audio streams, omit data and attachments
ffmpeg -i input.mkv -map 0:v -map 0:a -c copy output.mkv

# Include the first subtitle stream
ffmpeg -i input.mkv -map 0:v:0 -map 0:a:0 -map 0:s:0 -c:v copy -c:a copy -c:s mov_text output.mp4
Indexes are zero-based. Add -map_metadata 0 to copy global metadata from the first input, or -map_chapters 0 to copy chapters. MP4 subtitle support depends on subtitle type; text subtitles often need conversion to a supported codec.
7. Control quality, size, and compatibility
- Quality: Use the chosen encoder’s quality controls such as CRF or a documented bitrate mode. Test against the destination rather than assuming one value fits every source.
- Frame rate: Preserve it unless the target requires a change. Use options such as
-rcarefully; forcing a rate can duplicate or drop frames. - Pixel format: Consumer playback often expects a specific format. For H.264 compatibility,
-pix_fmt yuv420pis commonly required by older devices, but verify the target. - Fast start: For progressive MP4 playback,
-movflags +faststartmoves metadata toward the beginning of the file after encoding. - Hardware acceleration: Builds may provide hardware encoders and decoders, but names and quality differ by operating system and GPU. Check
ffmpeg -encoders, then validate output quality and driver behavior.
8. Batch conversion and safe automation
Use a separate output directory and never overwrite originals until a result has been checked. In a POSIX shell:
mkdir -p converted
for f in input/*; do
  base=$(basename "$f")
  stem=${base%.*}
  ffmpeg -nostdin -y -i "$f" -map 0:v:0 -map 0:a:0? \
    -c:v libx264 -crf 23 -c:a aac -b:a 160k "converted/${stem}.mp4"
done
The trailing ? makes the audio map optional, so silent videos do not fail solely because they lack an audio stream. For production jobs, capture exit codes, stderr, input duration, and output validation. Write to a temporary filename and rename only after FFmpeg exits successfully.
9. Troubleshooting common errors
| Symptom | Likely cause | Fix |
|---|---|---|
| “Unknown encoder” | Your build lacks the requested encoder or external library | Check ffmpeg -encoders; install a build that includes it or choose an available encoder |
| “Could not find tag for codec” | The stream codec is not accepted by the output container | Choose another container, or transcode that stream with -c:v/-c:a |
| Output has the wrong language or commentary | Automatic stream selection chose another track | Inspect with ffprobe and add explicit -map |
| No audio in output | The input has no audio, mapping omitted it, or the codec is incompatible | Use -map 0:a?, inspect streams, and choose a supported audio codec |
| Large file or poor quality | Bitrate/quality settings do not match the source or target | Use the encoder’s quality mode, adjust CRF or bitrate, and compare on the intended device |
| Audio and video drift | Variable frame rate, timestamps, or a problematic source | Inspect timestamps; try a controlled transcode and avoid unnecessary streamcopy for damaged timing |
| “Invalid data found when processing input” | Wrong file, incomplete download, damaged media, or unsupported format | Run ffprobe, confirm the file is complete, and test another FFmpeg build |
| Command hangs in a script | FFmpeg is waiting for terminal input | Use -nostdin in noninteractive jobs and handle logs explicitly |
10. Performance, reliability, and cost
Streamcopy avoids decode and encode work, so it is normally the least expensive operation in CPU time and storage churn. Transcoding cost depends on duration, resolution, filters, codec, preset, and hardware. Re-encoding also creates another lossy generation when the codec is lossy. Keep originals, measure representative files, and verify outputs with the actual player, editor, upload service, or device.
For reliable pipelines, pin the FFmpeg build, record ffmpeg -version, preserve stderr logs, set timeouts around the process, check its exit status, and validate that the output exists and has expected streams. Online FFmpeg documentation is regenerated nightly and follows the newest revision, so local help may differ; consult the documentation index and command reference alongside your installed build.
11. Or skip the browser setup
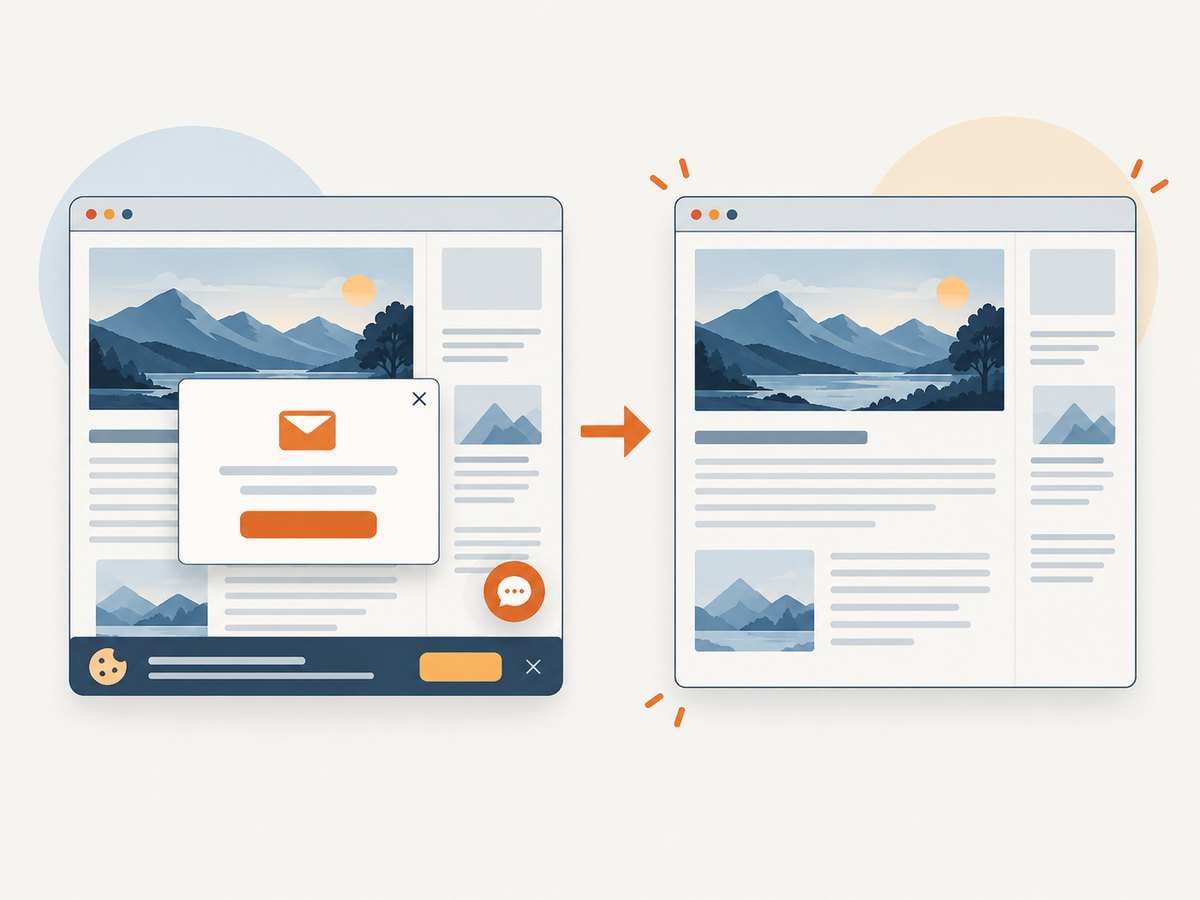
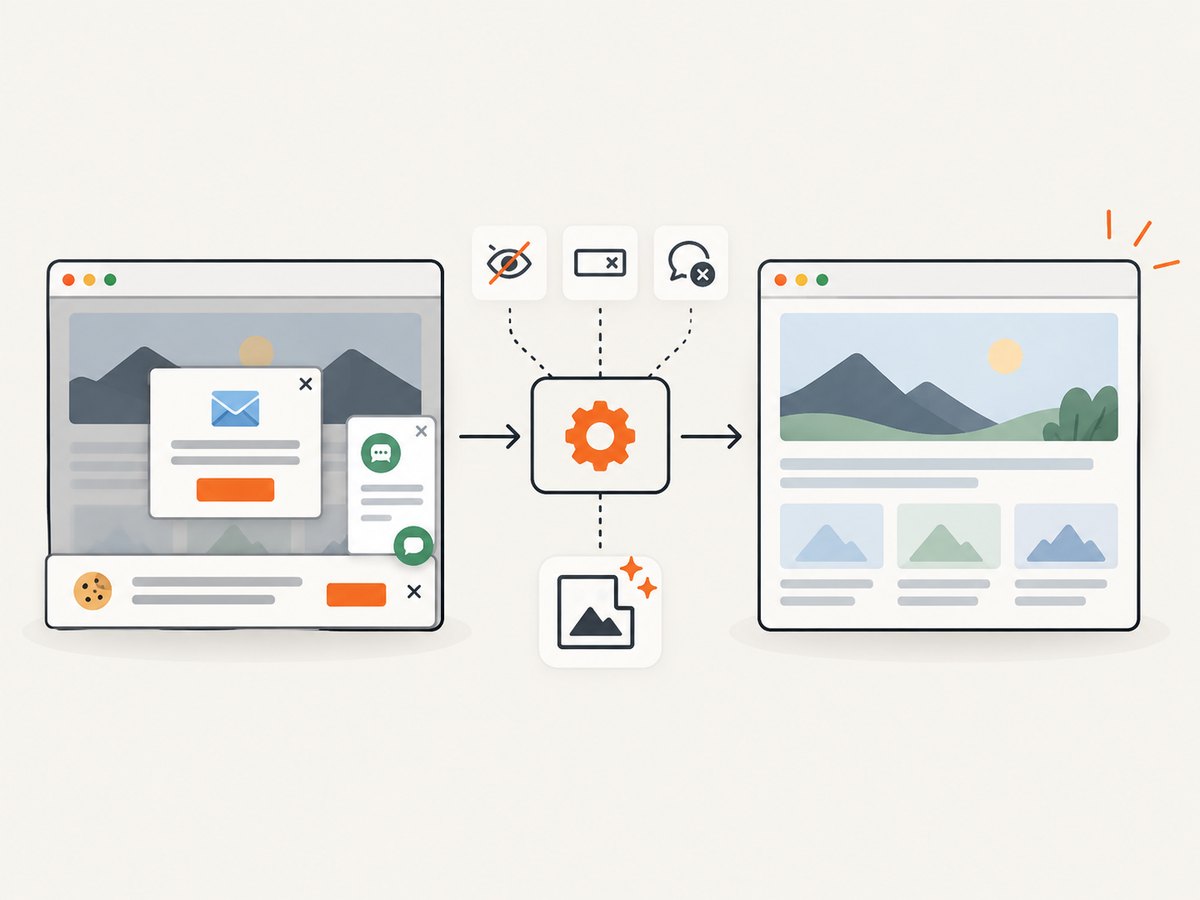
If your workflow also needs screenshots of web pages for documentation, visual regression, or media pipelines, ScreenshotNeo provides a single HTTP request instead of maintaining browser automation. Its API returns PNG, JPEG, WebP, or PDF. Cookie and consent banners, newsletter popups, and chat widgets are removed before capture; bot checks, blank pages, timeouts, failed loads, and cache hits are not billed. An MCP server provides take_screenshot, get_page_info, and capture_pdf tools for Claude, Cursor, and other MCP clients.
See the ScreenshotNeo API documentation for all options.
curl -G "https://api.screenshotneo.com/v1/shot" -d access_key=YOUR_API_KEY --data-urlencode url=https://stripe.com -o shot.webpimport requests
r = requests.get("https://api.screenshotneo.com/v1/shot", params={"access_key": "YOUR_API_KEY", "url": "https://stripe.com"}, timeout=90)
open("shot.webp", "wb").write(r.content)const q = new URLSearchParams({ access_key: 'YOUR_API_KEY', url: 'https://stripe.com' });
const res = await fetch(`https://api.screenshotneo.com/v1/shot?${q}`);Every response includes X-Page-Verdict and X-Billed headers so a caller can see what happened. The service supports full-page and element capture, device presets, custom viewports, retina scale, PDF controls, custom CSS and JavaScript, clicks, waits, request blocking, headers, cookies, user agents, timezone, geolocation, transparent backgrounds, resizing, caching TTLs, signed links, asynchronous jobs, webhooks, bulk capture, usage reporting, and an OpenAPI specification. The parameter names used by other screenshot APIs also work, which can simplify migration.
The Free plan includes 1,000 screenshots each month with no card. Paid plans start at $5 for 3,000 shots; yearly billing gives two months free. Create a free ScreenshotNeo account.
12. FAQ
Does changing an extension convert a file?
No. Use FFmpeg to remux or transcode, then verify the resulting streams and destination compatibility.
Can I use -c copy with filters?
No. Filters require decoded frames or samples, so the affected stream must be encoded again.
Why does the online command reference differ from my terminal?
The online documentation tracks a newer revision and is regenerated nightly. Check your local version and ffmpeg -h output.
Should I always convert to MP4?
Only when the target accepts the selected MP4 codecs and container features. WebM, MKV, MOV, or another format may be more appropriate for a specific player or editing workflow.
How do I preserve every stream?
Use explicit maps such as -map 0, then confirm that the destination container supports each video, audio, subtitle, attachment, and data stream.


