How to Convert a Web Image to PNG
Convert JPG, WebP, GIF, or downloaded images to PNG with GIMP, ImageMagick, scripts, and practical fixes for transparency and quality.
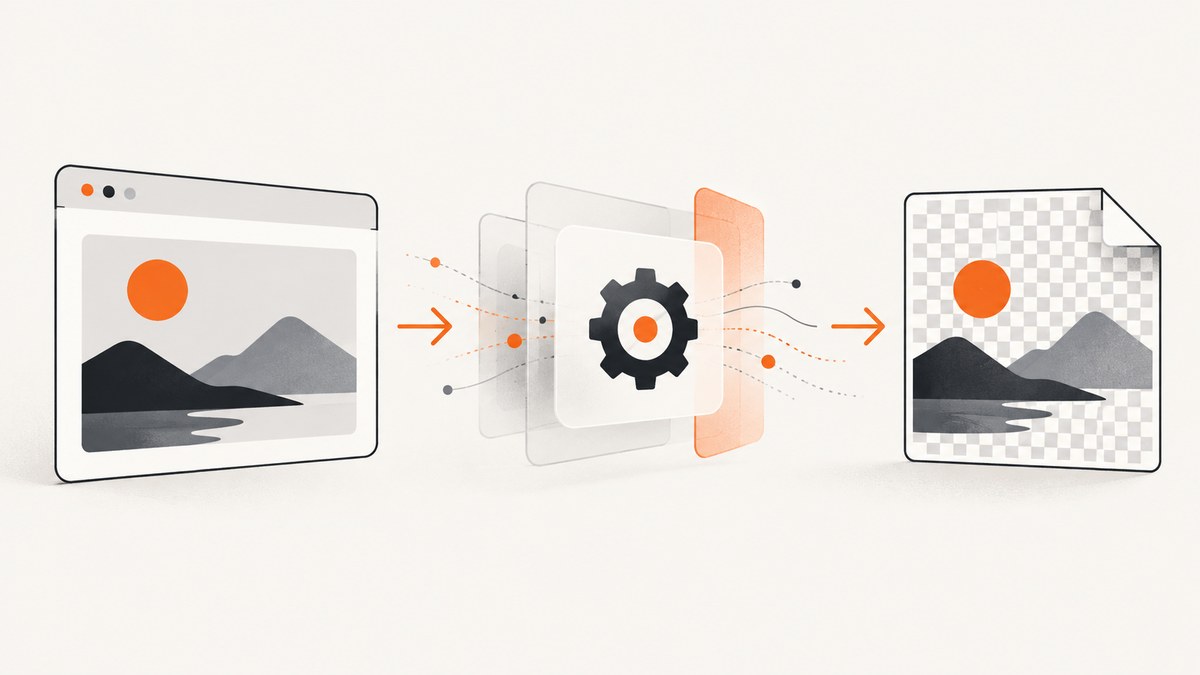
Short answer: download the image, open it in an image editor or converter, and export it with a .png filename. Renaming .jpg or .webp to .png does not change the encoded image data. For a command-line conversion, ImageMagick uses magick input.jpg output.png.ImageMagick
PNG is a good destination when you need transparency, crisp icons, screenshots, diagrams, or other images with relatively few colors. JPEG is usually smaller for photographs, and converting a JPEG to PNG cannot restore detail that JPEG compression already discarded. This guide covers browser downloads, GIMP, ImageMagick, Python and Node.js automation, animated files, transparency, color and metadata issues, troubleshooting, and safe processing.
1. Download the image before converting it
If the image is on a web page, first save the actual image file. Right-click the image and choose the browser’s save option, or open the image in a new tab and save it. The downloaded filename may not reveal the real format: a URL can have no extension, and a server can return WebP while the page appears to show a JPEG.
- Save the source image to a local folder.
- Keep the original file unchanged so you can return to it if metadata, animation, or color information matters.
- Identify the file by its contents when the extension is missing or suspicious.
- Export or re-encode the identified file as PNG.
Changing a filename from photo.webp to photo.png only changes the label. Programs read the bytes inside the file, so a renamed WebP is still WebP and may fail to open as PNG.
2. Convert a web image to PNG in GIMP
GIMP is the simplest visual workflow when you want to inspect the image, preserve transparency, or make a small edit before exporting. GIMP’s documentation distinguishes Save, which keeps the editable XCF project, from Export, which creates another format. Use Export As when the goal is a PNG.GIMP export documentation
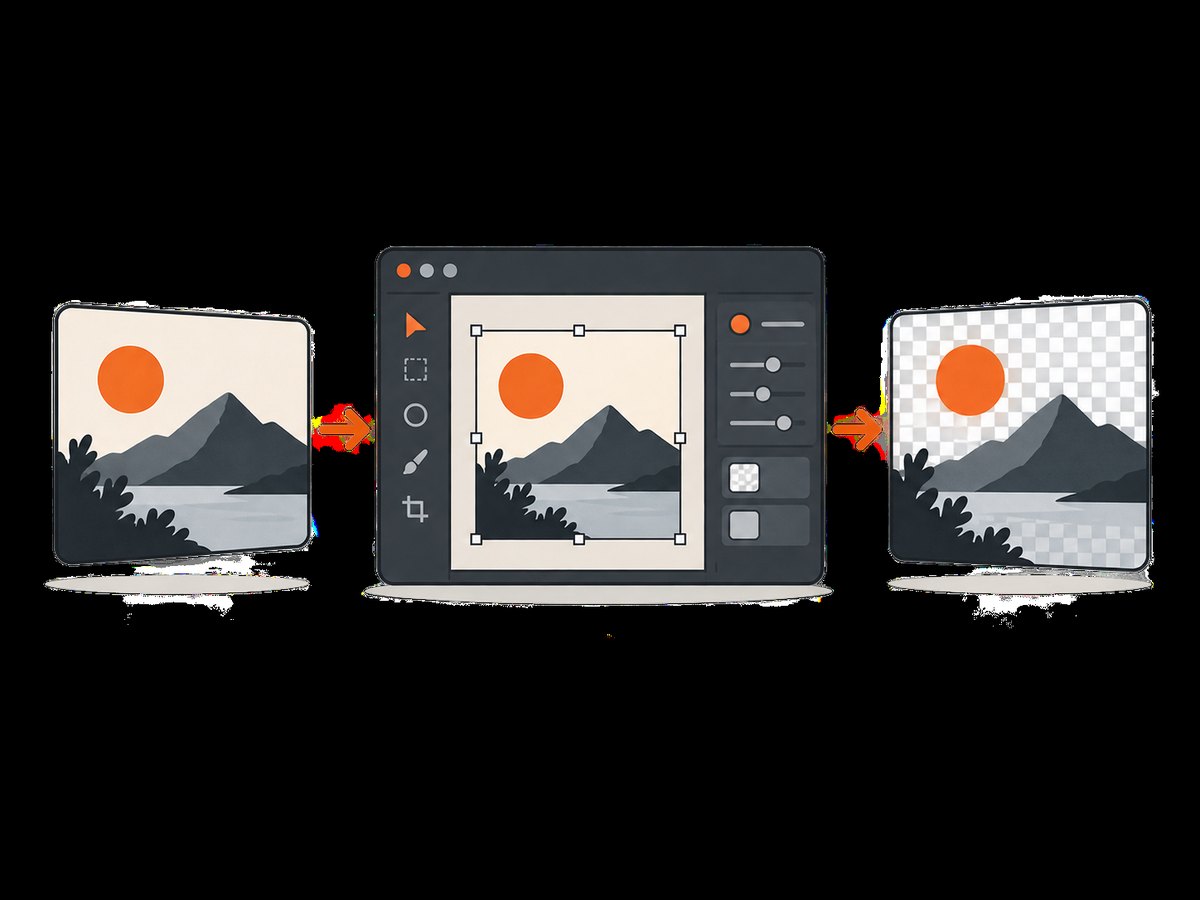
Step-by-step
- Open GIMP and choose File → Open.
- Select the downloaded JPG, WebP, GIF, TIFF, or other supported image.
- Check transparency. In the layer panel, an alpha channel allows transparent pixels and soft edges. Do not flatten the layer if those pixels must remain transparent.
- Choose File → Export As (the exact wording can vary by GIMP version).
- Enter a destination ending in
.png, such asconverted.png. - Confirm the PNG export dialog. The default compression is normally appropriate. PNG compression is lossless; changing its level changes encoding time and file size, not image quality.
- Open the exported file in an image viewer and check dimensions, edges, colors, and transparent areas.
For web preparation, GIMP recommends PNG for fewer-color images such as icons, buttons, and screenshots, while JPEG is generally more efficient for photographs with many colors.GIMP image-format guidance A PNG export is a rendered image, not a replacement for the layered XCF project.
3. Convert with ImageMagick
ImageMagick is concise, scriptable, and useful in build pipelines. Install it from the official ImageMagick site, then run:
magick input.jpg output.pngFor a downloaded WebP:
magick downloaded.webp converted.pngThe same command works for many supported input formats:
magick source.gif output.png
magick source.tif output.png
magick source.bmp output.png
To inspect the source before conversion:
magick identify source.webpTo see which formats your particular installation can read and write:
magick identify -list formatFormat support depends on the build and its delegate libraries. If WebP or another format is absent from the list, install a build with the required delegate or use GIMP. The official format list explains that available coders can vary by installation.ImageMagick image formats
Useful ImageMagick options
| Goal | Command | What it does |
|---|---|---|
| Preserve a still image from an animated source | magick animation.webp[0] still.png |
Writes the first frame. It does not preserve animation. |
| Resize while converting | magick input.jpg -resize 1600x1600 output.png |
Fits within the requested bounds while preserving aspect ratio. |
| Remove metadata | magick input.jpg -strip output.png |
Removes profiles and comments; use only when that information is not needed. |
| Keep transparency | magick input.png output.png |
Copies the alpha channel unless another operation removes it. |
Do not add -flatten when transparent pixels must survive. Flattening composites layers against a background and removes the ability to retain those transparent regions.
4. Automate conversion in Python
Pillow provides a practical Python workflow. Install it in the environment used by your script:
python -m pip install PillowConvert a local file and preserve transparency when the source has it:
from PIL import Image

with Image.open("downloaded.webp") as image:
    # Keep RGBA when an alpha channel exists; otherwise use the source mode.
    if "A" in image.getbands():
        image = image.convert("RGBA")
    image.save("converted.png", format="PNG")
For a URL, download bytes first, then decode them. Validate the URL and set a finite timeout in production:
from io import BytesIO
import requests
from PIL import Image

url = "https://example.com/image.webp"
response = requests.get(url, timeout=30)
response.raise_for_status()

with Image.open(BytesIO(response.content)) as image:
    image.save("converted.png", format="PNG")
Pillow may identify an animated WebP or GIF. If you need every frame, iterate through frames and write an animated format; a normal PNG output represents one still image. Also check the server’s Content-Type and the decoded format rather than trusting the URL extension.
5. Automate conversion in Node.js
Node.js does not include a general image encoder. A common production choice is the sharp package, which uses native image libraries:
npm install sharpimport sharp from "sharp";
await sharp("downloaded.webp")
.png()
.toFile("converted.png");
To fetch and convert a remote image, stream or buffer the response and reject failed HTTP statuses:
import sharp from "sharp";

const response = await fetch("https://example.com/image.webp");
if (!response.ok) throw new Error(`Download failed: ${response.status}`);

const input = Buffer.from(await response.arrayBuffer());
await sharp(input).png().toFile("converted.png");
For untrusted URLs, apply download-size and timeout limits before handing bytes to an image decoder. Do not accept arbitrary local paths from users without access controls.
6. Transparency, quality, color, and metadata
Transparency
PNG supports an alpha channel; JPEG does not. Preserve alpha when the source has transparent backgrounds or antialiased edges. A white-looking preview may simply be a viewer showing transparency against white. Test the exported PNG over a contrasting background.
Quality
PNG compression is lossless, but conversion cannot recover detail removed by a previous lossy JPEG export. If the source is already blurry or blocky, PNG preserves that appearance faithfully; it does not restore the original photograph.
Color profiles
Color-managed editors can preserve ICC profiles, while command-line cleanup options may remove them. Keep the profile when color matching matters for print or design review. Strip profiles only when you understand the effect and need a smaller, normalized asset.
File size
PNG can be much larger than JPEG for photographs. If an upload limit or page-weight budget is the reason for conversion, measure the result. For a photo, WebP or JPEG may be a better delivery format; use PNG when transparency, sharp edges, or lossless pixels justify the size.
7. Batch conversion
For a small folder of JPG files on macOS or Linux:
mkdir -p png
for file in originals/*.{jpg,jpeg}; do
  [ -e "$file" ] || continue
  base=$(basename "$file")
  magick "$file" "png/${base%.*}.png"
done
Before running a large batch, test one file and confirm that shell globbing, color profiles, transparency, and output names match your requirements. Keep source and destination directories separate to avoid overwriting originals.
8. Common errors and fixes
| Error or symptom | Likely cause | Fix |
|---|---|---|
| “Not a PNG file” after renaming | The bytes are still WebP or JPEG. | Decode and export with GIMP, ImageMagick, Pillow, or Sharp. |
| ImageMagick says no decode delegate | Your build lacks support for the input format. | Run magick identify -list format; install a build with the required delegate. |
| Transparent background becomes white | The alpha channel was removed or layers were flattened. | Retain alpha and avoid flattening; export as PNG. |
| Only the first frame of a GIF/WebP appears | PNG is a still-image output in this workflow. | Decide whether you need an animated output and process frames separately. |
| Output is unexpectedly huge | PNG is inefficient for photographic detail. | Use JPEG/WebP for delivery, or resize and optimize the PNG if lossless pixels are required. |
| Colors look different | Profiles or color-management settings changed. | Preserve the ICC profile and inspect the result in a color-managed viewer. |
| Python or Node process runs out of memory | A very large or crafted image expands dramatically when decoded. | Set pixel, byte, and time limits; reject oversized inputs before decoding. |
9. Security and reliability for untrusted images
Image decoders process complex file formats. ImageMagick’s security guidance recommends restricting formats and resources; its documentation gives a 20,000-by-20,000-pixel crafted image as an example of an input that can consume substantial memory or disk space.ImageMagick security policy
- Process untrusted files in a sandbox or isolated worker.
- Set maximum input bytes, pixel dimensions, memory, disk, and CPU time.
- Allow only the formats your application needs.
- Store outputs with generated names, outside executable directories.
- Check the decoded dimensions and mode before writing the result.
- Keep the original if legal, archival, or metadata fidelity matters.
10. Or skip the browser setup
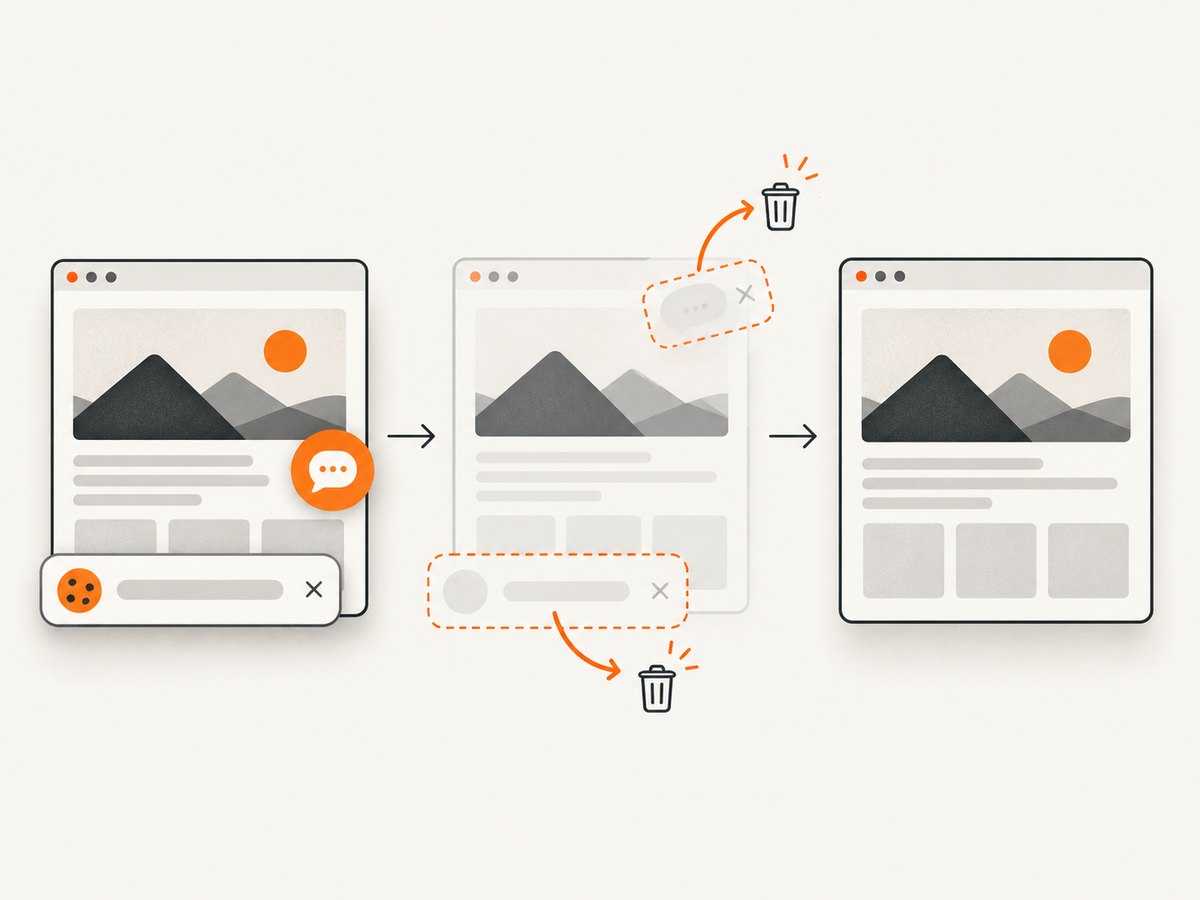
If your real goal is to capture a web page as an image before converting or processing it, ScreenshotNeo returns a PNG, JPEG, WebP, or PDF from one GET request. Its capture workflow accepts cookie and consent banners as a visitor, then removes more than 60 known consent platforms, newsletter popups, and chat widgets; each cleanup step can be disabled. Bot checks, CAPTCHAs, blank pages, timeouts, failed loads, and cache hits are not billed, and the response identifies the result with X-Page-Verdict and X-Billed headers.
See the ScreenshotNeo API documentation for all options, including full-page capture, element selectors, dark mode, device presets, retina scale, custom CSS and JavaScript, waits, blocked resources, headers, cookies, geolocation, resizing, caching, signed links, asynchronous jobs, bulk capture, and usage reporting.
cURL
curl -G "https://api.screenshotneo.com/v1/shot" \
  -d access_key=YOUR_API_KEY \
  --data-urlencode url=https://stripe.com \
  -o shot.webp
Python
import requests

r = requests.get(
    "https://api.screenshotneo.com/v1/shot",
    params={"access_key": "YOUR_API_KEY", "url": "https://stripe.com"},
    timeout=90,
)
r.raise_for_status()
open("shot.webp", "wb").write(r.content)
Node.js
const q = new URLSearchParams({ access_key: 'YOUR_API_KEY', url: 'https://stripe.com' });
const res = await fetch(`https://api.screenshotneo.com/v1/shot?${q}`);
if (!res.ok) throw new Error(`Screenshot failed: ${res.status}`);
require('fs').writeFileSync('shot.webp', Buffer.from(await res.arrayBuffer()));
ScreenshotNeo includes an MCP server for Claude, Cursor, and other MCP clients with take_screenshot, get_page_info, and capture_pdf tools. The free plan includes 1,000 screenshots per month without a card; paid plans start at $5 for 3,000 shots. Create a free ScreenshotNeo account.
11. Performance and cost considerations
- For one-off conversions, GIMP avoids scripting overhead.
- For repeatable builds, ImageMagick, Pillow, or Sharp can run in workers and produce deterministic filenames.
- PNG encoding is CPU work; higher compression can take longer without improving quality.
- Resizing before PNG encoding often saves more storage than changing compression settings.
- Cache conversions by a hash of the source bytes and conversion options.
- When capturing a page remotely, wait for the required selector or network idle instead of sleeping for an arbitrary long delay.
12. Verification checklist
- The output opens in an independent viewer.
- The file signature and extension both indicate PNG.
- Pixel dimensions match the requirement.
- Transparent pixels remain transparent where expected.
- Colors and profiles are acceptable for the destination.
- File size fits the upload or delivery limit.
- The original source remains available.
FAQ
How do I save an image as a PNG?
Open it in GIMP, choose File → Export As, give the file a .png name, and confirm the PNG export. Saving the GIMP project keeps XCF; exporting creates the PNG.
How do I convert WebP to PNG?
Use magick input.webp output.png, open the WebP in GIMP and export it, or use Pillow or Sharp in a script.
Will converting JPG to PNG improve quality?
No. PNG will preserve the pixels you provide, but it cannot recover detail lost when the JPEG was created.
Can PNG keep a transparent background?
Yes, provided the source has transparency and your workflow retains the alpha channel instead of flattening the image.
Can an animated WebP be converted to one PNG?
Yes, but the PNG is a still image. Select a frame explicitly if you need a particular moment; use an animated format when motion must be preserved.


